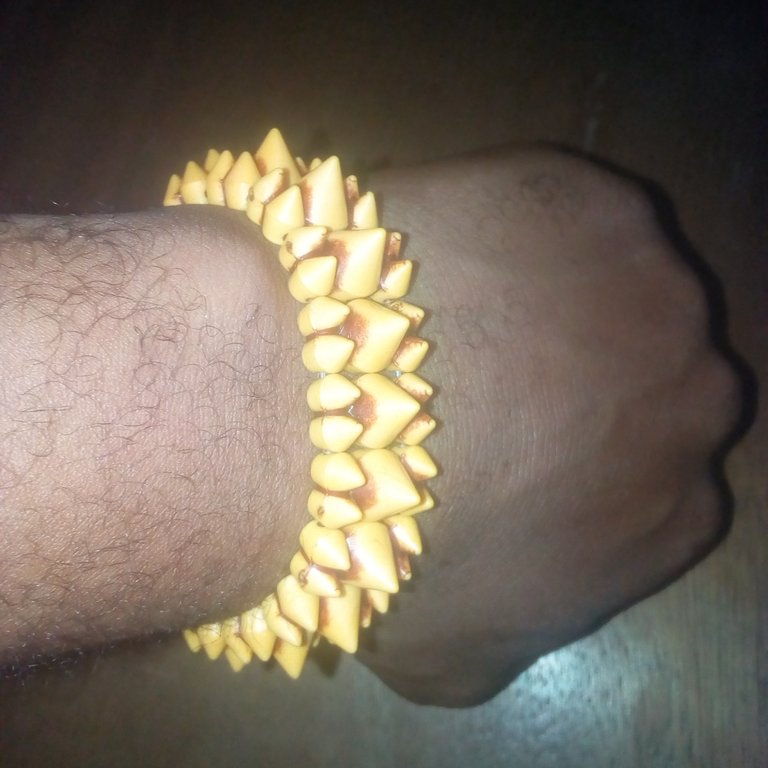
Hello, beautiful and awesome #jewelry creators. I hope you and your favorite families are doing well especially with the way things are going in business, I just hope you are also managing your business well. Today I made a new bracelet for myself and I would like to say them below so to give you a picture of what the bracelet is all about. The pictures of the bracelet would involve the materials and the procedures to use to make the bracelet if interested.
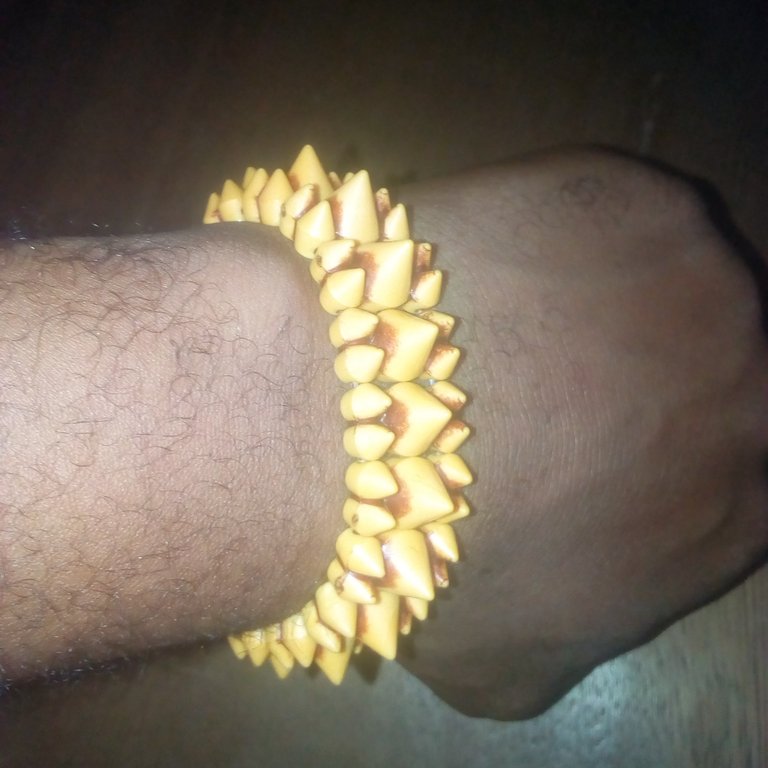
I made the bracelet for myself because the creative straw beads are too beautiful that when I saw it in the market where I used to buy beads materials, I was unable to ignore but to buy thr beads and used them to form a bracelet for myself. Because of the beauty of the creative straw bead, there was no need for me to add any other beads to it and even I did, I would not get the exert bracelet I wanted.
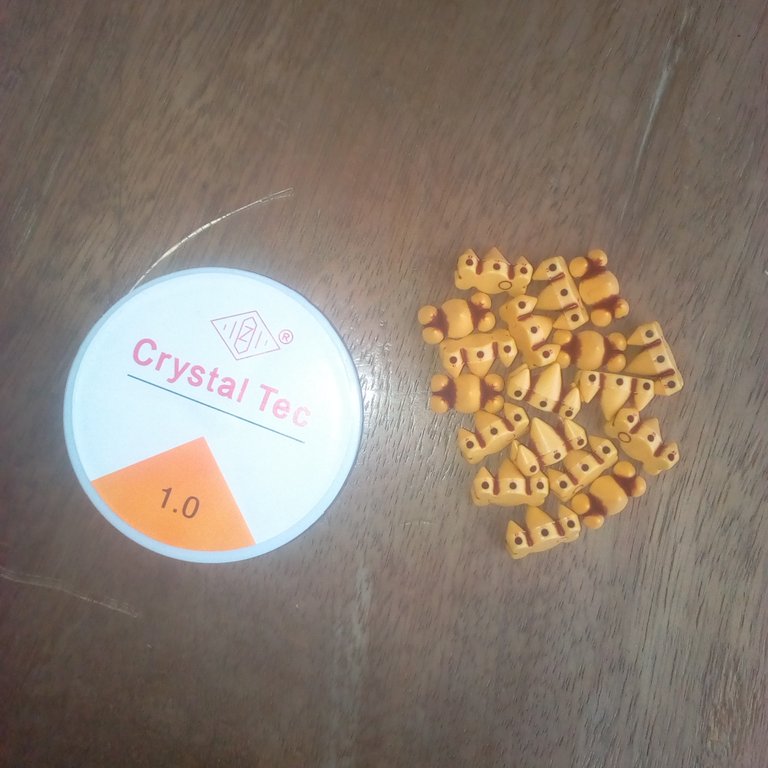
Materials I used for the making of the bracelet for myself will be provided below so that those specifically interested to make it for their loved ones:
Nylon line.
A creative straw bead.
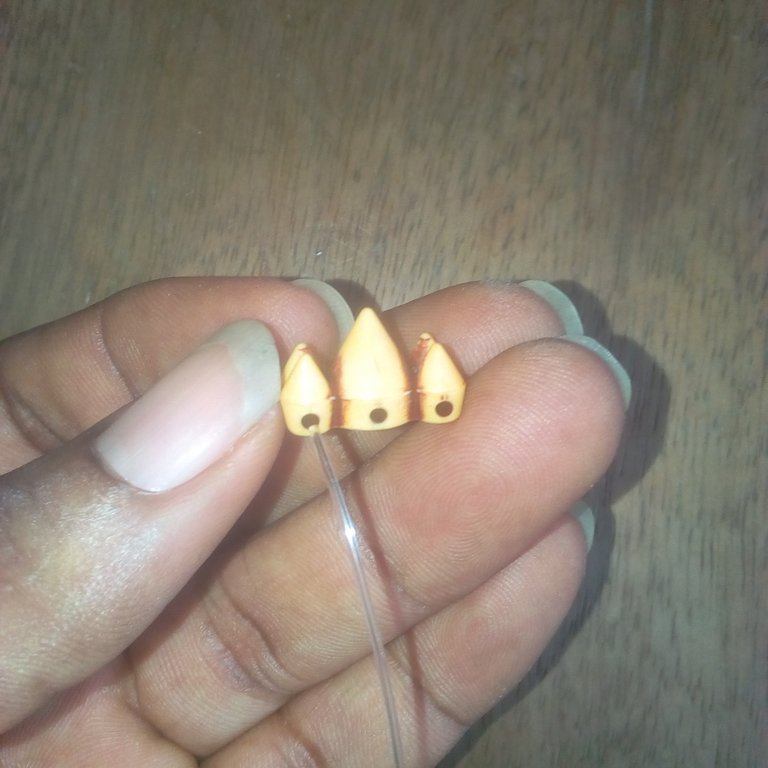
Procedures I followed to make the bracelet will be more important to be reviewed below so to provide more link about the making:**
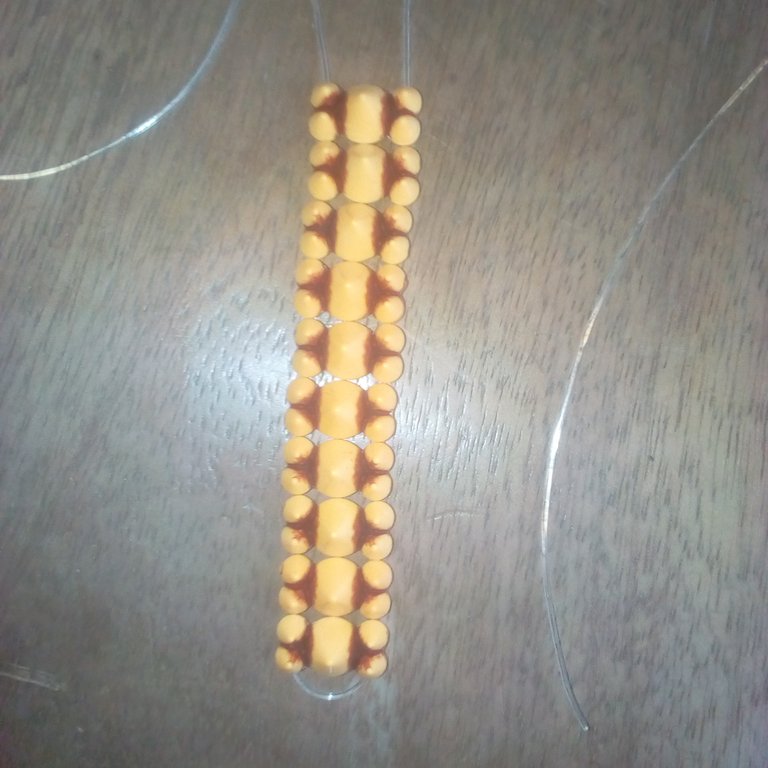
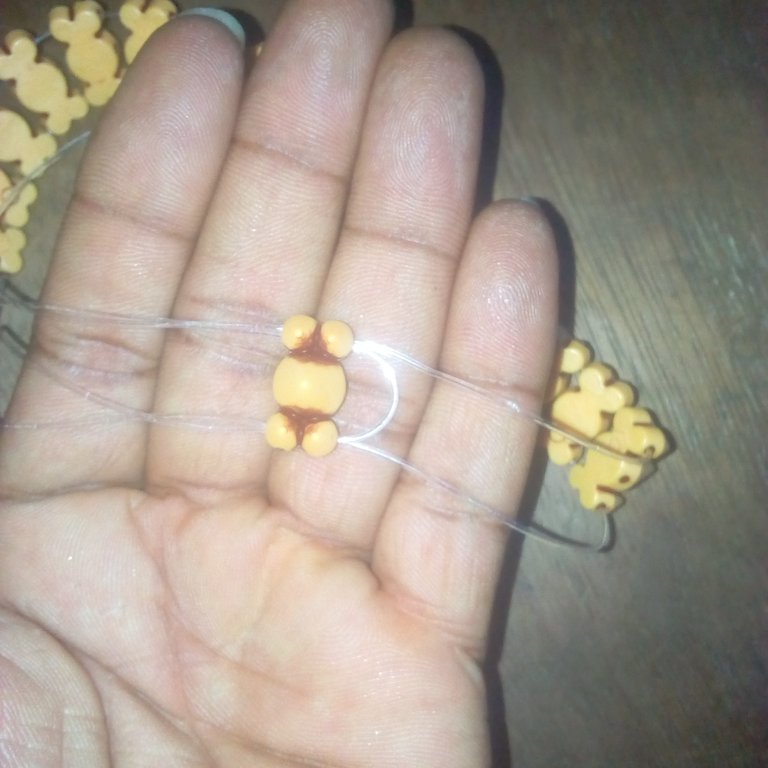
Before I started my bead insertion into the nylon, I will like you to understand that the creative straw beads has three holes and where I will be inserting my nylon line will be from two holes from the sides of the creative straw bead. The hole from the center of the straw bead will be ignored. Now, I cut a nylon line from its original row and I inserted 1 piece of creative straw bead into the right edge. I inserted back one side of the nylon line into the left edge hole of the creative straw bead.
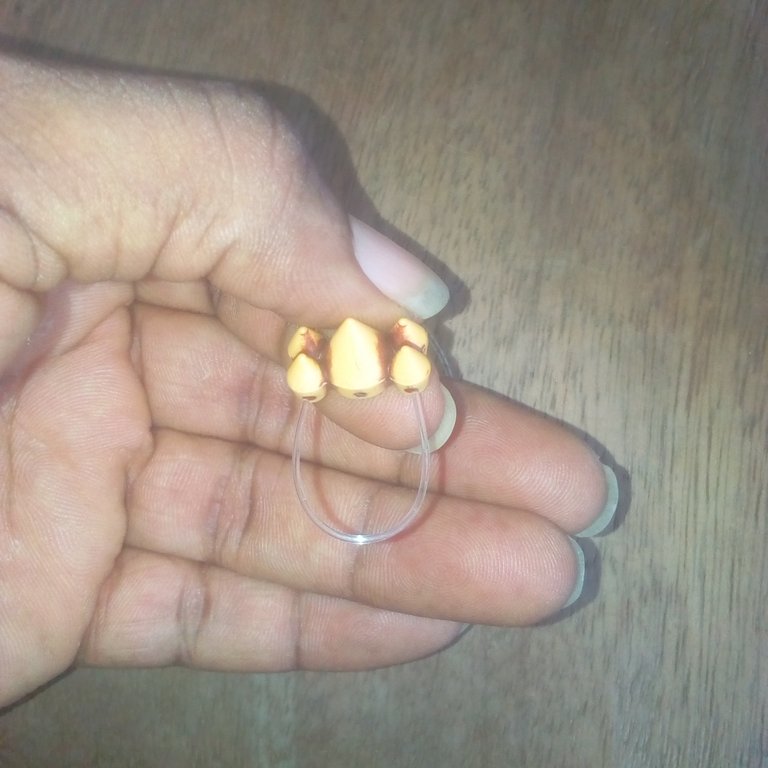
From the place where the two nylon lines is focusing is where I will continue the insertion of the creative straw bead. Now, I inserted another 1 piece creative straw bead into the right edge of the nylon line. Now again, I have to insert the left nylon line into the left edge of the creative straw bead. To continue with the insertion of the creative straw beads to complete the bracelet making, I inserted the 3rd creative straw bead into the right edge of the nylon line. I also inserted the left nylon into the left edge of the creative straw bead.
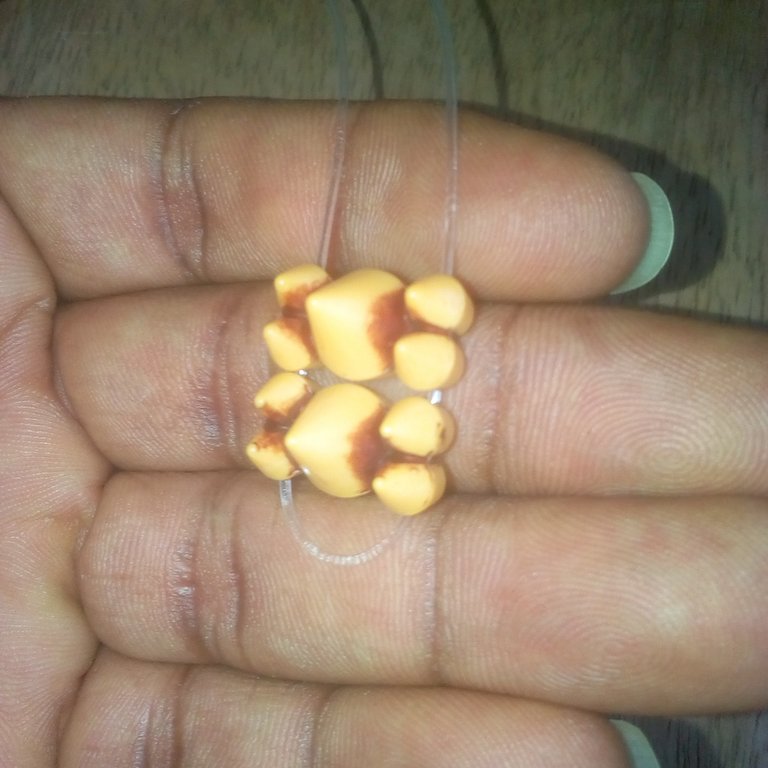
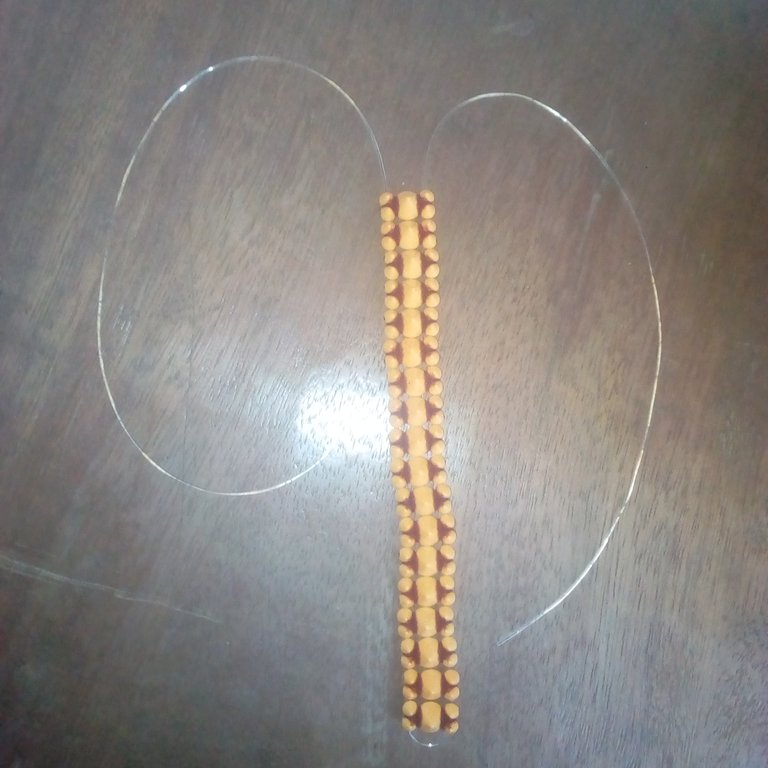
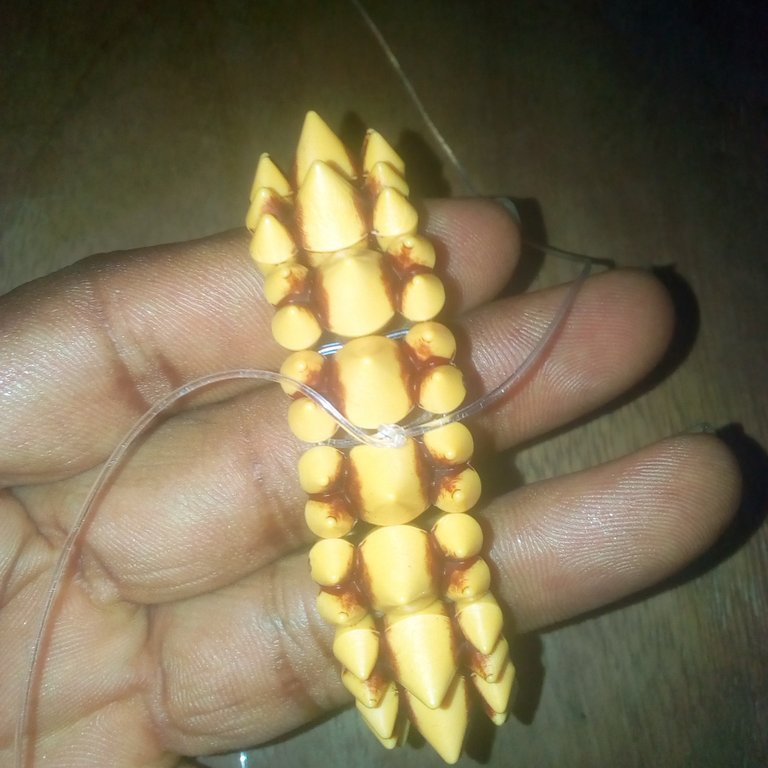
Now, in order for me not to keep roaming around about the insertion of the left and right nylon lines into the left and right edge of the creative straw bead, I would have to make it clear that the procedures are the same and there would be no need repeating same words. I inserted the whole creative straw beads that are okay for the bracelet and can fit for me wear. The last thing I did to complete the bracelet making, I inserted the last right nylon lines left and right into the first creative straw bead I inserted from the first. I inserted the last nylon line left into the left edge of the first creative straw bead. Now, I also have to insert the right last nylon line into the right edge of the first straw bead inserted.
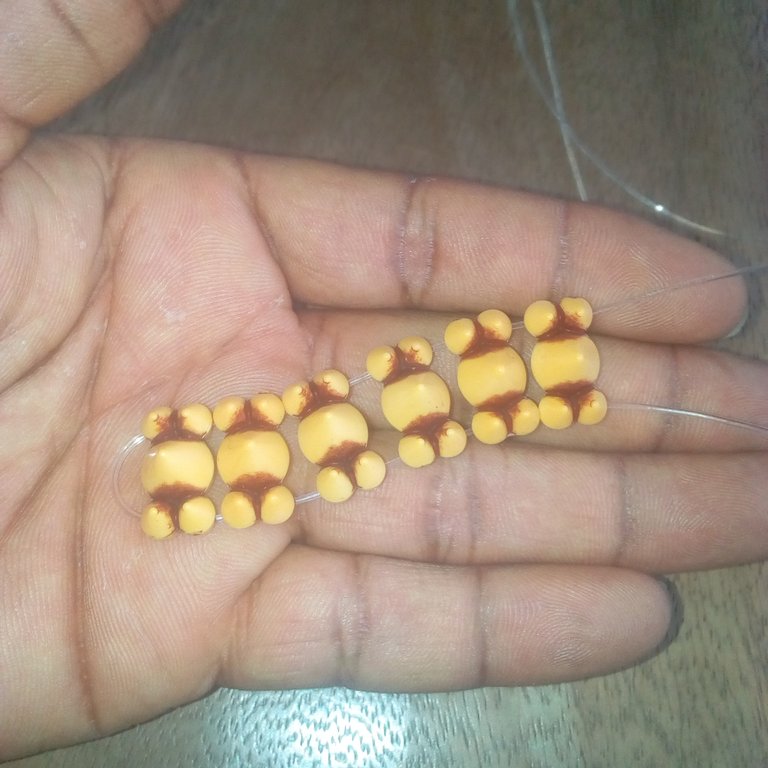
Now the last thing after the bracelet is in it's right shape, I joined the nylon lines left and right together.
