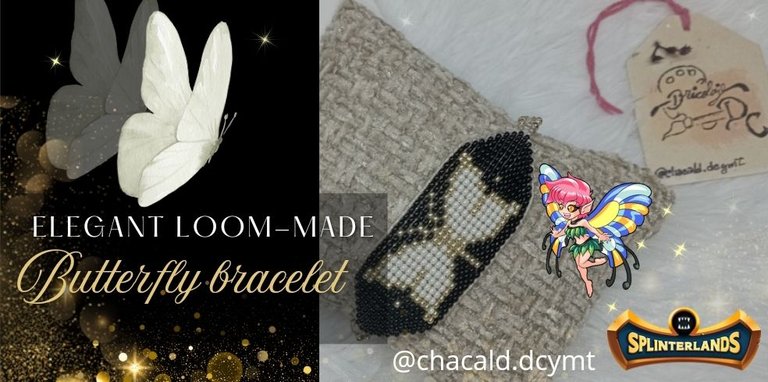
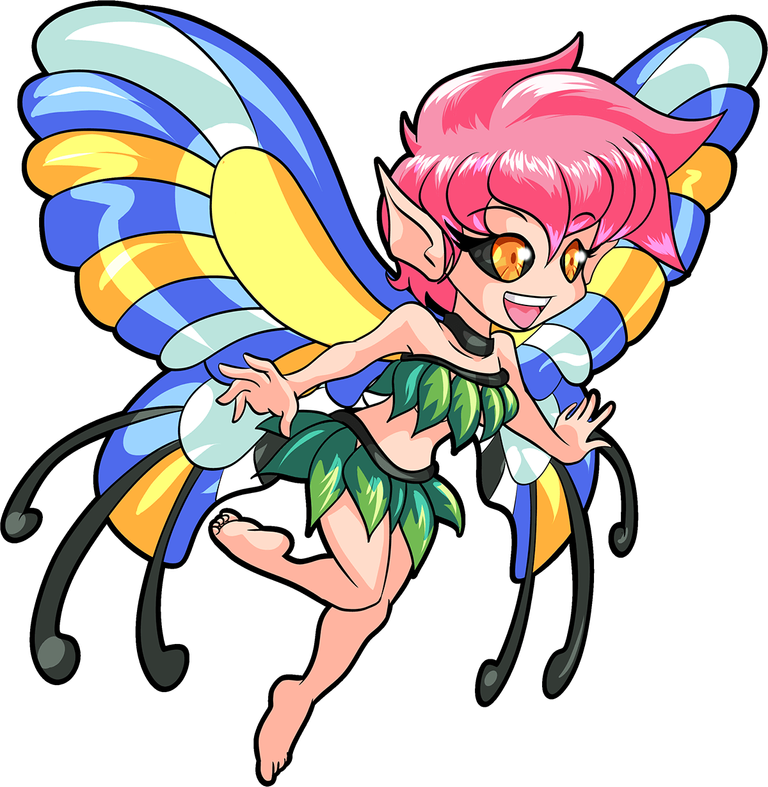
Greetings friends who love handmade crafts! I welcome you once again to my workshop @bricolajedc, this time to make an elegant bracelet made with loom beads, inspired by the Enchanted Pixiede face of splinterlands. Join me and I'll show you the step by step.
Saludos amigos amantes de las artes manuales! Les doy la bienvenida una vez más a mi taller @bricolajedc, en esta oportunidad para realizar un elegante brazalete hecho con mostacillas en telar, inspirado en la cara Enchanted Pixiede de splinterlands. Acompáñenme y les muestro el paso a paso.
Material:
Transparent nylon thread
Chinese thread
Beads in 3 different colors 6 grams of each color)
Needle for beads
Loom
Balls
Scissors
Lighter
Grid sheet
Markers
Pencil
Materiales:
Hilo de nylon transparente
Hilo chino
Mostacillas en 3 colores diferentes 6 gramos de cada color)
Aguja para mostacilla
Telar
Balines
Tijera
Encendedor
Hoja cuadriculada
Marcadores
Lápiz

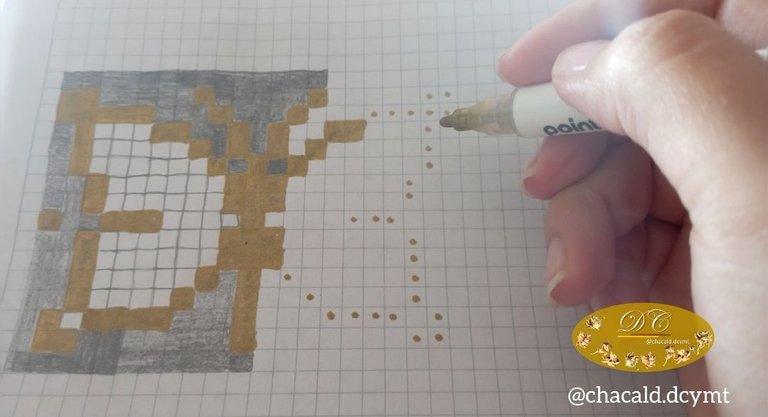
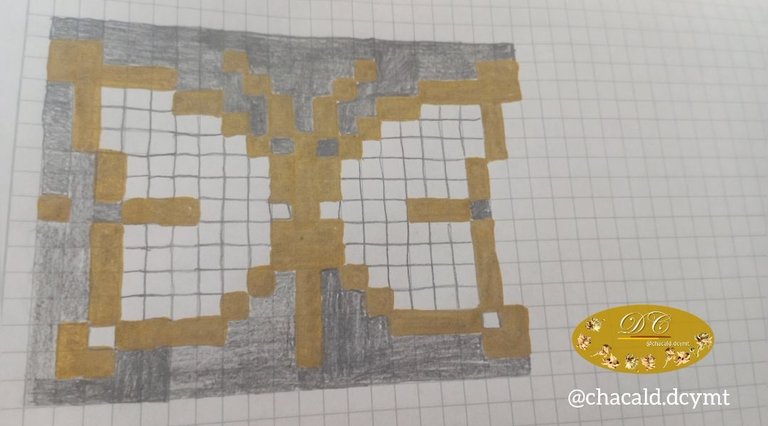
We started by making our design on the grid sheet. I liked to be inspired by the letter as it is a small butterfly. To make it more elegant I combined the colors black for the background, gold and pearl white with gold for the clasps and the beige thread.
Comenzamos haciendo nuestro diseño en la hoja cuadriculada. Me gustó inspirarme en la carta ya que es una pequeña mariposa. Para que fuera más elegante combiné los colores negro de fondo, dorado y blanco perlado con dorado para los cierres y el hilo beige.
 |  |
|---|
Once I finished the design on paper, I assembled the loom. The design had 15 strands of nylon thread and 2 strands of Chinese thread. For a total of 16 beads across the width of the butterfly.
Una vez que terminé el diseño en papel, monté el telar. El diseño tenía 15 hebras de hilo de nylon y 2 de hilo chino. Para un total de 16 mostacillas a lo ancho de la mariposa.
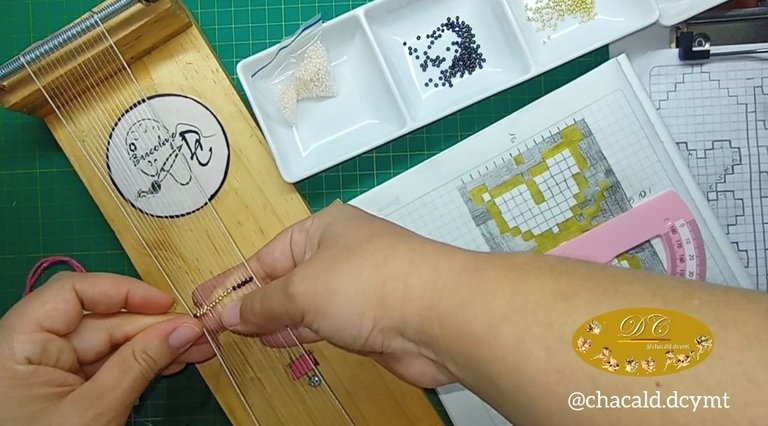
We begin the weaving by placing the beads in the same order as the drawing, we place them under the threads and we are going to pass the needle inside the beads over the threads. We must check one by one the threads if we want to avoid a loose bead.
Comenzamos el tejido colocando las mostacillas en orden igual que el dibujo, las colocamos por debajo de los hilos y vamos a pasar la aguja por dentro de las mostacillas sobre los hilos. Debemos revisar uno a uno los hilos si queremos evitar que nos quede una suelta.
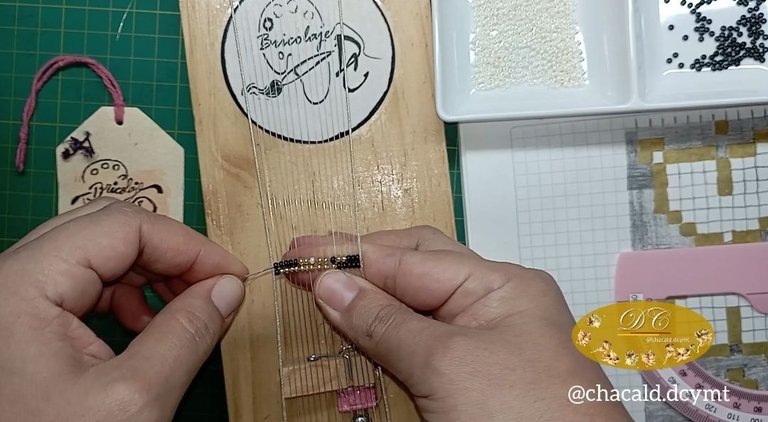
A recommendation would be to start from the center making the left side and then the right side. This way we can make the ends of both sides with a reduction of 2 beads in each row.
Una recomendación sería comenzar desde el centro haciendo el lado izquierdo y luego el derecho. De esta manera podemos hacer las terminaciones de ambos lados con una reducción de 2 mostacillas en cada fila.
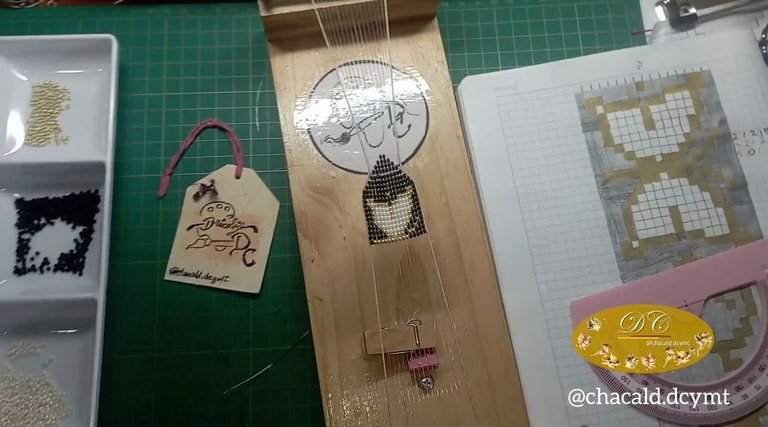
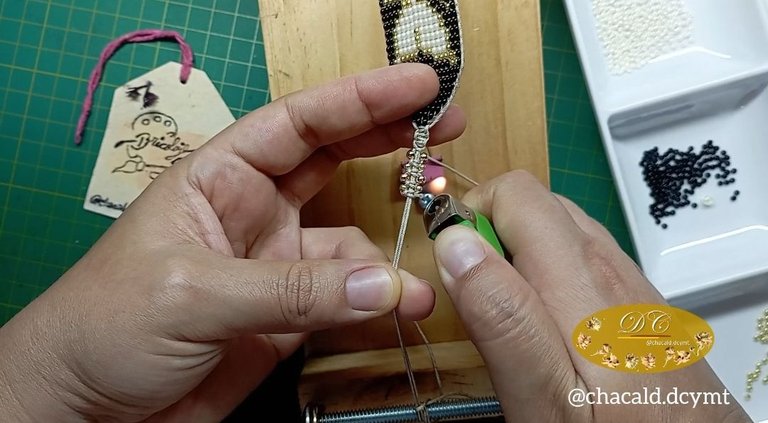
After finishing weaving the design. We are going to make 3 flat knots with the Chinese thread and cut all the strands of nylon thread and then burn them with the lighter.
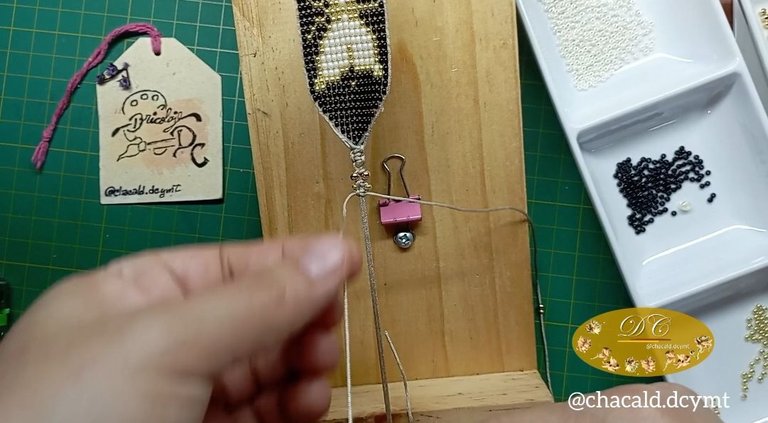
Then to give a more elegant touch we are going to take a piece of beige Chinese thread of 25 centimeters and we are going to introduce a golden ball, a golden bead and then a ball. In that sequence we complete 2 balls and 2 beads.
Después de terminar de tejer el diseño. Vamos a hacer 3 nudos planos con el hilo chino y cortamos todas las hebras de hilo de nylon para luego quemarlas con el encendedor.
Luego para dar un toque más elegante vamos a tomar un trozo de hilo chino beige de 25 centímetros y vamos a introducir un balín dorado, una mostacilla dorada y luego un balín. En esa secuencia completamos 2 balines y 2 mostacillas.
 |  |
|---|
We make a flat knot at one end and pass the beads through. We complete 2 flat knots and lower the beads on both sides of the thread. This way until completing the series of 4.
We burn the ends of the remaining thread and proceed to repeat on the other side.
Hacemos un nudo plano en uno de los extremos y pasamos los balines. Completamos 2 nudos planos y bajamos las mostacillas de ambos lados del hilo. Así hasta completar la serie de 4.
Quemamos las puntas del hilo restante y vamos a proceder a repetir del otro lado.
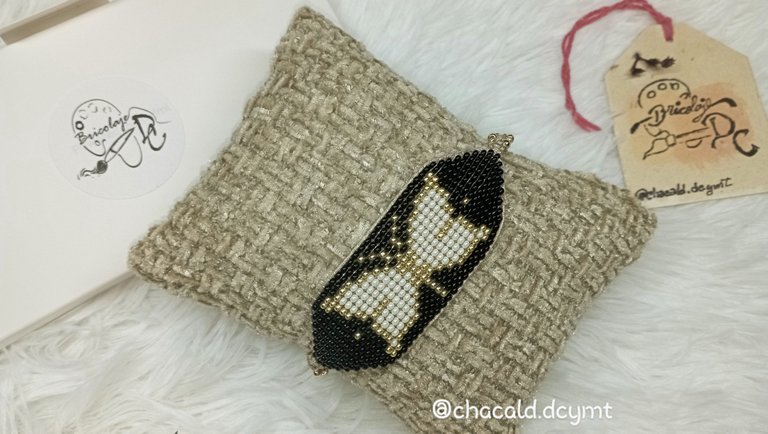
Now we have to make the clasp of the bracelet. We measure 10 centimeters and place a ball and a mother-of-pearl bead. Then we make a slip knot to join both ends and that's it.
Our Splinterland Enchanted Pixie bracelet is ready to wear on our wrists.
Lugo nos queda hacer el cierre de la pulsera. Medimos 10 centímetros u colocamos un balin y una mostacilla nacar. Luego hacemos un nudo corredizo para unir ambos extremos y listo.
Nuestro brazalete de Enchanted Pixie de Splinterland está listo para lucir en nuestras muñecas.
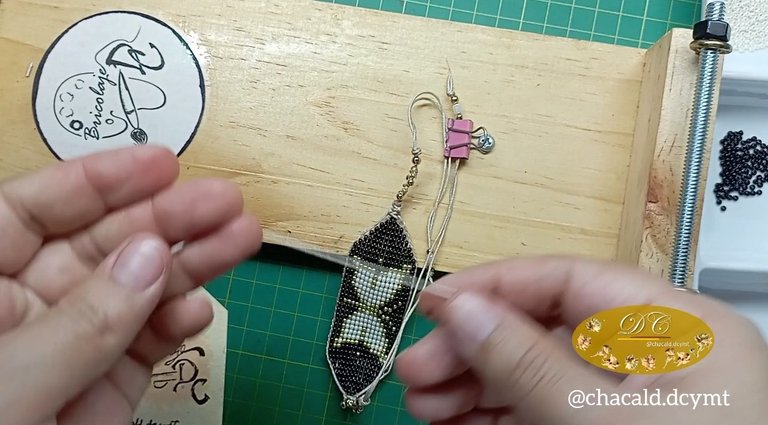
I personally really enjoyed this project. I love to see how a design goes from a flat drawing to a bracelet. I leave you with this step by step video and I hope you are encouraged to make your own bracelet.
See you next time. Bye!
Personalmente disfruté mucho de este proyecto. Me encanta ver como un diseño pasa de ser un dibujo plano a un brazalete. Les dejo este video con el paso a paso y espero se animen a realizar su propio brazalete.
Nos vemos en una próxima oportunidad. Chao!


Original content by the author.
Resources: App: Canva / Giphy / Inshot
Song from the free-to-use video, available on the Inshot App.
Music: Sleepless In Gulustan
Musician: Ilya Truhanov
URL: https://icons8.com/music/
📷 Redmi 10 Smartphone
Translation done with Deepl.com
✿ All Rights Reserved || © @chacald.dcymt 2025✿
💌 Discord: chacald.dcymt#3549
X: @chacald1
Reddit: chacald
_
Contenido original del autor.
Recursos: App: Canva / Giphy / Inshot
Canción del video de libre uso, disponible en la App de Inshot
Música: Sleepless In Gulustan
Músico: Ilya Truhanov
URL: https://icons8.com/music/
📷 Redmi 10 Smartphone
Traducido con Deepl.com
✿ Todos los Derechos Reservados || © @chacald.dcymt 2025✿
💌 Discord: chacald.dcymt#3549
X: @chacald1
Reddit: chacald
▶️ 3Speak


