Hello everyone...🎄🎅✨
Hello to my dear Hivers and the beloved community of artists Jewelry, as always very pleased and excited to be here again, showing you my work made with love and especially for you.
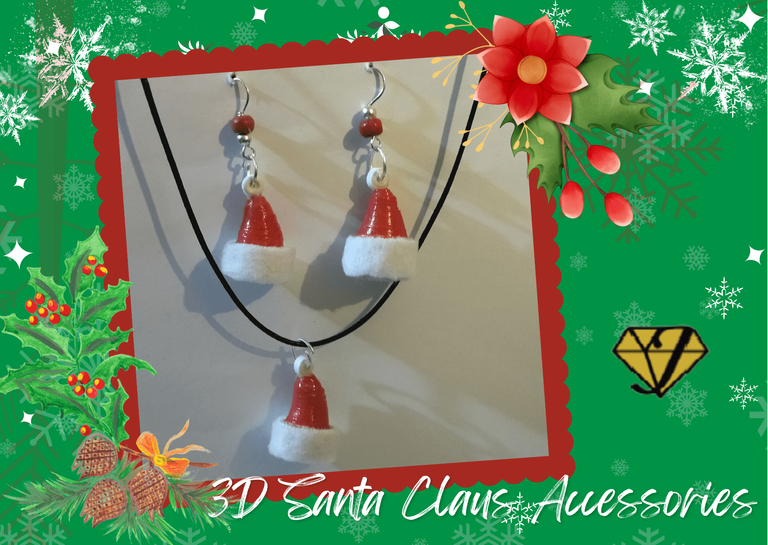
Today I will continue with the Christmas theme, I bring you a very simple work, so you can in a short time have an accessory to use, give or sell this Christmas. And who doesn't like some Santa Claus themed beanies, well today I leave you a set of tendrils and pendant for necklace in 3D, in the quilling technique.
Hoping you like it, I leave you my creative process:
Let's get started:😃

Hola a Todos...🎄🎅✨
Hola a mis queridos Hivers y a la querida comunidad de artistas Jewelry, como siempre muy complacida y emocionada de encontrarme por acá nuevamente, mostrándole mi trabajo hecho con mucho amor y especialmente para ustedes.
Para hoy seguiré con la temática navideña, les traigo un trabajo muy sencillo, para que puedan en poco tiempo tener un accesorio para usar, regalar o vender en estas navidades. Y a quien no le gustan unos gorritos con motivo de Santa Claus, pues hoy les dejo un juego de zarcillos y dije para collar en 3D, en la técnica de quilling.
Esperando que sea de su agrado, les dejo mi proceso creativo:
Comencemos:😃

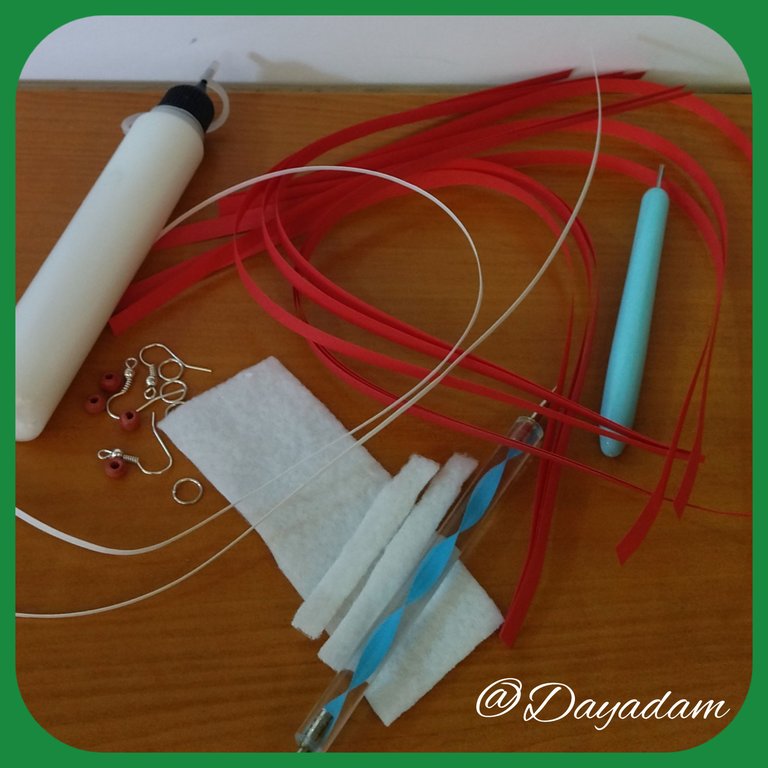
• Cintas de quilling de diversos mm de ancho blancas, y rojas.
• Trozo de tela manta polar blanca o ls tela de tu preferencia.
• Aguja para quilling.
• Molde para círculos.
• Pega blanca extra fuerte (de carpintería).
• Perla de madera color roja.
• Argollas medianas de bisutería.
• Base para zarcillos colgante (anzuelos).
• Tijera.
• Pincel.
• Alicate punta fina.
• Collar de tu preferencia.
- White and red quilling ribbons of different widths.
- Piece of white polar blanket fabric or the fabric of your choice.
- Quilling needle.
- Mold for circles.
- Extra strong white glue (woodworking glue).
- Red wooden bead.
- Medium size bijouterie earrings.
- Base for hanging tendrils (hooks).
- Scissors.
- Brush.
- Fine nose pliers.
- Necklace of your choice.

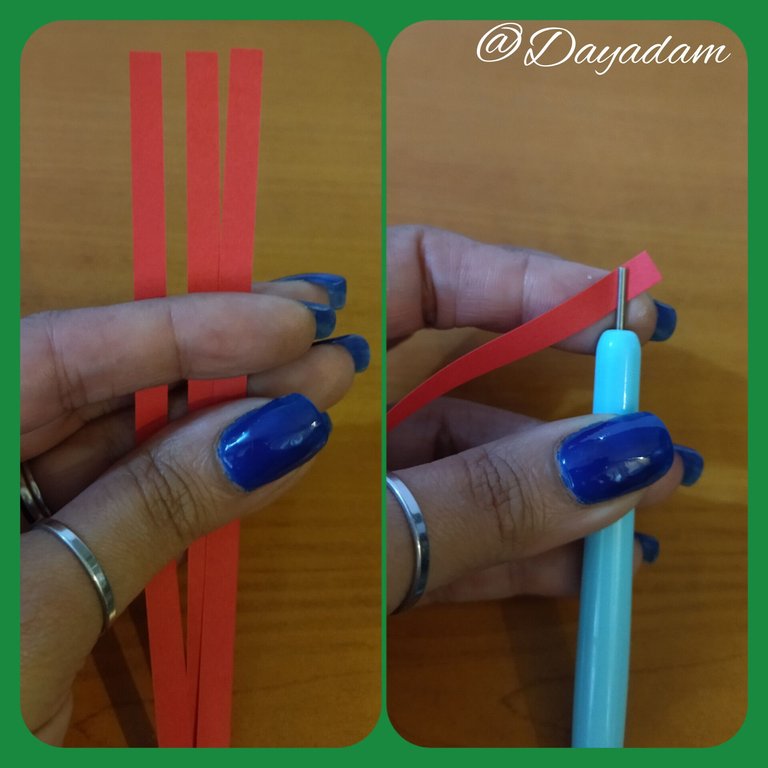
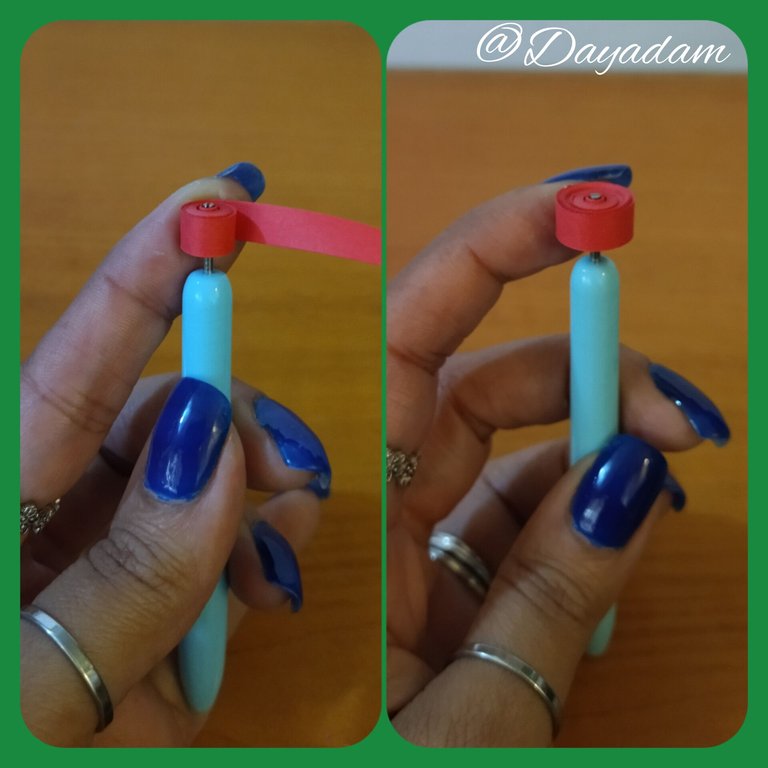
- We start taking red quilling tape and we are going to join a strip of 6mm wide x 90cms long, we roll with the quilling needle until we reach the end of the tape, we take out the needle, we seal with extra strong white glue and we will obtain a closed circle. We will need as many circles as we want to make beanies.
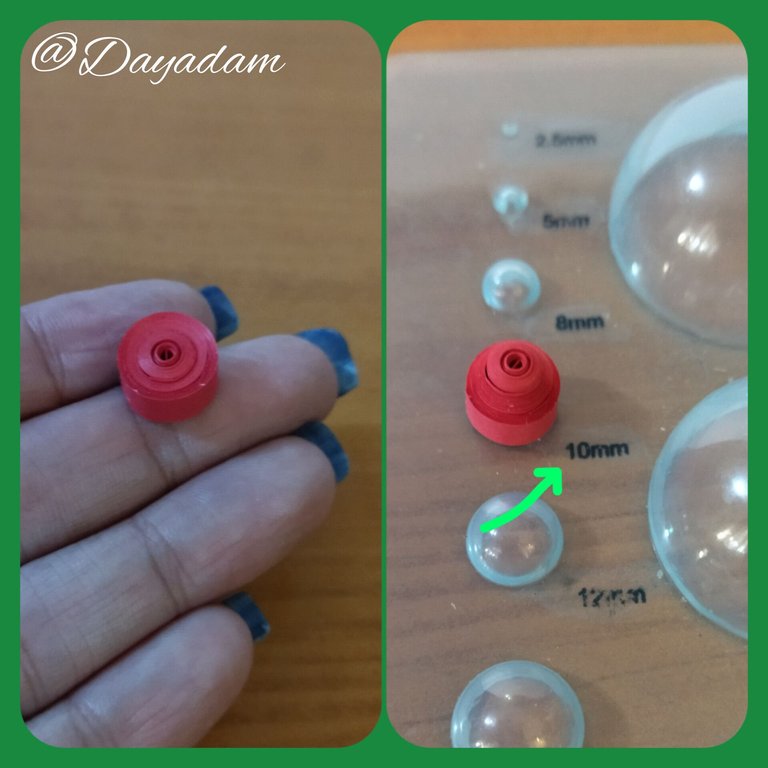
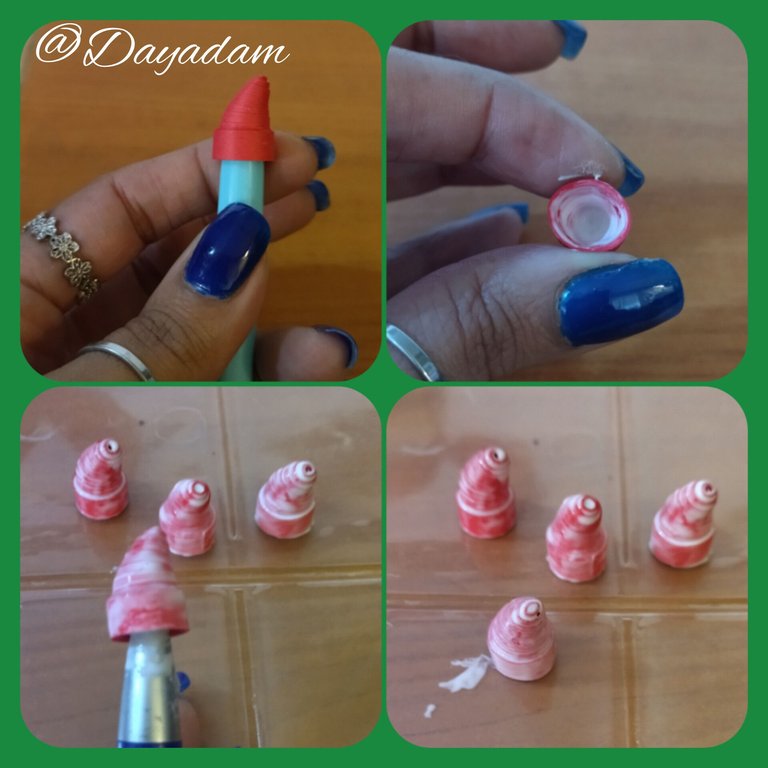
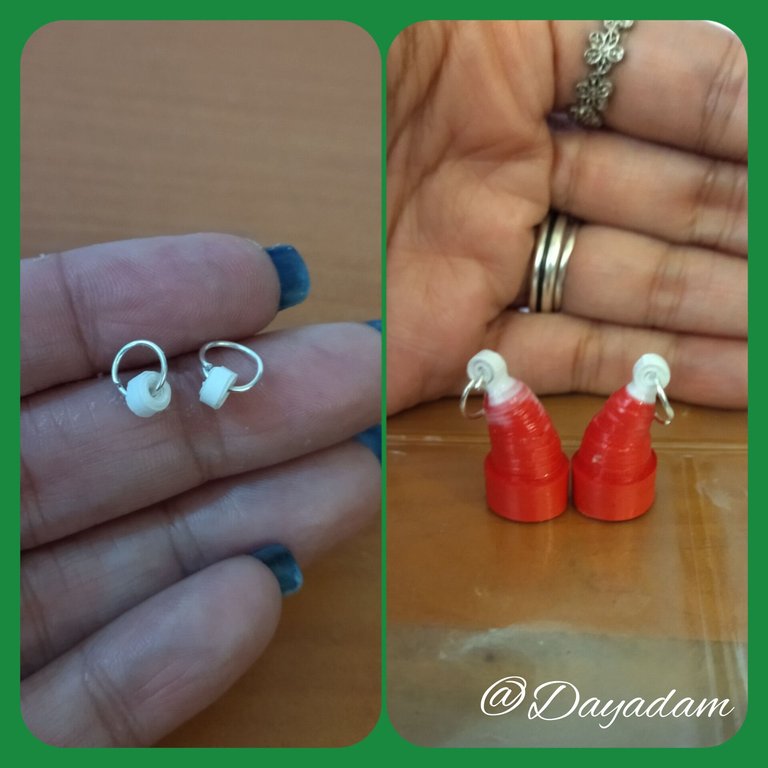
- We are going to mold the circles, placing the piece in the template of circles in the measure 10mm (take into account that if we do not have this mold we can do it with our fingers), we will raise the piece a little more with a more pointed object, and we will try to bend the tip to one side, we apply glue on the inside so that the hat is not deformed, let it dry very well.
- Take the pieces and apply a few coats of extra strong white carpentry glue, letting it dry between one coat and another to plasticize previously, and then continue working on it.

• Comenzamos tomando cinta para quilling roja y vamos a unir una tira de 6mm de ancho x 90cms de largo, enrollamos con la aguja para quilling hasta llegar al final de la cinta, sacamos de la aguja, sellamos con pega blanca extra fuerte obtendremos un círculo cerrado. Necesitaremos tantos círculos, como gorritos queramos hacer.
• Vamos a moldear los círculos, colocando la pieza en la plantilla de círculos en la medida 10mm (tomemos en cuenta que si no tenemos este molde podemos hacerlo con los dedos), subiremos un poco más la pieza con un objeto más puntiagudo, y trataremos de doblar la punta hacia un lado, aplicamos pega por su parte interna para que no se deforme el sombrero, dejamos secar muy bien.
• Tome las piezas y le aplique algunas capas de pega blanca extra fuerte de carpintería dejando secar entre una capa y otra para plastificar previamente, y luego seguir trabajándola.
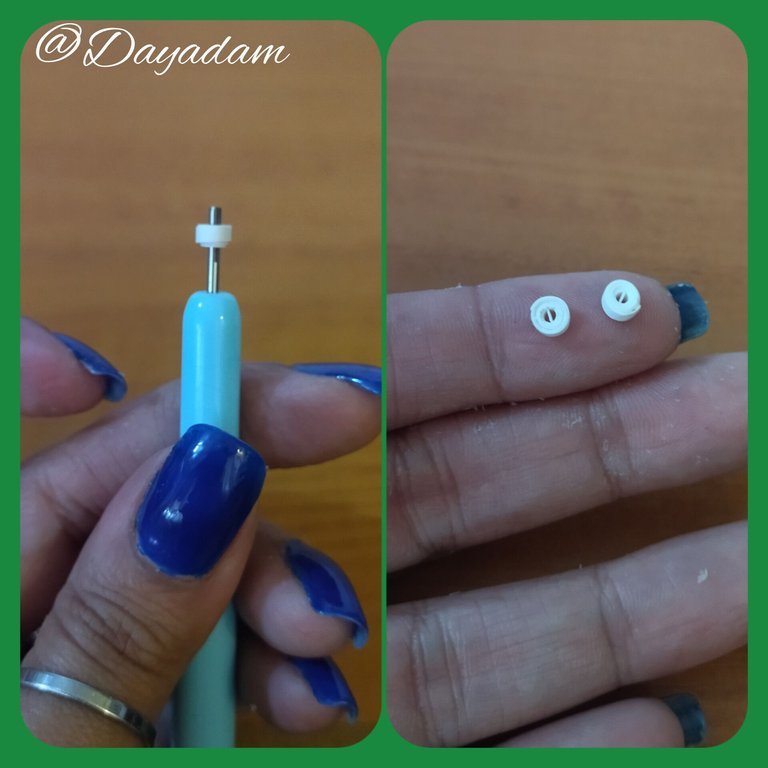
- With a small piece of white ribbon 2mm wide, we will make a small closed circle to which we will incorporate a medium size costume jewelry ring, we will glue it at once to the tip of the hat so that it dries.
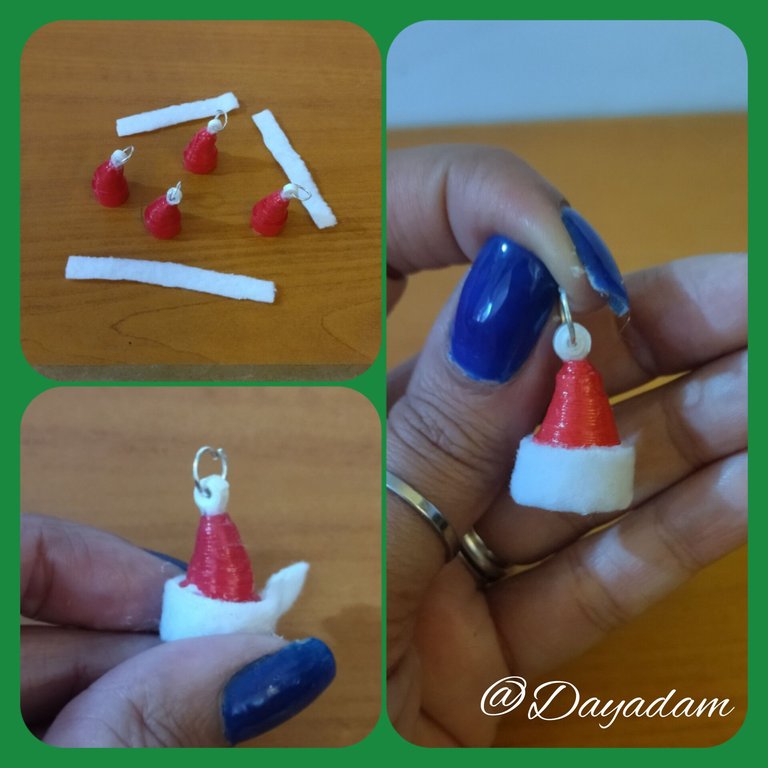
- We will take a small piece of white fabric, in my case I used polar blanket, which we will cut of the same width of the brim of the hat and we will glue it around the hat.
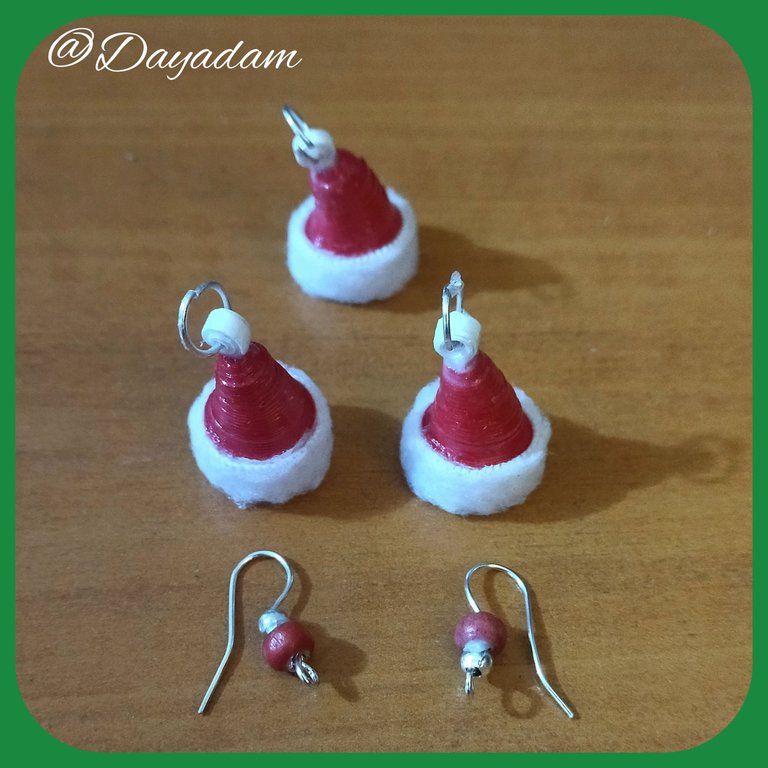
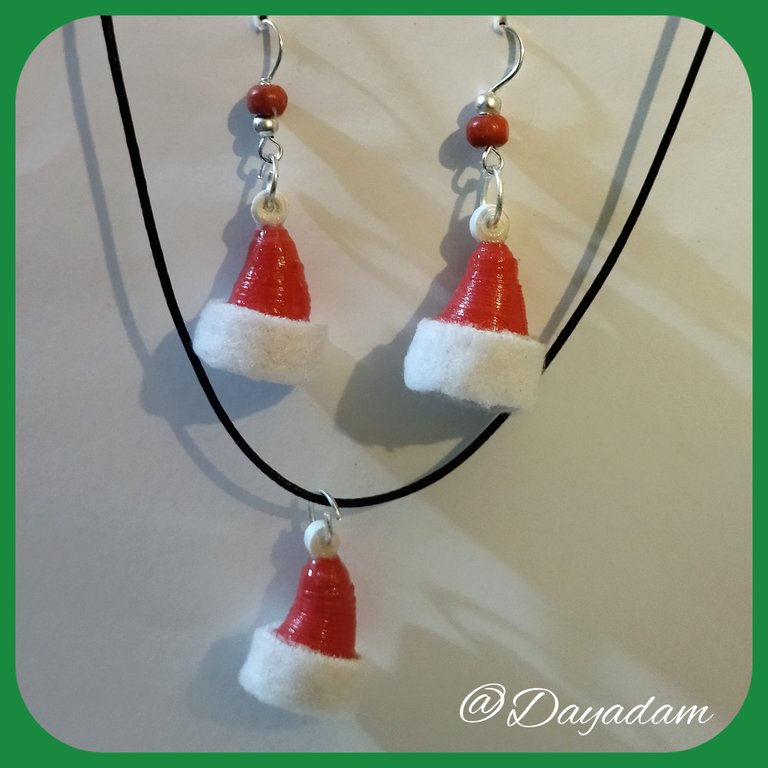
- Make several little Santa hats, to which we will use as tendrils we will place a hanging base, (hooks), to which I previously placed a red wooden pearl, to give it more colorfulness, those that we will use as a necklace I said to simply leave only the medium ring of costume jewelry and we will place it in the necklace of our preference.
This way we have these simple little hats to wear this Christmas.

• Con un pequeño trozo de cinta blanca de 2mm de ancho, realizaremos un pequeño círculo cerrado al cual le incorporaremos una argolla mediana de bisutería, pegaremos de una vez a la punta del sombrero para que se vaya secando.
• Tomaremos un trocito de tela blanca, en mi caso utilice manta polar, el cual cortaremos del mismo ancho del borde del sombrero y lo pegaremos alrededor del mismo.
• Realice varios sombreritos de santa, a los que usaremos como zarcillos le colocaremos una base colgante, (anzuelos), a los que le coloque previamente una perla de madera color roja, para darle mayor vistosidad, los que usaremos como dije para collar sencillamente le dejaremos solo la argolla mediana de bisutería y colocaremos en el collar de nuestra preferencia.
De esta manera tenemos estos sencillos sombreritos para usar esta navidad.

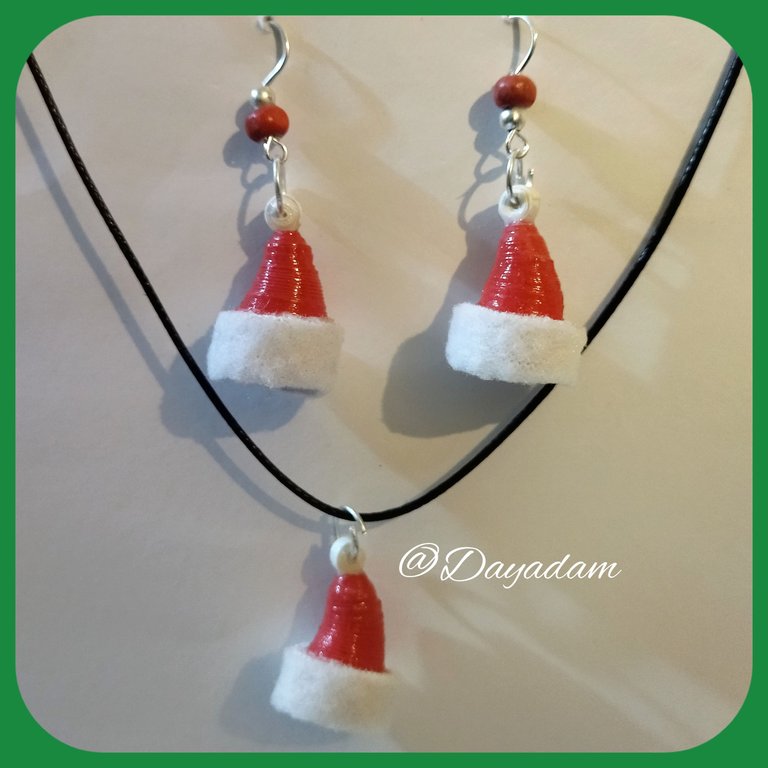

What did you think, did you like it?
I hope you did, I hope you liked my explanation, procedure and photos, I made them with love for you.
"Let out that muse that inspires you, and let your imagination fly".
Thank you all, see you next time 🎄🎅✨.

¿Que les pareció, les gustó?
Espero que sí, que les haya gustado mi explicación, procedimiento y fotos, los hice con mucho cariño por y para ustedes.
"Deja salir esa musa que te inspira, y deja volar tu imaginación".
Gracias a todos, nos vemos en la próxima.🎄🎅✨

Todas las fotos usadas en este post son de mi autoría y han sido sacadas en mi celular personal un Redmi 9T, editadas en InShot y Canva Banner y separador hecho por mí en Canva Traducido con la ayuda de DeepL

