Hello everyone... ✨
Hello to my dear Hivers and the dear community of artists #Jewelry, as always very pleased and excited to be here again, showing you my work made with love and especially for you.
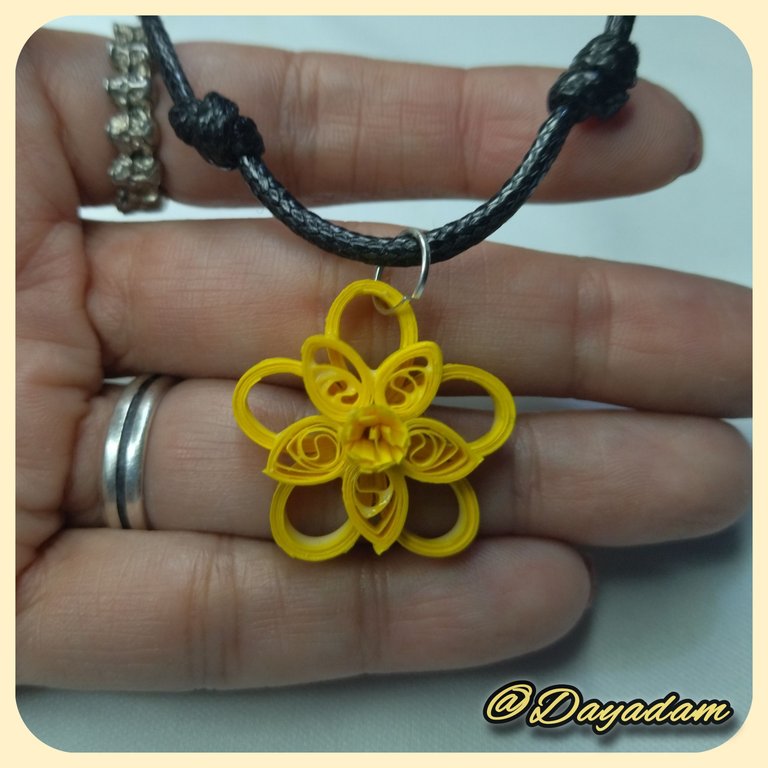
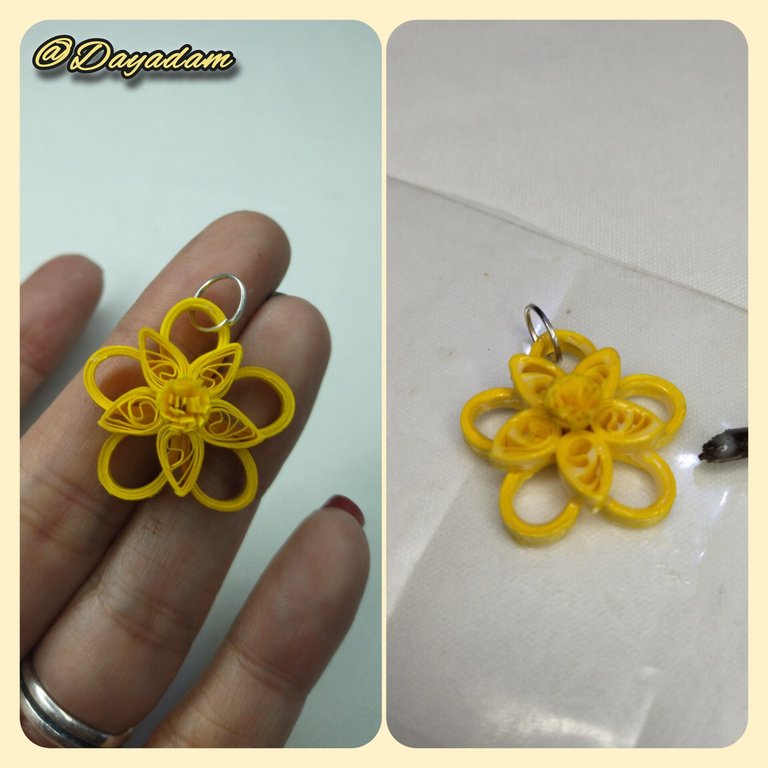
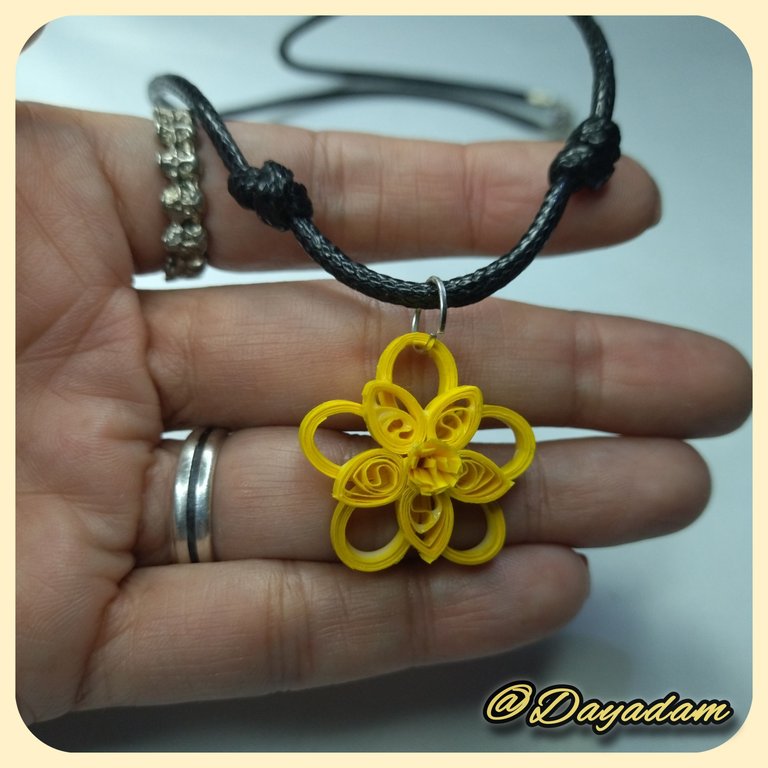
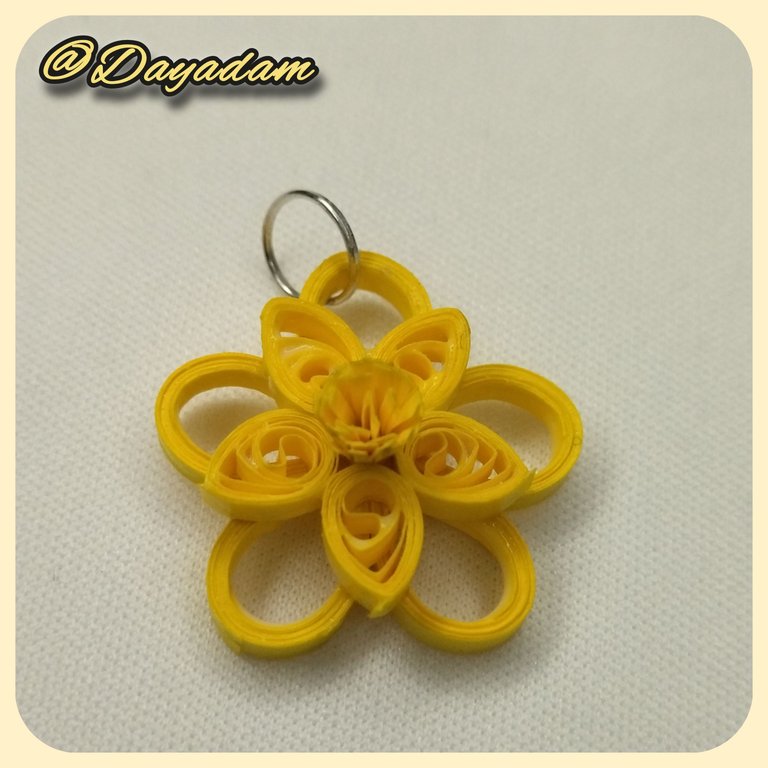
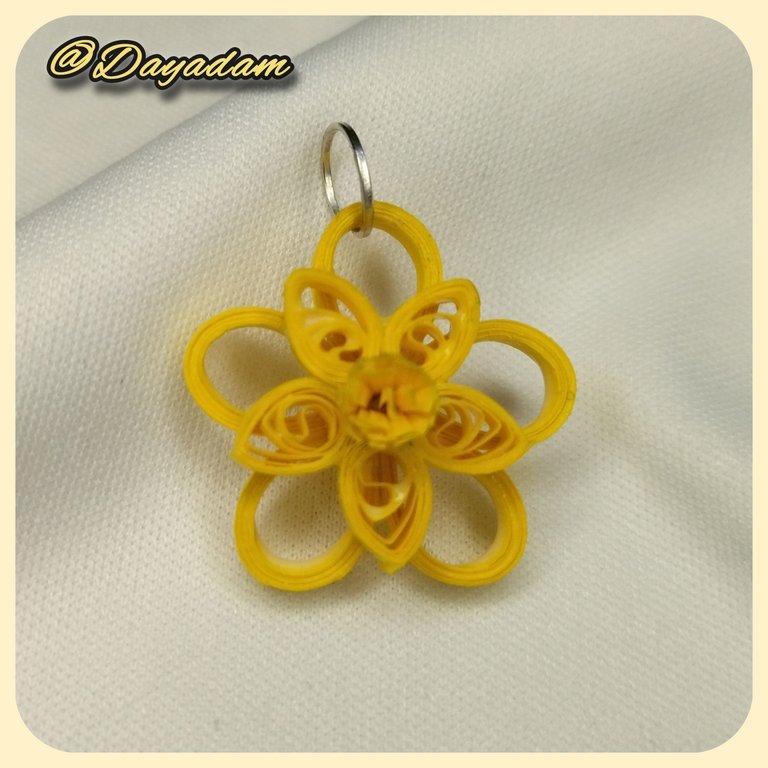
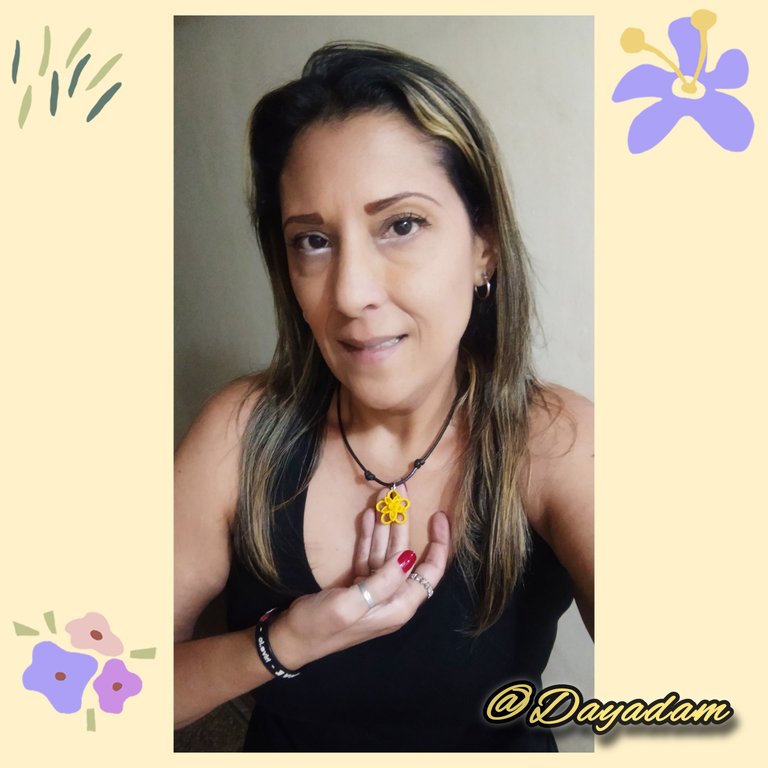
For today I wanted to make you something special, every day September 21 is announced the beginning of spring, in many countries people usually give yellow flowers as a symbol of light, hope, that beautiful things are coming to your life and that there is always a new way to go or something new to start, so today is a gift to all of you a small pendant for necklace with relief in the technique of quilling, in the shape of a yellow flower especially for you.
I hope you like the work, join me in this creative process.
Let's get started:😃

Hola a Todos... ✨
Hola a mis queridos Hivers y a la querida comunidad de artistas #Jewelry, como siempre muy complacida y emocionada de encontrarme por acá nuevamente, mostrándole mi trabajo hecho con mucho amor y especialmente para ustedes.
Para hoy día quise hacerles algo especial, cada día 21 de septiembre se anuncia el inicio de la primavera, en muchos países las personas suelen regalarse flores amarillas como símbolo de luz, esperanza, de que cosas hermosas están por llegar a tu vida y que siempre hay un nuevo camino que recorrer o algo nuevo para comenzar, por esto hoy a todos ustedes es regalo un pequeño dije para collar con relieve en la tecnica de quilling, con forma de una flor amarilla especialmente para ustedes.
Espero sea de su agrado el trabajo, acompáñenme en este proceso creativo.
Comencemos:😃

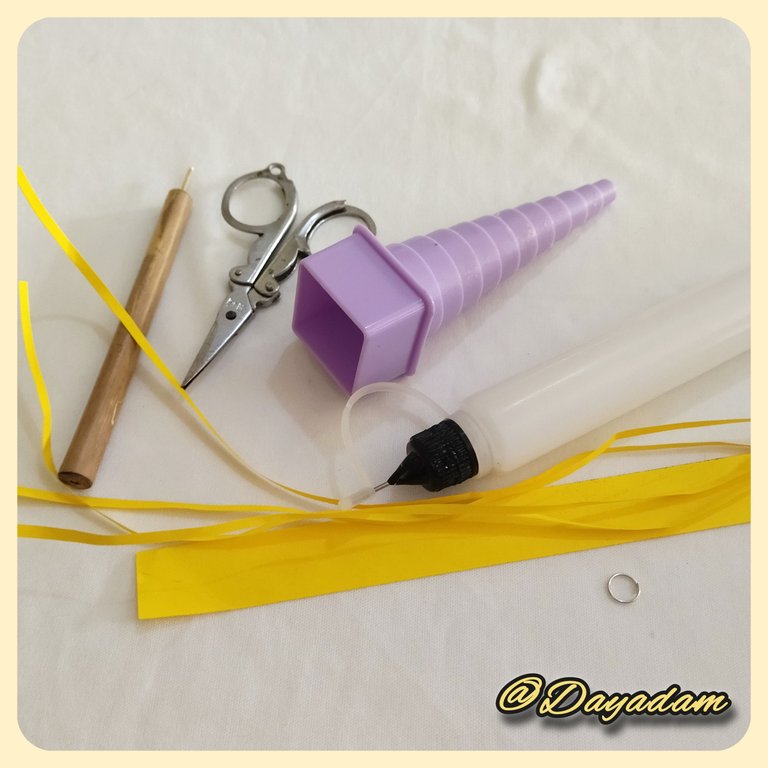
• Cintas de quilling amarillas.
• Aguja para quilling.
• Molde para círculos.
• Pega blanca extra fuerte (de carpintería).
• Argolla de bisutería mediana.
• Tijera.
• Pincel.
• Pinza punta fina.
• Alicate punta fina.
• Collar de tu preferencia.
- Yellow quilling ribbons.
- Quilling needle.
- Mold for circles.
- Extra strong white glue (carpentry glue).
- Medium size jewelry ring.
- Scissors.
- Brush.
- Fine tip tweezers.
- Fine nose pliers.
- Necklace of your choice.

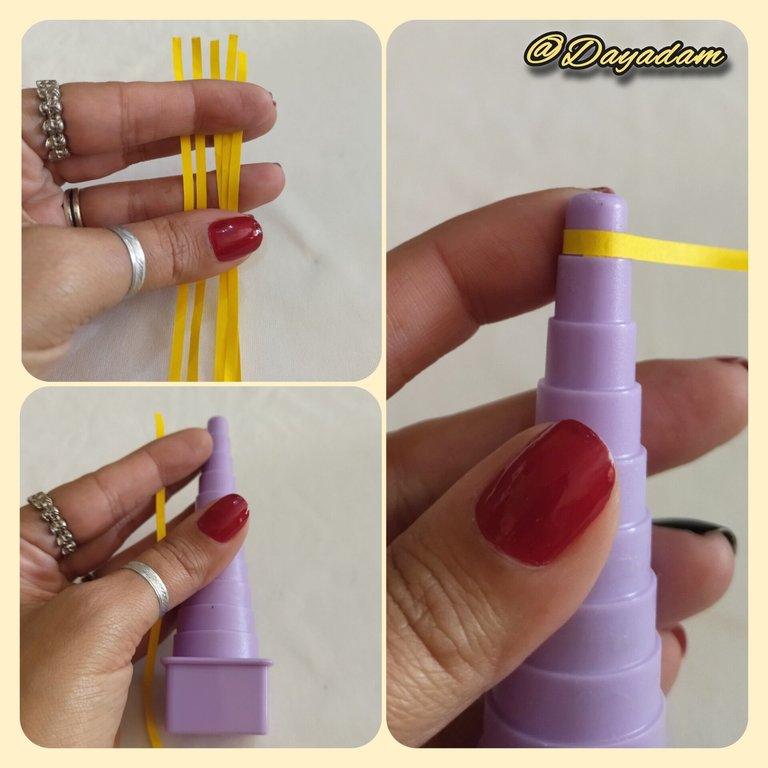
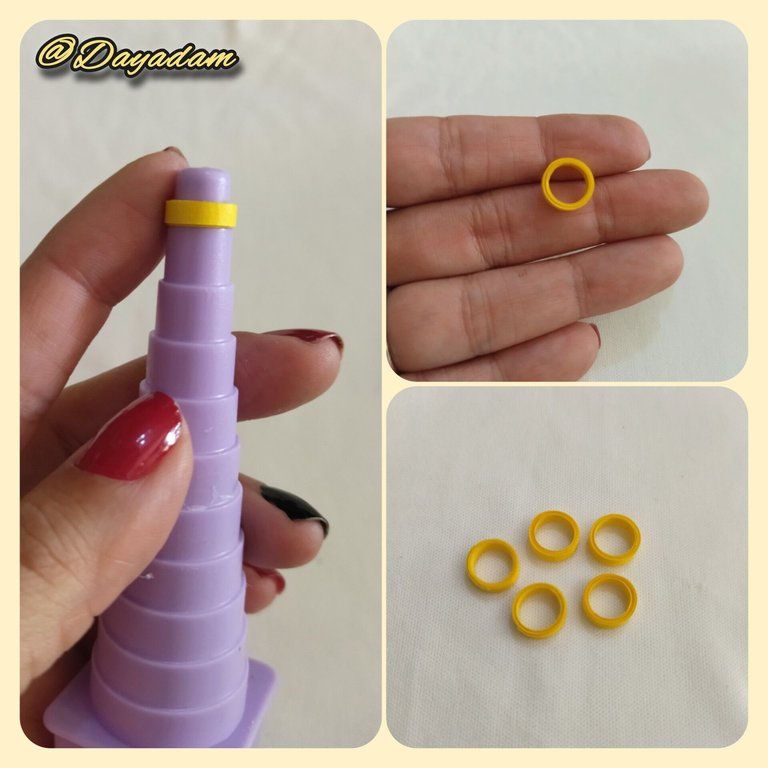
- We start taking yellow quilling tape 3mm wide, in the mold for circles we will pass the tape around in the ring or measure of your preference, depending on the size you want to be the petal of your flower, in my case I rolled all the tape in the smallest, at the end we seal with glue and remove from the mold.
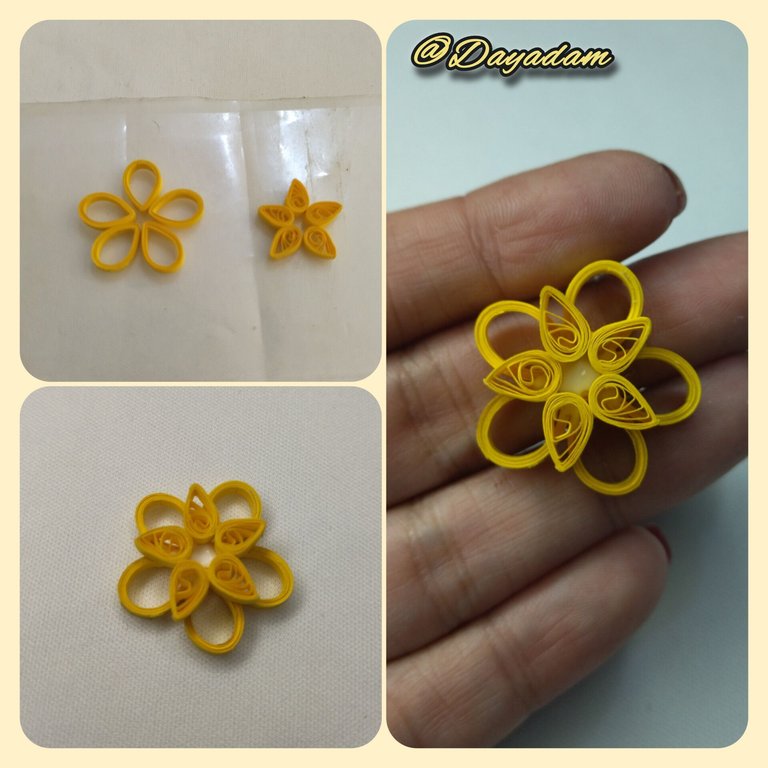
- We will need 5 circles like this one, one for each petal.
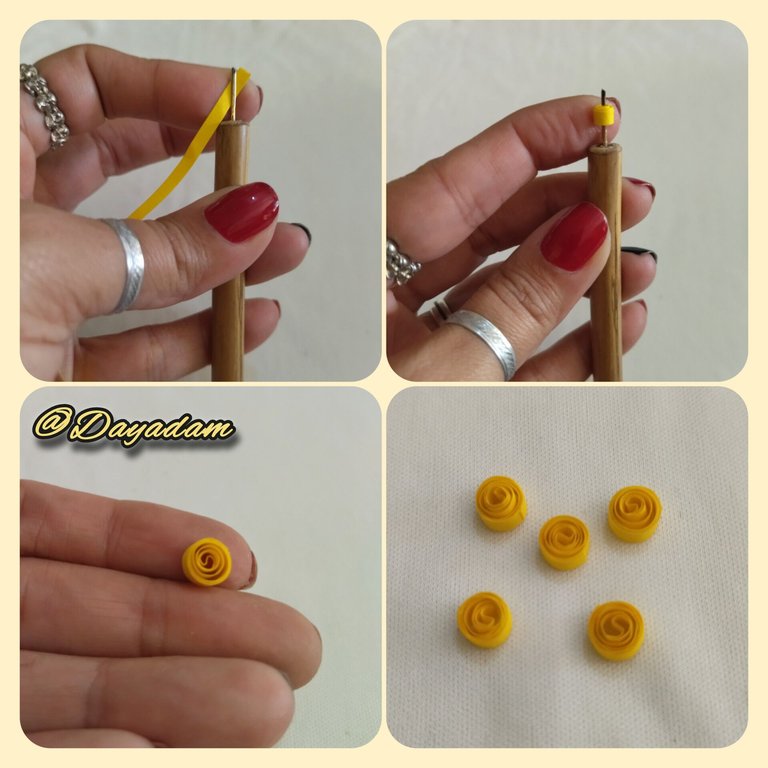
- We will make 5 more petals, for these we will take yellow quilling tape, we will roll with the quilling needle until we finish with the tape, we take out the needle, we loosen a little, until we get an open circle, taking into account that this circle must be smaller than the hoop type circle that we made in advance,
- We will need 5 open circles like this, one for each petal.
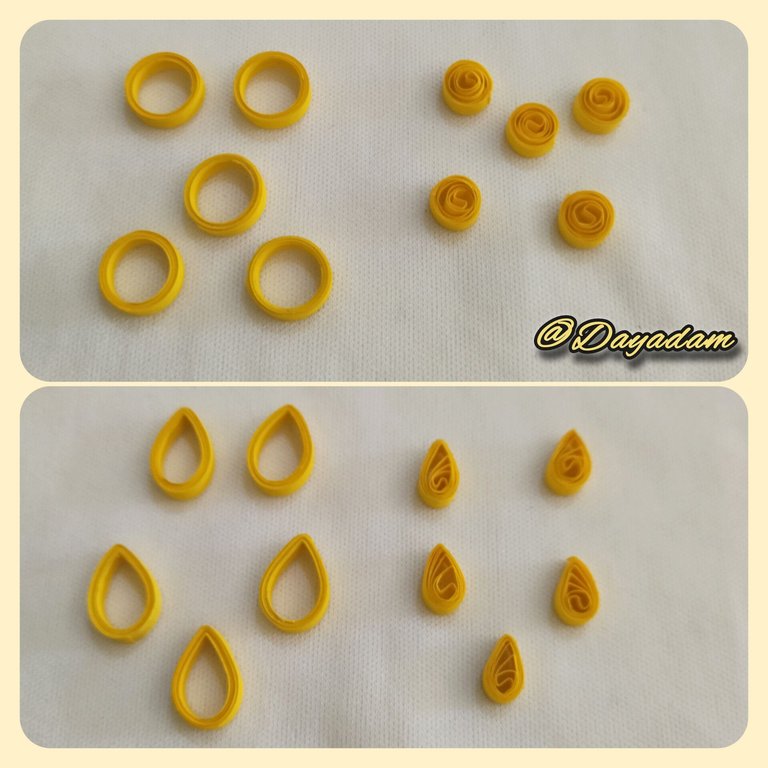
- We will take the circles and mold them in the shape of a drop.

• Comenzamos tomando cinta para quilling de color amarilla de 3mm de ancho, en el molde para círculos pasaremos la cinta por alrededor en el aro o medida de tu preferencia, según el tamaño que desees quede el pétalo de tu flor, en mi caso enrolle toda la cinta en el mas pequeño, al finalizar sellamos con pega y sacamos del molde.
• Necesitaremos 5 círculos tipo aro como este, uno para cada pétalo.
• Realizaremos 5 pétalos mas, para estos tomaremos cinta para quilling de color amarillo, enrollaremos con la aguja para quilling hasta finalizar con la cinta, sacamos de la aguja, soltamos un poco,hasta obtener un circulo abierto, tomando en cuenta que este circulo debe quedar mas pequeño que el circulo tipo aro que hicimos con antelación,
• Necesitaremos 5 círculos abiertos como este, uno para cada pétalo.
• Tomaremos los círculos y los moldearemos en forma de gota.
- Once all our 2 groups of petals are ready, we will join them harmoniously with extra strong white glue to form both flowers. Glue the smaller flower on top of the larger one.
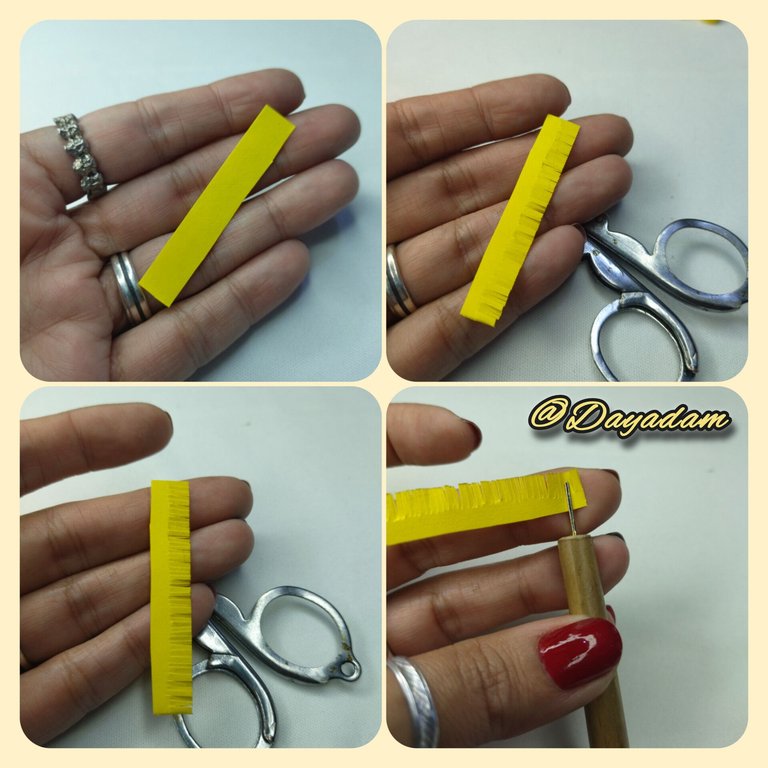
- To make the center of the flower we will take a piece of yellow ribbon 5mm wide, with a scissors we will cut along the entire length of the ribbon vertically.
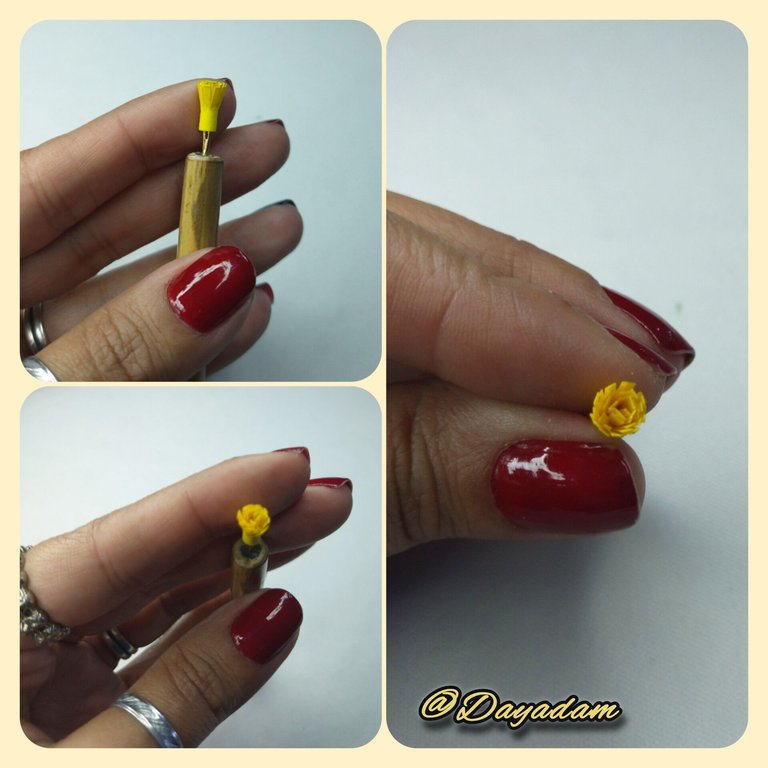
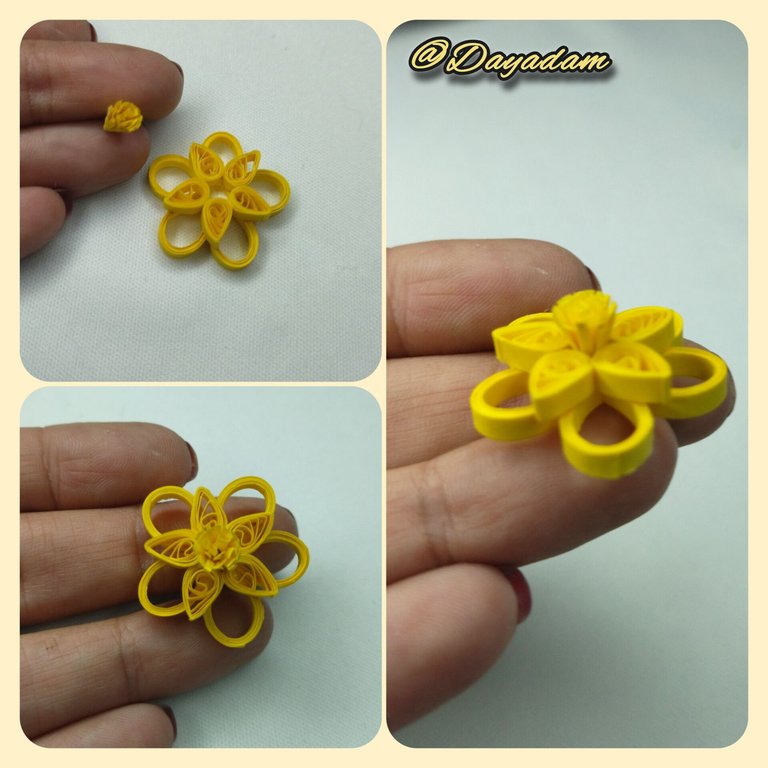
- With the quilling needle we will roll it up to the end, seal it with glue, take it out of the needle, we will place that small piece adding glue in the center of the flower.
- In one of the hollow petals, we will place a medium-sized costume jewelry ring.
- To finish and give protection, plasticize and give shine to the flower, we will apply several layers of extra strong white glue, letting it dry between one layer and another.
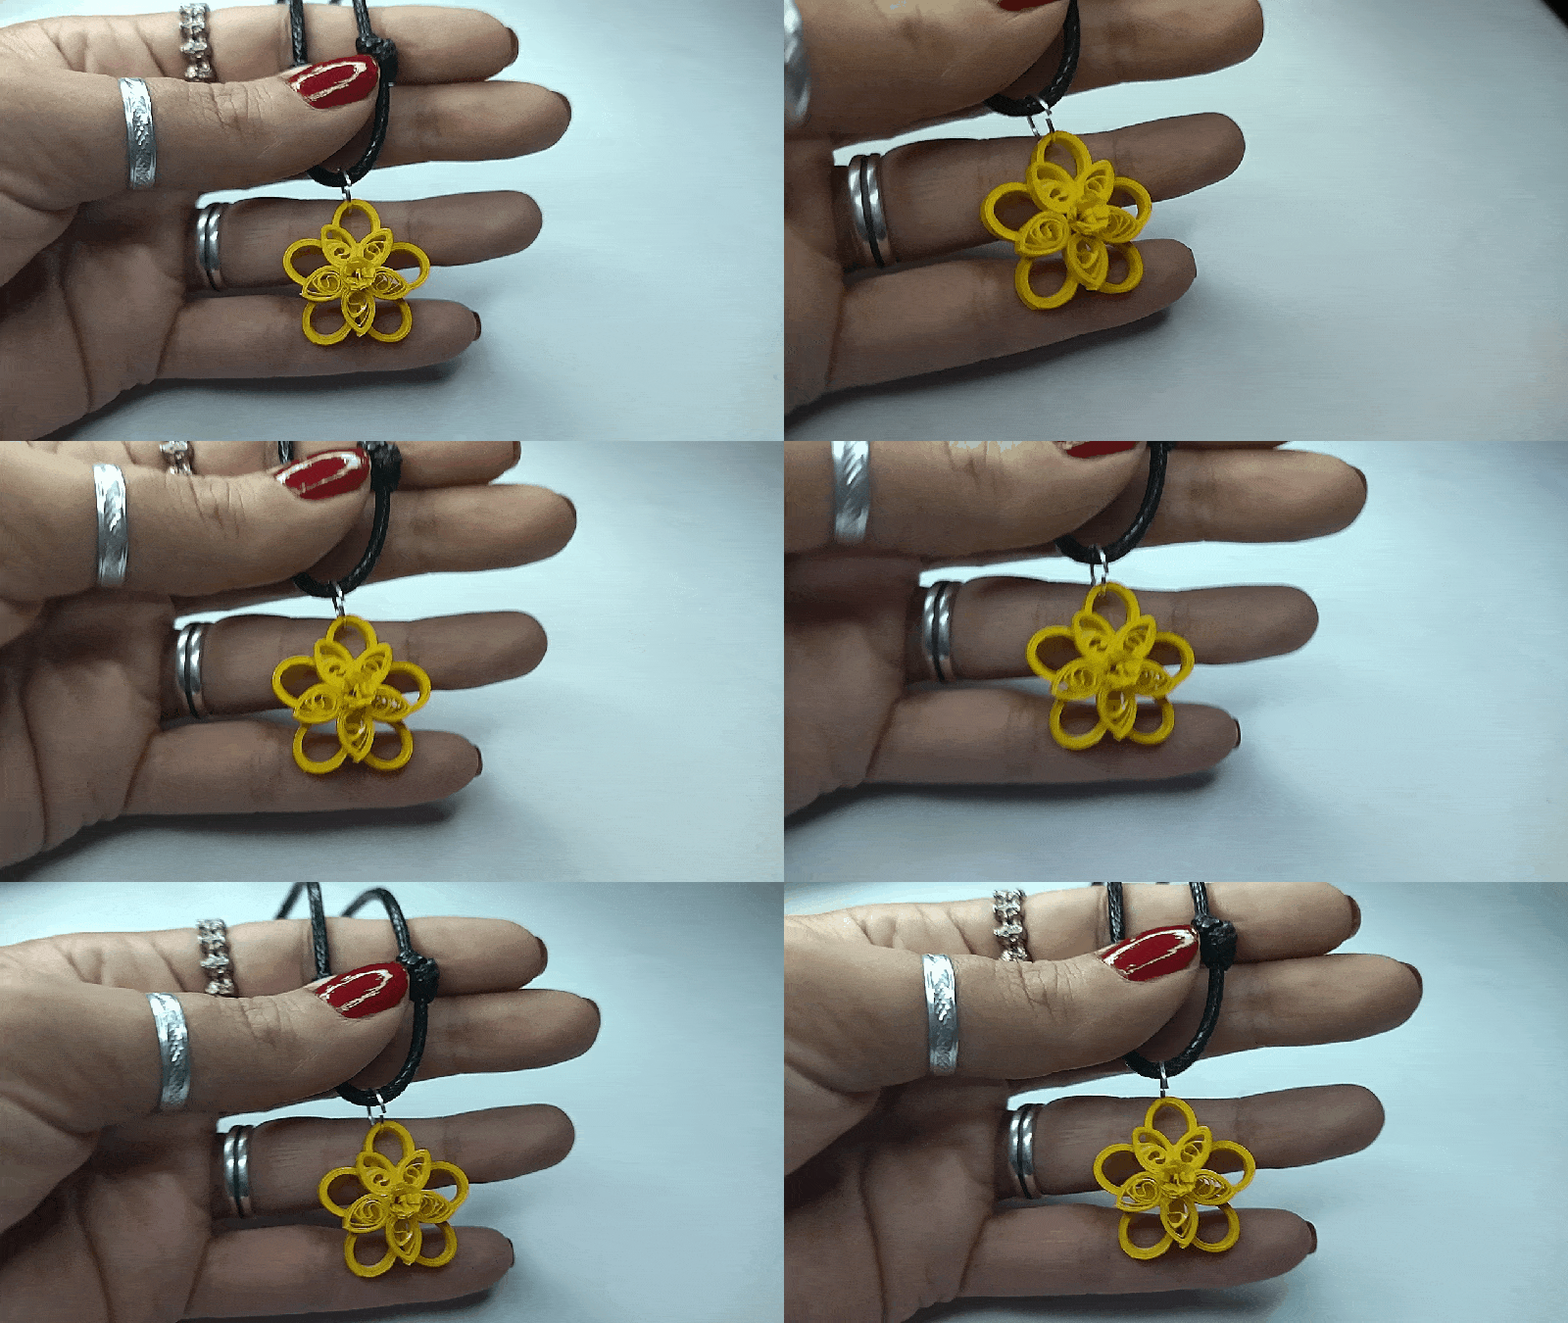
This way we have this pendant for necklace with a yellow flower in the quilling technique, which I made to give to all of you at the beginning of spring.

• Listos todos nuestros 2 grupos de pétalos, uniremos de manera armónica con pega blanca extra fuerte para formar ambas flores. Pegaremos la flor mas pequeña encima e la mas grande.
• Para hacer el centro de la flor tomaremos un trozo de cinta amarilla de 5mm de ancho, con una tijera cortaremos a lo largo de toda la cinta de manera vertical.
• Con la aguja para quilling enrollaremos hasta llegar al final, sellamos con pega, sacamos de la aguja, esa pequeña pieza la colocaremos añadiendo pega en el centro de la flor.
• En uno de los pétalos huecos, colocaremos una argolla mediana de bisutería.
• Para finalizar y darle protección, plastificar y darle brillo a la flor aplicaremos varias capas de pega blanca extra fuerte, dejando secar entre una capa y otra.
De esta manera tenemos este dije para collar con de una flor amarilla en la tecnica de quilling, que hice para regalarles a todos ustedes en este inicio de la primavera.


What did you think, did you like it?
I hope you did, I hope you liked my explanation, procedure and photos, I made them with love for you.
"Let out that muse that inspires you, and let your imagination fly".
Thank you all, see you next time...

¿Que les pareció, les gustó?
Espero que sí, que les haya gustado mi explicación, procedimiento y fotos, los hice con mucho cariño por y para ustedes.
"Deja salir esa musa que te inspira, y deja volar tu imaginación".
Gracias a todos, nos vemos en la próxima.

Todas las fotos usadas en este post son de mi autoría y han sido sacadas en mi celular personal un Redmi 9T y editadas en Canva y en Inshot Banner y separador hecho por mí en Canva Traducido con la ayuda de DeepL


