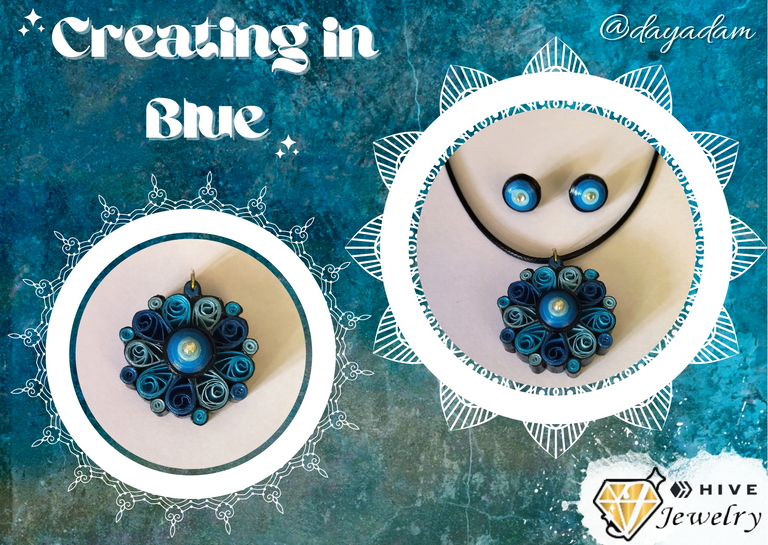
Creating in Blue // 3D Accessories Quilling Technique [Eng/Esp]

in #hive-1895042 years ago

Dije en 3D (4).png


Hello everyone... 💙✨


Hello to my dear Hivers and the dear community of artists #Jewelry, as always very pleased and excited to be here again, showing you my work made with love and especially for you.


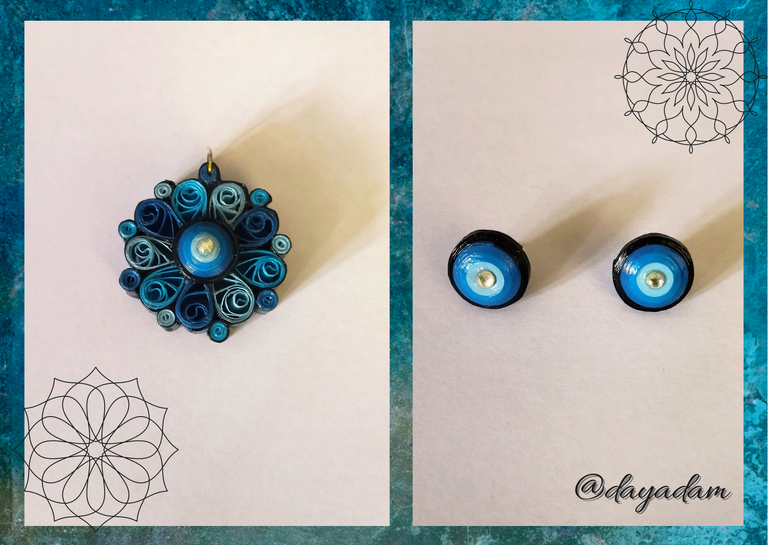
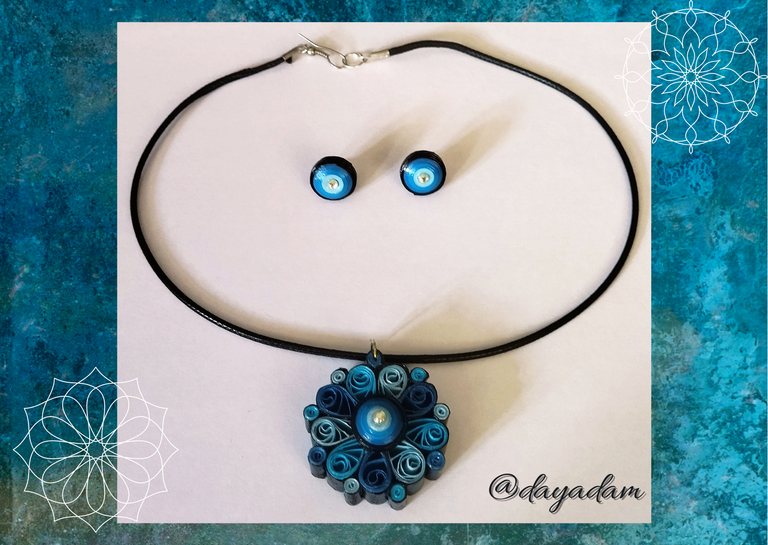
For today I bring you a 3D creation with the quilling technique, which arose spontaneously, just take ribbons, glue them, I was making circles, molding shapes, and the end result a pendant for necklace medallion type with a combination in blue tones and bordered with black.


I hope you like it:

Let's begin:😃


1.1.png


Hola a todos... 💙✨


Hola a mis queridos Hivers y a la querida comunidad de artistas #Jewelry, como siempre muy complacida y emocionada de encontrarme por acá nuevamente, mostrándole mi trabajo hecho con mucho amor y especialmente para ustedes.


Para hoy les traigo una creación en 3D con la técnica de quilling, que surgió de forma espontánea, simplemente tome cintas, las pegue, fui realizando círculos, moldeando formas, y el resultado final un dije para collar tipo medallón con una combinación en tonalidades azules y bordeado con negro.

Esperando sea de su agrado:


Comencemos:😃


173.png


• Cintas de quilling de 9, 3 y 1.5mm de ancho azules en varias tonalidades, y negras (o del color de tu preferencia).
• Regla con diversas medidas de circunferencia.
• Pega blanca extra fuerte (de carpintería).
• Tijera.
• Argolla mediana de bisutería.
• Cristal de bisutería.
• Pincel.
• Alicate punta fina.
• Pinza punta fina.
• Collar de tu preferencia.


  • 9, 3 and 1.5mm wide quilling ribbons in various shades of blue and black (or the color of your choice).
  • Ruler with different circumference measurements.
  • Extra strong white glue (carpentry glue).
  • Scissors.
  • Medium size costume jewelry ring.
  • Costume jewelry glass.
  • Paintbrush.
  • Fine-nosed pliers.
  • Tweezers fine tip.
  • Necklace of your choice.


174.png

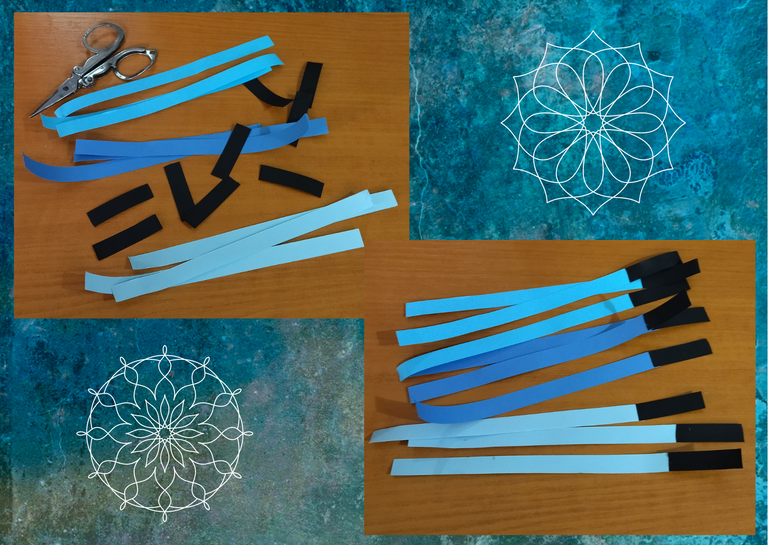
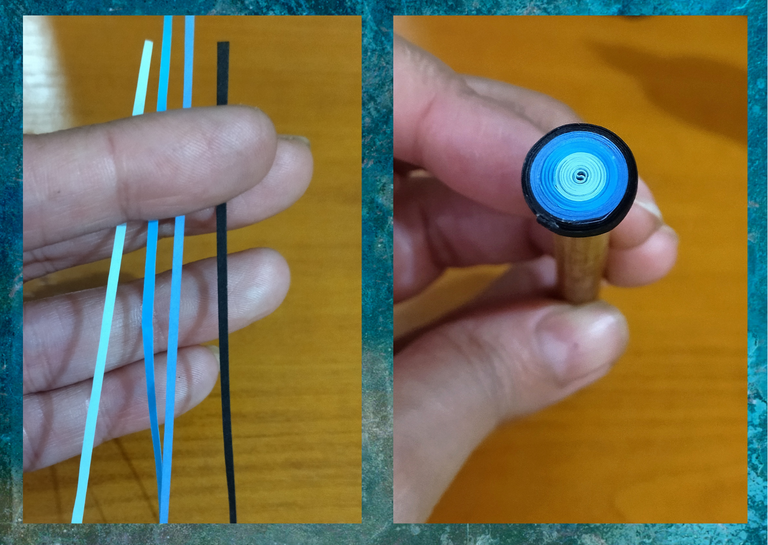
  • We start by taking ribbons of various shades of blue, I chose three different blues, cut 3 strips of each 9mm wide x 14cms long, then I took 9 pieces of black ribbon 9mm wide x 7cms long, and joined them with a touch of extra strong white glue to each of them, to form a single ribbon.

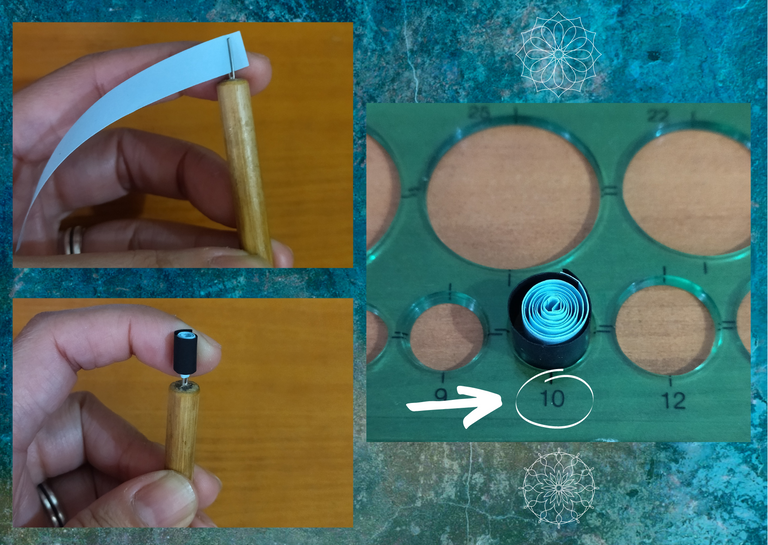
  • Then we are going to roll each one of them with the quilling needle, starting with the blue side and ending with the black, we take out of the needle and measure on the ruler of various circumference measures in the circle number 10, we take out of the ruler and seal with glue, we will get an open circle.

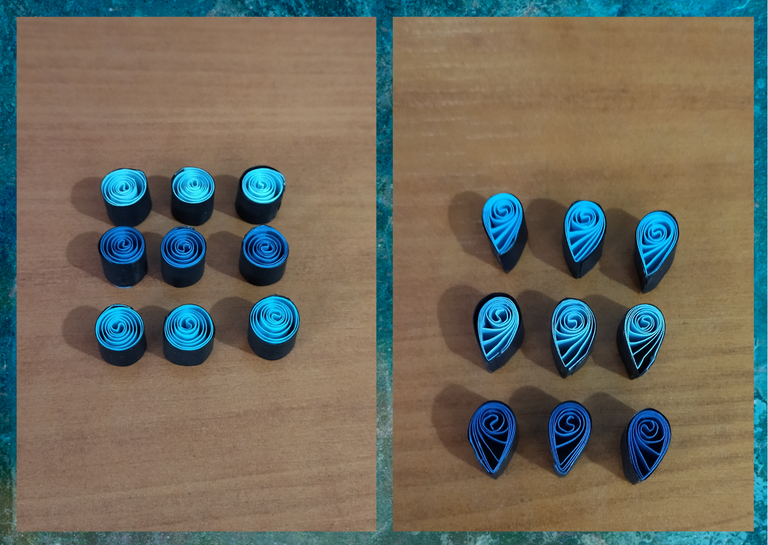
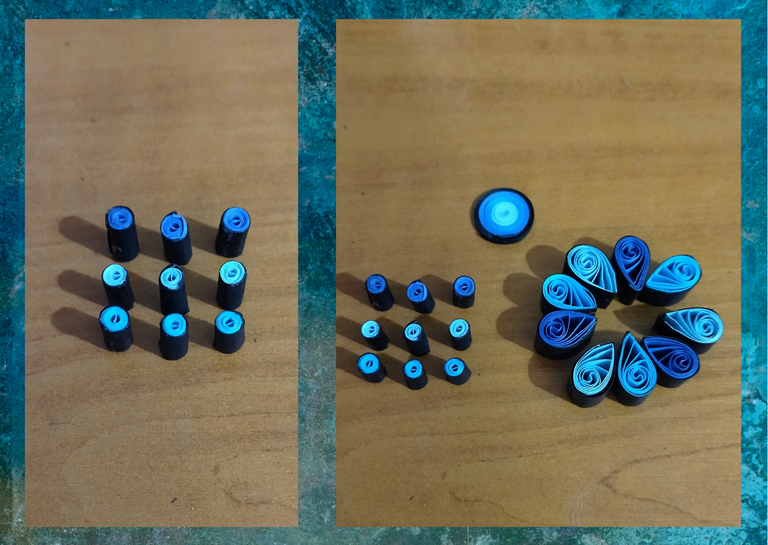
  • We are going to give shape to our circles, I decided to give it a drop shape by pinching with my finger on one side of the ribbon, we will obtain 9 drops with different shades of blue in combination with black (we reserve).


175.png

• Comenzamos tomando cintas de varias tonalidades de azul, escogí tres azules diferentes, corte 3 tiras de cada una de 9mm de ancho x 14cms de largo, luego tomé 9 trozos de cinta negra de 9mm de ancho x 7cms de largo, y las uní con un toque de pega blanca extra fuerte a cada una de ellas, para formar una sola cinta.


• Luego vamos a enrollar cada una de ellas con la aguja para quilling, comenzando por el lado azul y culminando con el negro, sacamos de la aguja y medimos en la regla de diversas medidas de circunferencia en el círculo número 10, sacamos de la regla y sellamos con pega, vamos a obtener un circulo abierto.


• Vamos a darle forma a nuestros círculos, decidí darle forma de gota pellizcando con el dedo en un costado de la cinta, obtendremos 9 gotas con diversas tonalidades de azul en combinación con negro (reservamos).
2.png

3.png

5.png

4.png


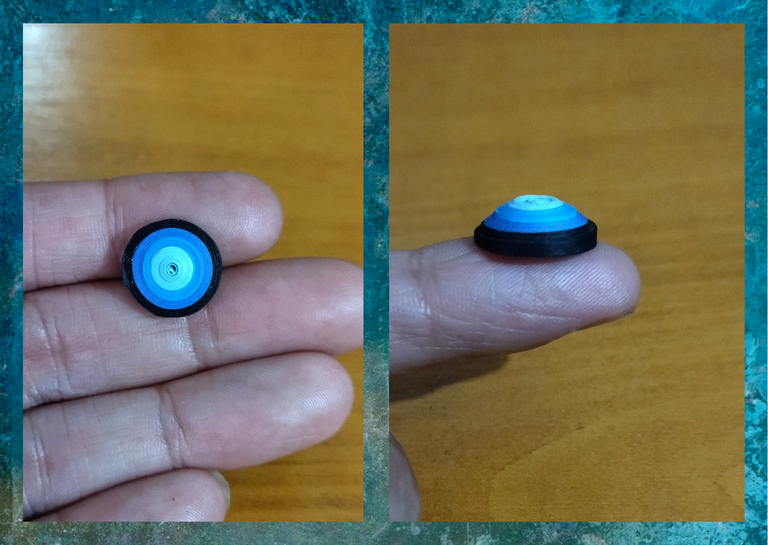
  • Now we take 4 quilling strips, three in the shades of blue that I had already used, and one black 1.5mm wide x 28cms long, we will join the 4 strips to form one, starting with the lightest blue to the darkest and finally the black, we roll with the quilling needle starting with the light blue, at the end we remove the needle and seal with glue, we will get a closed circle that will be like a kind of multicolor button, we push it out a little with our fingers to give it a 3D effect.

  • With 9 mm wide x 7 cm long ribbon in the three shades of blue make 3 small closed circles, 3 of each color, and at the end pass a small piece of black ribbon around it.


1.1.png


• Ahora tomamos 4 cintas de quilling tres en las tonalidades de azul que ya había usado, y una negra de 1.5mm de ancho x 28cms de largo, vamos a unir las 4 tiras para formar una sola, empezando por el azul más claro hasta el más oscuro y para finalizar el negro, enrollamos con la aguja para quilling comenzando por el azul claro, al finalizar sacamos de la aguja y sellamos con pega, vamos a obtener un círculo cerrado que será como una especie de botón multicolor, lo empujamos un poco hacia afuera con los dedos para darle un efecto 3D.


• Con cinta de 9 mm de ancho x 7cms de largo en las tres tonalidades de azules realice 3 pequeños círculos cerrados, 3 de cada color, y al finalizar pase un pedacito de cinta negra a su alrededor.
6.png

7.png

8.png


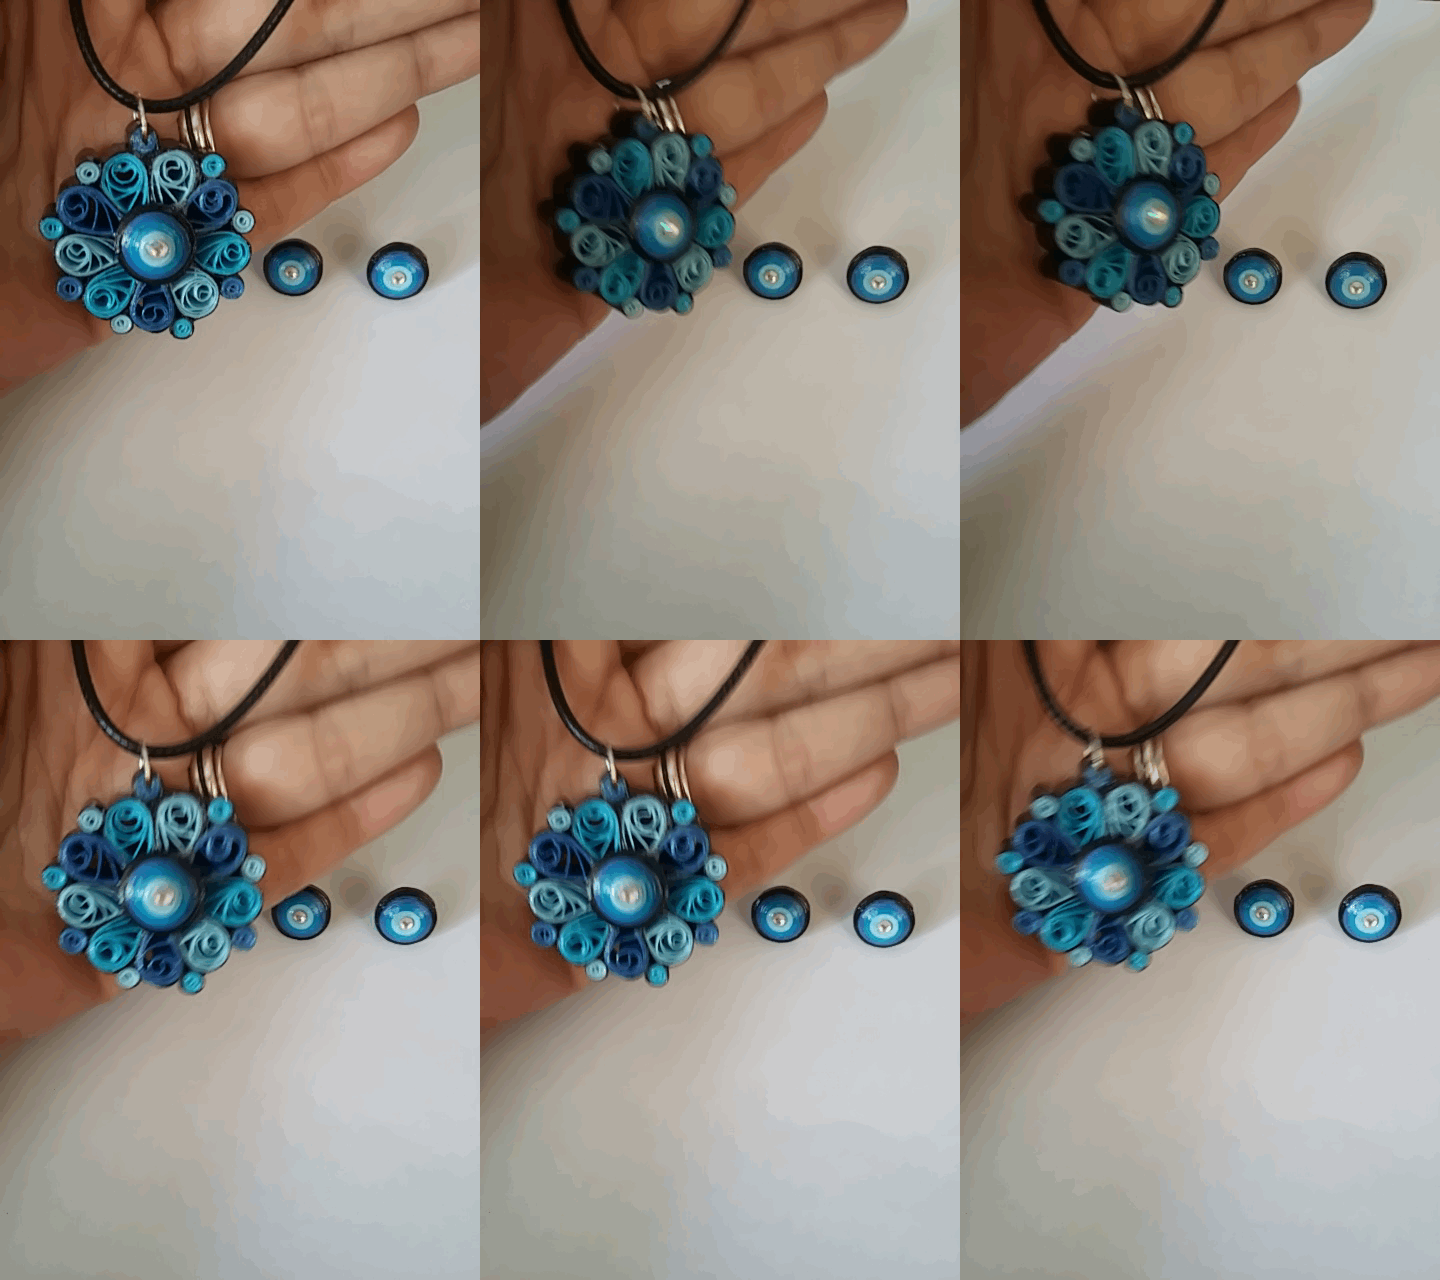
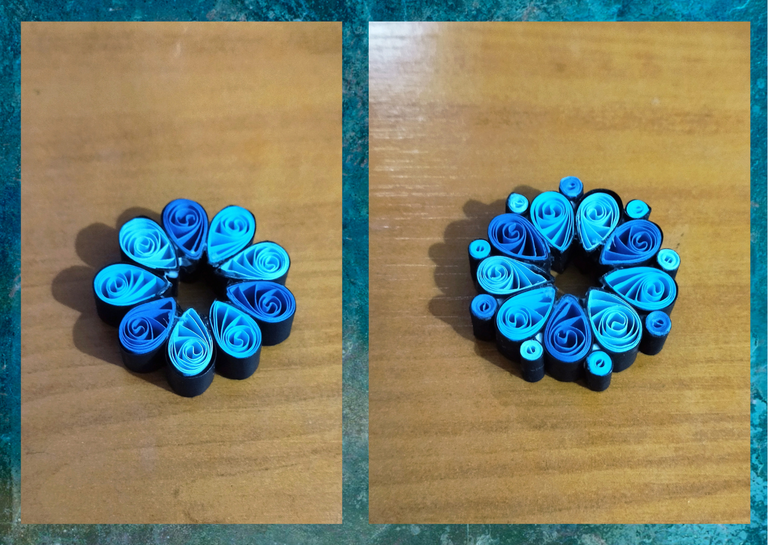
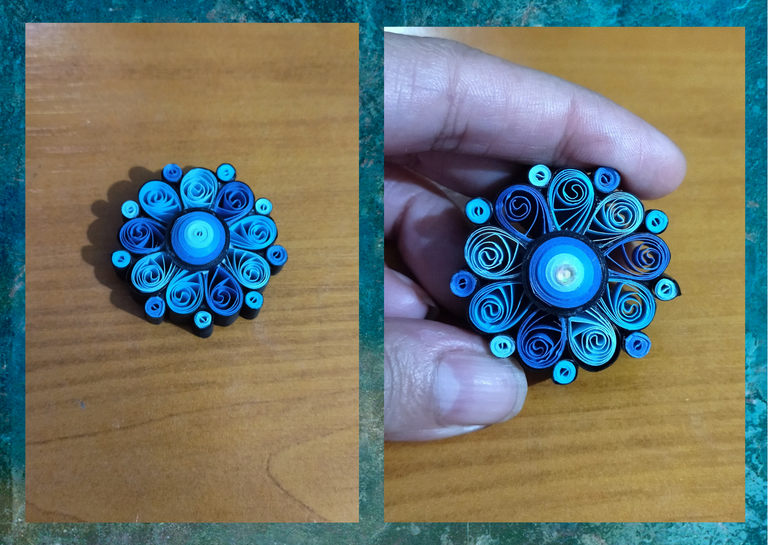
  • We are going to form our pendant, we will join with white glue the drops in a harmonic way interspersing the blue colors to form a kind of flower, on the sides we will place the small closed circles, and finally at the top we will place the multicolored button.

  • To give it a touch of showiness, I placed a glitter in the center of the button of the pendant.

  • To finish the pendant, I placed a medium size costume jewelry ring, and applied its liquid protection (plasticized), applying with a brush several coats of extra strong white carpentry glue, letting it dry between one coat and the other.


    I wanted to complement the pendant and form the set of accessories, making some simple buttons like the one I placed in the middle of the pendant to use them as tendrils, but I made them with 3mm wide ribbons and placed a fixed base for tendrils.


1.1.png

• Vamos a formar nuestro dije, uniremos con pega blanca las gotas de manera armónica intercalando los colores azules para formar una especie de flor, a los lados vamos colocando los pequeños círculos cerrados, y por último en la parte de arriba colocaremos el botón multicolor.


• Para darle un toque de vistosidad, le coloque un brillo en el centro del botón del dije.


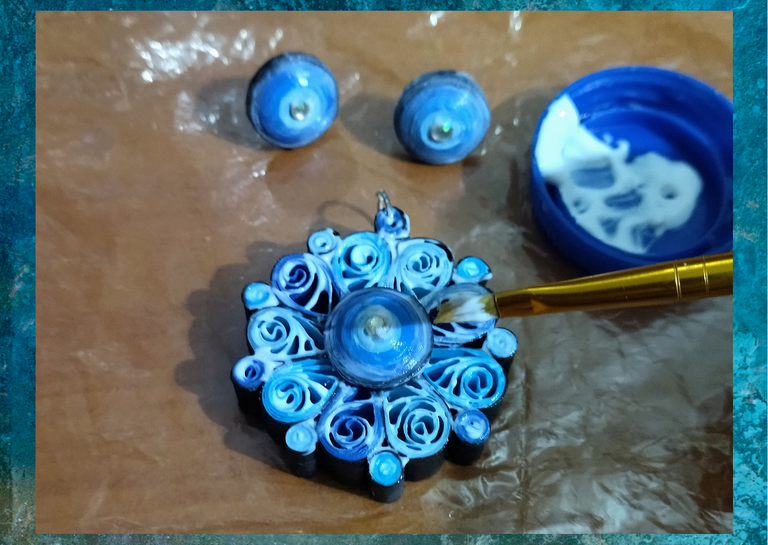
• Para finalizar le coloque al dije una argolla mediana de bisutería, y le coloque su protección liquida (plastificado), aplicando con un pincel varias capas de pega blanca extra fuerte de carpintería dejando secar entre una capa y otra.


Quise complementar el dije y formar el conjunto de accesorios, realizando unos botones sencillos como el que coloqué en el medio del dije para usarlos de zarcillos, pero estos los hice con cintas de 3mm de ancho y le coloqué una base para zarcillos fija.
9.png

10.png

11.png


176.png

12.png

13.png


1 gifts.gif


What did you think, did you like it?


I hope you did, I hope you liked my explanation, procedure and photos, I made them with love for you.

"Let out that muse that inspires you, and let your imagination fly".


Thank you all, see you next time. 💙✨


1.1.png


¿Que les pareció, les gustó?


Espero que sí, que les haya gustado mi explicación, procedimiento y fotos, los hice con mucho cariño por y para ustedes.

"Deja salir esa musa que te inspira, y deja volar tu imaginación".


Gracias a todos, nos vemos en la próxima. 💙✨


I invite you to support "La Colmena", give it your vote ✨
Los invito que apoyen a "La Colmena", dale tu voto ✨


colmena (3).gifVote la-colmena for witness By @ylich


All photos used in this post are of my authorship and have been taken on my personal cell phone a Redmi 9T and edited in Canva

Banner and separator made by me in Canva

Translated with the help of DeepL


1.1.png

Todas las fotos usadas en este post son de mi autoría y han sido sacadas en mi celular personal un Redmi 9T y editadas Canva

Banner y separador hecho por mí en Canva

Traducido con la ayuda de DeepL

Bannerdayadam.jpg

Sort:  


The rewards earned on this comment will go directly to the people( @dayadam, @chacald.dcymt, @technologix ) sharing the post on Twitter as long as they are registered with @poshtoken. Sign up at https://hiveposh.com.

Thanks @poshtoken @chacald.dcymt and @marleyn ✨💙

an incredible work of art. The 3D idea made it very unique and fancy. Very nicely done.

I'm glad you liked it @diyhub. Thanks for the support and for appreciating my work. No doubt the 3D effect gives it a more striking touch.

Nice day to you 💙✨


This post was shared and voted inside the discord by the curators team of discovery-it
Join our Community and follow our Curation Trail
Discovery-it is also a Witness, vote for us here
Delegate to us for passive income. Check our 80% fee-back Program

Thanks @discovery-it ✨💙

Una belleza, me encanta este set te ha quedado realmente hermosos, @dayadam Gracias por compartir este tutorial tan bien explicado... Los diferentes axules se ven maravilloso juntos.

Gracias mi bella @marleyn me alegra mucho que te haya gustado este trabajo. Mil gracias por tus palabras y el apoyo. Abrazos. Lindo día para ti. ✨💙

Simplemente hermoso.🌷

!discovery 30

Gracias mi bella @mili2801. Se te gradece muchísimo el apoyo. Bendiciones. Que tengas un bello dia ✨💙

Que precioso!!! Amé los aretes tienen esos tonos que me encantan aún cuando son pequeñitos mantienen el diseño del colgante. Un trabajo magnífico como siempre hermosa. Me encanta tu trabajo y dedicación. Un abrazo infinito 😘💜

!VSC
!PIZZA 🍕

Gracias mi bella @chacald.dcymt me alegra mucho que te haya gustado este trabajo y las tonalidades que use. Mil gracias por tus palabras, y el apoyo, siempre es motivo de felicidad para mi recibirlo. Abrazos. Lindo día para ti hermosa. ✨💙

@chacald.dcymt has sent VSC to @dayadam

This post was rewarded with 0.1 VSC to support your work.
Join our photography communityVisual Shots
Check here to view or trade VSC Tokens
Be part of our Curation Trail


@chacald.dcymt ha enviado VSC a @dayadam

Éste post fue recompensado con 0.1 VSC para apoyar tu trabajo.
Únete a nuestra comunidad de fotografía Visual Shots
Consulte aquí para ver o intercambiar VSC Tokens
Se parte de nuestro Trail de Curación


Uses: 1/5

Thanks @visualbot ✨💙

PIZZA!

$PIZZA slices delivered:
chacald.dcymt tipped dayadam
@silversaver888(5/5) tipped @dayadam

Thanks @pizzabot ✨💙

Que bello , que trabajo tan elaborado, me encantó , benditas manos creadoras amiga @dayadam 😘😘

Gracias mi bella. Me alegra mucho que te gustara, agradecida con tus palabras... Amen.

Bello día para ti @lileisabel ✨💙

Solo una palabra @dayadam,
Espectacular, te felicito amiga, 🤗

Mil gracias, con eso me siento muy complacida. un abrazo. Bello día para ti @nhaydu ✨💙

Hermoso trabajo felicidades yo todavía aprendiendo de esta técnica

Muchísimas gracias @leidys01. Espero puedas aprender. Querer es poder. Un abrazo. Que tengas lindo día ✨💙

ReLmente hiciste un trabajo increíble, la técnica 3D se puede notar en el dije que has creado, el cual sin duda es hermoso, tanto la degradación de colores como la forma que le das con cada papael figura de papel.

El centro llama mucho la atención al igual que los zarcillos, felicidades por este gran paso a paso y por la técnica que nos logras enseñar para aplicarla amiga @dayadam

Mil gracias por tus palabras y por el apoyo. Muy honrada de recibirlo. Me causa mucha alegría saber que les guste el trabajo que les traigo. Espero cada día tener nuevas ideas para compartir con ustedes. Bello día para ti @hive-189504 💙✨

https://leofinance.io/threads/@chacald.dcymt/re-leothreads-3zue5a
https://leofinance.io/threads/@dayadam/re-leothreads-2qxbyzsh8
The rewards earned on this comment will go directly to the people ( chacald.dcymt, dayadam ) sharing the post on LeoThreads,LikeTu,dBuzz.

Thanks @poshthreads ✨💙

I like it!
Very pretty! Do you sell them?
!PIZZA

I'm glad you like them, my friend.

It's my first time making this set, and of course if someone likes it I'll sell it to them.

I have to move to promote all my work, I have a lot of unsold stuff and I want to sell it, maybe with that I can complete the purchase of the PC. And I am still without internet.

Thank you very much for stopping by, it's always nice to see you here. Greetings beautiful friend @silversaver888 ✨💙

Hermosos querida amiga @dayadam esa combinación de colores me encanto y el modélico me gusto mucho. Saludos y feliz noche 🤗 😊

Gracias amiga @janettbrito76. me alegra que te gustaran, es un modelo que salió simplemente sacando cintas y realizando formas. Espero esa musa siga así jajaja. Un abrazo. Hermoso día para ti... 💙✨

Saludos y bendiciones amiga. Esta muy lindo este juego de accesorios para lucirlos en una ocasión especial y vernos diferentes, hermosas y usando algo hecho a mano con amor,como se que lo haces amiga bella 🤗🥰

Gracias hermosa amiga @leidimarc, me alegra mucho leerte por aquí y recibir lindas palabras de tu parte como siempre. Me alegra mucho que te gustara este trabajo. Abrazos y mil bendiciones para ti bella.💙✨

To be honest speaking, I love the pendant, especially with the eyes bead added. You made my day with your creative jewelry work. Greetings @dayadam.

What beautiful words, my friend @apunawu. I am very glad you liked it. A big hug for you. Have a beautiful day... 💙✨

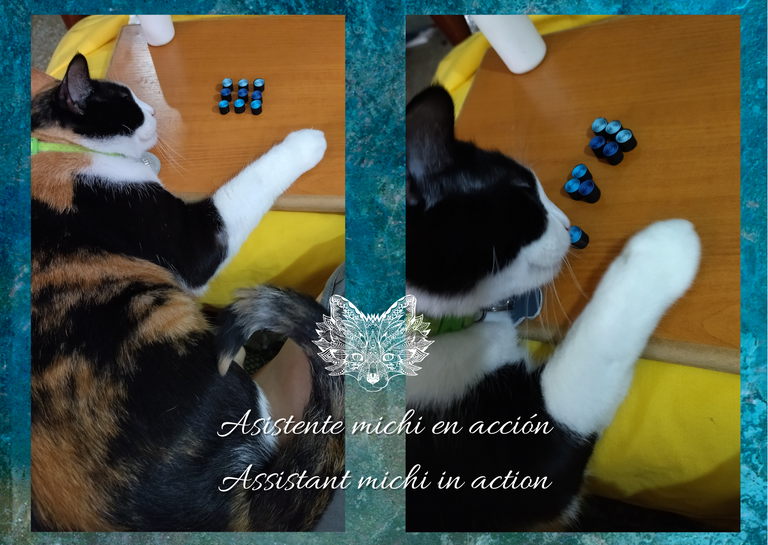
Wooooow. Te quedó magnífico. Muy bien hecho, por cierto, mucho cuidado con esa ayudante jajaja

Gracias bella @alina97. Bueno no puedo hacer nada con esa asistente, tengo que dejar que me ayude jajajaja

Gracias por pasar mi corazón y por tus palabras... ✨

Qué belleza en tonos azules! Yo disfruto con cada presentación que nos brindas, amiga. Eres toda una artista con esas manos. Gracias por enseñarnos cómo lo haces. 💙

Gracias mi bella. Honor que me haces con tu palabras... Un abrazo @ylaffittep

Una belleza, me encanta este set te ha quedado realmente hermosos, @dayadam Gracias por compartir este tutorial tan bien explicado... Los diferentes axules se ven maravilloso juntos.

These look great! Love seeing all the different materials and steps required to craft this, and looks like you have a very good assistant too haha

Thank you so much for stopping by, I'm so glad you liked it. And my assistant michi, he can never miss me, he always accompanies me 🐱💕

Greetings @shortshots 💕

Mi parte favorita fué el gato hahaha, sin duda algo hermoso como siempre 💗💕💗💗💕

Gracias bella por tus palabras. Me alegra mucho tenerte por aquí. Sin duda mi asistente michi no puede faltar forma parte de todo jajajaja...

Abrazos @sylregne

Demasiado hermoso! El dije parece un mandala. Quería contarte que para la invitación que me hiciste había hecho un llavero con material reciclable pero para nada me gustó cómo quedó y lo deshice, por eso no participé 😂😂, excuse me. Sinceramente no encontraba qué hacer y bueno eso fue lo que se me ocurrió. Me gusta tu técnica de Quilling. Si mal no recuerdo, esas cintas son de papel o algo así? Aquí en Cumaná tengo tiempo sin ver 3saa cintas.

Gracias mi bella Sra @antoniarhuiz por pasar y por sus lindas palabras, me alegra que le gustara el rabajo y si, casualmente parece una mándala, hay muchas formas de hacerlas de repente hago varios modelos, a ver que se me ocurre. Y en efecto, son cintas de papel, y esta muy difícil conseguirlas yo porque llevo años trabajando con esto y compre hace años, los colores que me faltan los hago yo misma.

Y no se preocupe ahora es que hay tiempo para hacer muchas cosas, espero pronto verla por aqui con algún accesorio.

Un gran abrazo. Bello día para usted.✨💙