Hello everyone... ✨
Hello to my dear Hivers and the dear community of artists #Jewelry, as always very pleased and excited to be here again, showing you my work made with love and especially for you.
Greetings to the Splinterlands community, and everyone who lives there, I'm here to join the Splinterlands Art Contest
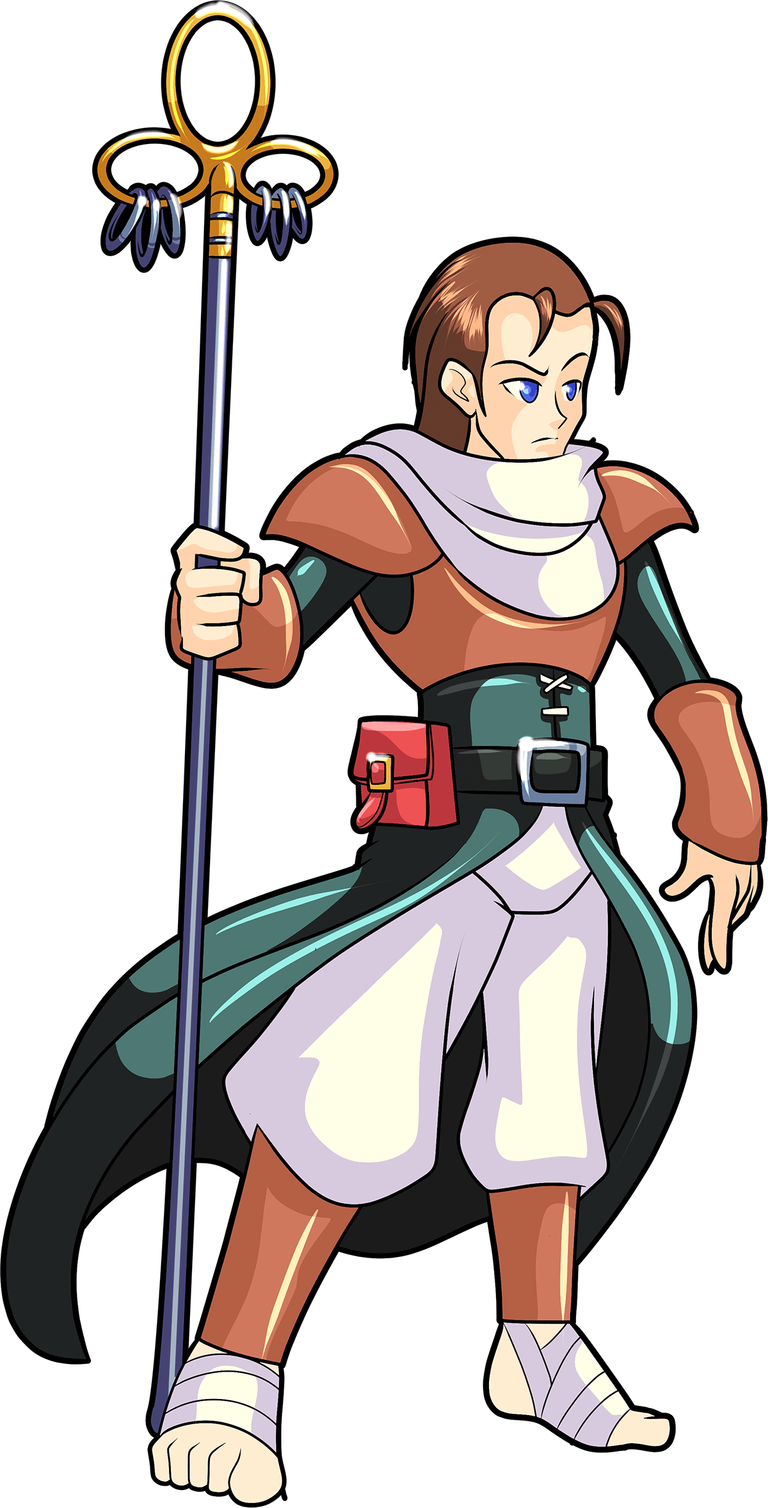
For this week I present a work inspired by the letter of the character "Peacebringer ", from which I materialized a pair of hanging tendrils in the quilling technique.
If you want to know more about the game, I leave you my reference link to enter it and navigate through this wonderful world: https://splinterlands.com?ref=dayadam
Hoping you like my work, without further ado, I leave you with my creative process.
Let's start:😃

Hola a Todos...✨
Hola a mis queridos Hivers y a la querida comunidad de artistas #Jewelry, como siempre muy complacida y emocionada de encontrarme por acá nuevamente, mostrándole mi trabajo hecho con mucho amor y especialmente para ustedes.
Un saludo para la comunidad de Splinterlands, y todos los que hacen vida por allí, estoy por acá para unirme al reto Splinterlands Art Contest.
Para esta semana les presento un trabajo inspirado en la carta del personaje "Peacebringer", del cual materialice un par de zarcillos colgantes en la técnica de quilling.
Si quieren saber más con respecto al juego les dejo mi enlace de referencia para que ingresen en él, y naveguen por este maravilloso mundo: https://splinterlands.com?ref=dayadam
Esperando les guste mi trabajo, sin más preámbulos, les dejo mi proceso creativo.
Comencemos:😃
 |

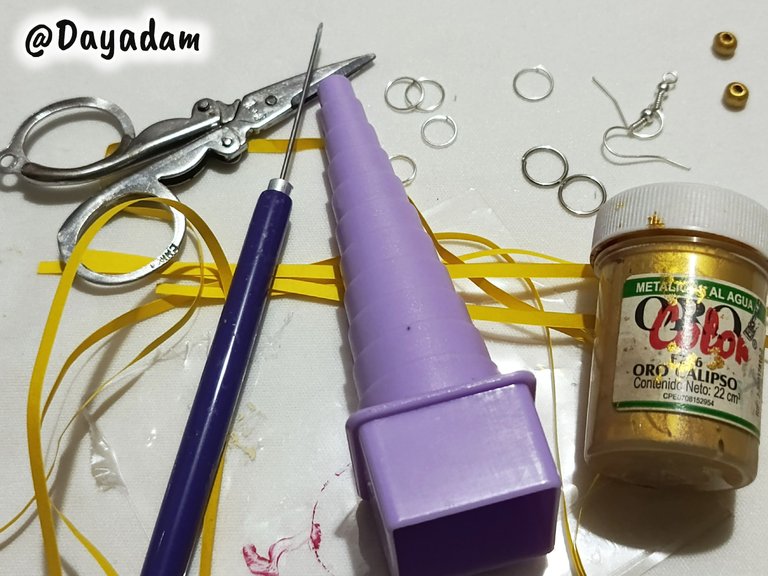
• Cintas de quilling.
• Cono para moldear círculos.
• Pintura al frio color oro.
• Base para zarcillos colgantes (anzuelos).
• Argollas de bisutería de diversos tamaños.
• Pega blanca extra fuerte (de carpintería).
• Tijera.
• Pincel.
• Alicate.
• Pinza punta fina.
- Quilling ribbons.
- Cone to mold circles.
- Gold colored cold paint.
- Base for hanging tendrils (hooks).
- Jewelry rings of various sizes.
- Extra strong white glue (carpentry glue).
- Scissors.
- Brush.
- Pliers.
- Fine tip tweezers.
 |

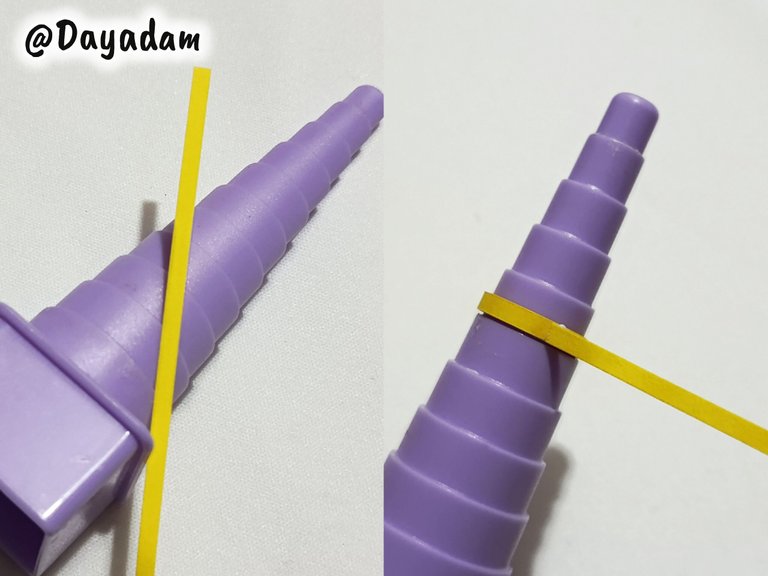
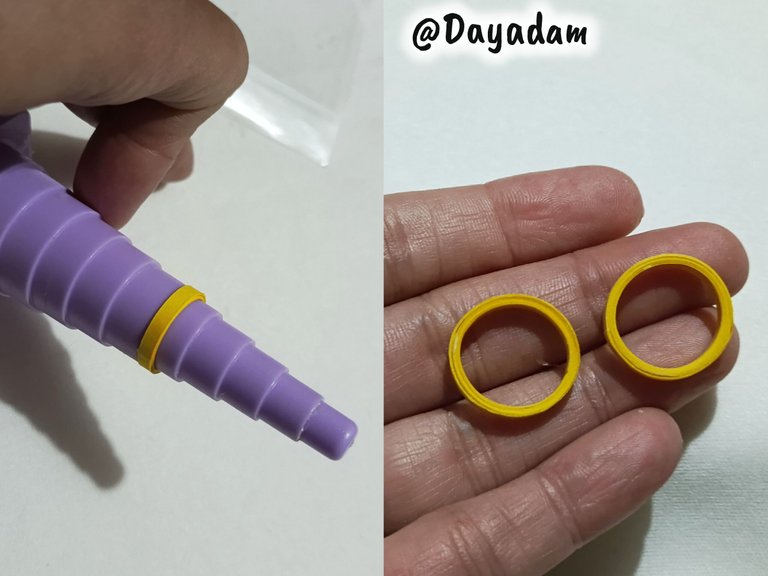
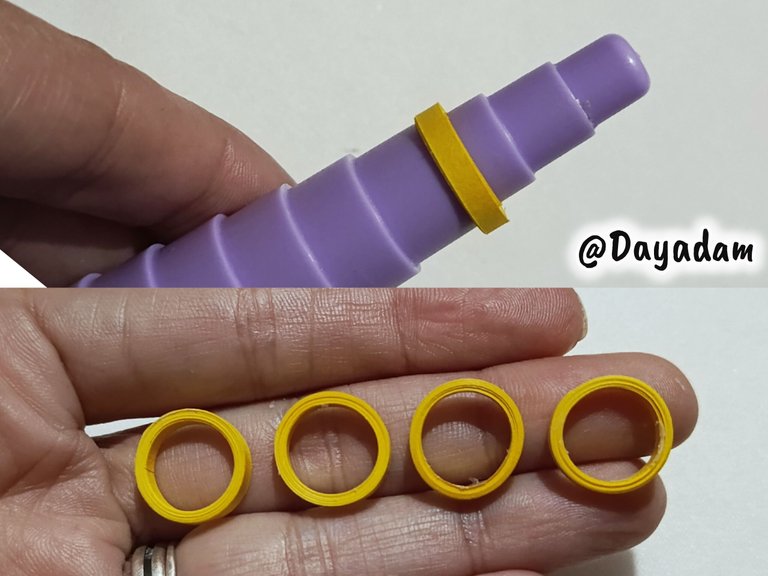
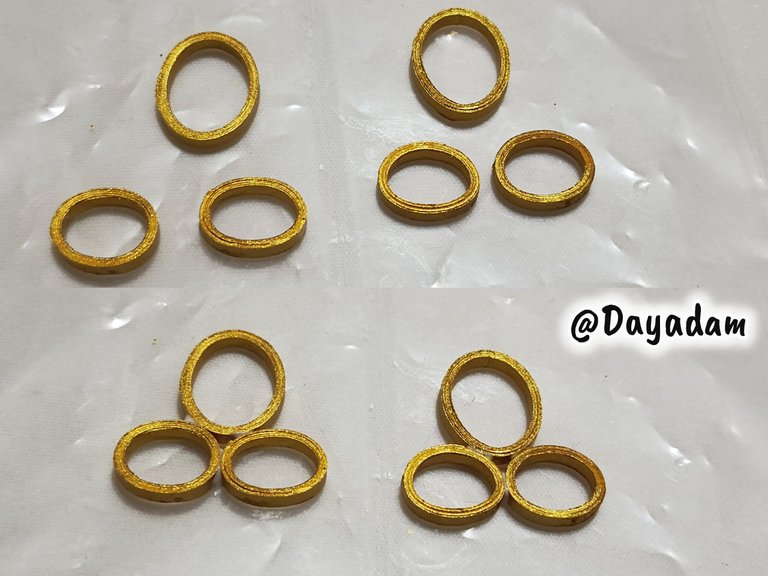
- We start by taking quilling tape of the color of your preference, in my case I used yellow yellow 3 mm wide, we will roll in a cone to mold circles in the measure number 5 from top to bottom when we finish with the tape we seal with extra strong white glue. We take out of the cone, we will need two equal circles.
- We continue taking tape for 3 mm wide this time we will make 4 circles in the cone, in the third measure from top to bottom.
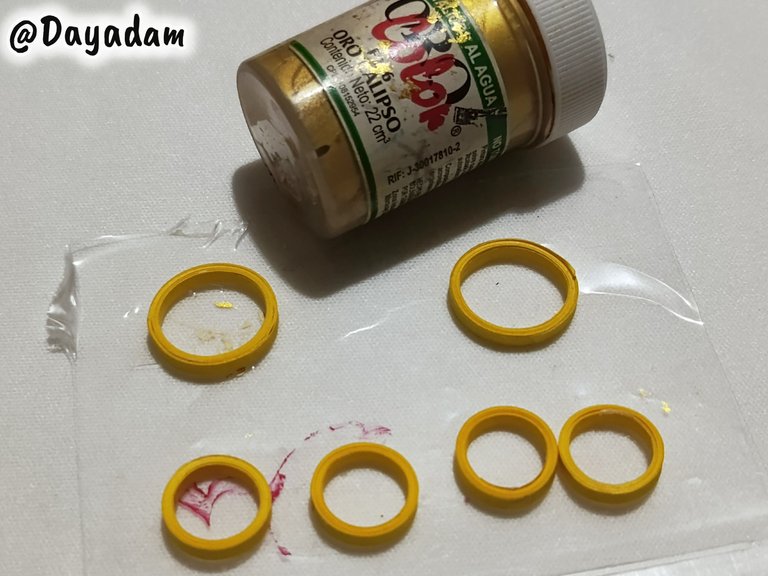
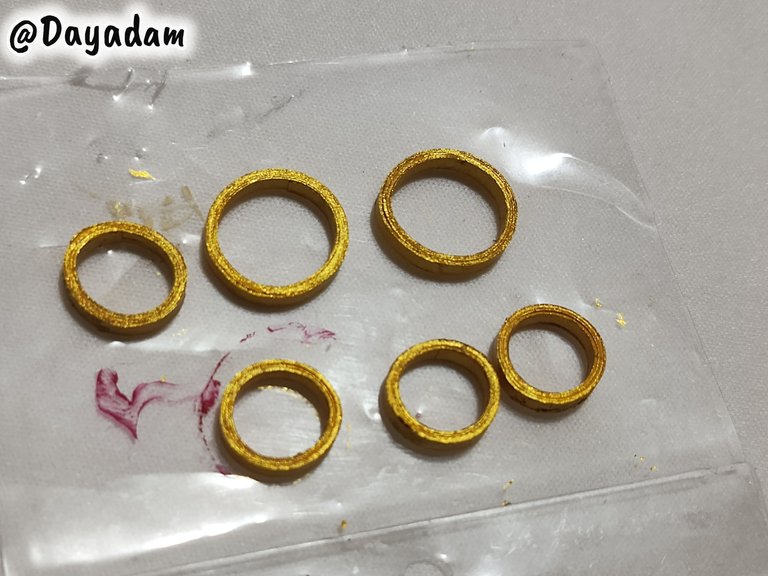
- Once the circles are ready, we will paint them with gold colored cold paint, apply several coats and let them dry very well.

• Vamos a comenzar tomando cinta para quilling del color de su preferencia en mi caso use amarilla amarilla de 3 mm de ancho, enrollaremos en un cono para moldear círculos en la medida número 5 de arriba hacia abajo al terminar con la cinta sellamos con pega blanca extra fuerte. Sacamos del cono, vamos a necesitar dos círculos iguales.
• Continuamos tomando cinta para 3 mm de ancho esta vez realizaremos 4 círculos en el cono, en la tercera medida de arriba hacia abajo.
• Listos los círculos pintaremos con pintura al frío color oro, aplicamos varias capas, dejamos secar muy bien.
 |  |  |
 |  |  |
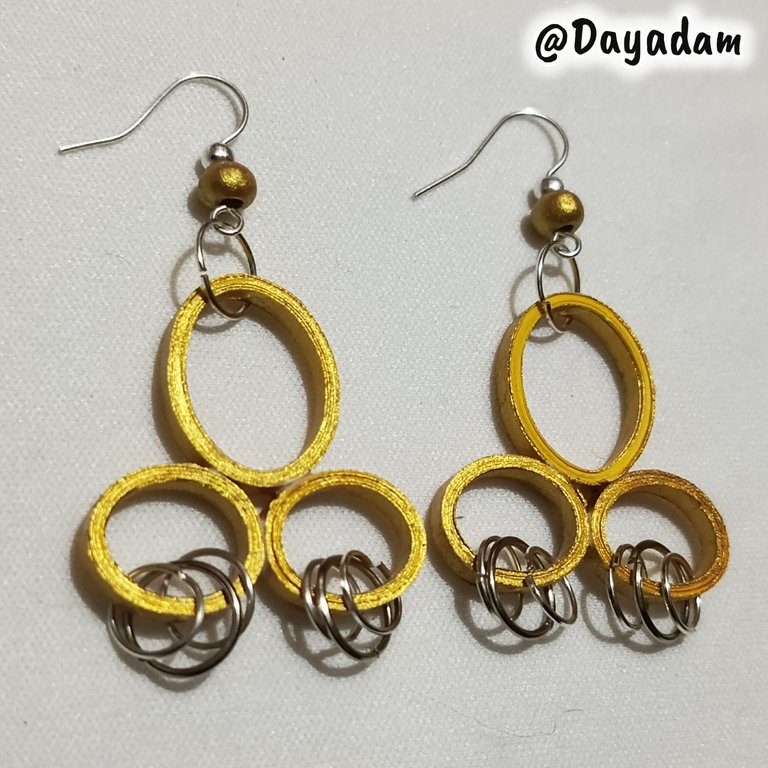
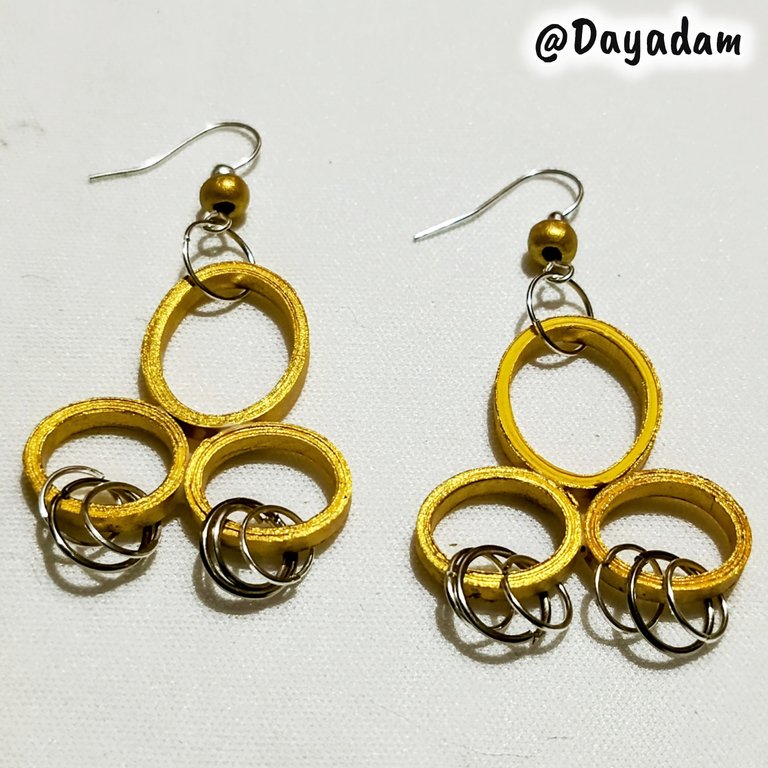
- Once the circles are dry, we are going to mold them a little flattening to give them the shape of ovals.
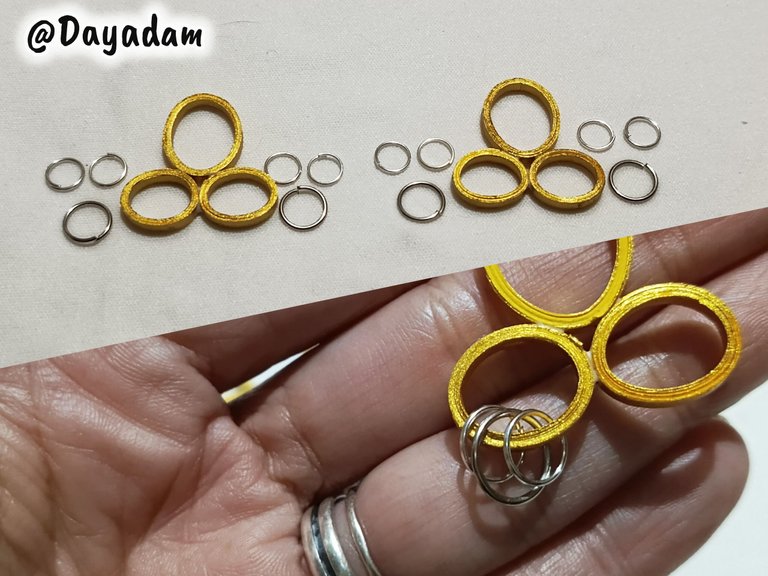
- We are going to join the ovals in groups of 3 as you can see in the pictures, applying some extra strong white glue.
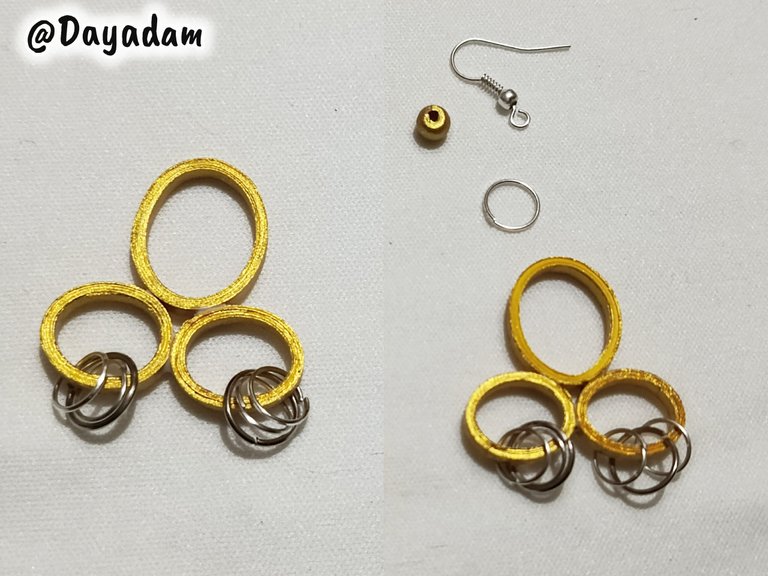
- We are going to take costume jewelry rings of different sizes, we will place 3 in each of the ovals at the bottom, placing the biggest one in the middle.
- We will place a medium size costume jewelry ring in the top oval.
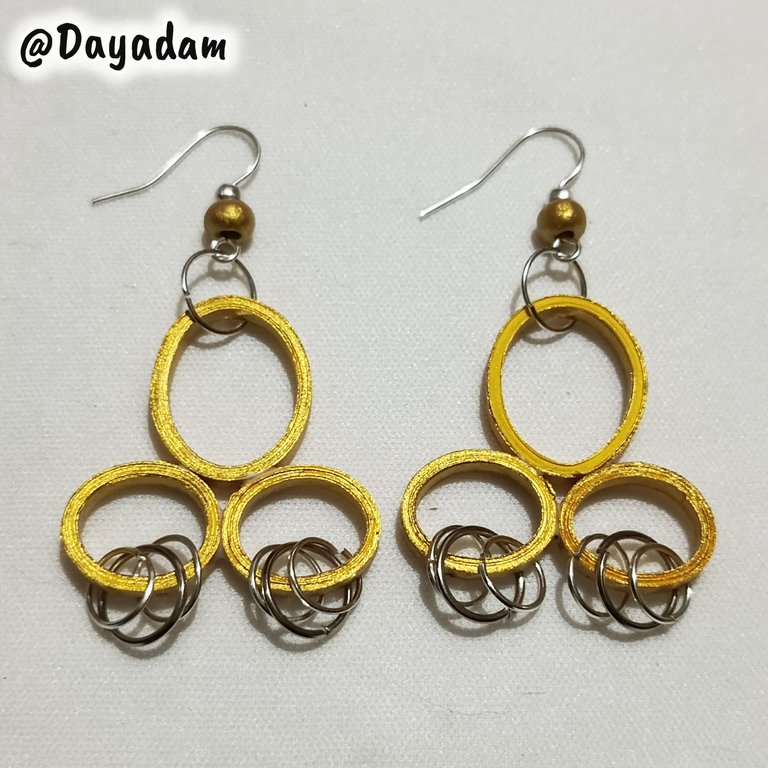
- To finish we will place a hanging base for earrings, to which I previously placed a golden wooden pearl to give it more colorfulness.
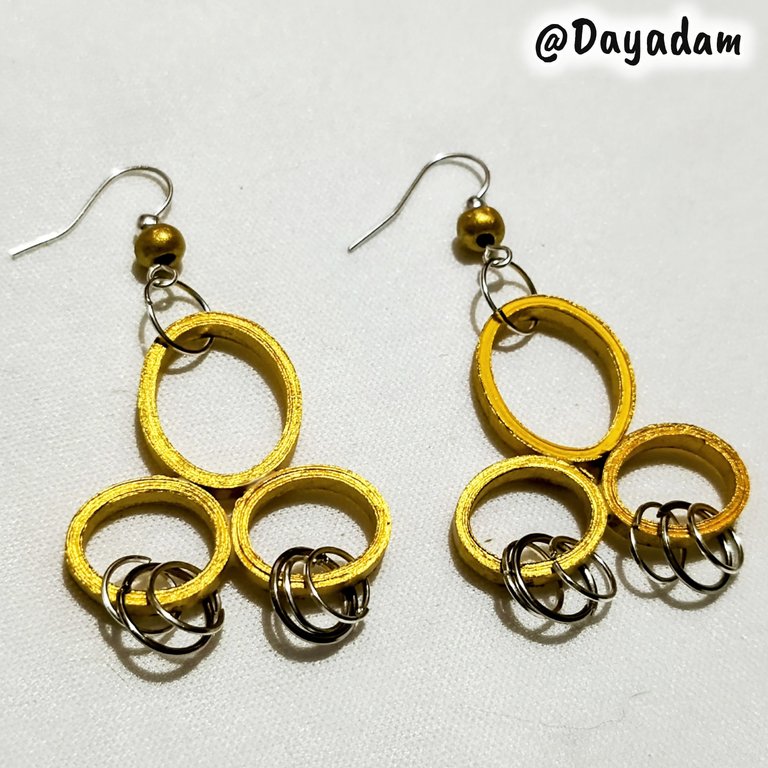
- In this way we have ready this pair of hanging tendrils, which I materialized inspired by the letter "Peacebringer ".
• Secos los círculos vamos a moldear un poco aplanando para darle forma de óvalos.
• Vamos a unir los óvalos en grupos de 3 tal como pueden ver en las imágenes, aplicando un poco de pega blanca extra fuerte.
• Vamos a tomar argollas de bisutería de diversos tamaños, colocaremos 3 en cada uno de los óvalos que están en la parte de abajo, colocando al más grande en el medio.
• Vamos a colocar una argolla mediana de bisutería en el óvalo de arriba.
• Para finalizar colocaremos una base colgante para zarcillos, a la cual le coloqué una perla dorada de madera previamente para darle mayor vistosidad.
• De esta manera tenemos listo este par de zarcillos colgantes, que materialice inspirada en la carta "Peacebringer".
 |  |
 |  |

 |
 |
 |
|
 |
 |
 |
What did you think, did you like it?
I hope you did, I hope you liked my explanation, procedure and photos, I made them with love for you.
"Let out that muse that inspires you, and let your imagination fly".
Thank you all, see you next time.
¿Que les pareció, les gustó?
Espero que sí, que les haya gustado mi explicación, procedimiento y fotos, los hice con mucho cariño por y para ustedes.
"Deja salir esa musa que te inspira, y deja volar tu imaginación".
Gracias a todos, nos vemos en la próxima.
Banner y separador hecho por mí en Canva