Hello everyone... ✨
Hello to my dear Hivers and the dear community of artists Jewelry, as always very pleased and excited to be here again, showing you my work made with love and especially for you.
Greetings to the Splinterland community, and everyone who lives there, I am pleased to be here to participate in the Splinterlands Art Contest Week 277.
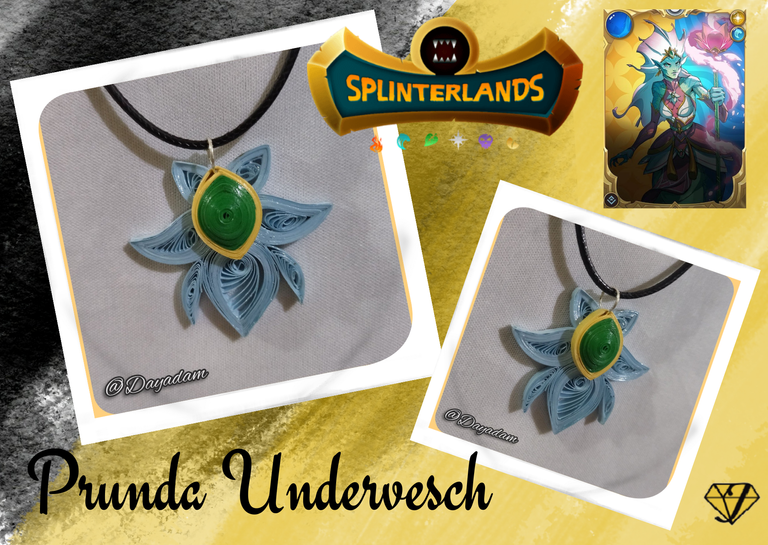
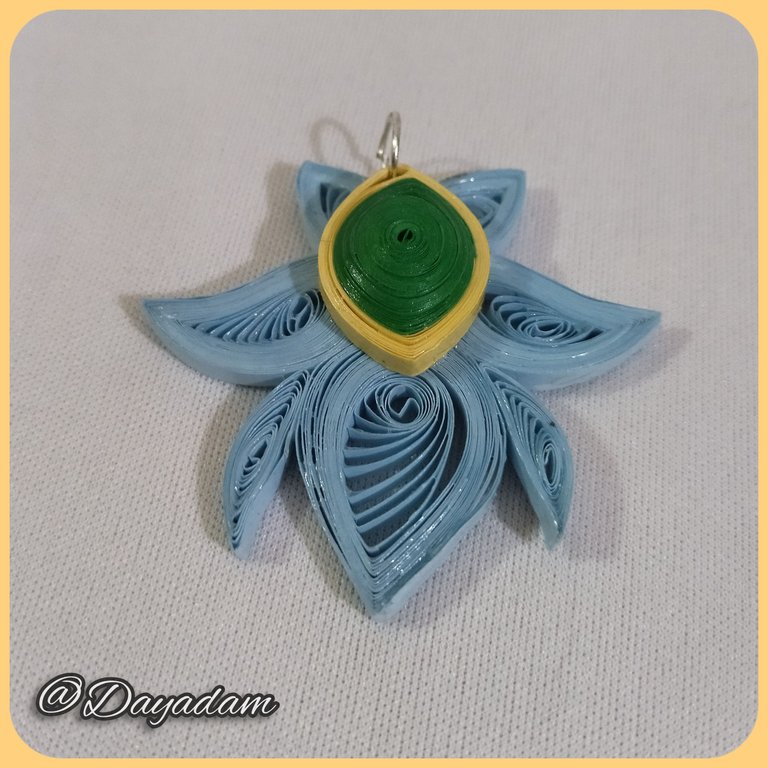
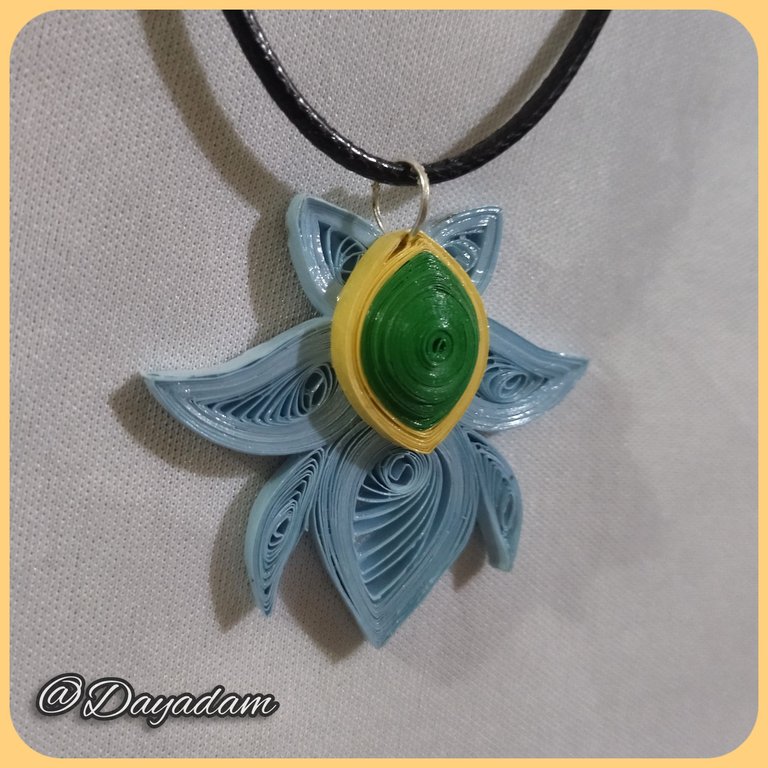
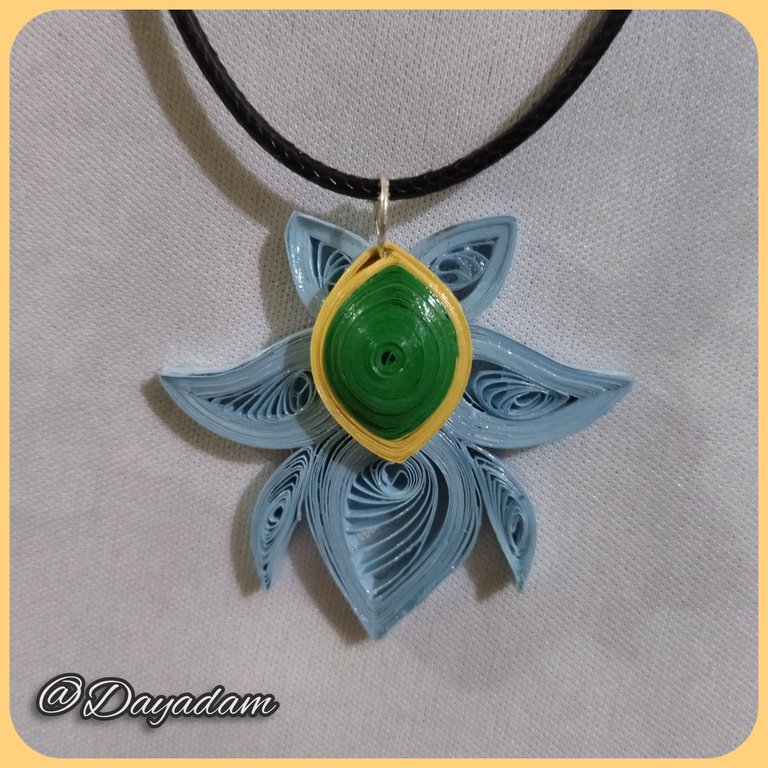
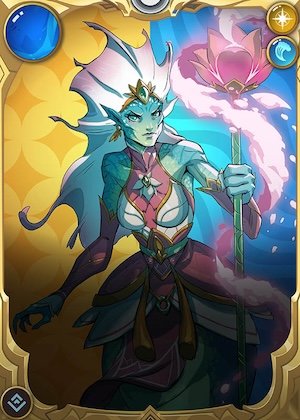
For today I bring you a necklace charm inspired by an element that adorns the lap of the character of the beautiful card of Rebellion, Prunda Undervesch, I was struck by this element that is just an accessory that embellishes it, and I wanted to materialize it for you.
If you want to know more about the game, I leave you my reference link to enter it and navigate through this wonderful world: https://splinterlands.com?ref=dayadam
Hoping you like my work, without further ado, I leave you with my creative process.
Let's start:😃

Hola a Todos...✨
Hola a mis queridos Hivers y a la querida comunidad de artistas Jewelry, como siempre muy complacida y emocionada de encontrarme por acá nuevamente, mostrándole mi trabajo hecho con mucho amor y especialmente para ustedes.
Un saludo para la comunidad de Splinterland, y todos los que hacen vida por allí, me gratifica estar por acá para participar en el Splinterlands Art Contest Week 277.
Para hoy les traigo un dije para collar inspirado en un elemento que adorna el regazo del personaje de la bella carta de Rebellion , Prunda Undervesch, me llamaron la atención ese elementos que es justo un accesorio que la embellece, y quise materializarlo para ustedes.
Si quieren saber más con respecto al juego les dejo mi enlace de referencia para que ingresen en él, y naveguen por este maravilloso mundo: https://splinterlands.com?ref=dayadam
Esperando les guste mi trabajo, sin más preámbulos, les dejo mi proceso creativo.
Comencemos:😃

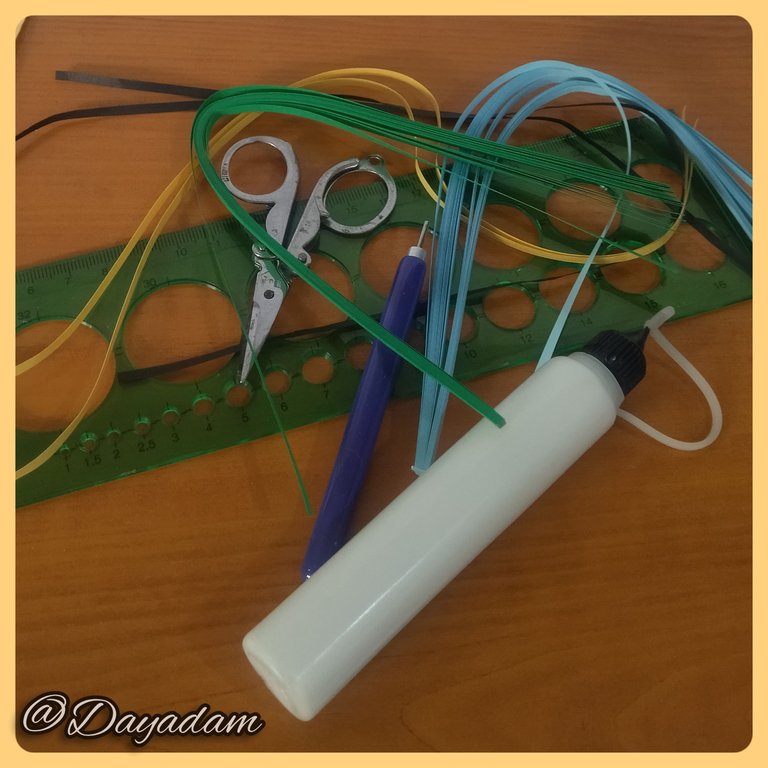
• Cintas de quilling de diversos colores.
• Aguja para quilling.
• Regla con diversas medidas de circunferencia.
• Pega blanca extra fuerte (de carpintería).
• Tijera.
• Pincel.
• Argolla mediana de bisutería.
- Quilling ribbons of different colors.
- Quilling needle.
- Ruler with different circumference measurements.
- Extra strong white glue (carpentry glue).
- Scissors.
- Paintbrush.
- Medium size jewelry ring.

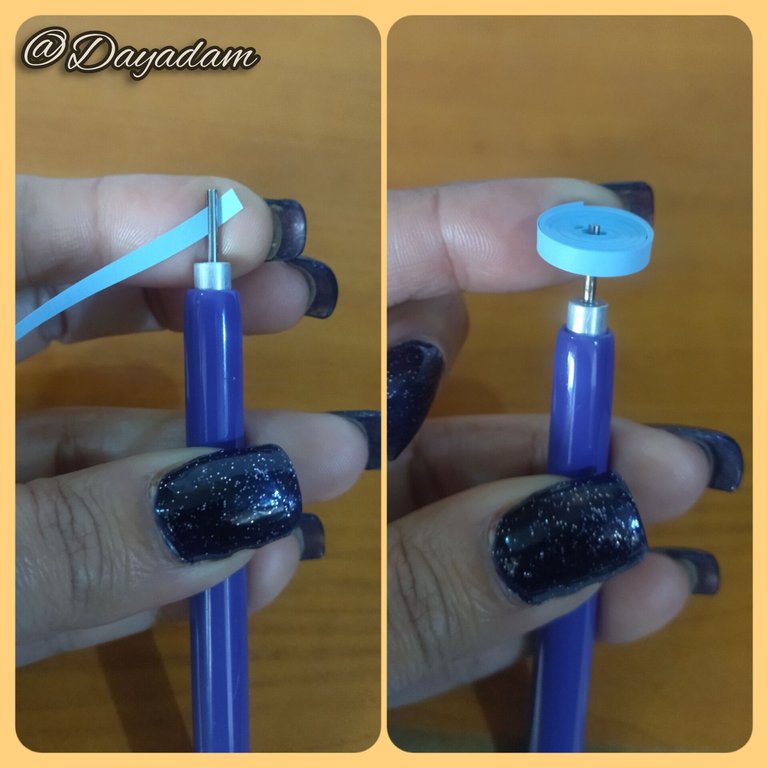
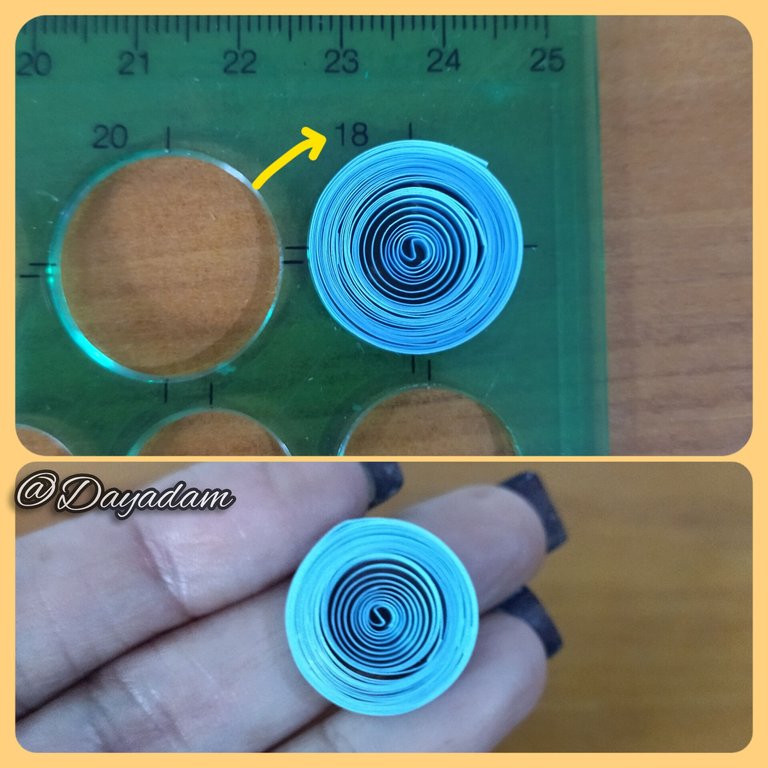
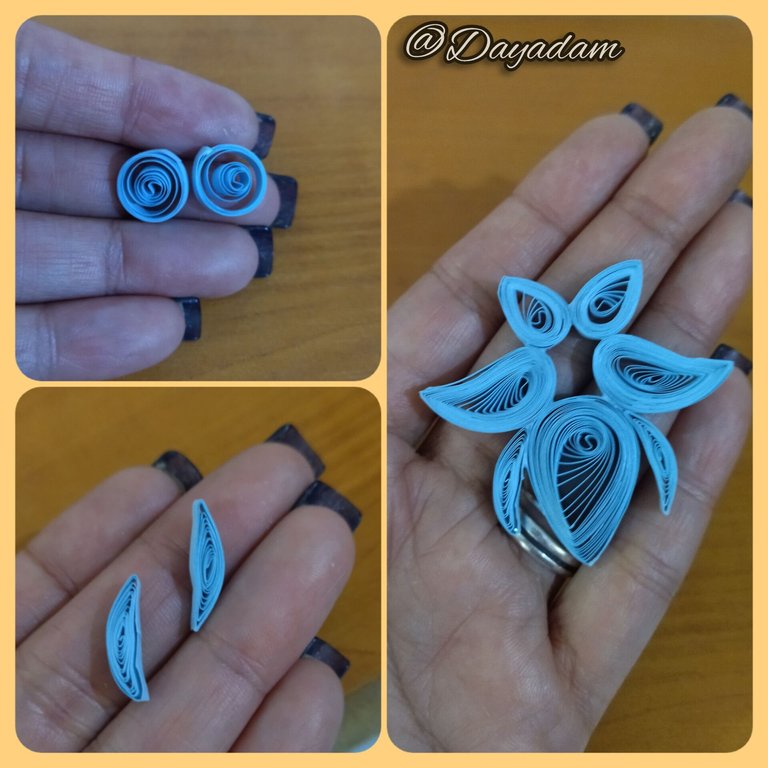
- We start taking a light blue quilling ribbon 3mm wide x 150cms long, we roll it with the quilling needle, at the end we take it out of the needle and measure on the ruler with different circumference measures in the measure number 18, we take it out of the ruler and seal it with glue to obtain an open circle (we reserve).
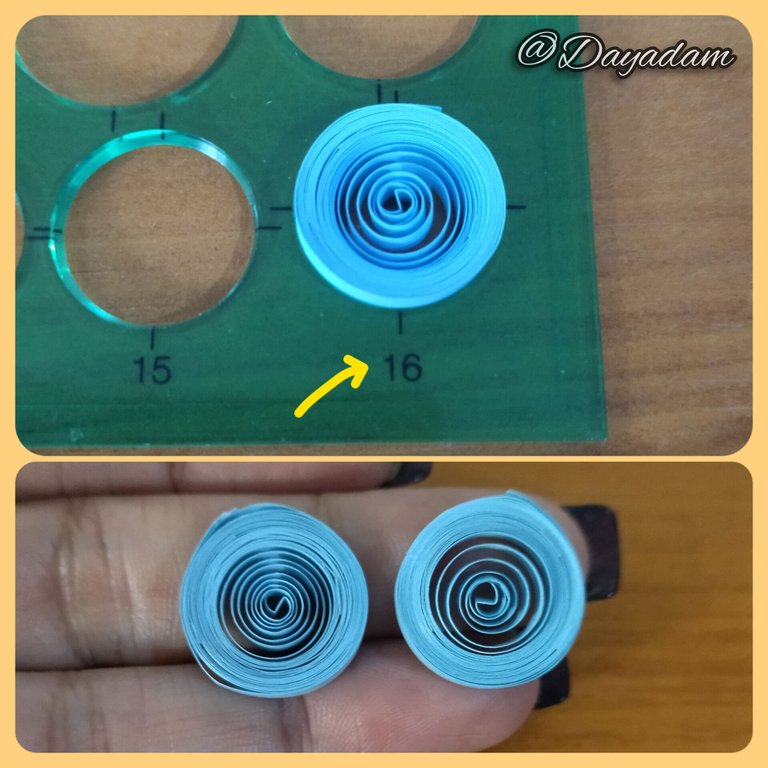
- Under the same parameters as above but with a ribbon of 120cms long of the same color, we will make two closed circles but these we will measure on the ruler in the measure number 16 (reserve).
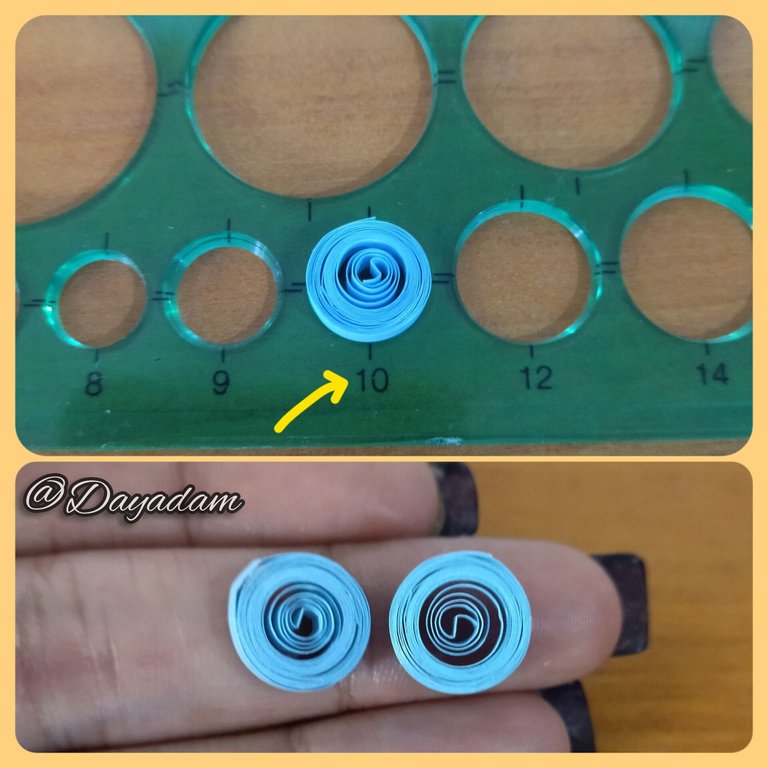
- We will follow the same process with 2 ribbons of 90cms long and we will measure on the ruler in the number 10.

• Comenzamos tomando una cinta de quilling color azul claro de 3mm de ancho x 150cms de largo, enrollamos con la aguja para quilling, al finalizar sacamos de la aguja y medimos en la regla con diversas medidas de circunferencias en la medida numero 18, sacamos de la regla sellamos con pega para obtener un circulo abierto (reservamos).
• Bajos los mismos parámetros anteriores pero con una cinta de 120cms de largo del mismo color, haremos dos círculos cerrados pero estos los mediremos en la regla en la medida número 16 (reservamos).
• Seguiremos el mismo proceso con 2 cintas de 90cms de largo y mediremos en la regla en el número 10.
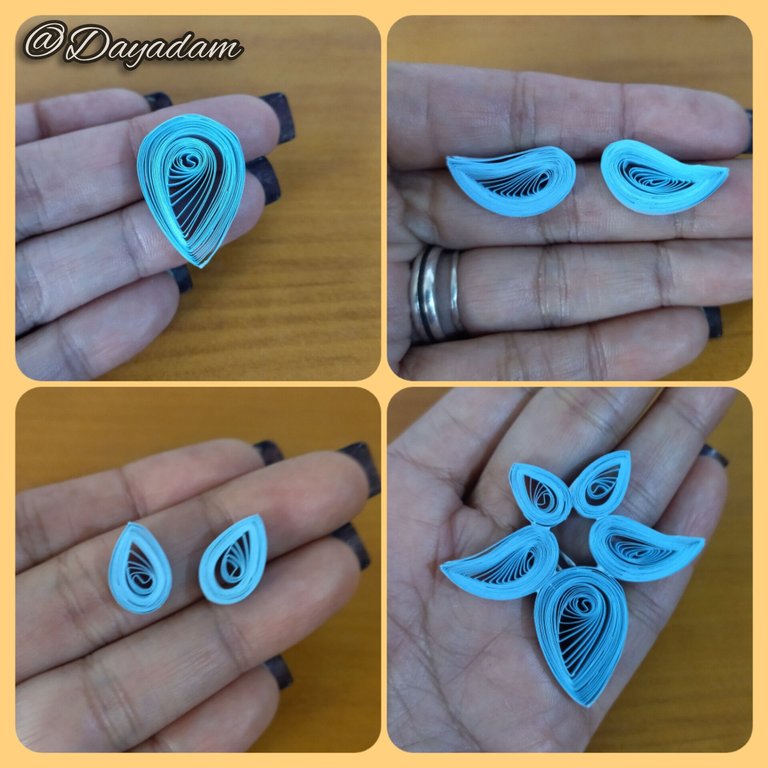
- We are going to mold the circles according to the model I have of what I want to make and we will join them once ready with a little glue in a harmonic way.
- With 2 blue ribbons of 3mm shorter, I made 2 more circles which I molded in an elongated way and incorporated them to the pieces that I already joined.
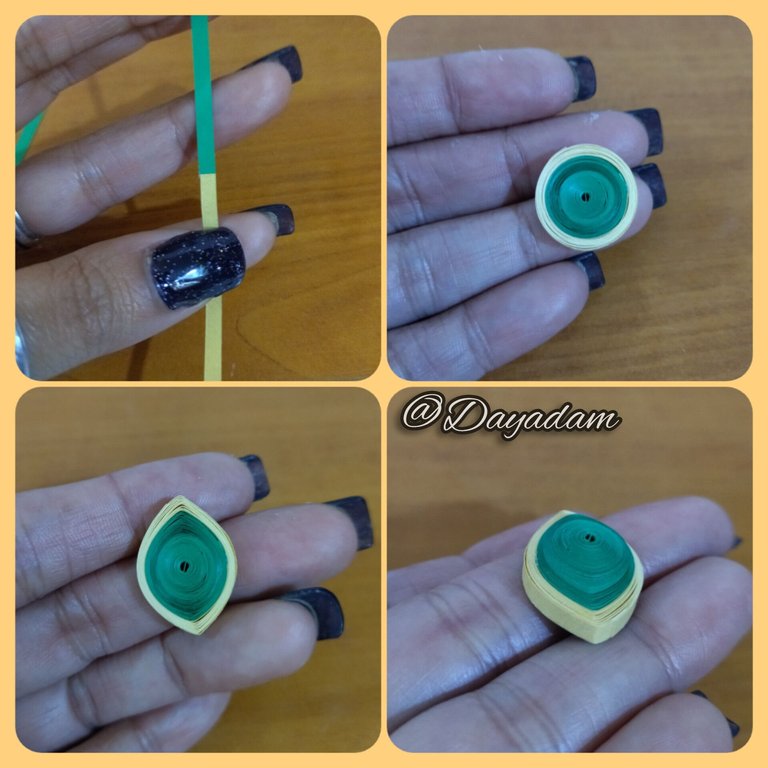
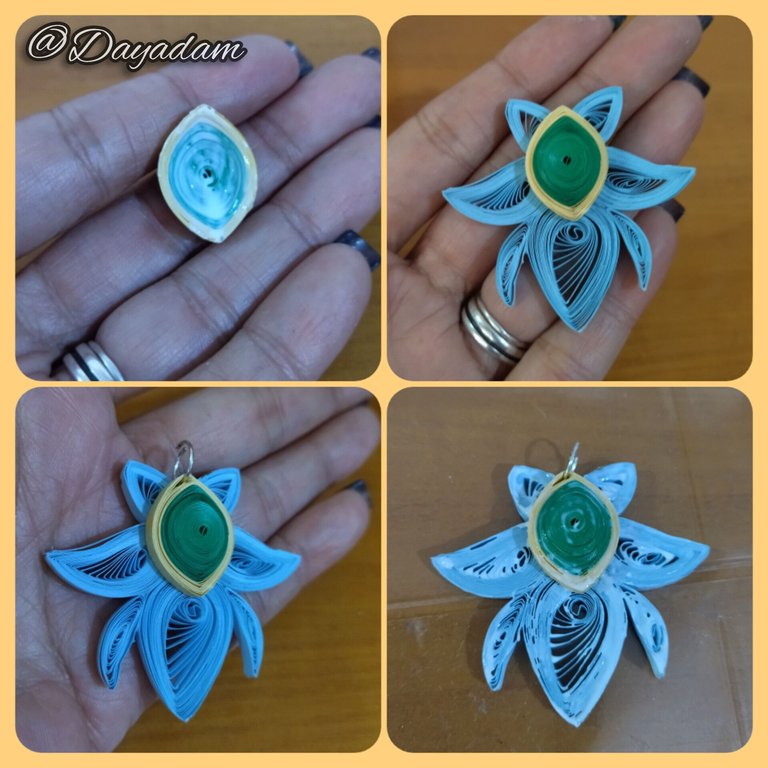
- We will take a green quilling ribbon and another one of golden color of 3mm of width, which we will unite in one, we will roll with the quilling needle to form a tight circle, we take out of the needle and seal with glue, this we will mold it in the form of rhombus, we will take out a little with the fingers to give it a 3D effect, we apply glue by the hollow part to avoid that it deforms and to finish we will glue on top of the piece that we already had ready.
- We place a medium size ring of costume jewelry on the top of the pendant.
- Finally apply several coats of extra strong white glue, letting it dry between one coat and another to give it protection, shine and plasticizing.
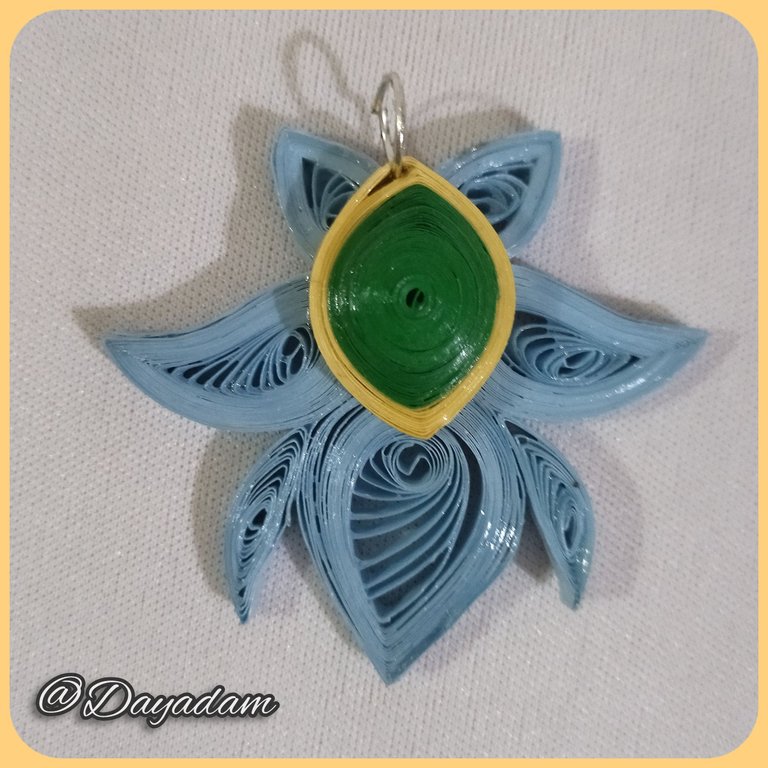
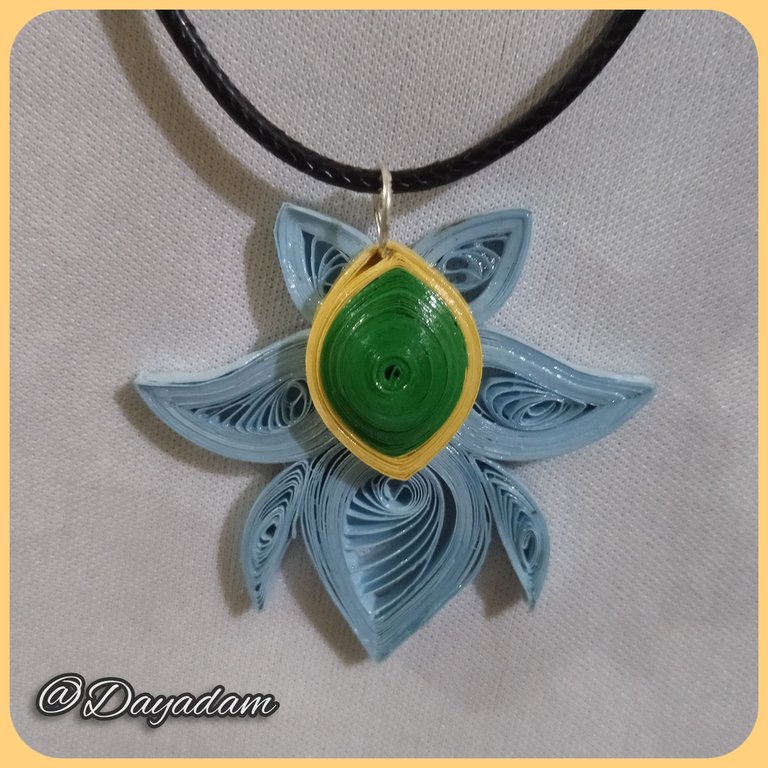
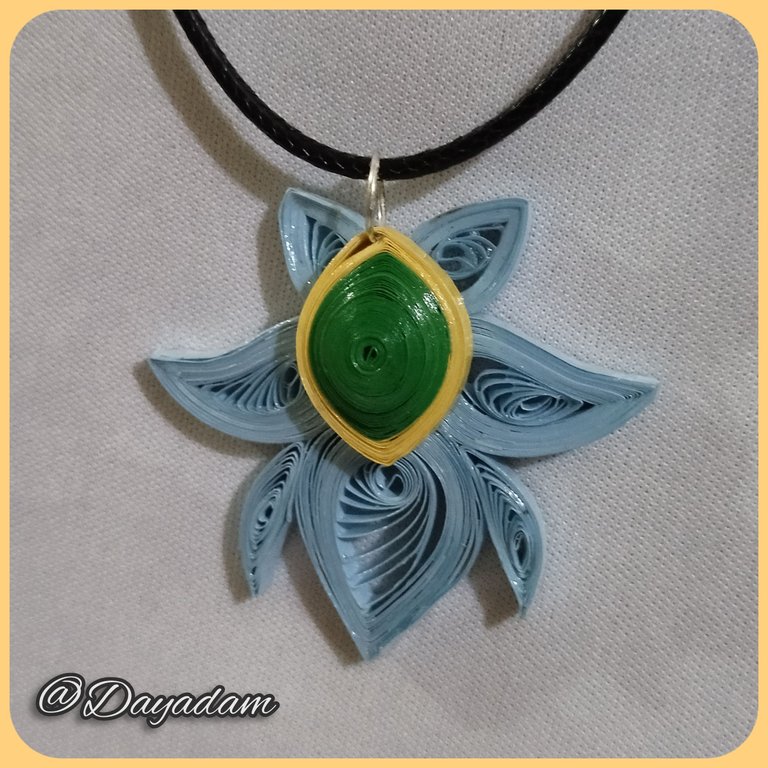
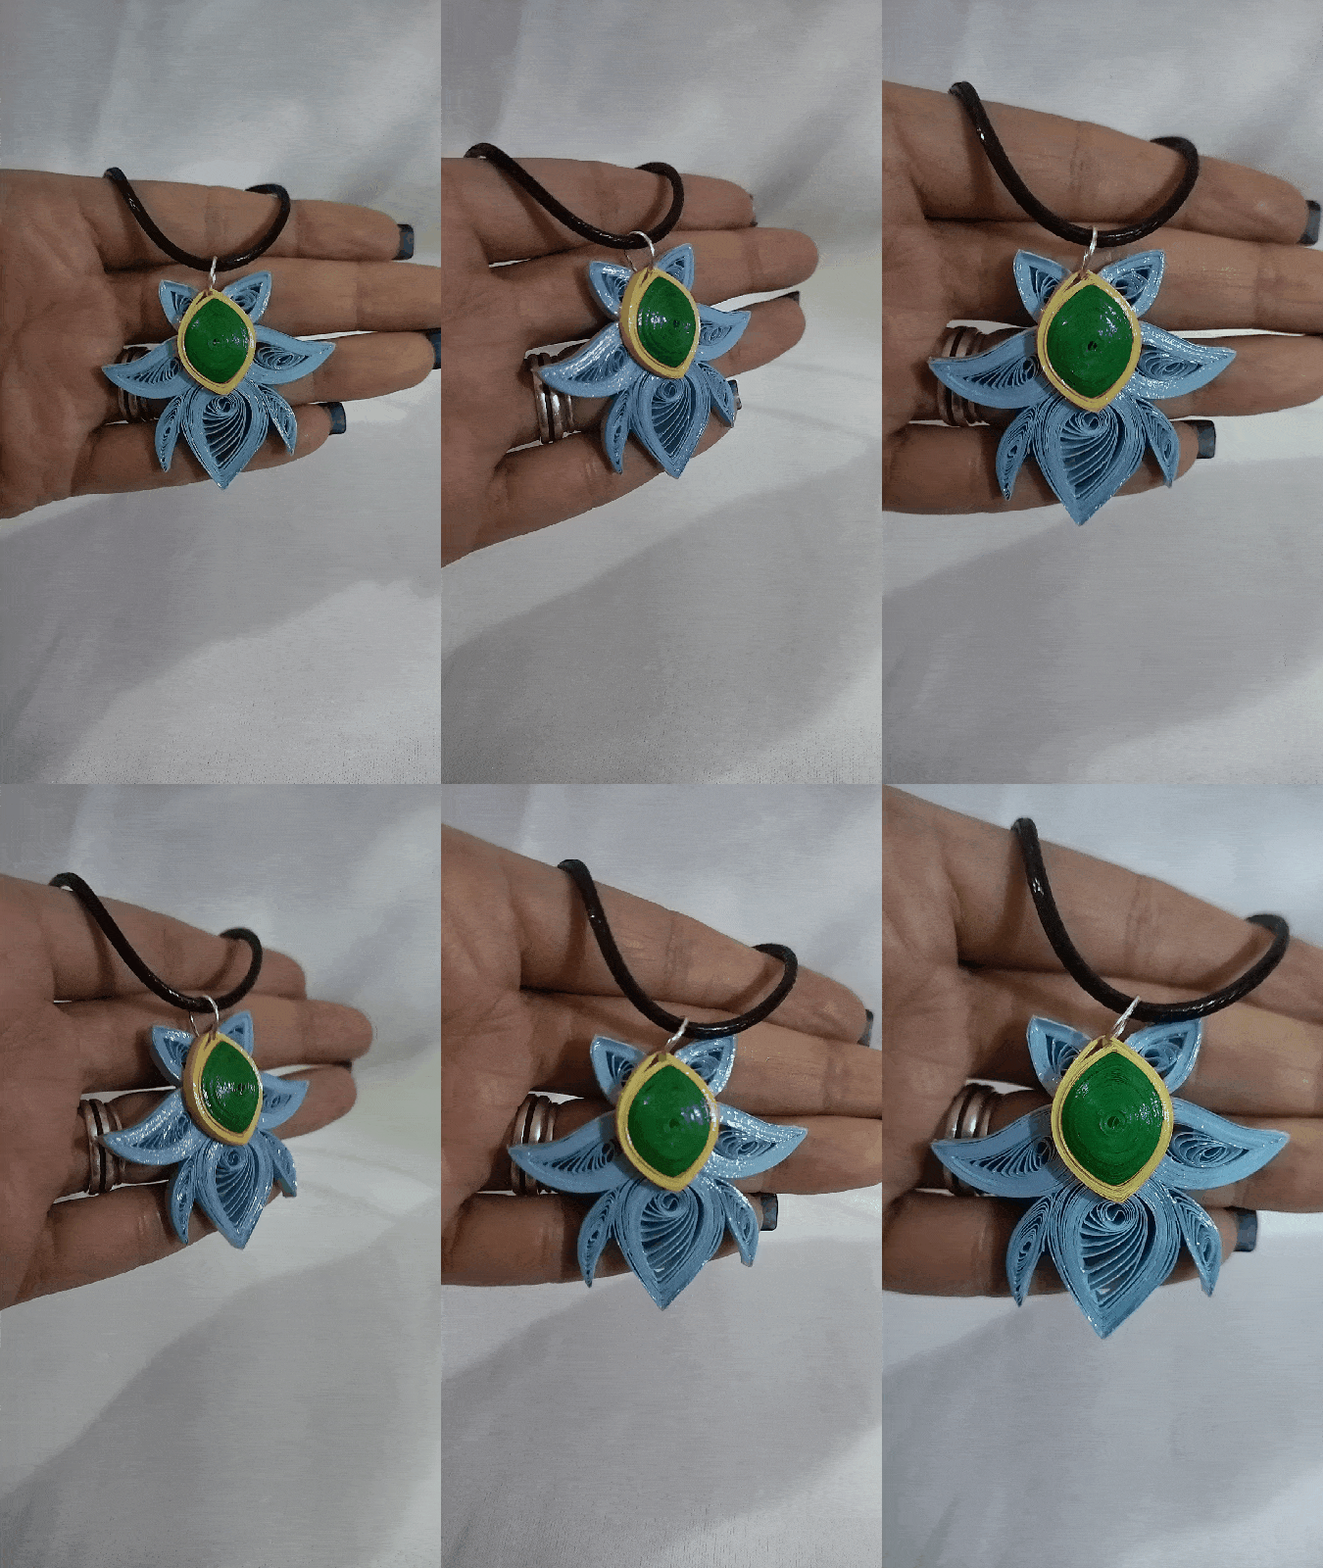
- In this way we have ready this pendant for necklace that materializes inspired by an element of the Prunda Undervesch chart.

• Vamos a moldear los círculos según el modelo que tengo de dije que deseo hace y uniremos una vez listos con un poco de pega de manera armónica.
• Con 2 cintas azules de 3mm mas cortas, realice 2 círculos mas los cuales moldee de manera alargada el incorpore a las piezas que ya uní.
• Tomaremos una cinta para quilling de color verde y otra de color dorado de 3mm de ancho, la cual uniremos en una sola, enrollaremos con la aguja para quilling para formar un circulo apretado, sacamos de la aguja y sellamos con pega, este la moldearemos en forma de rombo, sacaremos un poco con los dedos para darle un efecto en 3D, aplicamos pega por la parte hueca para evita que se deforme y para finalizar pegaremos encima de la pieza que ya teníamos lista.
• Colocamos una argolla mediana de bisutería en la parte de arriba del dije.
• Por ultimo aplicamos varias capas de pega blanca extra fuerte dejando secar entre una capa y otra para darle, protección, brillo y plastificado.
• De esta manera tenemos listo este dije para collar que materialice inspirado en un elemento de la carta Prunda Undervesch.


What did you think, did you like it?
I hope you did, I hope you liked my explanation, procedure and photos, I made them with love for you.
"Let out that muse that inspires you, and let your imagination fly".
Thank you all, see you next time.

¿Que les pareció, les gustó?
Espero que sí, que les haya gustado mi explicación, procedimiento y fotos, los hice con mucho cariño por y para ustedes.
"Deja salir esa musa que te inspira, y deja volar tu imaginación".
Gracias a todos, nos vemos en la próxima.


