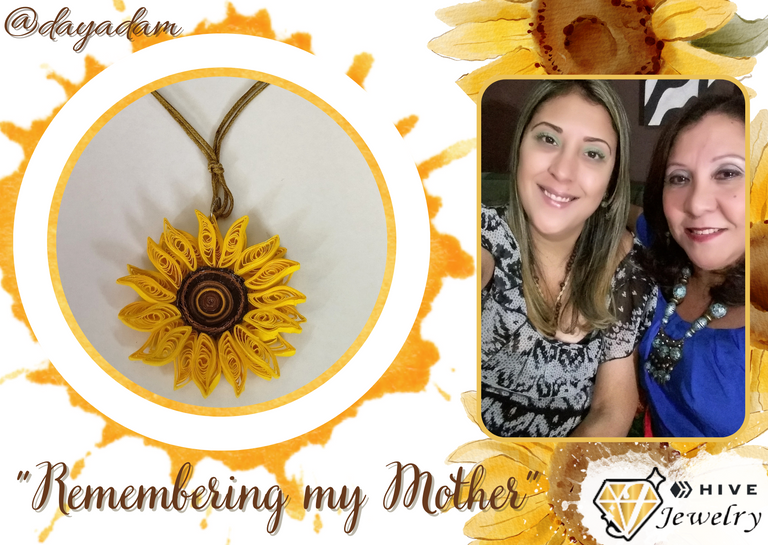
Hello everyone...🌻
Hello to my dear Hiver and the dear community of #Jewelry artists, as always I am very pleased and excited to be here again, showing you my work made with love and especially for you 💕
I was very reluctant to participate or talk this year about anything related to Mother's Day because I am very sentimental, and that is something that will not go away from me very easily or possibly never will, I know that perhaps there are people who are more so than others but every human being reacts differently to each situation.
But when I read the theme of my dear family of @talents meeting I wanted to join the initiative and theme by the beautiful @angelica7 for today which are the "Memories", I invite all those who wish to join in these activities that are done every week to do so, here I leave the link, the post to see and know what it consists of.
I also apologize to my dear community of #Jewelry, for having decided a little late and not having participated in their Mother's Day initiative, but well I'm a bit temperamental and volatile.
Well then I left aside a little sadness, many of you who know me or read me know my mom just a year ago went to Canada, but what is important, she is alive, healthy, having a better quality of life and so I said to myself, remember that and let's honor her in life with something that she likes and that at some point she will come and wear it, just as she served me as a model last year when I made her some roses for Mother's Day.
We must remember every beautiful moment, every beautiful moment, every moment that life has given us together, which have been many, to remember is to live, to remember gives us strength to keep fighting and move forward always aspiring for the best.
So I will always remember my mother in this way because this transit of life has been beautiful and is still there, she with her 72 years, me with my 45, my daughter with 21 and so from generation to generation.
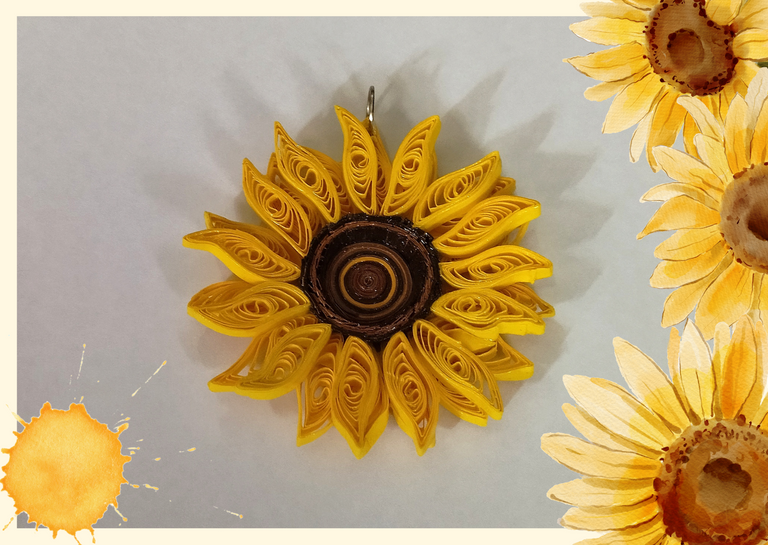
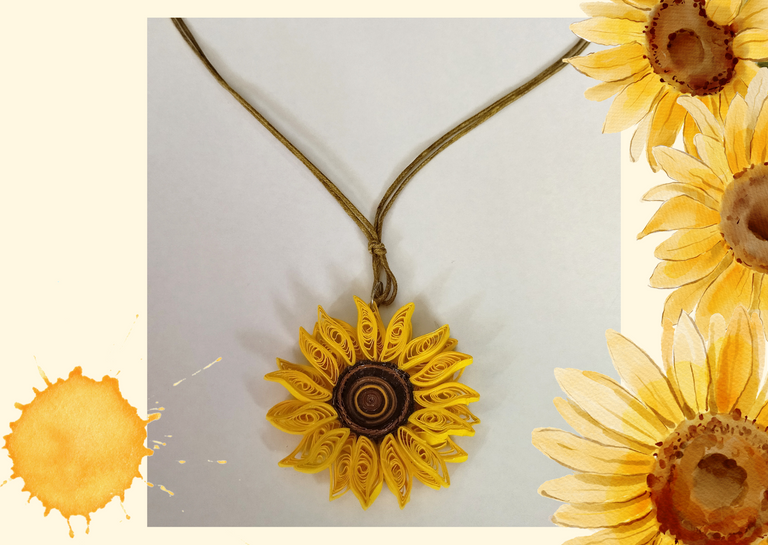
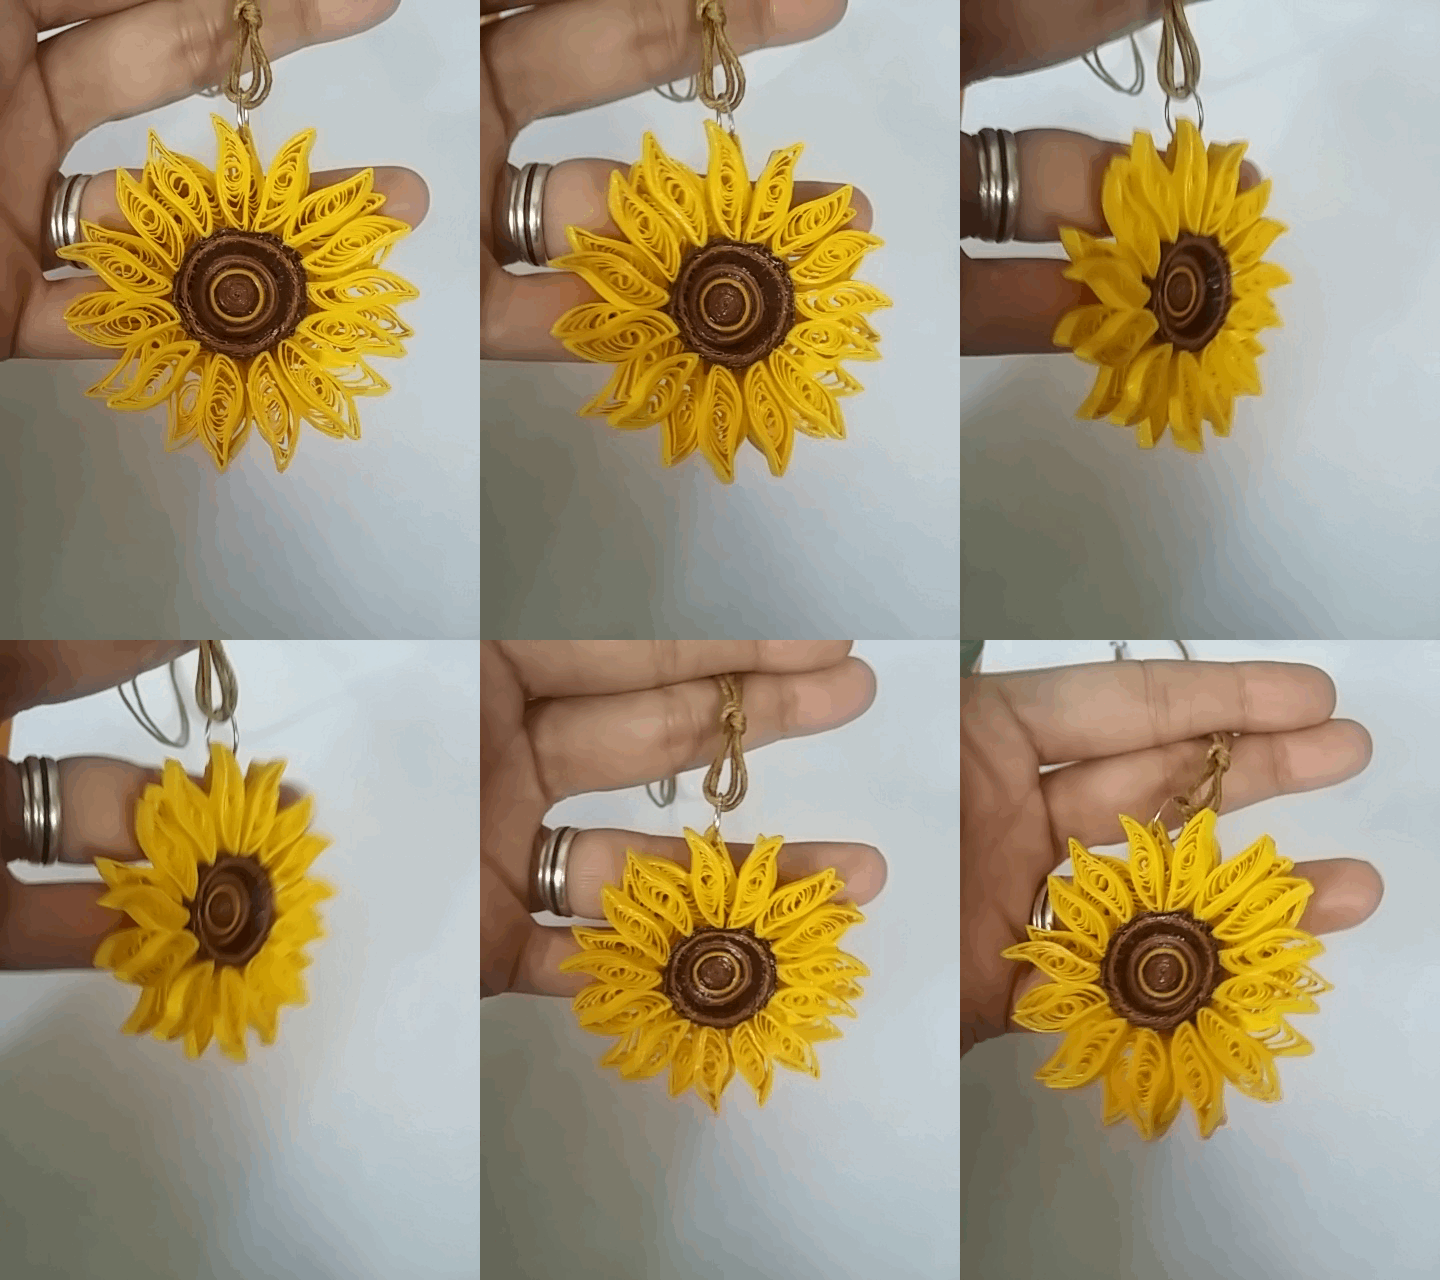
My mom is a flower lover, most of what she asked me while she was with me to wear were flowers and so I obliged her, hence also last year's roses. But for today I remembered that she loves sunflowers, (also the sun, she has asked me to make it in quilling that I owe her), and then I wanted to give her this beautiful sunflower medallion made in the quilling technique, hoping that soon she can wear it herself, either returning to her home, or making it reach her hands, although it is a little difficult because of the distance where she is, but it is a symbol of love that reminds that she is here with me today, tomorrow and always.
So without further ado, I leave you with the creative process of the locket I made:
Let's get started:😃

Hola a todos... 🌻
Hola a mis queridos Hiver y a la querida comunidad de artistas #Jewelry, como siempre muy complacida y emocionada de encontrarme por acá nuevamente, mostrándole mi trabajo hecho con mucho amor y especialmente para ustedes 💕
Estuve muy renuente a participar o hablar este año de nada que tuviera relación con el día de las Madres ya que soy muy sentimental, y eso es algo que no se me va a quitar con mucha facilidad o posiblemente no se aparte de mi jamás, sé que quizás hay personas que lo somos más que otras pero cada ser humano reacciona diferente a cada situación.
Pero al leer el tema de mi querida familia de encuentro de @talentos me quise sumar a la iniciativa y tema por la bella @angelica7 para el día de hoy que son los “Recuerdos”, invito a todos aquellos que deseen incorporarse en estas actividades que se hacen cada semana que lo hagan, por acá les dejo el link, del post para que vean y sepan en que consiste.
También les pido disculpas a mi querida comunidad de #Jewelry, por haberme decidido un poco tarde y no haber participado en su iniciativa del día de las madres, pero bueno soy un poco temperamental y volátil.
Pues entonces deje de un lado un poco esa tristeza, muchos de los que me conocen o me leen saben mi mama hace justo un año se fue a Canadá , pero que es lo importante?, que ella esta con vida, con salud, teniendo una mejor calidad de vida y por ello me dije, recuerda eso y vamos a homenajearla en vida con algo que a ella le guste y que en algún momento llegara y lo lucirá, así como me sirvió de modelo el año pasado cuando le hice unas rosas para el día de las madres.
Hay que recordar bonito, cada momento hermoso, cada momento que la vida nos ha regalado juntas que han sido muchos, recordar es vivir, recordar nos da fuerzas para seguir luchando y seguir adelante aspirando siempre lo mejor. Así que siempre seguiré recordando a mi madre de esta manera porque este tránsito de vida ha sido hermoso y sigue allí vigente, ella con sus 72 años, yo con mis 45, mi hija con 21 y así de generación en generación.
Mi mama es amante de las flores, la mayoría de lo que me pidió estando conmigo para lucir fueron flores y así la complací, por ello también las rosas del año pasado. Pero para hoy recordé que le encantan los girasoles, (también el sol, me ha pedido que se lo haga en quilling ese se lo debo), y entonces quise obsequiarle este bonito medallón en forma de girasol elaborado en la técnica de quilling, esperando que dentro de poco pueda lucirlo ella misma, bien sea regresando a su hogar, o haciendo que llegue a sus manos, aunque es un poco difícil por lo lejos donde se encuentra, pero es un símbolo de amor que recuerda que ella está aquí conmigo hoy, mañana y siempre.
Entonces sin más preámbulos, les dejo el proceso creativo del medallón que elabore:
Comencemos:😃

• Cartulina o papel amarillo, que tengan sobrante.
• Cintas de Quilling de 3mm y 6mm de ancho, cobre, marrón claro, marrón oscuro, amarillas, naranjas.
• Aguja para quilling.
• Lápiz.
• Pega blanca extra fuerte de carpintería.
• Pincel.
• Regla con diversas medidas de circunferencia.
• Aguja para quilling.
• Tijera.
• Alicate punta fina.
• Argolla de bisutería mediana.
- Cardboard or yellow paper, that you have leftover.
- Quilling ribbons 3mm and 6mm wide, copper, light brown, dark brown, yellow, orange.
- Quilling needle.
- Pencil.
- Extra strong white carpentry glue.
- Paintbrush.
- Ruler with different circumference measurements.
- Quilling needle.
- Scissors.
- Fine-nosed pliers.
- Medium jewelry ring.

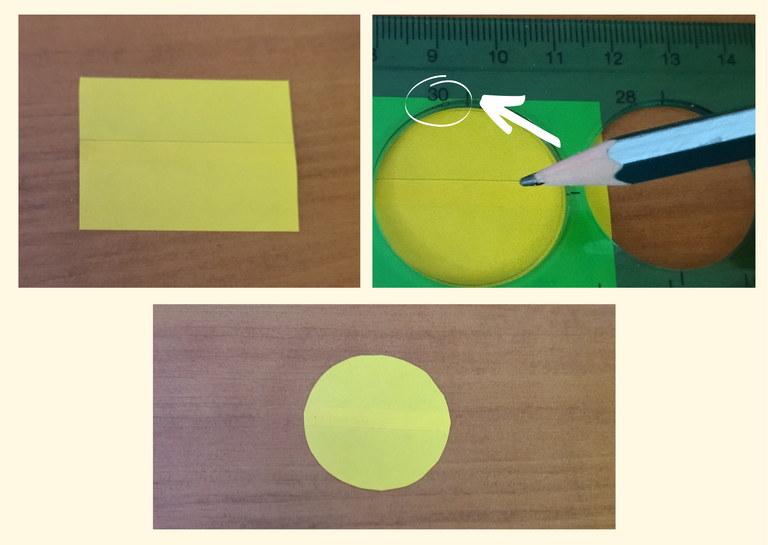
- Let's start by taking a piece of paper or yellow cardboard, as in my case I did not have the right size I simply glued 2 pieces I had, once dry, I made with a pencil with the help of the ruler of circles, a circumference in the number 30, cut with scissors.
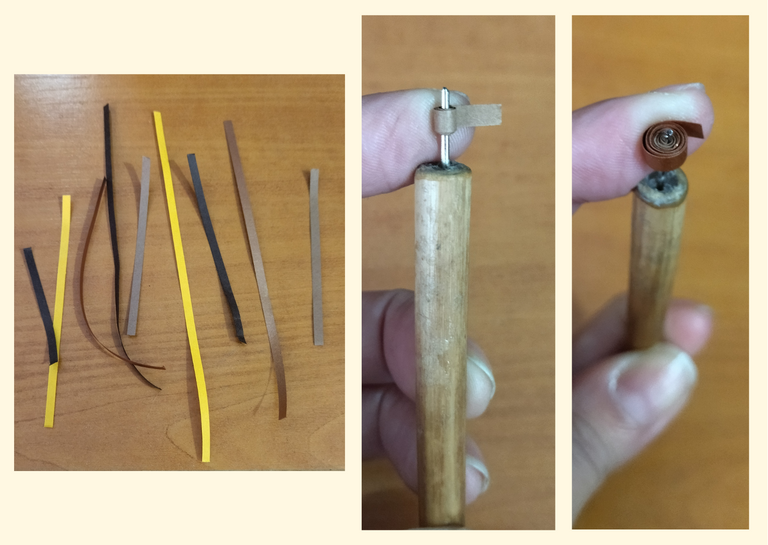
- Now we are going to take pieces of ribbon 3mm wide of different colors and sizes, copper, light and dark brown, orange and we are going to go rolling with the needle and joining, to form a closed circle multicolored more or less the size in which we want to be the center of our sunflower, seal and leave stuck in the needle.

• Vamos a comenzar tomando un trozo de papel o cartulina amarilla, como en mi caso no tenia del tamaño adecuado simplemente uní con pega 2 trozos que tenía, una vez seco, hice con un lápiz con ayuda de la regla de círculos, una circunferencia en el número 30, recorte con una tijera.
• Ahora vamos a tomar trozos de cinta de 3mm de ancho de diversos colores y tamaños, cobre, marrón claro y oscuro, naranja y vamos a ir enrollando con la aguja y uniendo, hasta formar un círculo cerrado multicolor más o menos del tamaño en que queremos que quede el centro de nuestro girasol, sellamos y dejaremos metido en la aguja.
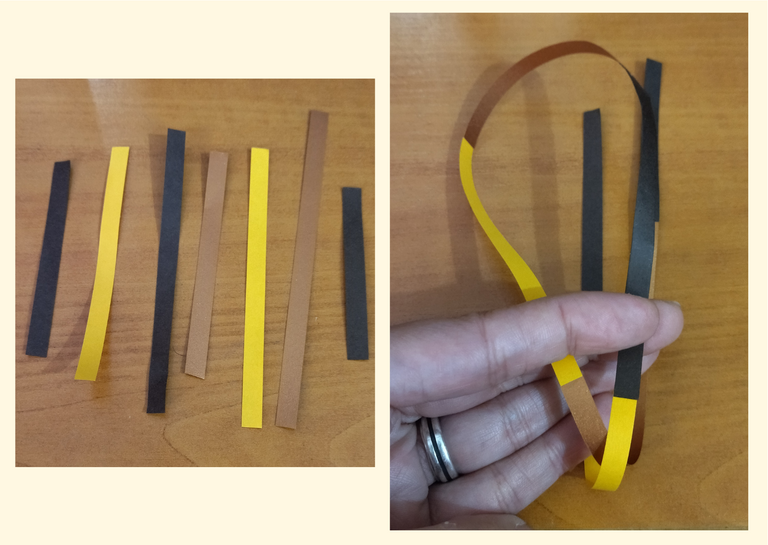
We will take 6mm wide ribbons of the same previous colors and of different sizes, we will join them to form a single ribbon.
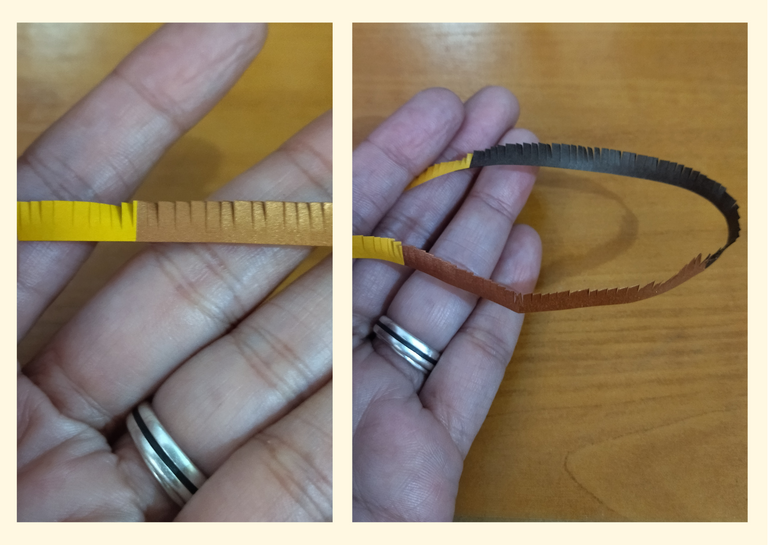
With a small fine-tipped scissors, we will make a few small cuts to the multicolored ribbon vertically.
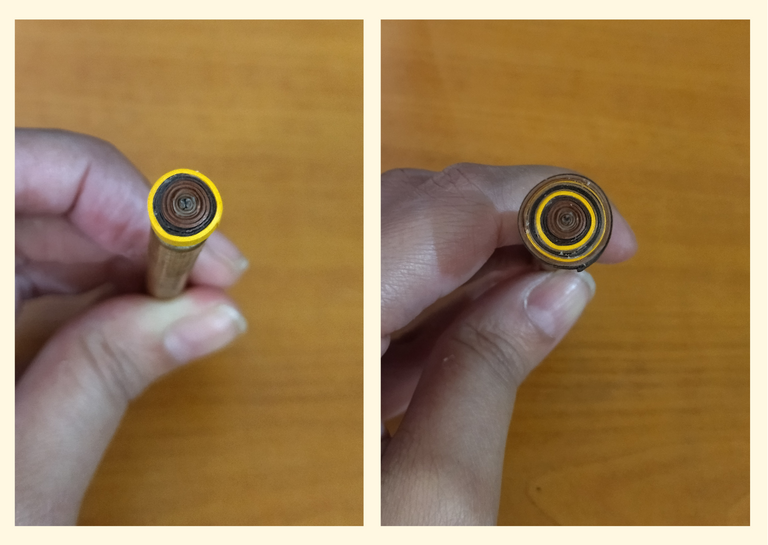
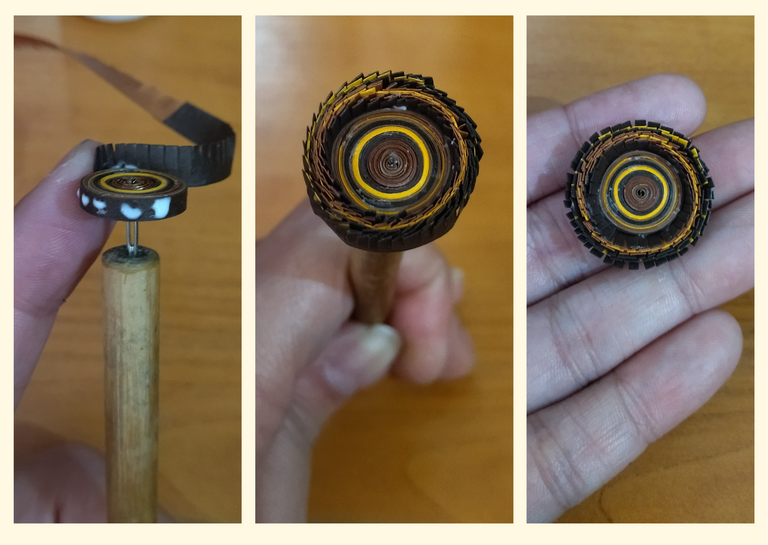
We will take the needle with the closed multicolored circle that we had made, we will glue the ribbon that we cut vertically and we will roll up together with the circle, at the end we will seal with glue, we will take it out of the needle.

• Tomaremos cintas de 6mm de ancho de los mismos colores anteriores y de diversos tamaños, vamos a unir para forma una sola cinta.
• Con una tijera pequeña punta fina, y vamos a realizar unos pequeños cortes a la cinta multicolor en vertical.
• Vamos a tomar la aguja con el círculo cerrado multicolor que habíamos realizado, pegaremos la cinta que cortamos en vertical y enrollaremos junto con el círculo, al finalizar sellamos con pega, sacaremos de la aguja.
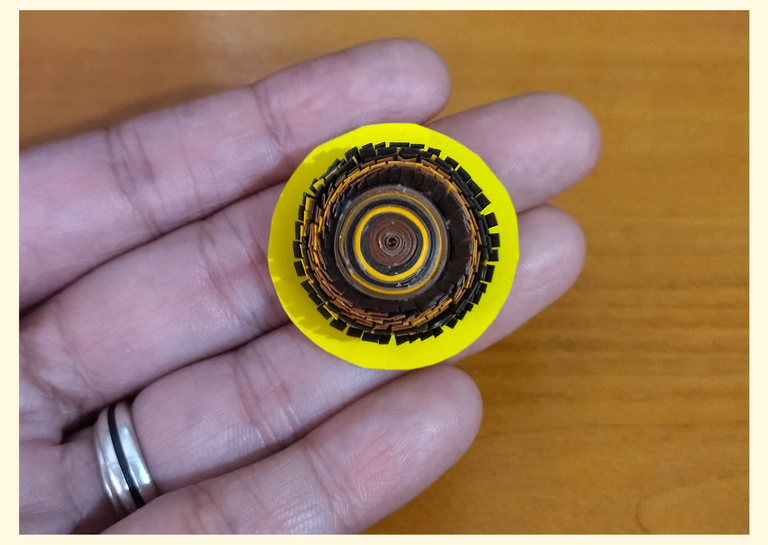
- With your fingers we are going to open a little the ribbon that is cut vertically, then we are going to glue the result of the piece that we made, in the center of the yellow circle that we had cut at the beginning.
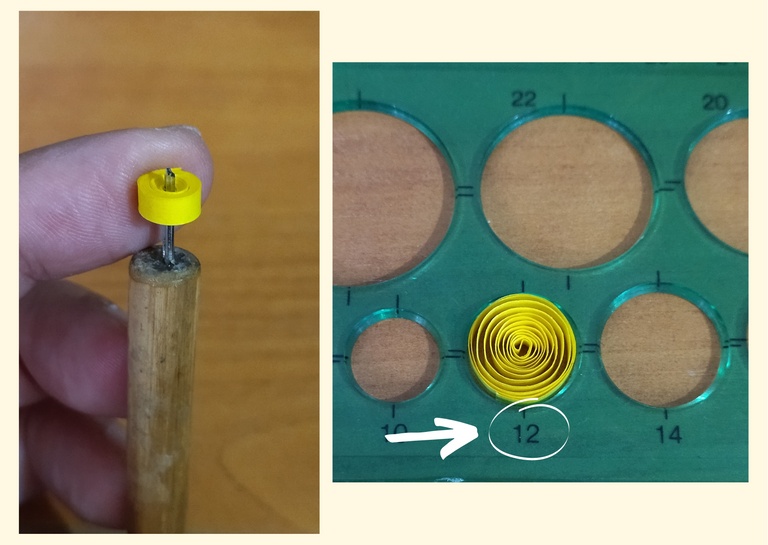
- Let's make the petals of the sunflower, we will take yellow ribbons of 3mm wide x 28cms long, we will roll with the quilling needle and we will measure on the circumference ruler in the circle number 12, we will seal with glue, we will take out the needle to obtain an open circle.

• Con los dedos vamos a abrir un poco la cinta que esta picada en vertical, luego vamos a pegar el resultado de la pieza que realizamos, en el centro del círculo amarillo que habíamos picado al principio.
• Realicemos los pétalos del girasol, vamos a tomar cintas amarillas de 3mm de ancho x 28cms de largo, enrollaremos con la aguja para quilling y mediremos en la regla de circunferencias en el círculo número 12, sellamos con pega, sacamos de la aguja para obtener un círculo abierto.
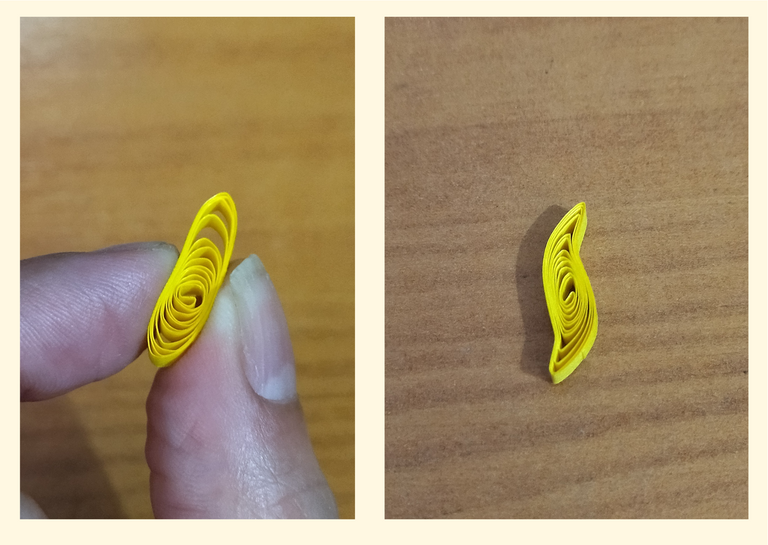
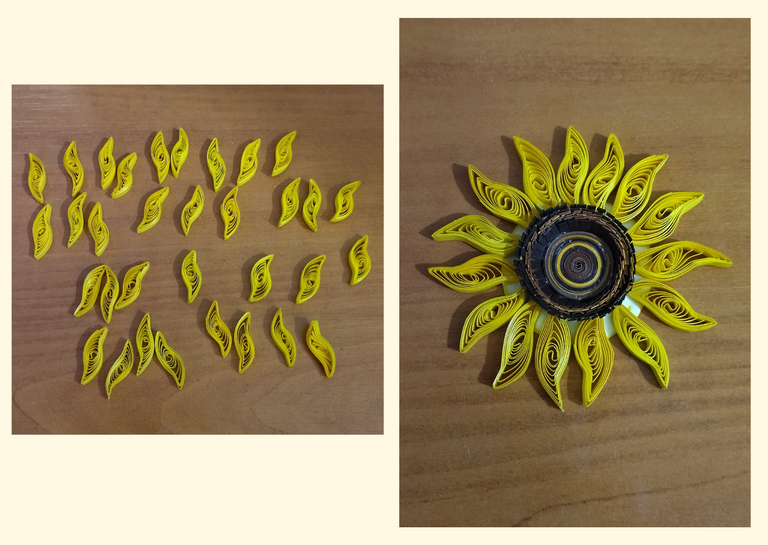
- We will mold the circles trying to take each point to reverse sides, we will make the right amount to place around the large circle and then the top to form our sunflower, make approximately 40 petals.
- Ready all the pieces we will proceed to join them to form the sunflower, we will glue harmoniously at the bottom a line of petals in the way we like, then we will glue the last layer of petals at the top.
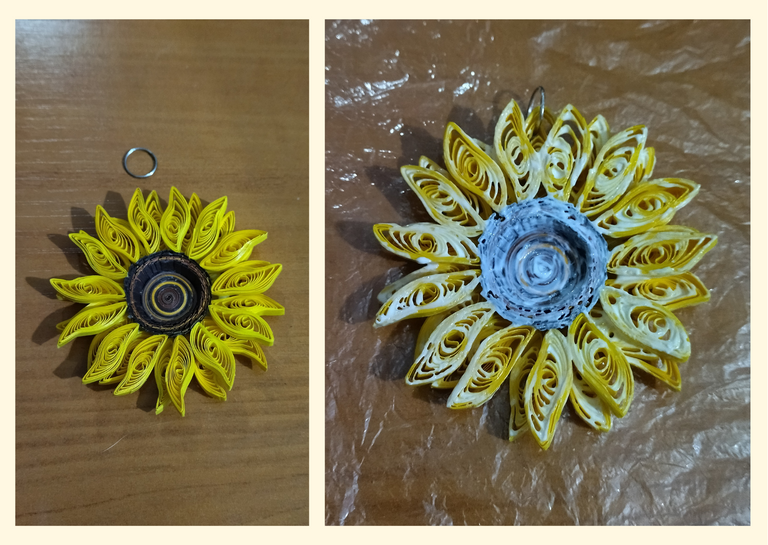
- Finally, we are going to place a medium size jewelery ring on the medallion and put its liquid protection (plasticized), apply several layers of extra strong white carpentry glue, letting it dry between one layer and the other.

• Moldearemos los círculos tratando de llevar cada punta a lados inversos, haremos la cantidad adecuada para colocar alrededor del círculo grande y luego la parte de arriba para formar nuestro girasol, realice aproximadamente 40 pétalos.
• Listas todas las piezas vamos a proceder a unirlas para formar el girasol, vamos a pegar de manera armónica en la parte de abajo una línea de pétalos de la manera que más nos guste, luego vamos a pegar la última capa de pétalos en la parte de arriba.
• Por ultimo vamos a colocarle una argolla mediana de bisutería al medallón y le ponemos su protección liquida (plastificado), aplicamos varias capas de pega blanca extra fuerte de carpintería, dejando secar entre una capa y otra.

What did you think, did you like it?
I hope you did, I hope you liked my explanation, procedure and photos, I made them with love for you.
"Let out that muse that inspires you, and let your imagination fly".
Thank you all, see you next time. 🌹✨

¿Que les pareció, les gustó?
Espero que sí, que les haya gustado mi explicación, procedimiento y fotos, los hice con mucho cariño por y para ustedes.
"Deja salir esa musa que te inspira, y deja volar tu imaginación".
Gracias a todos, nos vemos en la próxima. 🌹✨
Los invito que apoyen a "La Colmena", dale tu voto ✨
 Vote la-colmena for witness By @ylich
Todas las fotos usadas en este post son de mi autoría y han sido sacadas en mi celular personal un Redmi 9T y editadas Canva Banner y separador hecho por mí en Canva Traducido con la ayuda de DeepL


