Hello everyone... 🌸
Hello to my dear Hivers and the dear community of artists Jewelry, as always very pleased and excited to be here again, showing you my work made with love and especially for you.
Greetings to the Splinterland community, and everyone who lives there, I am pleased to be here to participate in the Splinterlands Art Contest Week 270.
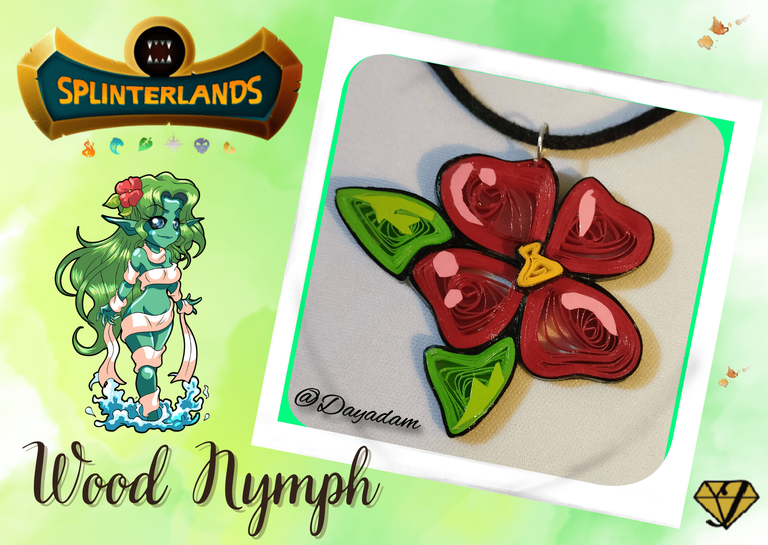
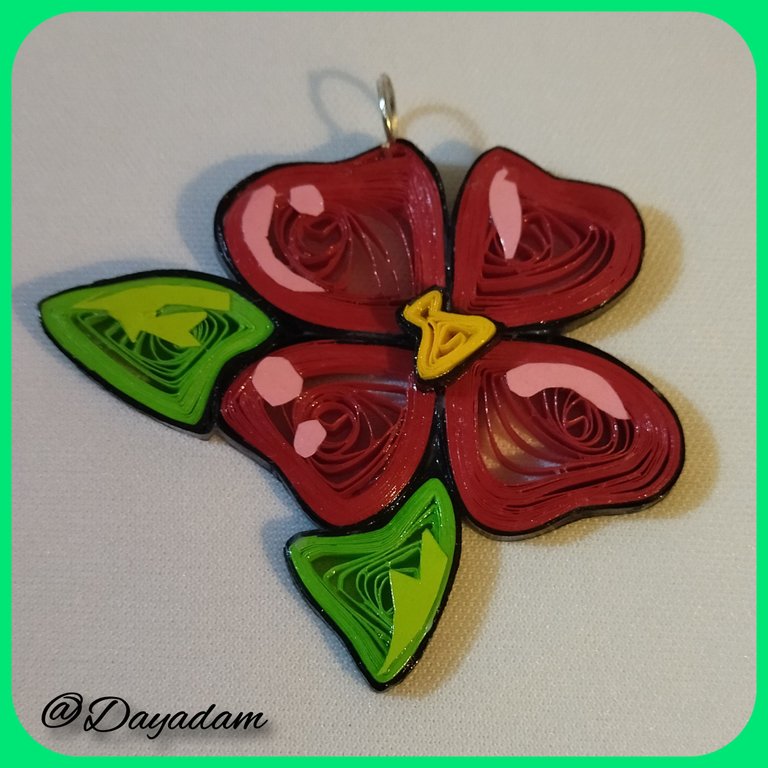
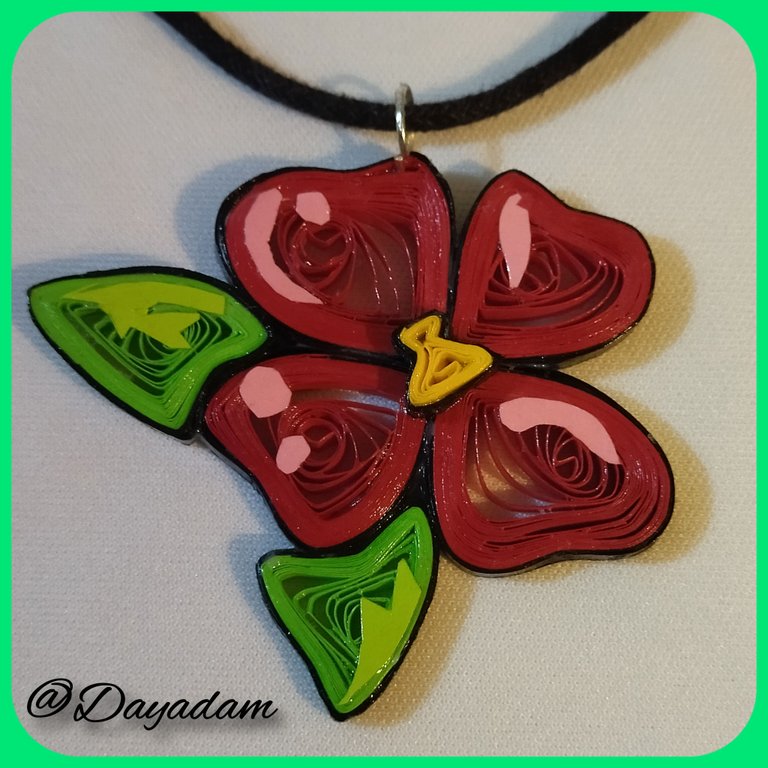
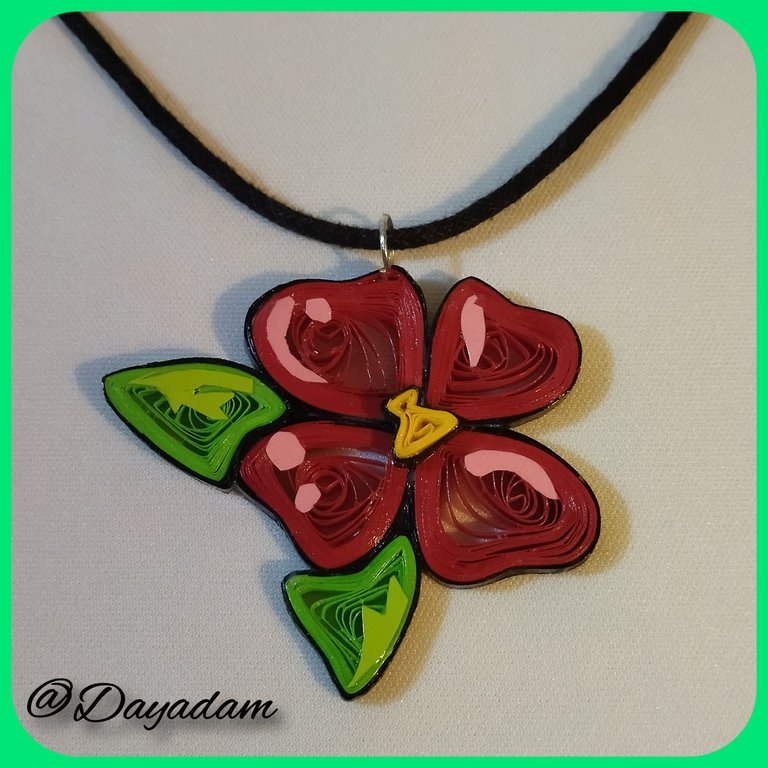
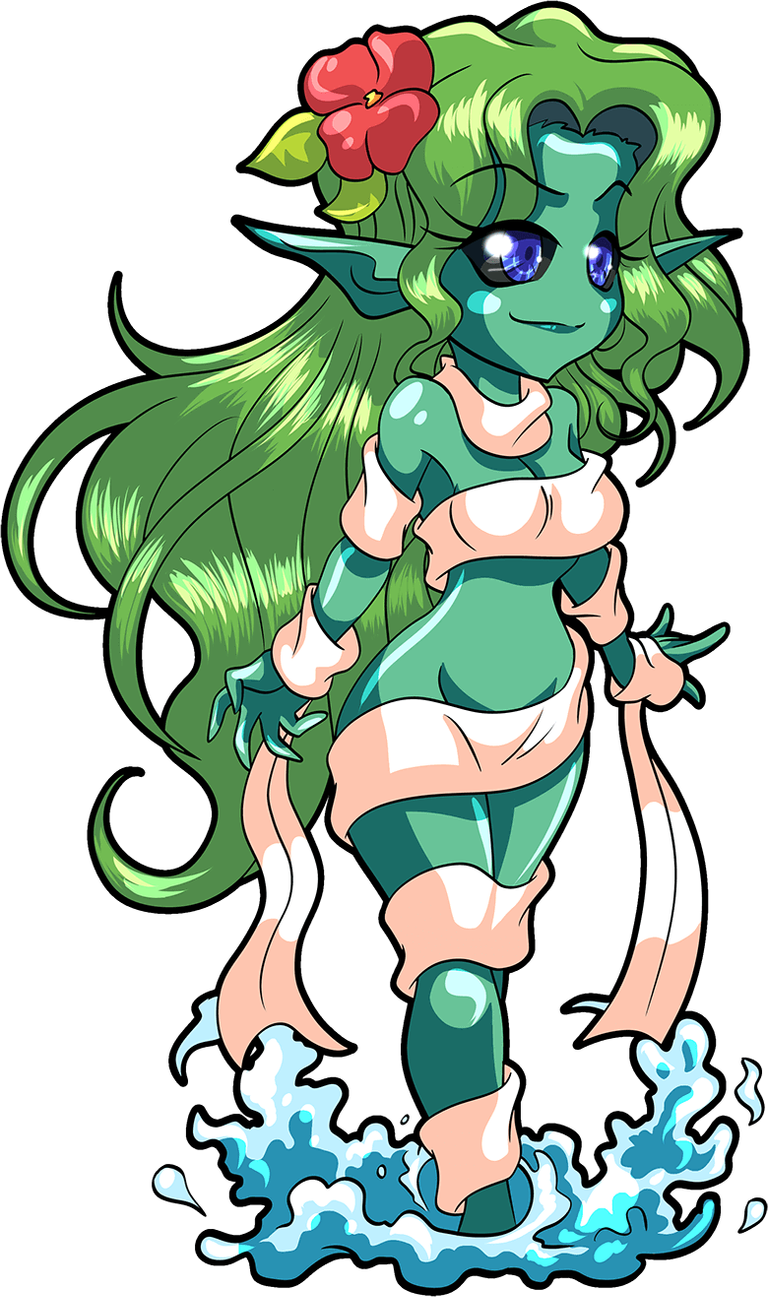
Today I bring you a fan-art of a card called "Wood Nymph", as many have noticed I have a special inclination for flowers, so I wanted to materialize this beautiful element that adorns the character making a pendant necklace in the quilling technique for all of you.
Hoping you like my work, without further ado, I leave you my creative process.
Let's get started:😃

Hola a Todos... 🌸
Hola a mis queridos Hivers y a la querida comunidad de artistas Jewelry, como siempre muy complacida y emocionada de encontrarme por acá nuevamente, mostrándole mi trabajo hecho con mucho amor y especialmente para ustedes.
Un saludo para la comunidad de Splinterland, y todos los que hacen vida por allí, me gratifica estar por acá para participar en el Splinterlands Art Contest Week 270.
Hoy les traigo un fan-art, de una carta llamada "Wood Nymph·, como muchos habrán notado tengo una inclinación especial por las flores, por ello quise materializar ese bello elemento que adorna al personaje realizando un dije para collar en la técnica de quilling para todos ustedes.
Esperando les guste mi trabajo, sin más preámbulos, les dejo mi proceso creativo.
Comencemos:😃

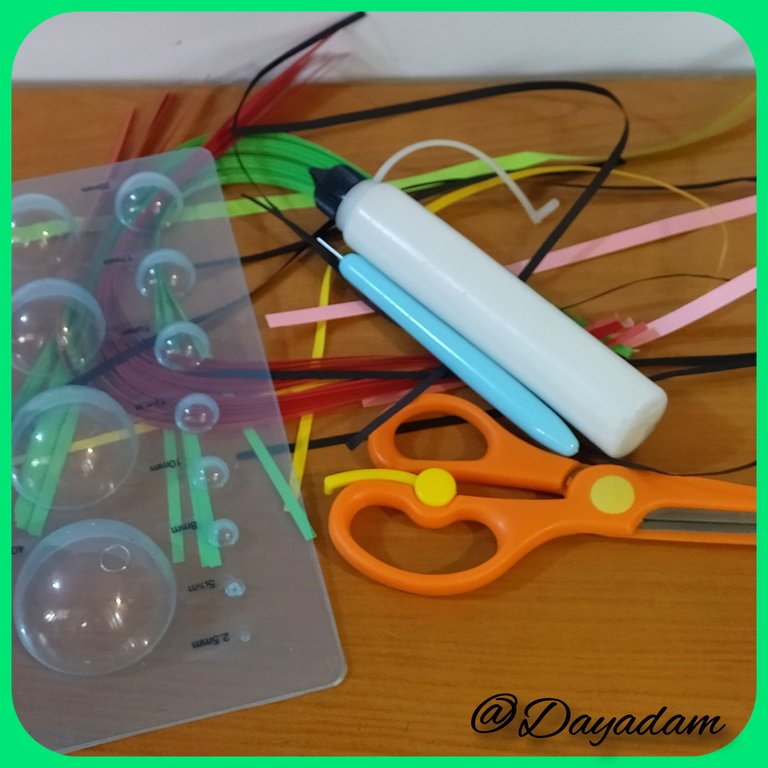
• Cintas de quilling de diversos colores.
• Aguja para quilling.
• Regla de diversas medidas de circunferencias.
• Argolla mediana de bisutería.
• Pega blanca extra fuerte (de carpintería).
• Tijera.
• Pincel.
- Quilling ribbons of different colors.
- Quilling needle.
- Rule of various measures of circumferences.
- Medium size jewelry ring.
- Extra strong white glue (carpentry glue).
- Scissors.
- Paintbrush.

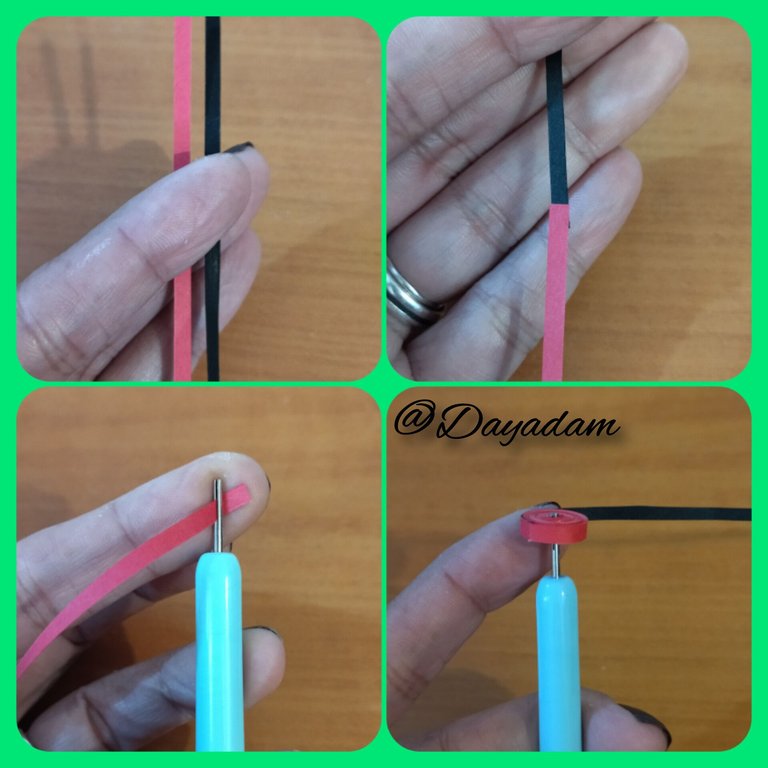
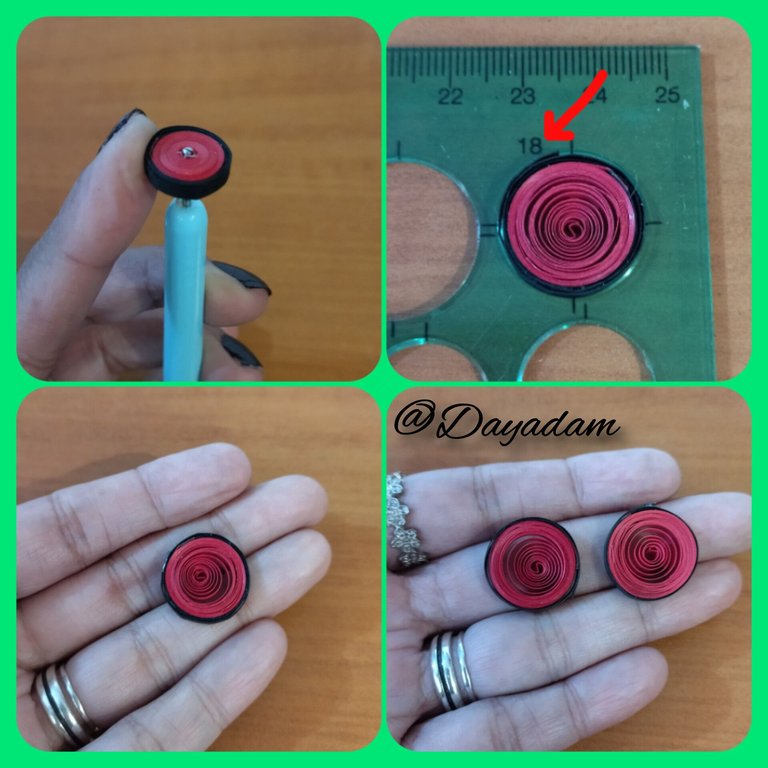
- Let's start by taking a red quilling ribbon 3mm wide x 80cms long, and a black quilling ribbon 3mm wide x 12cms long, we will join them together to form a single ribbon.
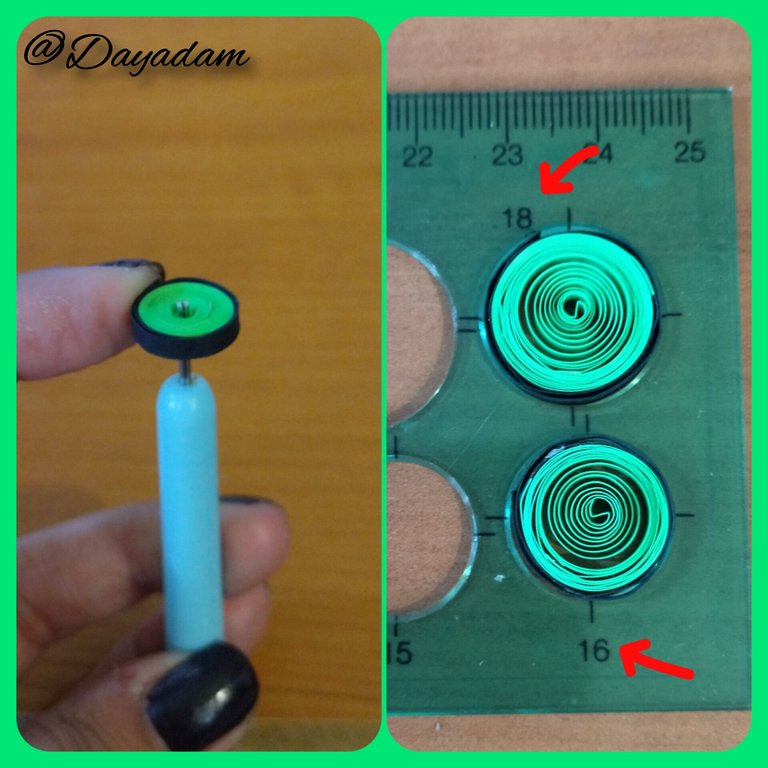
- With the quilling needle we are going to roll up starting with the red part and ending with the black part, we take out the needle and we will measure in the ruler of different circumference measures in the measure number 18, we take out the ruler and seal with white glue, to obtain an open circle, we will need another equal one.
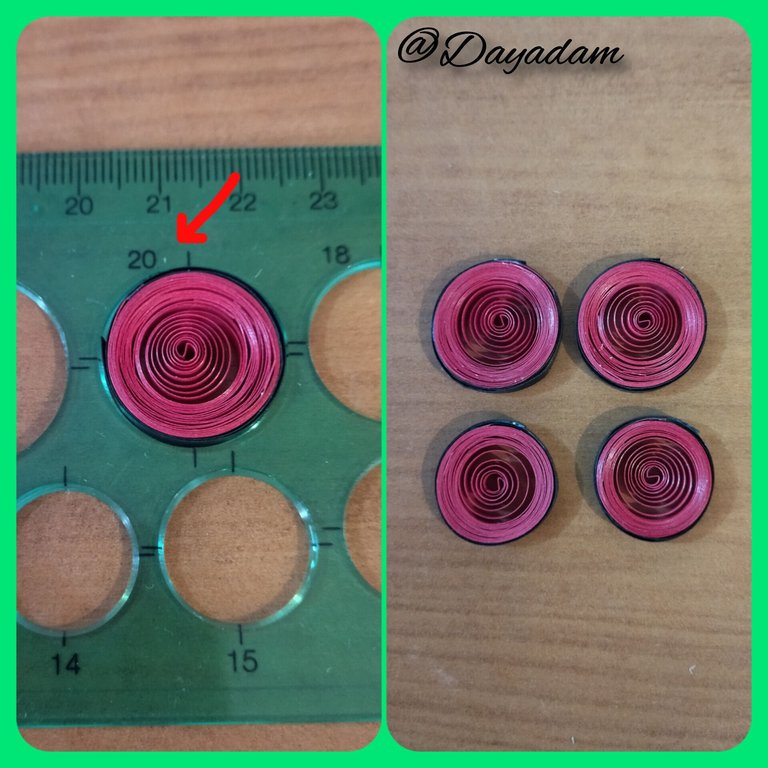
- Under the same for previous meters we will make another open circle with the only difference that the red ribbon will measure 100cms long the black one will be the same as the previous one, when rolling with the needle we will measure on the ruler in the measure number 20, we will need 2 equal.

• Vamos a comenzar tomando una cinta para quilling de color rojo de 3mm de ancho x 80cms de largo, y una color negro de 3mm de ancho x 12cms de largo, vamos a unir para formar una sola cinta.
• Con la aguja para quilling vamos a enrollar empezando por la parte roja hasta finalizar por la parte negra, sacamos de la aguja y mediremos en la regla de diversas medidas de circunferencia en la medida número 18, sacamos de la regla y sellamos con pega blanca, para obtener un circulo abierto, vamos a necesitar otro igual.
• Bajo los mismos para metros anteriores realizaremos otro circulo abierto con la única diferencia que la cinta de color rojo medirá 100cms de largo la negra será igual que la anterior, al enrollar con la aguja mediremos en la regla en la medida número 20, necesitaremos 2 iguales.
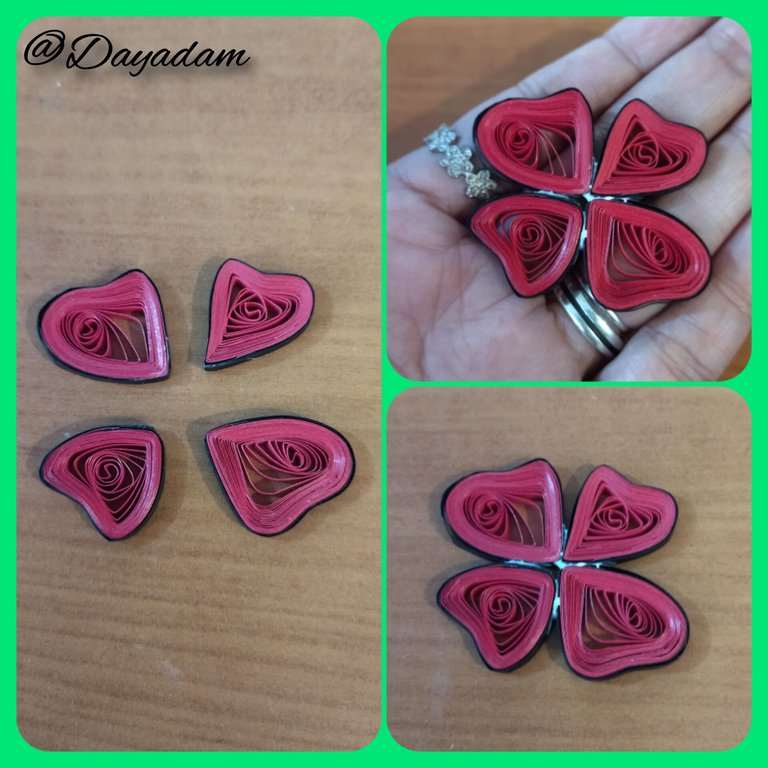
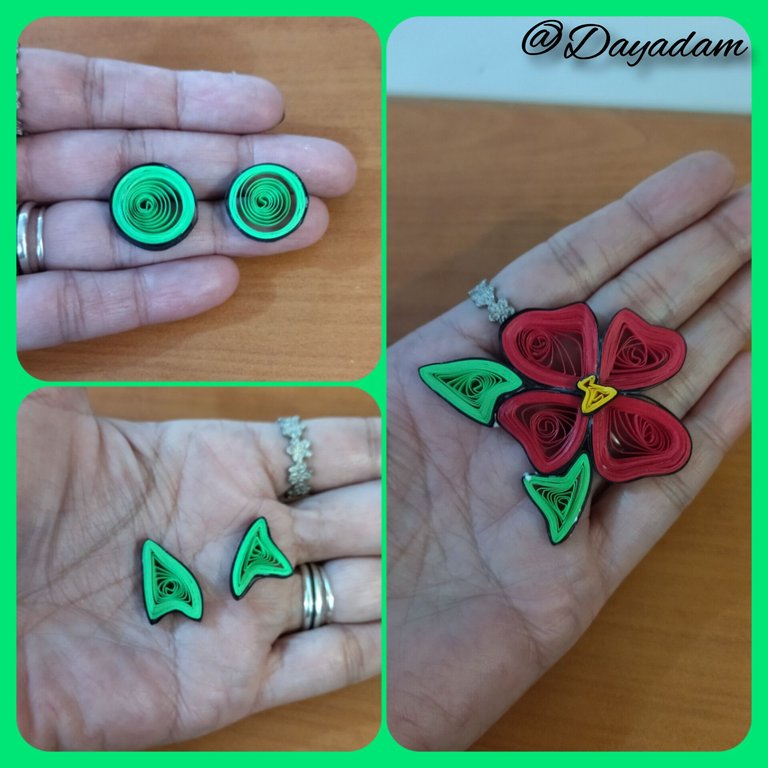
• Vamos a moldear los círculos según la imagen referencial que tengo, como deseo mas o menos que queden los pétalos de mi flor. At the end of the molding we join the 4 petals.
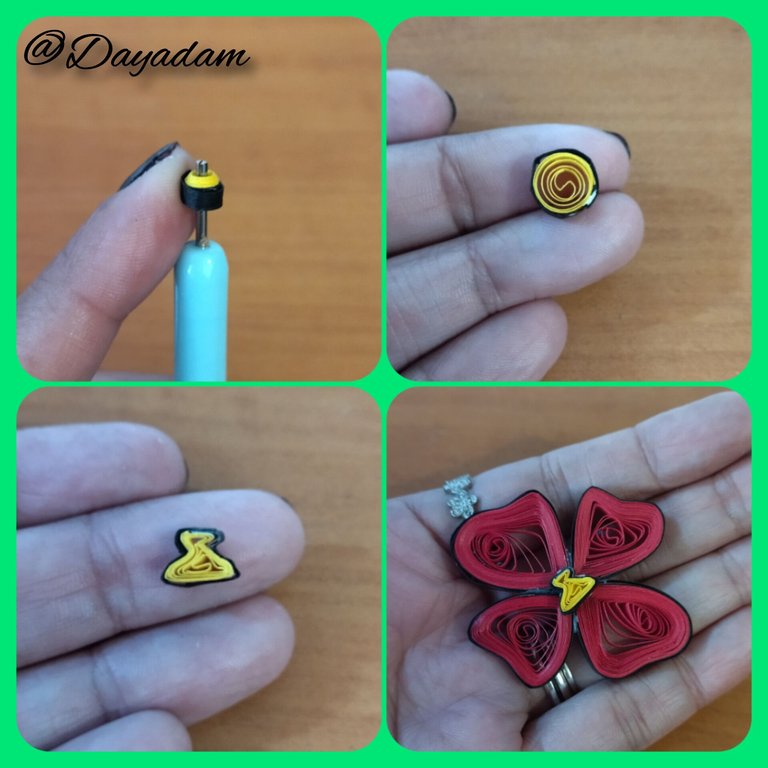
- To make the center of the flower we will take a small piece of yellow quilling tape 3mm wide and a black one, we will make an open circle and mold it according to the reference image, once ready we glue it in the center of the flower.
- To make the leaves we will take 2 green ribbons of 3mm wide one of 80cms long and another of 50cms long, to each one we will incorporate a piece of black ribbon of 3mm wide x 10cms long to form a single ribbon, we will roll with the quilling needle we will measure in the circumference ruler in the measures 18 and 16 respectively, and we will mold as we want our leaves to be and we will glue to the flower.

• Vamos a moldear los círculos según la imagen referencial que tengo, como deseo mas o menos que queden los pétalos de mi flor. Al finalizar el moldeado unimos los 4 pétalos.
• Para hacer el centro de la flor tomaremos un trozo pequeño de cinta para quilling amarilla de 3mm de ancho y uno negro, realizaremos un circulo abierto y moldearemos según la imagen de referencia, una vez listo pegamos en el centro de la flor.
• Para hacer las hojas tomaremos 2 cintas verdes de 3mm de ancho una de 80cms de largo y otra de 50cms de largo, a cada una le incorporaremos un trozo de cinta negra de 3mm de ancho x 10cms de largo para formar una sola cinta, enrollaremos con la aguja para quilling mediremos en la regla de circunferencias en las medidas 18 y 16 respectivamente, y moldearemos según queramos que queden nuestras hojas y pegaremos a la flor.
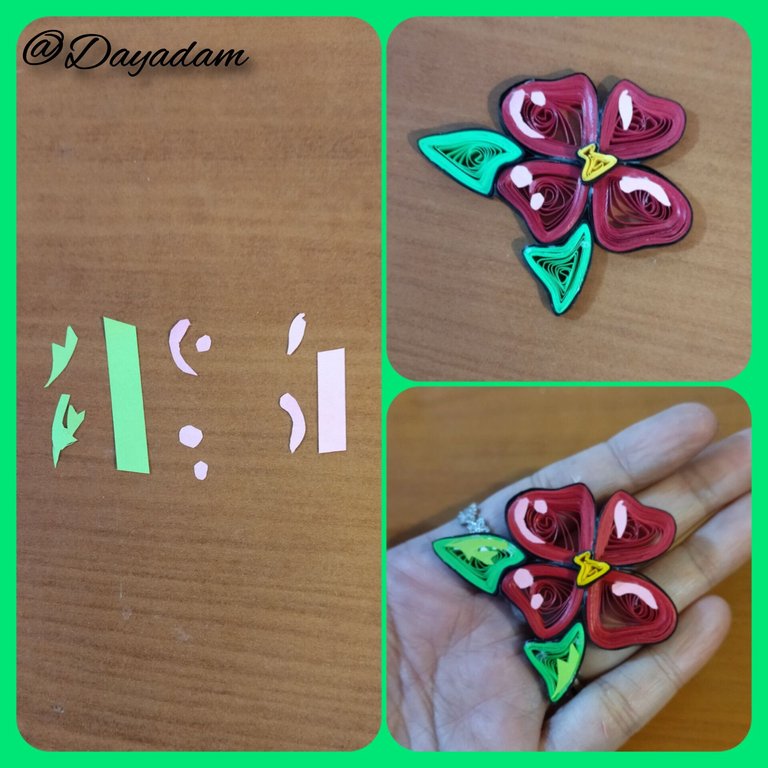
- With lighter green ribbons and a pinkish tone I cut out some details to glue them to the leaves and petals.
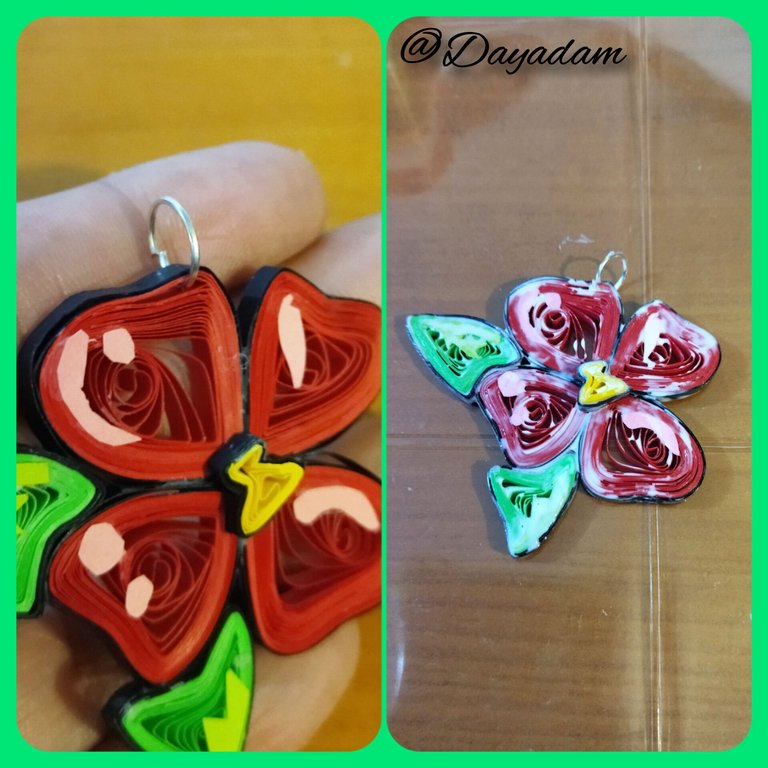
- I placed a medium size jewelry ring on the pendant.
- To finish, I applied some coats of extra strong white carpentry glue, letting it dry between coats.
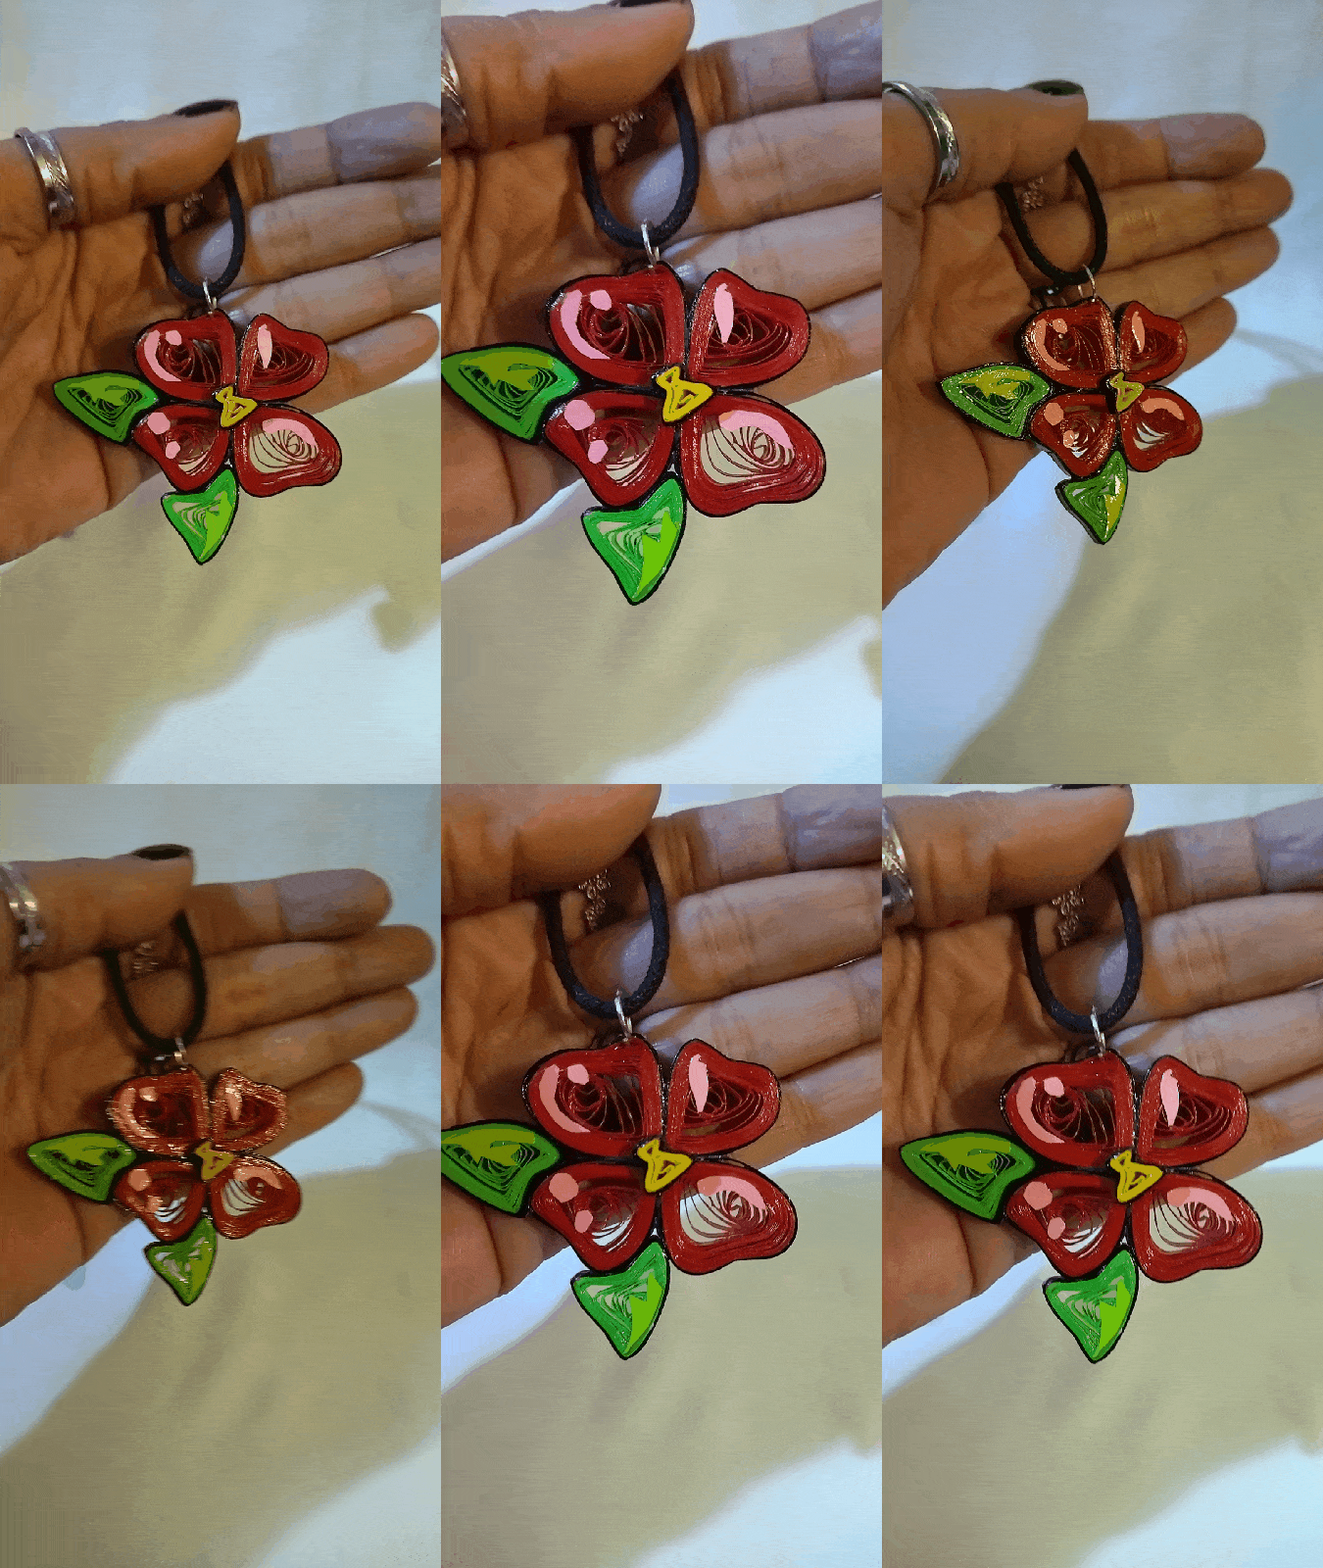
This way we have ready this fan-art of Wood Nymph, in the Quilling Technique.

• Con cintas de color verde mas claro y una tonalidad rosada recorte algunos detalles para pegarlos a las hojas y pétalos.
• Listo el dije le coloque una argolla mediana de bisutería.
• Para finalizar le coloque su protección liquida, aplicando algunas capas de pega blanca extra fuerte de carpintería dejando secar entre una capa y otra.
De esta manera tenemos listo este fan-art de Wood Nymph, en la Técnica de Quilling.


What did you think, did you like it?
I hope you did, I hope you liked my explanation, procedure and photos, I made them with love for you.
"Let out that muse that inspires you, and let your imagination fly".
Thank you all, see you next time.

¿Qué les pareció, les gustó?
Espero que sí, que les haya gustado mi explicación, procedimiento y fotos, los hice con mucho cariño por y para ustedes.
"Deja salir esa musa que te inspira, y deja volar tu imaginación".
Gracias a todos, nos vemos en la próxima.

Todas las fotos usadas en este post son de mi autoría y han sido sacadas en mi celular personal un Redmi 9T y editadas en Canva y en Inshot Fuente Carta Wood Nymph Banner y separador hecho por mí en Canva Traducido con la ayuda de DeepL


