Pumpkin earrings ||| Jewelry community Halloween contest
Hello There!😊
It's a spooky time in some countries around the world, isn't it? Even though we do not celebrate Halloween 🎃 in my culture. In my three years on the hive, every year I enjoy Halloween publications from a lot of Hiver, and this year, I'm thrilled to participate in a contest to present earrings I made in celebration of the season.
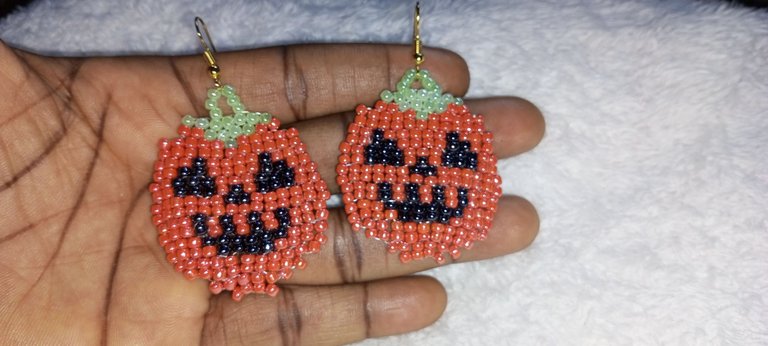
So join me today while I walk you through the process of making beaded pumpkin earrings as my entry into the #jewelry community Halloween contest. I'm inviting @ibbtammy, @wongi, and @glorydee to join in the contest here.
Pumpkin is my favorite symbol of Halloween, so I have chosen to make red pumpkin earrings. I chose red because it exists, but it's rare, and people hardly use red pumpkins for their Halloween items.
Material used
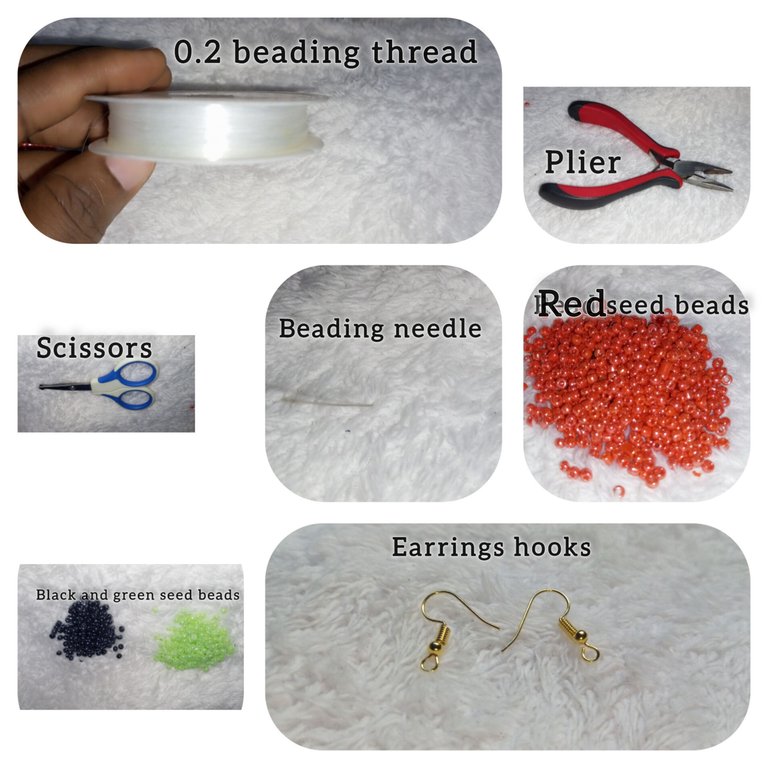
Step-by-step process
Step 1:
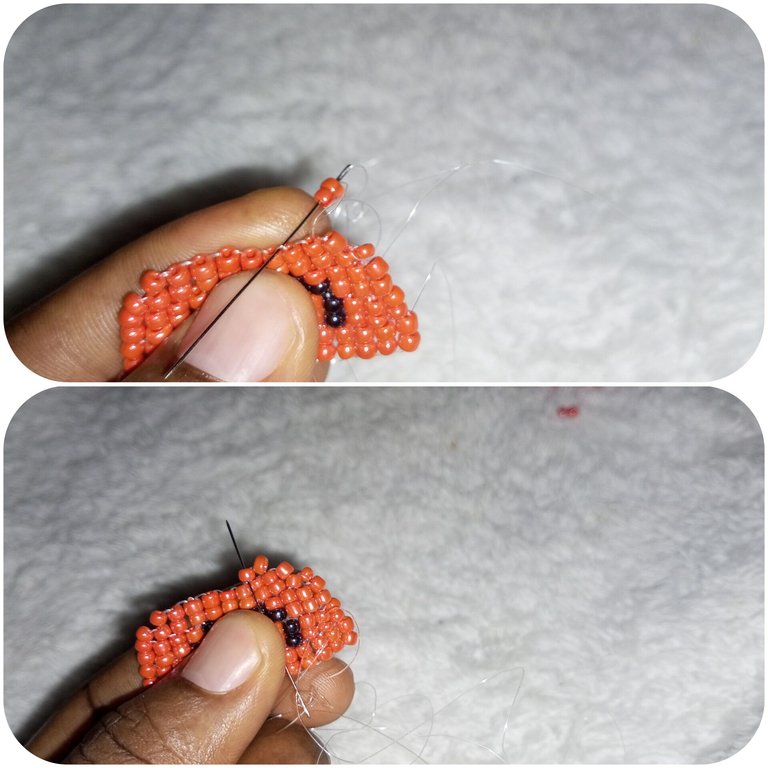
We cut 150 cm of 0.2 fishline and inserted it into our beading needle, leaving about 10 cm as the tale.
Step 2:
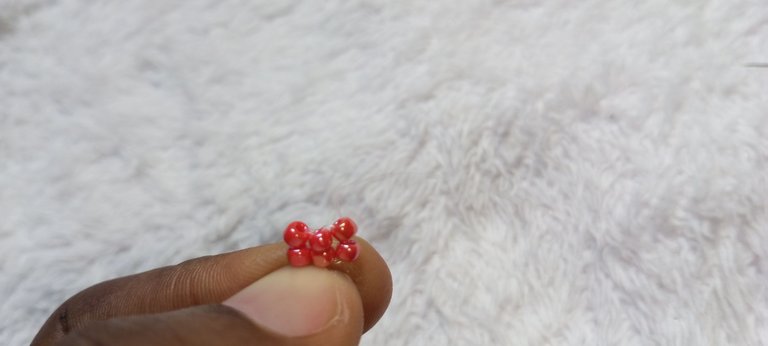
We want to make 14 rolls of beads; we start by putting 4 beads in the line, then put the needle through the four beads. Once that is done, bend the 4 beads into two, put 2 beads into the needle, and pass it through the middle beads as shown in image 4.
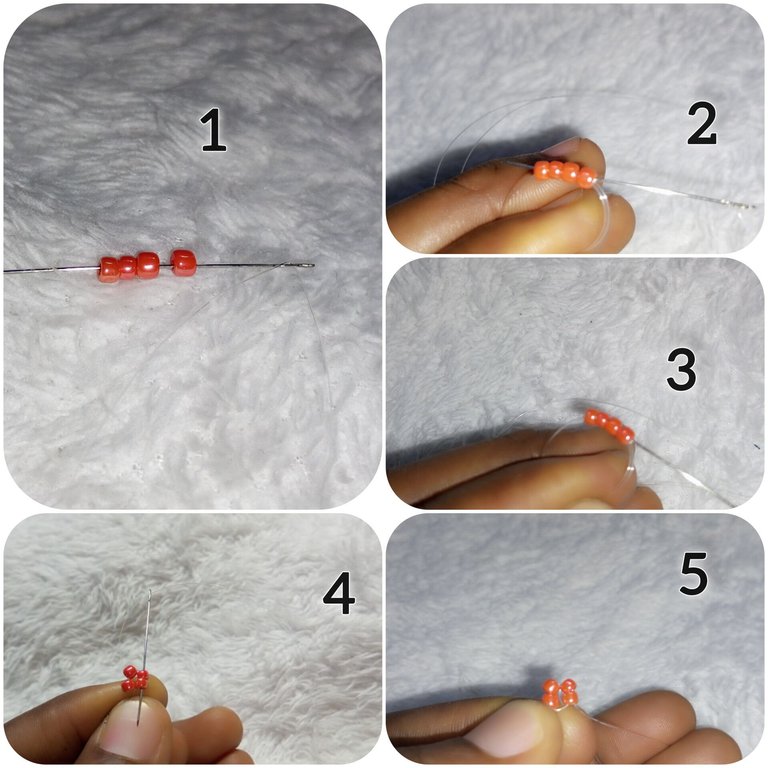
We put two red beads in our needle and insert it to the line. This gives us three rolls of red beads.
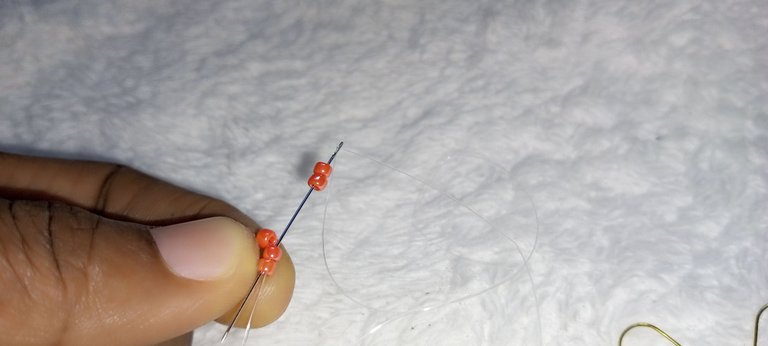
Step 3:
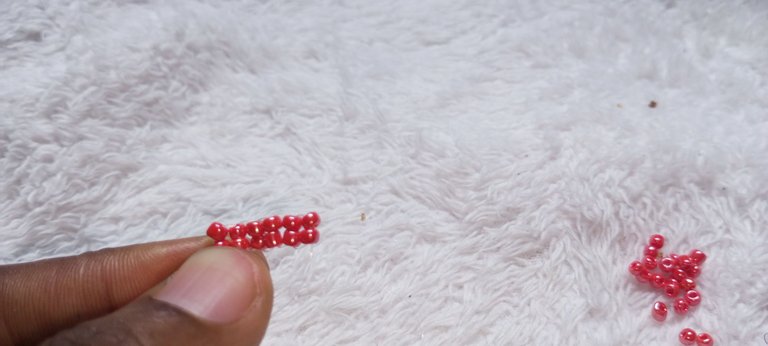
We continue to add two red beads until we have the first six rolls.
Step 4:
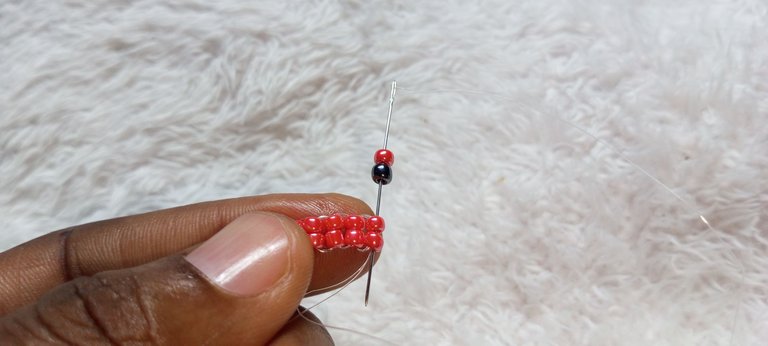
Then we introduce a black bead by putting 1 red bead and 1 black bead in the needle and inserting it on the line.
Step 5
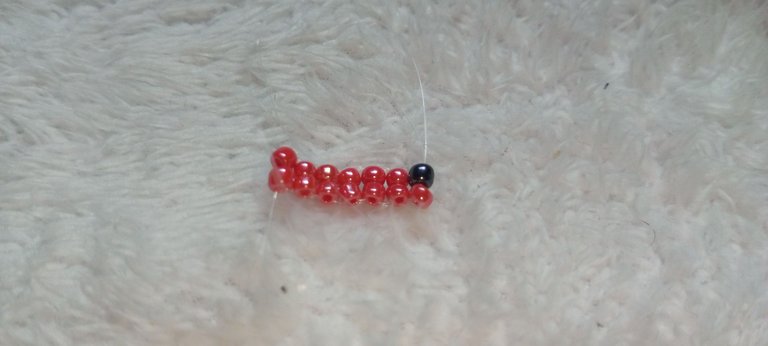
We go ahead and introduce the second black bead by putting a black bead first, followed by a red bead, and then passing it through the line.
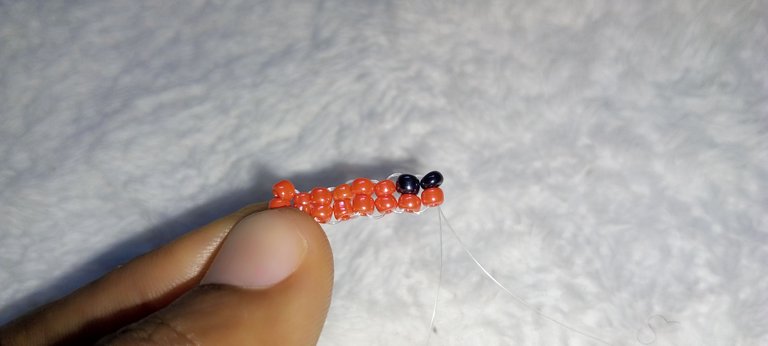
Step 6
We continue to add 2 red beads until we have another 6 rolls of red beads. This gives us our 14 rolls of beads.
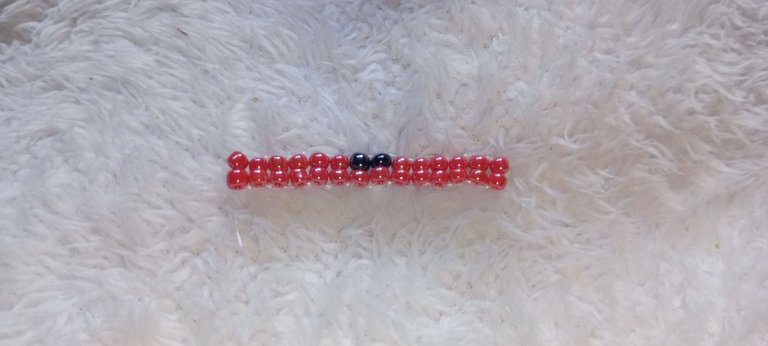
Step 7
The next step is to make a turn by turning the bead to the other side and continuing to make another roll. For this, we put 4 red beads on the needle and passed it through the next two fishlines, as shown below.
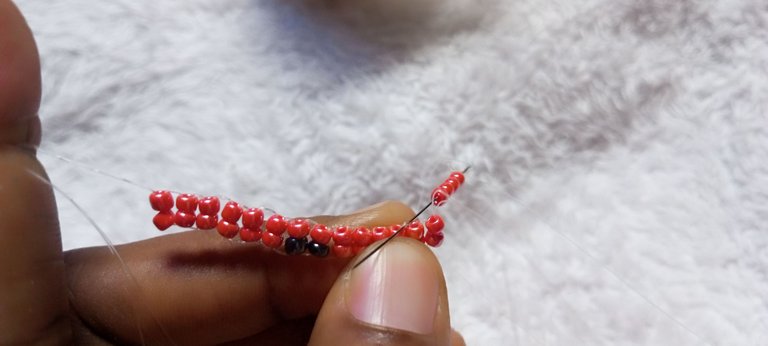
Step 8
Pass the needle back through the last two beads, then pass the needle again through the first two beads and back through the last two beads to make it strong.
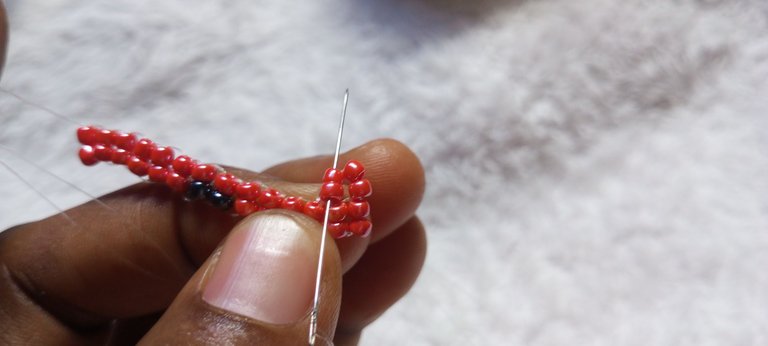
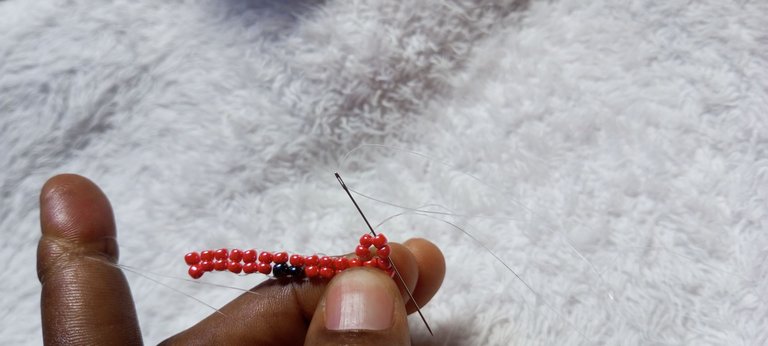
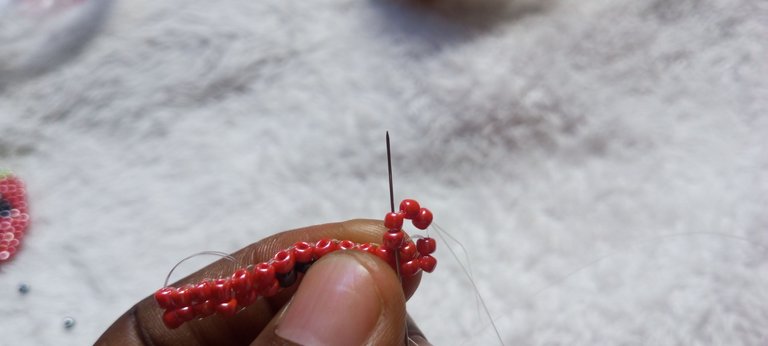
And we have this
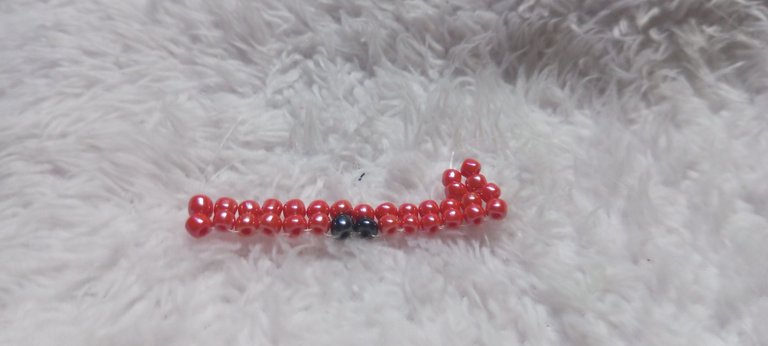
Step 9
We add another two rolls of red beds
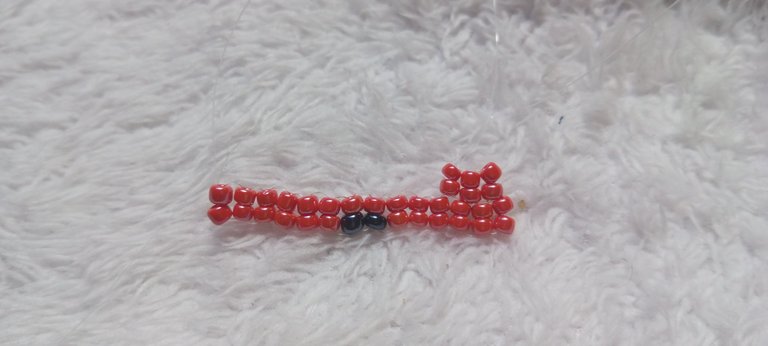
Step 10
And then introduce another two black beads.
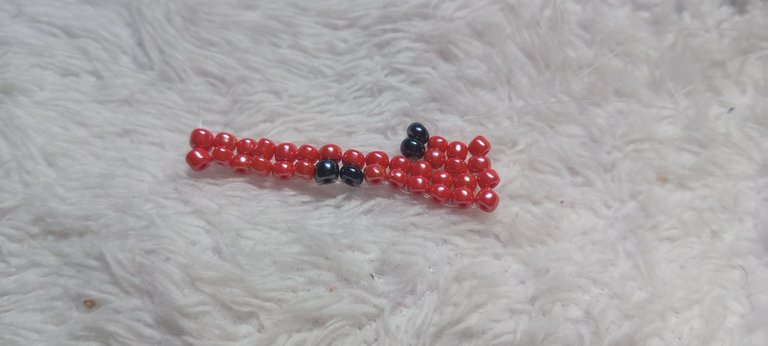
Step 11
We introduced another roll of red beads and then another roll of black beads.
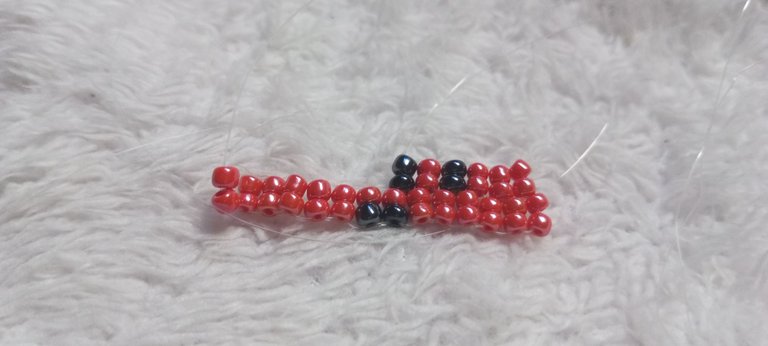
Step 12
We continue this process until we have four rolls of black beads in this particular line.
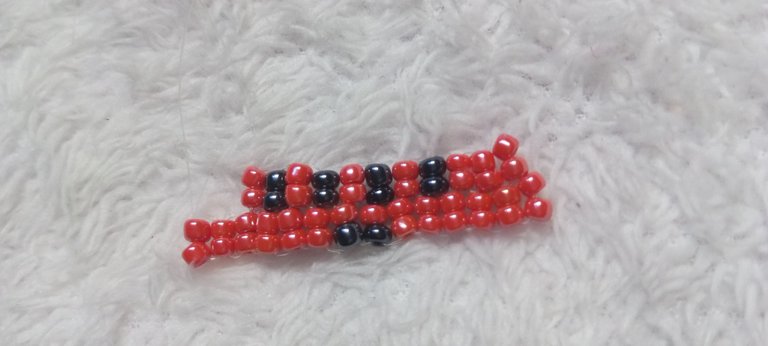
Step 13
We then end the line with red beads.
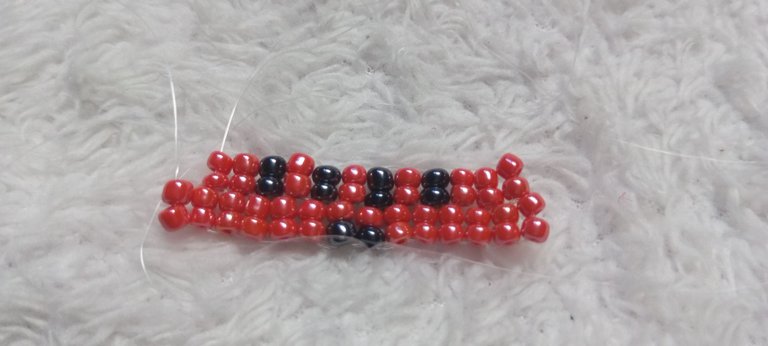
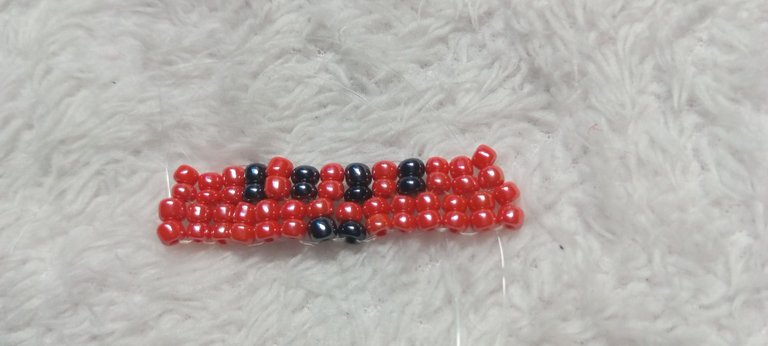
Step 14
Turn the beads around and continue with another line. By putting 4 beads in the needle, ignore one roll of beads and pass it through the next line.
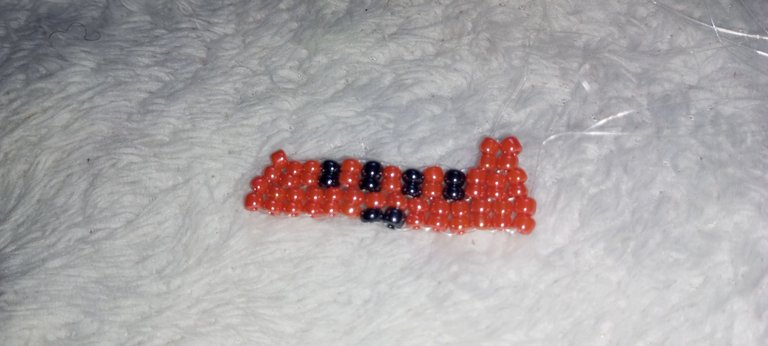
Step 15
Add another roll of red beads.
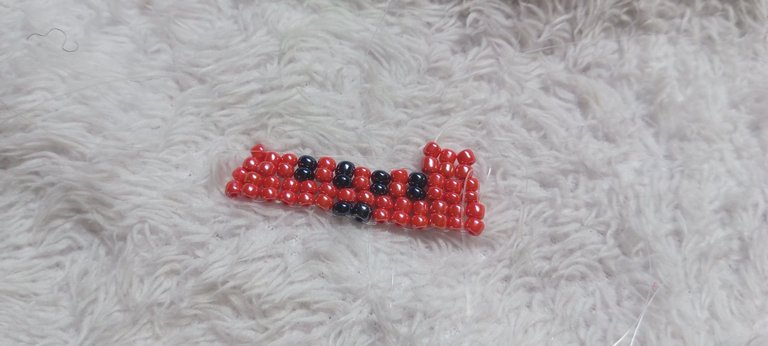
Step 16
Introduce one black bead by putting one red bead and one black bead into the needle, then pass it through the line.
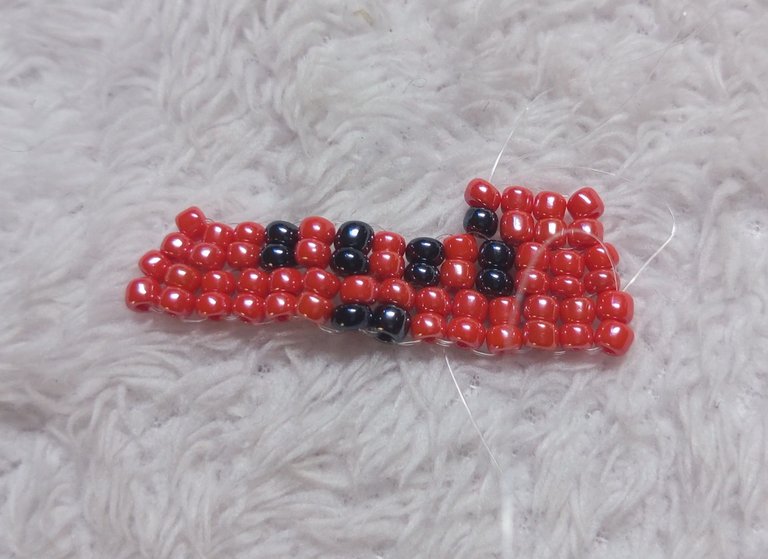
Step 17
We put two black beads into the needle and passed it through the line.
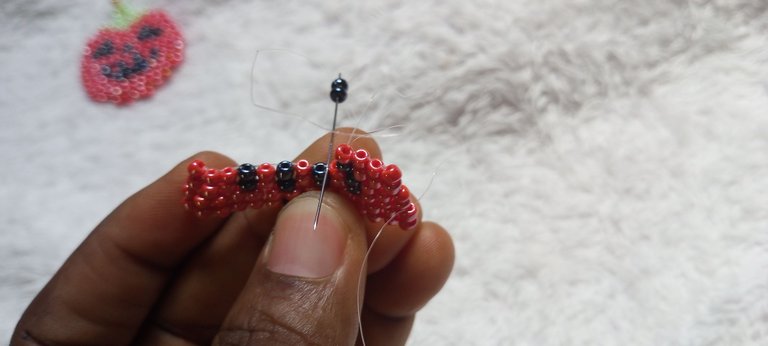
Step 18
We continue to add two black beads for the next three rolls.
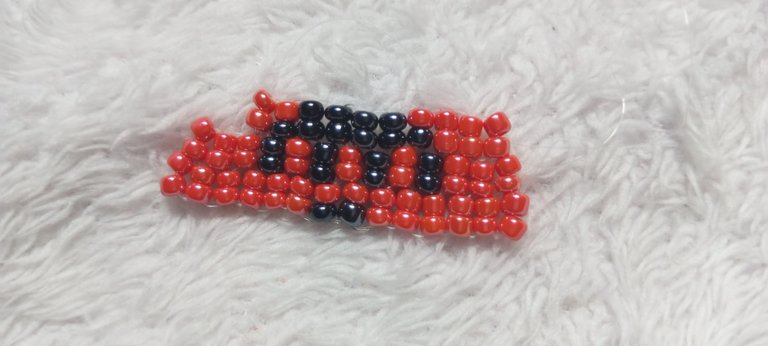
Step 19
To complete our Jack 'O' lantern, we put a black bead and a red bead into the needle and then passed it through the line.
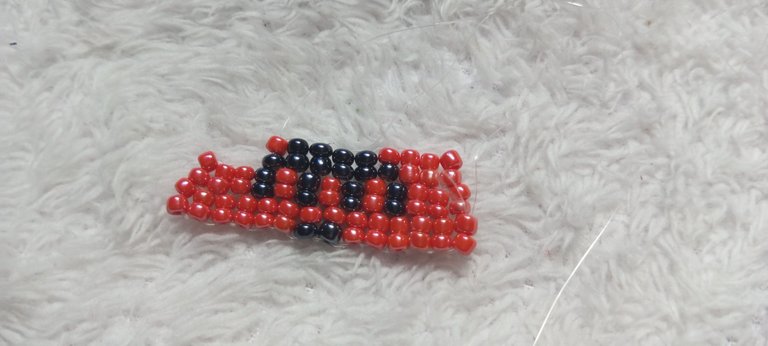
Step 20
Next, we add two red beads.

Step 21
We add another two red beads to complete this line.
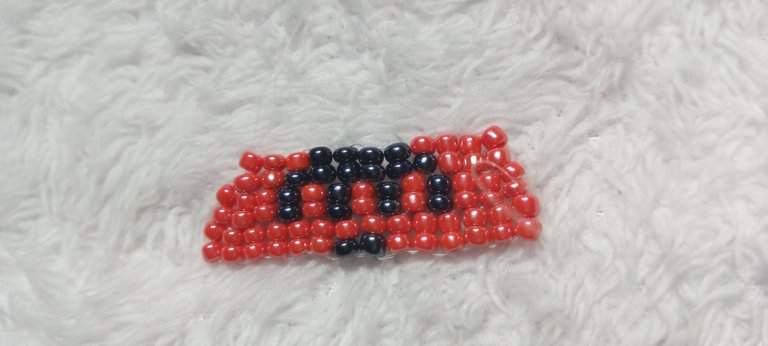
Step 22
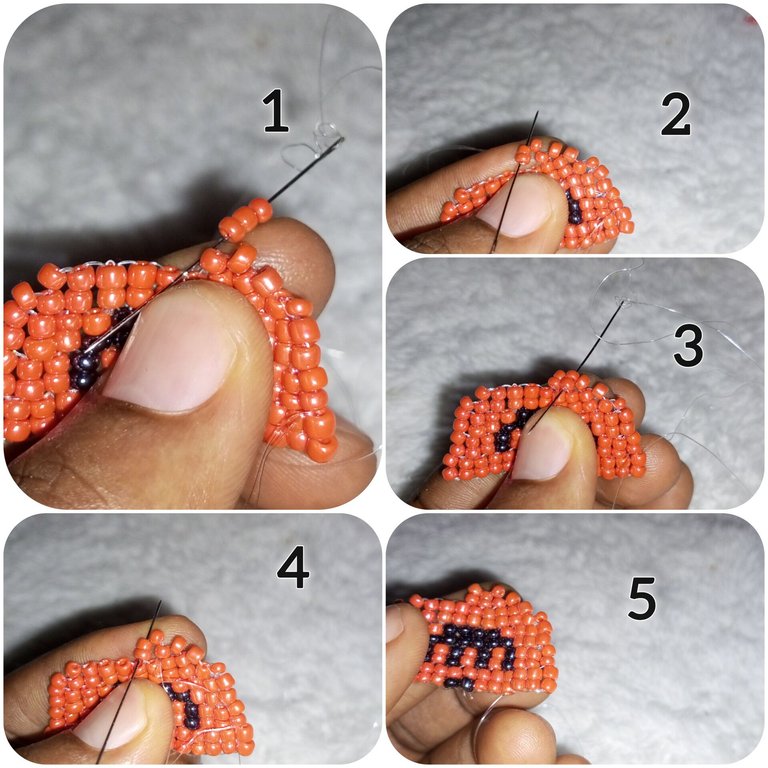
We turn the bead around to begin another line, and this time we start the new line with two red beads.
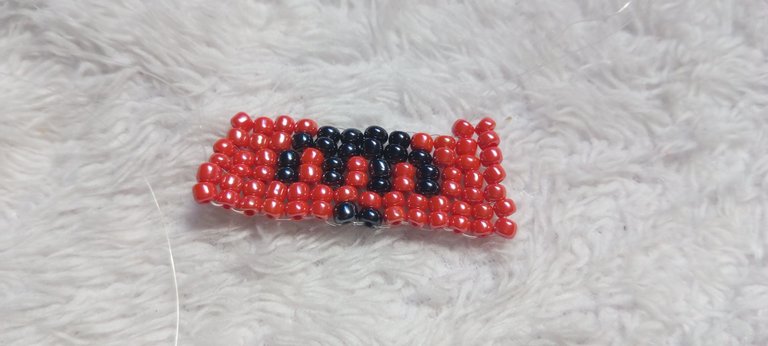
Step 23
Next, we add three red beads.
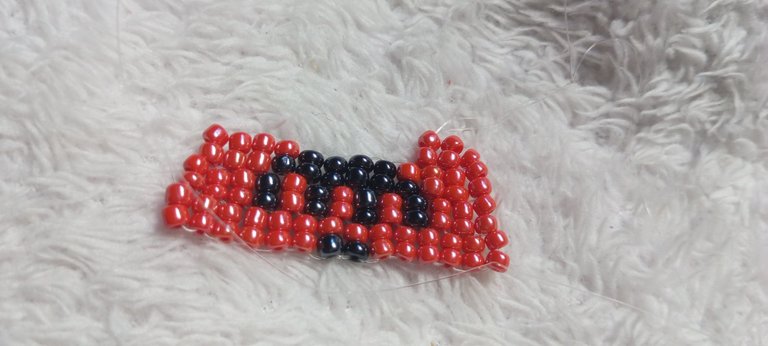
Step 24
We continue to add two red beads until we reach the second to the last roll. Then, we put two red beads through the line and brought the needle back through the second bead, as shown below.
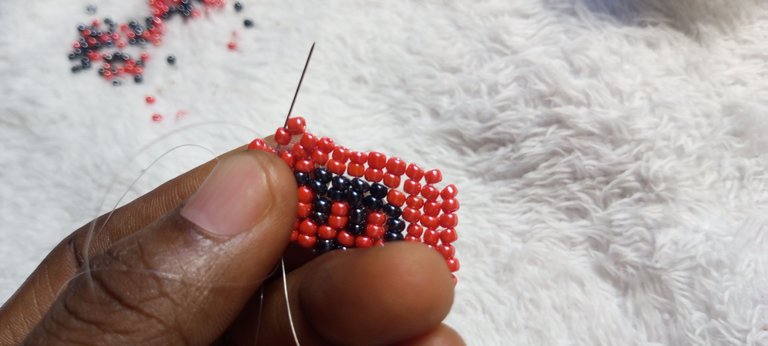
Step 25
To close this line we put one red bead to the needle and pass it through the last roll. We go ahead to pass our needle until it comes out of the second roll of beads.
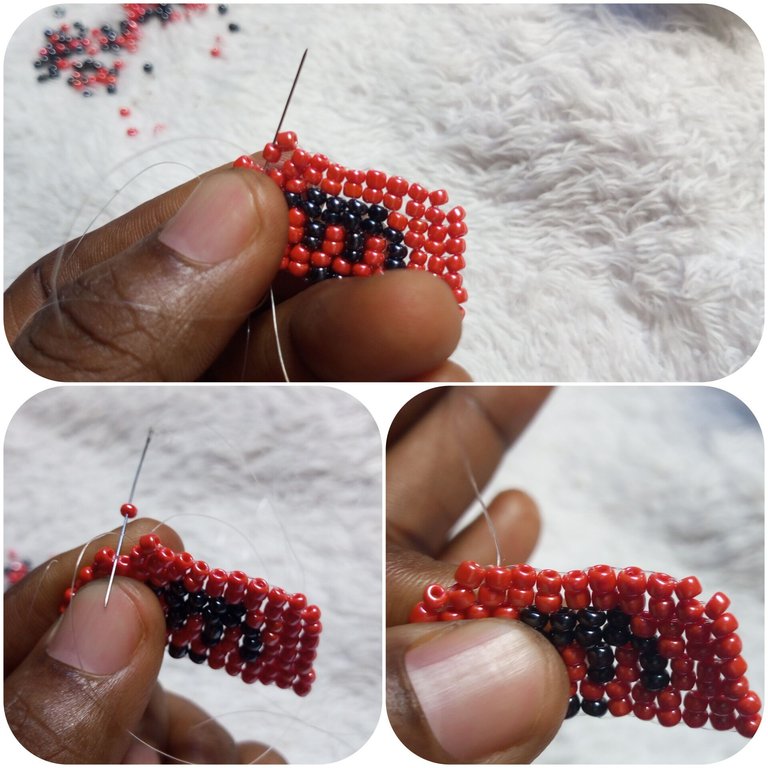
Step 26
We then continue the next line by adding two red beads.
Step 27
Next, we add three red beads.
Step 28
We proceed to add another two red beads, and then one red beads to close the line. After that, we pass our needle through the beads until it comes out at the other end of the beads.
Step 29
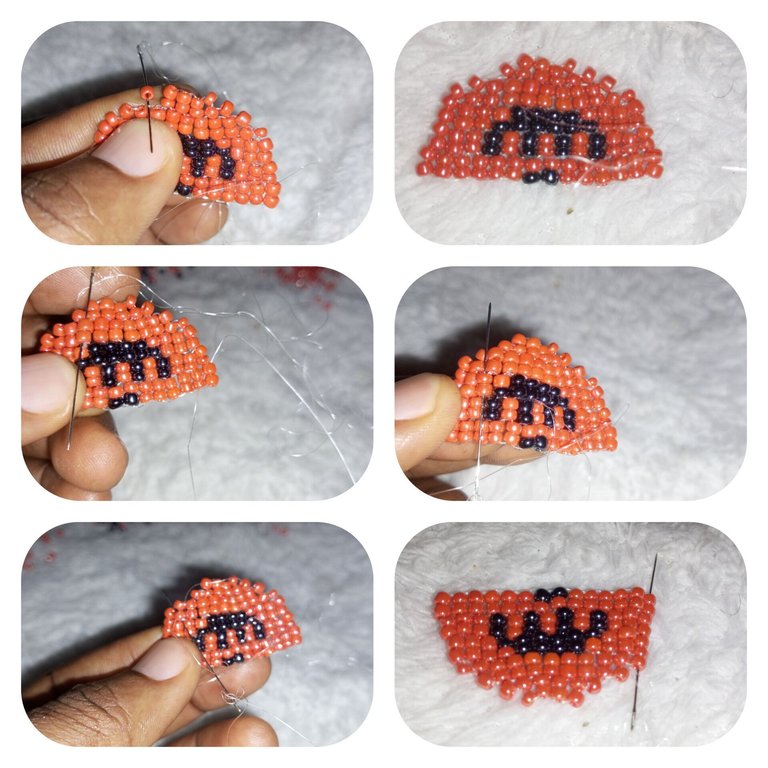
In this step, we continue to build the upper part of the pumpkin. First, we put four red beads on the line, followed by three rolls of black beads and then another roll of red beads.
Step 30
In this step, we start by putting one red bead and a black bead to the line, followed by a roll of red beads and then three rolls of red beads to end the line.
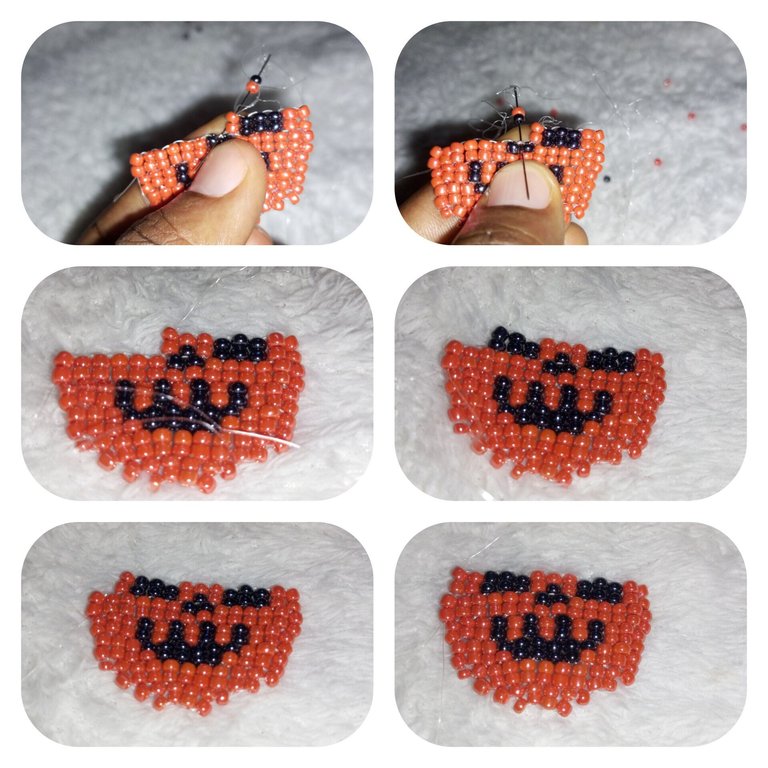
Step 31
We turn again and start a new line by putting four red beads on the line, and then put one red bead and one black bead on the line, followed by one roll of black beads and then two rolls of red- beads.
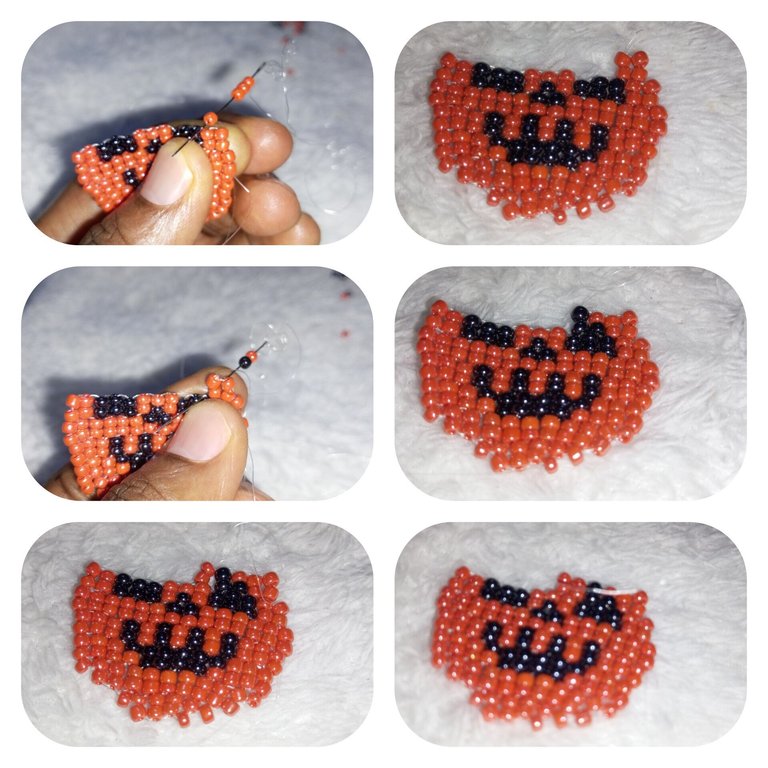
Step 32
Here we continue by adding two rolls of red beads, then put one red bead and one black bead to make one roll. Followed by one roll of black beads and two rolls of red beads to complete the line.
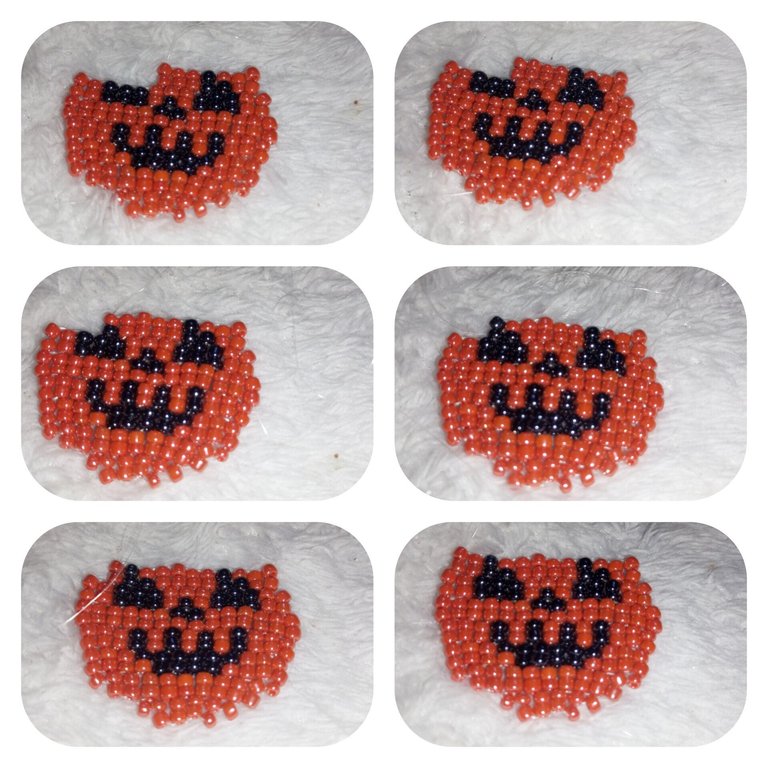
Step 33
In this step, we simply turn again and start a new line, by putting four red beads on the line to make two rolls of beads followed by three additional three rolls of red beads.
Step 34
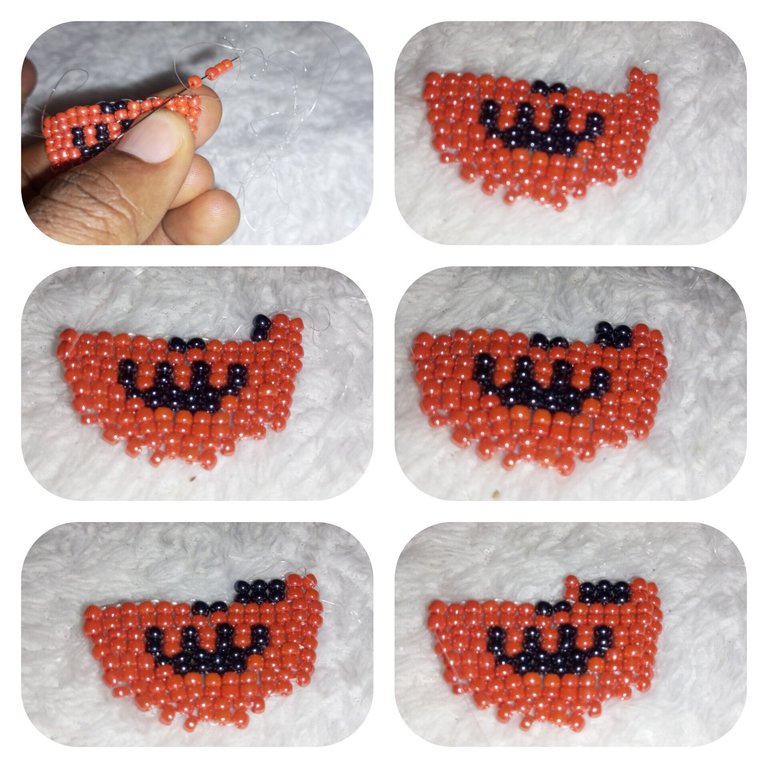
Here we introduced our green beads, what's a pumpkin without a touch of little green? We put one red bead and one green bead on the line. Followed my adding four rolls of red beads to complete this line.
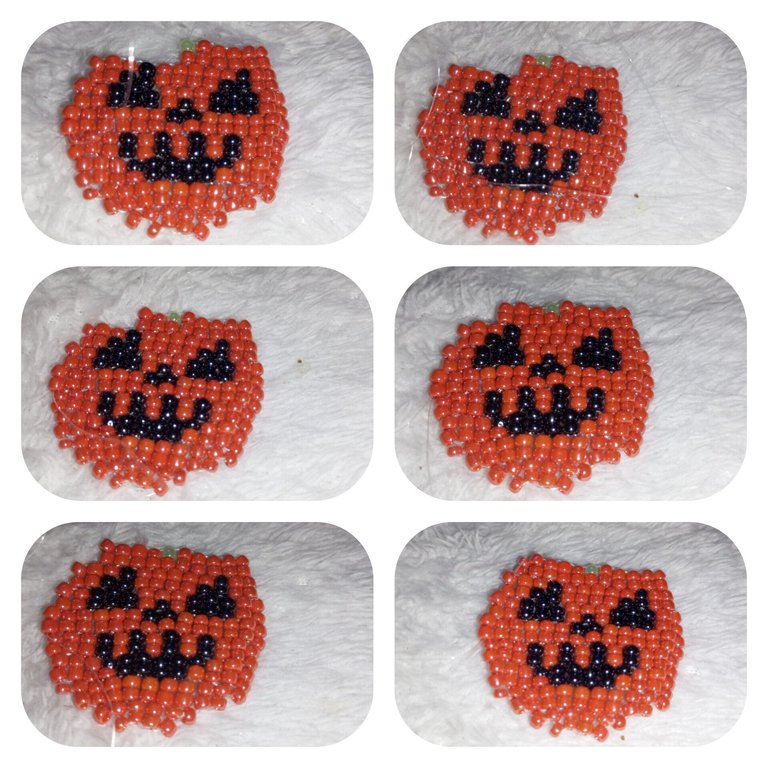
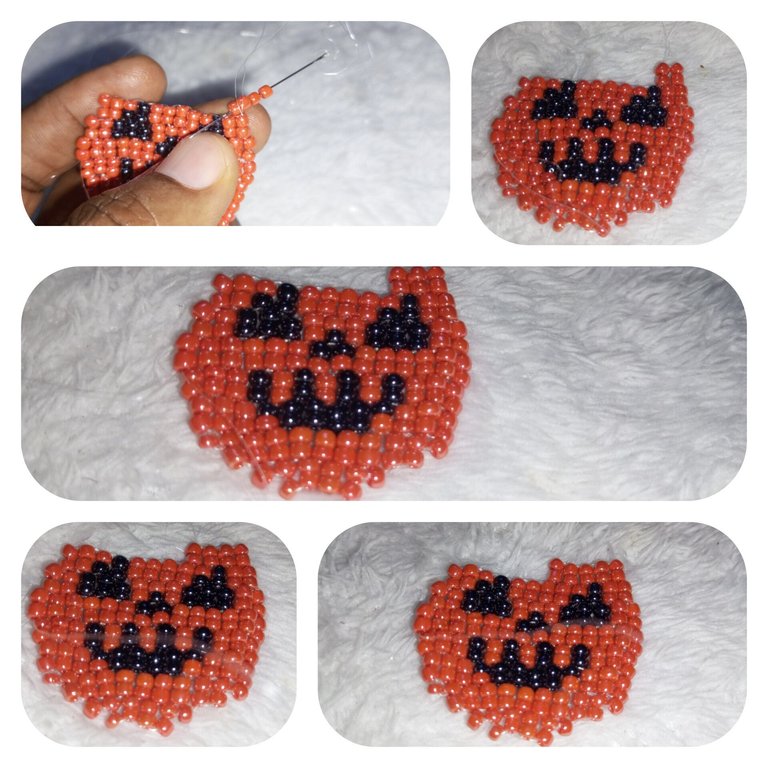
Step 35
In this step we start by putting two red beads in the line followed by one green beads, continue putting one green bead until we have four rolls of green beads. We now end the line with two red beads.
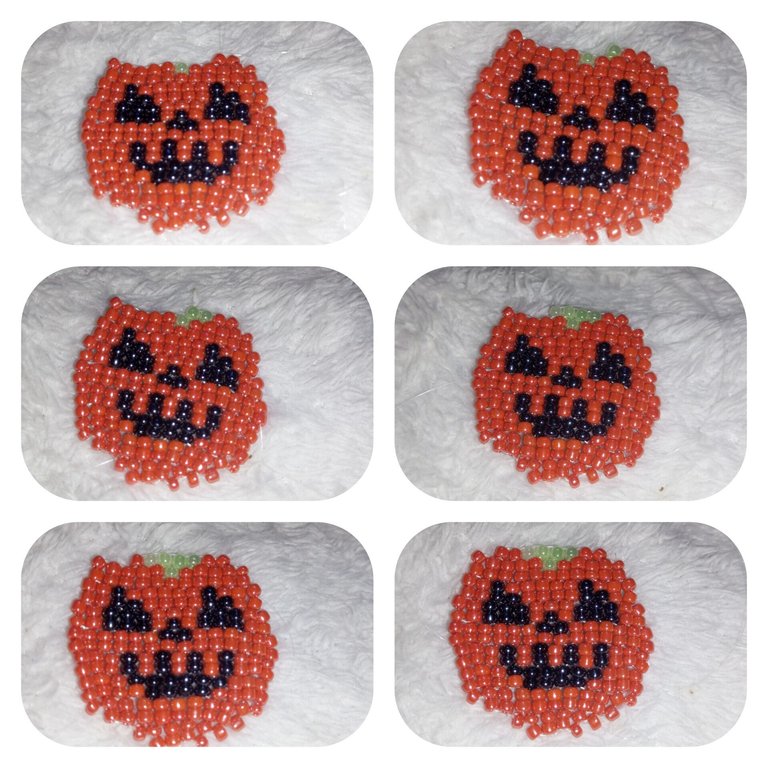
Step 36
Here we simply turn the bead and continue to put one green bead until the end of the line. We then passed the needle to the third bead, we put six green beads on the needle passed it through the fifth beads, this helped formed our earrings hook position.
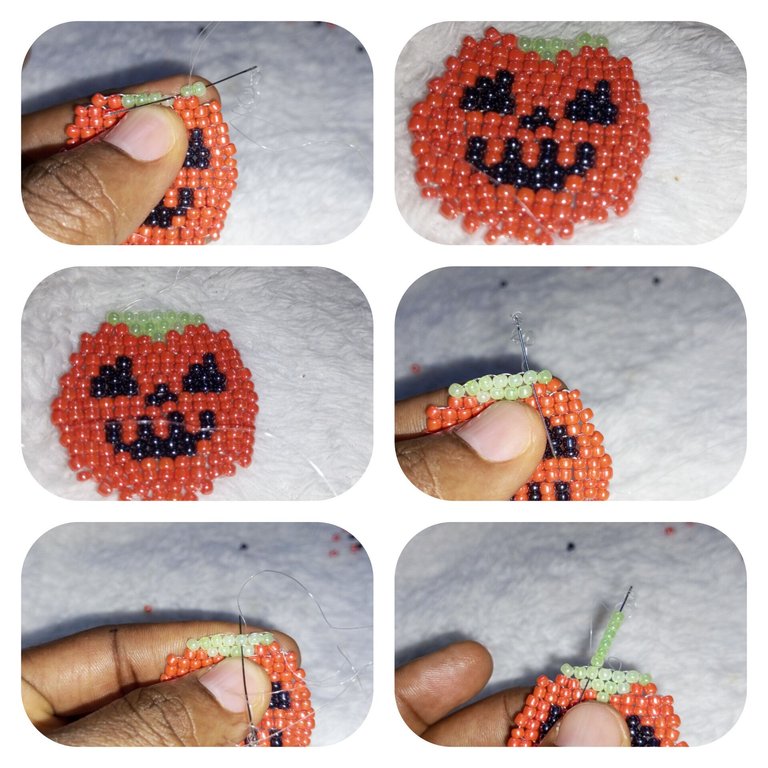
Step 37
We then proceeded to pass round our Fishlines, tied the knots and cut off the excess fishlines. And that gives us our red pumpkin earring. We repeat the whole process above and we have a set of earrings.
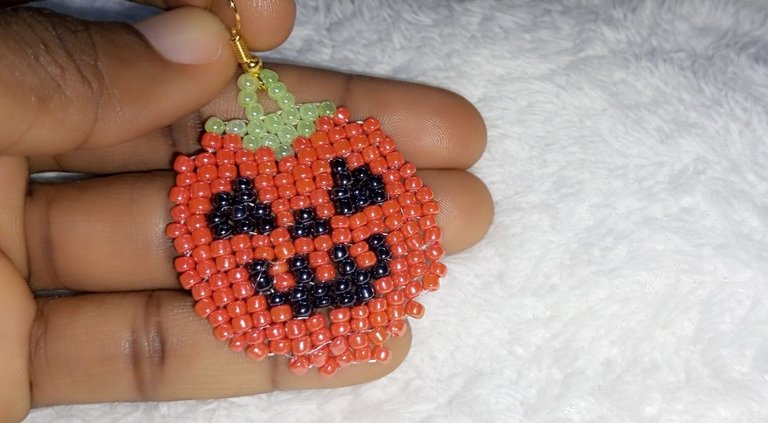

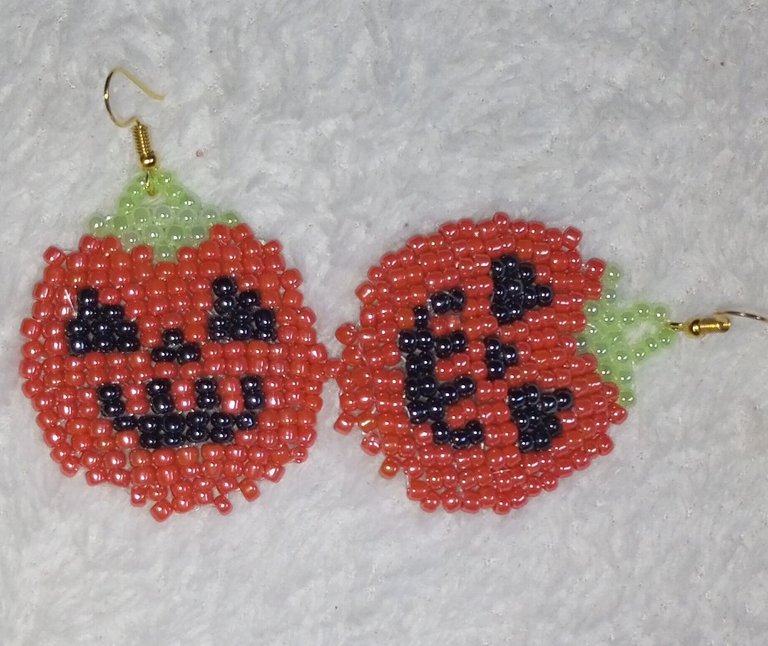
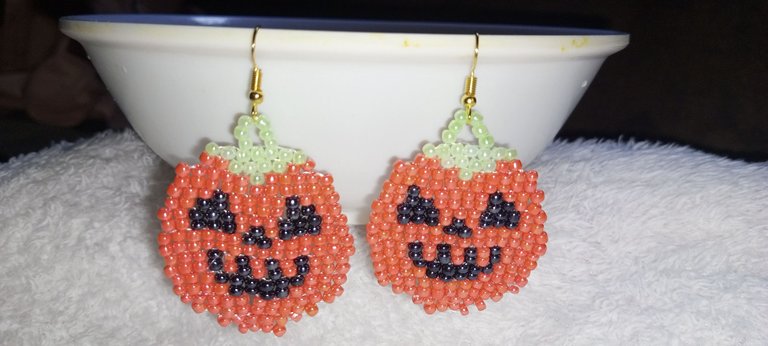
Making this was very fun and exciting, and I hope that you enjoy my presentation. Kindly share your thoughts with me at the comment section.🤗
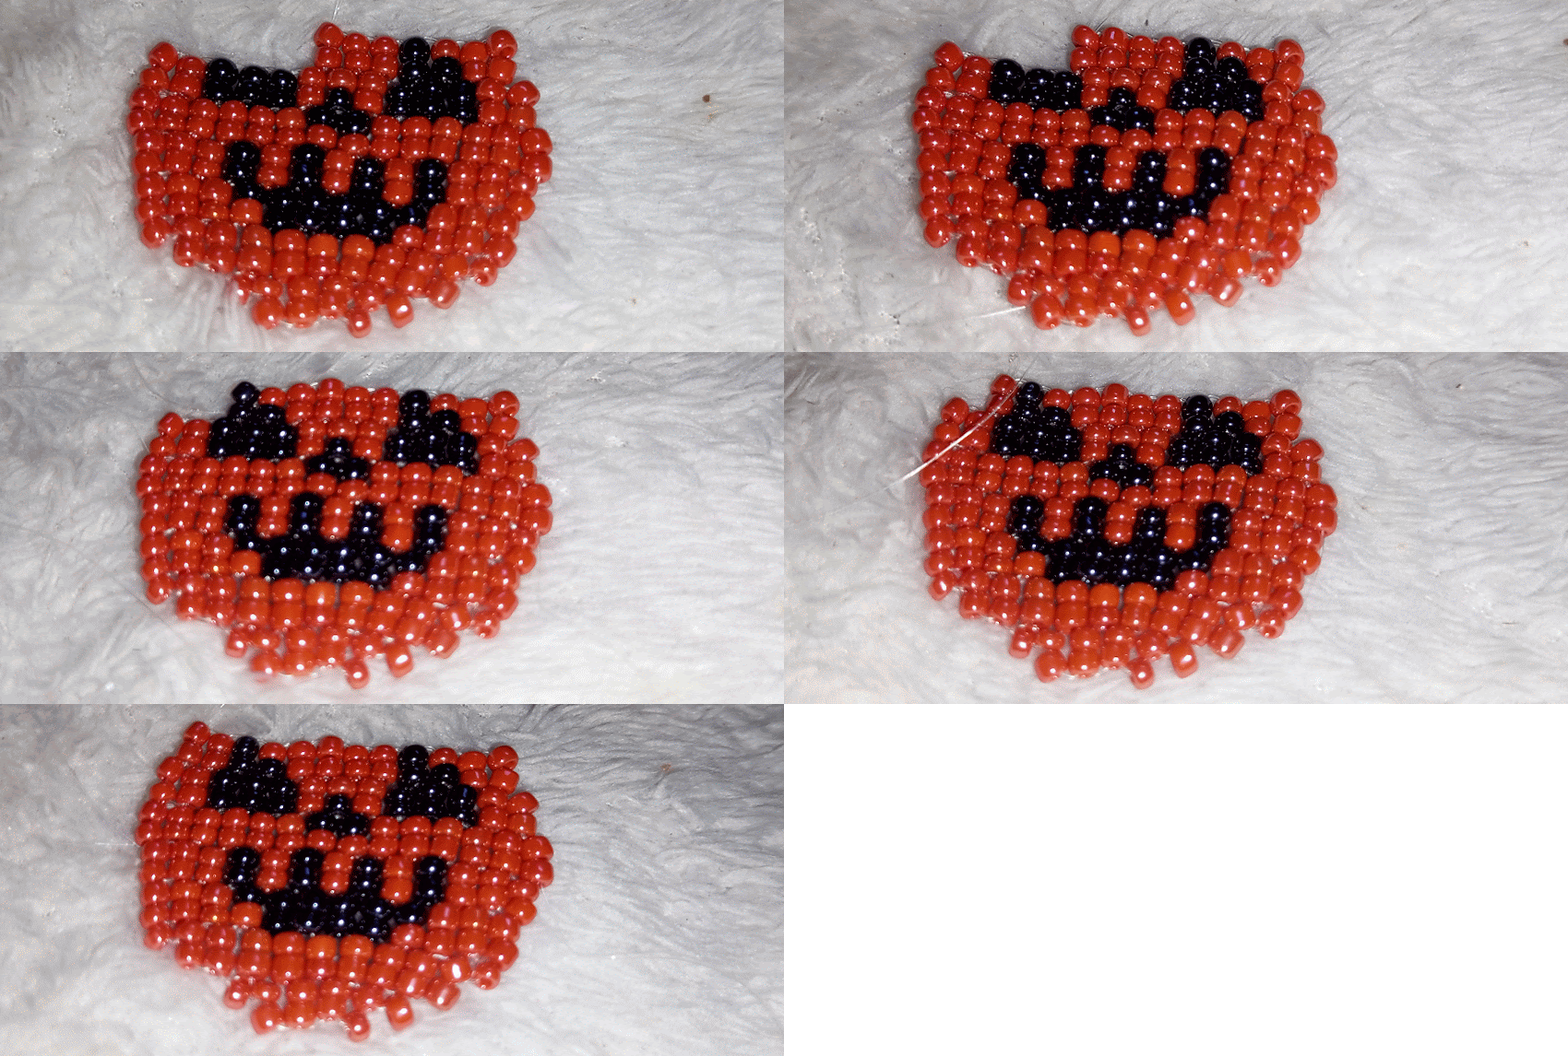
Thank you very much for your attention, @funshee 🎃🙏❣️
All images are mine taken with my Tecno Spark 8 Plus image collage made with the Inshot App.


