Greetings to everyone in the Jewerly Community, this month we celebrate the third anniversary of our beloved Hive platform, each of us has their own story about it, but most of us agree that Hive represents a great contribution to our lives, because it not only gives us an economic benefit but also gives us the opportunity to express ourselves in the way we want according to our interests, without feeling the social pressure that manifests itself in other social networks, it also gives us the possibility of having a space on the web, so we can use it as a writing, art or even a personal diary of our experiences with our loved ones, Hive is also a space to share valuable information with others, exchange ideas and be able to form a united community with interests and passions in common, because creating content is not easy but among Hivers we support each other to continue improving and creating every day.
Today I feel happy for the third anniversary of this platform that has changed my life for the better, but above all I feel inspired to continue creating with my hands, that is why I share with you the step by step to make a bracelet in the macramé technique dedicated to Hive, in this design I included the logo of the Beehive, the initials HBD that have a double intention, the first is Happy Birthday and the second is Hive Backed Dollar, which is the stablecoin that we receive as a reward for our publications , then I used the image of a little bee 🐝. I hope you like it.
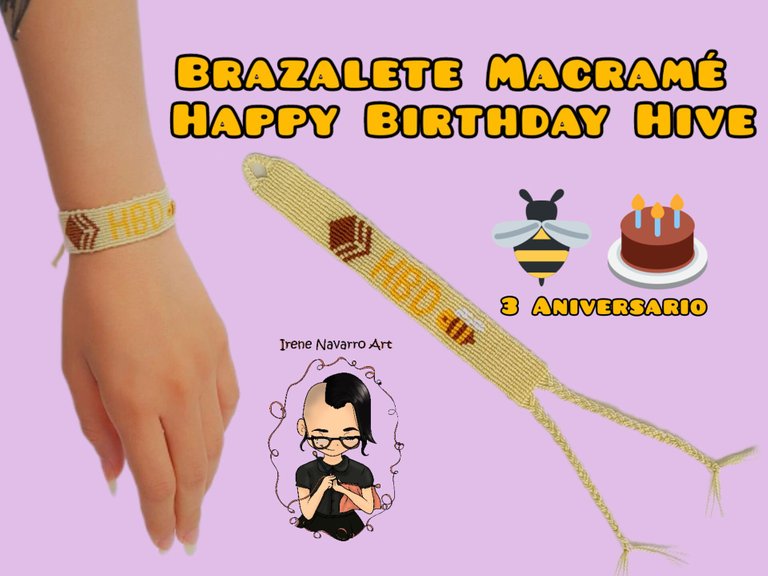

Materiales / Materials
- Hilo para crochet: amarillo claro, amarillo canario, marrón y blanco.
- Regla de 30cm
- Tijeras
- Tabla con clip
- Papel milimetrado y lápiz
- Crochet thread: light yellow, canary yellow, brown and white.
- 30cm ruler
- scissors
- Board with clip
- Graph paper and pencil

Proceso / Process
The first step is to make the chart on paper. To read the graph, the number of vertical squares for the guide strands and the horizontal squares for the number of rows of simple knots are taken into account. The background will be light yellow, the beehive brown, the letters canary yellow, the bee yellow with brown and the wings white.


With light yellow thread, cut five 60 cm strands, one 70 cm strand and the last one should be as long as the ball. Place the long strands at the edges. Hold the strands in the middle with the clip, make 20 flat knots with the edge strands wrapping around the center strands.


Fold in a "U" shape, hold the strands in an orderly way with the clip, leaving the strand of the ball on the edge, this strand is used to knot, while the other 13 are guide strands. Make 15 rows of simple knots.
Add the brown thread at the back and begin to make the beehive logo following the graph as appropriate, each colored box represents a knot.


At the end of the logo, make two rows of light yellow and then add the canary yellow strand and make the letters, each letter has a row of light yellow as a separation.After finishing the letters, make two rows of yellow again to distance the bee, make the bee adding the strand of white yarn for the wings. To finish make 15 rows of knots with light yellow thread.


Divide the strands in two and make two braids to finish the bracelet.


Resultado / Result
Espero que les haya gustado el brazalete tanto como a mi, de verdad que espero que Hive siga existiendo por muchísimos años más y que sigamos celebrando el cumpleaños en comunidad. HAPPY BIRTHDAY HIVE
I hope you liked the bracelet as much as I did, I really hope that Hive will continue to be around for many more years and that we continue to celebrate the birthday as a community. HAPPY BIRTHDAY HIVE
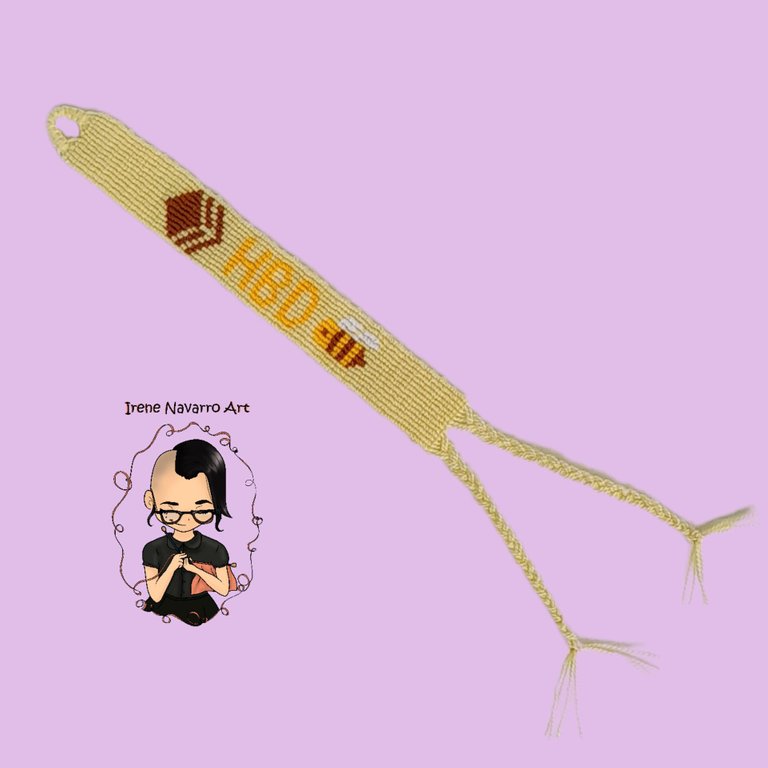
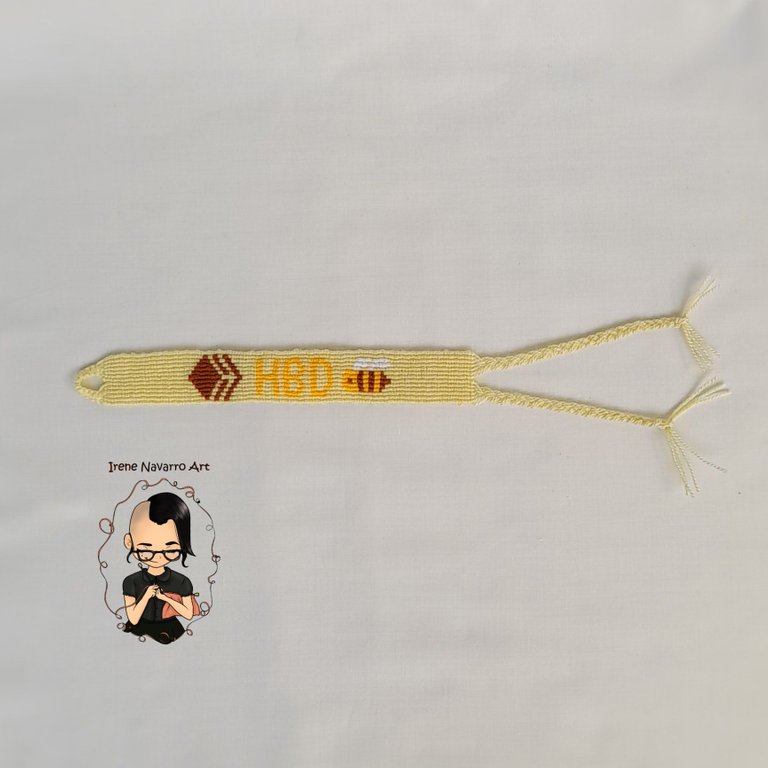
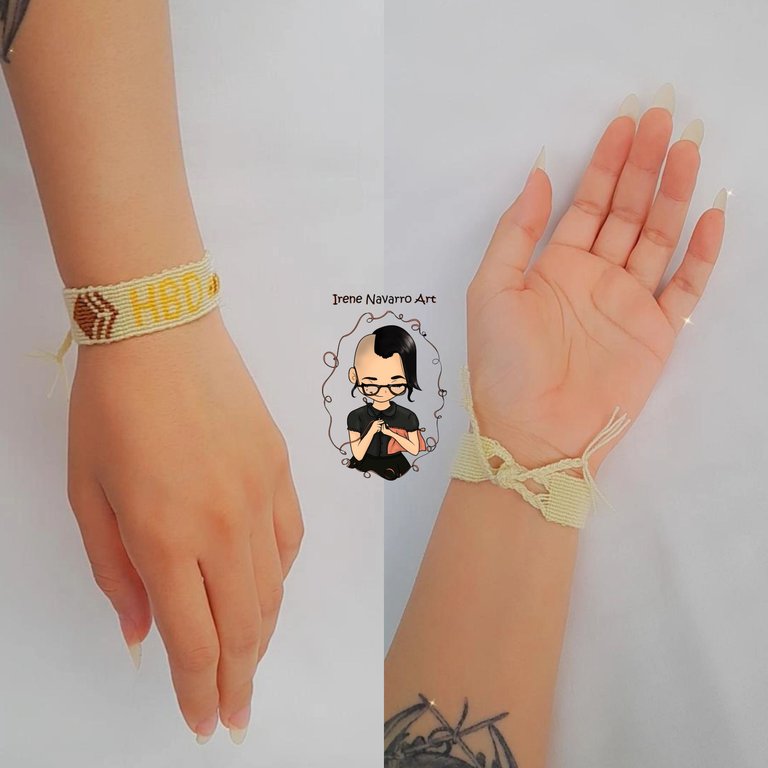

Imágenes tomadas con dispositivo Samsung A12. Portada editada en InShot
Pictures taken with Samsung A12 device. Cover edited in InShot
Invítenme un Café/Support Me on Ko-Fi

https://ko-fi.com/irenenavarroart
If you want to support my art you can also make donations for the value of a coffee (Ko-Fi)
Espero les haya gustado. Les invito a leer mis próximas publicaciones y siempre estaré dispuesta a responder sus preguntas y comentarios, también pueden seguirme y contactarme en cualquiera de mis redes sociales. ¡Muchas gracias!
I hope you liked it. I invite you to read my next publications and I will always be willing to answer your questions and comments, you can also follow me and contact me on any of my social networks. Thank you!
