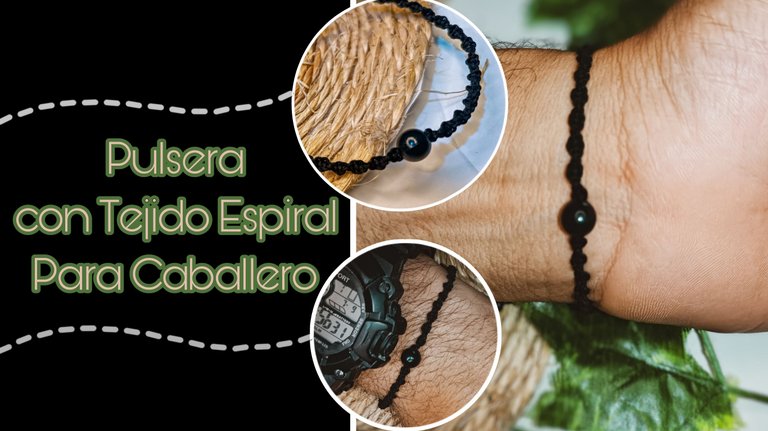
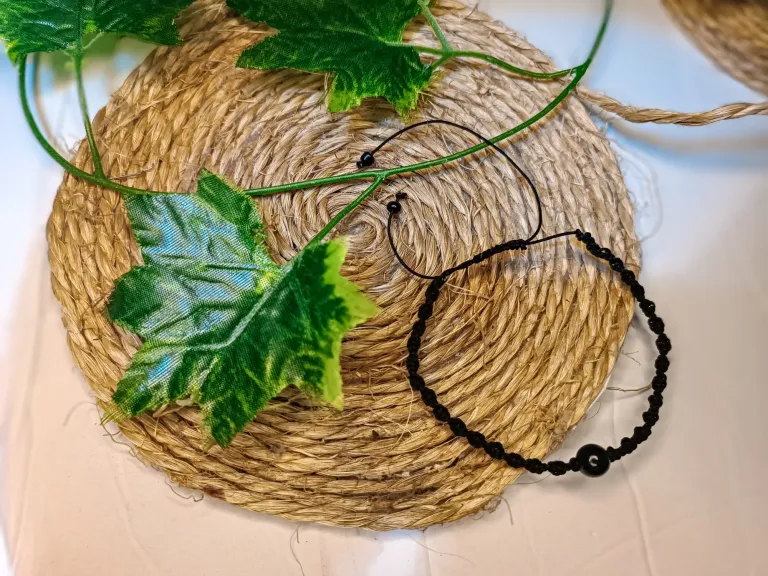
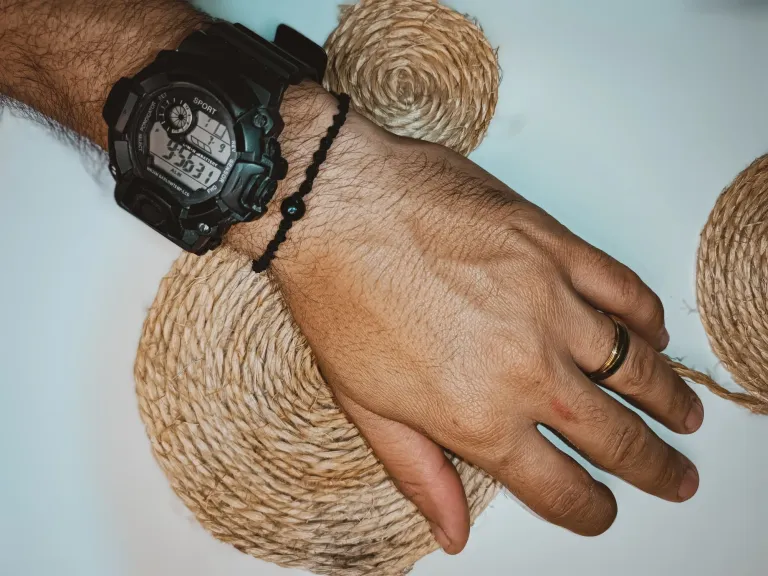
Los accesorios para caballeros en su justa medida me parecen muy atractivos.
Un reloj bonito, una esclava o pulsera sencilla, una cadena... La barba, buen perfume 😍 (Las ultimas ya se salieron del contexto 😂)
Pero realmente un buen accesorio hace la diferencia... Optando siempre por el minimalismo, donde menos es más.
Pensando en eso y en poner a mi esposito más coqueto y hermoso a mis Ojos de lo que es 😁, decidí hacerle una pulsera.
Quería una con nudo Barril que me parece precioso, pero el hilo que tenía era muy delgado y no se lograba percibir en nudo como quería. Así que opté por un tejido en espiral, que desconocía, pero luego de algunas prácticas le agarré la vuelta.
Aquí les hablo de los materiales y el paso a paso para hacer esta práctica y bonita pulsera.
PROCESO
Los materiales que usé fueron:
Hilo Chino Negro.
Piedra decorativa o dije.
Iniciamos cortando la tira base, ésta la dejé de unos 50 centímetros. La fijé en la superficie para que no se mueva durante el tejido.
Luego medí y corté 2 metros de hilo aparte para hacer el tejido.
Medí y dejé 10 centímetros fuera para a partir de allí empezar hacer el espiral, lo inicié haciendo un nudo normal.
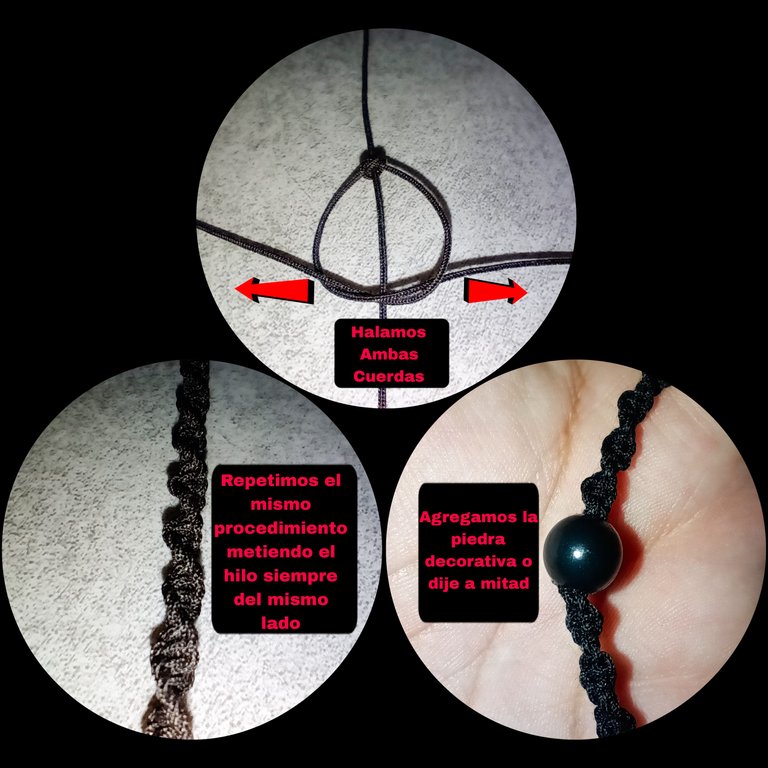
Luego con uno de los extremos, el izquierdo, hice la forma de una P invertida. Esta la pasé por encima del hilo central.
Repetí el mismo procedimiento con el lado derecho pero en esta oportunidad pase la tira por debajo.
I find men's accessories in their right measure very attractive.
A nice watch, a simple bracelet, a chain.... A beard, a good perfume 😍 (The last ones are already out of context 😂).
But really a good accessory makes the difference.... Always opting for minimalism, where less is more.
Thinking about that and making my hubby more flirty and beautiful to my Eyes than he is 😁, I decided to make him a bracelet.
I wanted one with a Barrel knot which I think is beautiful, but the thread I had was too thin and it was not possible to perceive the knot as I wanted. So I opted for a spiral weave, which I didn't know, but after some practice I got the hang of it.
Here I tell you about the materials and the step by step to make this practical and beautiful bracelet.
PROCESS
The materials I used were:
Black Chinese thread.
Decorative stone or pendant.
We start by cutting the base strip, I left it about 50 centimeters long. I fixed it to the surface so that it would not move during weaving.
Then I measured and cut 2 meters of yarn apart to make the weaving.
I measured and left 10 centimeters outside to start making the spiral, I started by making a normal knot.
Then with one of the ends, the left one, I made an inverted P shape. I passed it over the central thread.
I repeated the same procedure with the right side but this time I passed the strip underneath.
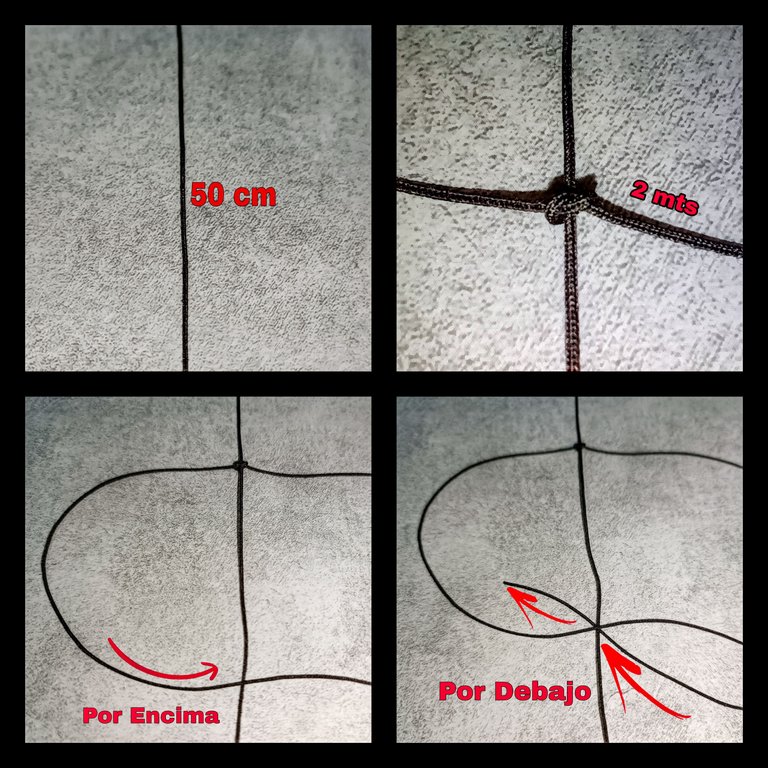
Una vez insertado por debajo el otro extremo, halamos al mismo tiempo ambas tiras. Así se formará nuestro primer nudito.
Vamos a repetir el mismo procedimiento, siempre del mismo lado. En mi caso siempre fue del lado izquierdo.
Al principio no veía forma y tuve que repetir y desanudar un par de veces hasta que me saliera 🥹. Es parte del proceso 😅.
Iba midiendo y al llegar a 7 centímetros y medio de tejido, inserté la piedra decorativa, en esta oportunidad usé solamente una perlita negra, mi Esposo quería la pulsera lo mas varonil posible.
Luego proseguí con el tejido de la misma manera hasta alcanzar los otros 7 centímetros y medio. Para hacer un total de 15 centímetros de tejido.
Once the other end is inserted underneath, we pull both strips at the same time. This will form our first knot.
We will repeat the same procedure, always on the same side. In my case it was always on the left side.
At the beginning I didn't see any shape and I had to repeat and unknot a couple of times until I got it 🥹. It's part of the process 😅.
I was measuring and when I reached 7 and a half centimeters of weaving, I inserted the decorative stone, this time I used only a black bead, my husband wanted the bracelet to be as manly as possible.
Then I continued with the weaving in the same way until I reached the other 7 and a half centimeters. To make a total of 15 centimeters of weaving.
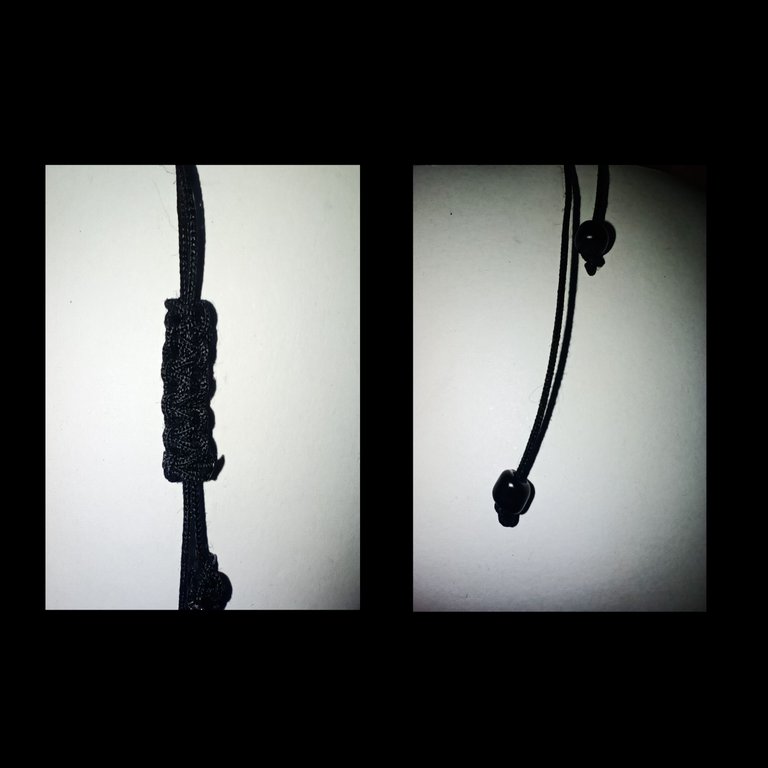
Una vez llegamos a la medida deseada, cortamos el hilo excedente y sellamos con ayuda de un yesquero.
(Hay que tener mucho cuidado al sellar las puntas en este punto, porque si quemamos de más podemos tostar la tira y se va a partir... Me paso eso justamente después de haberla terminado y me tocó empezar de cero 🥹.)
Hice un nudo plano corredizo y agregue algunos detalles en las puntas de los hilos... Así quedó lista finalmente la pulsera para mí galán!😍
Once we reach the desired size, we cut the excess thread and seal with the help of a tinder.
(You have to be very careful when sealing the ends at this point, because if we burn too much we can toast the strip and it will split...). That happened to me just after I finished it and I had to start from scratch 🥹).
I made a flat slip knot and added some details on the ends of the strands.... That's how the bracelet was finally ready for my beau !
RESULTS // RESULTADO
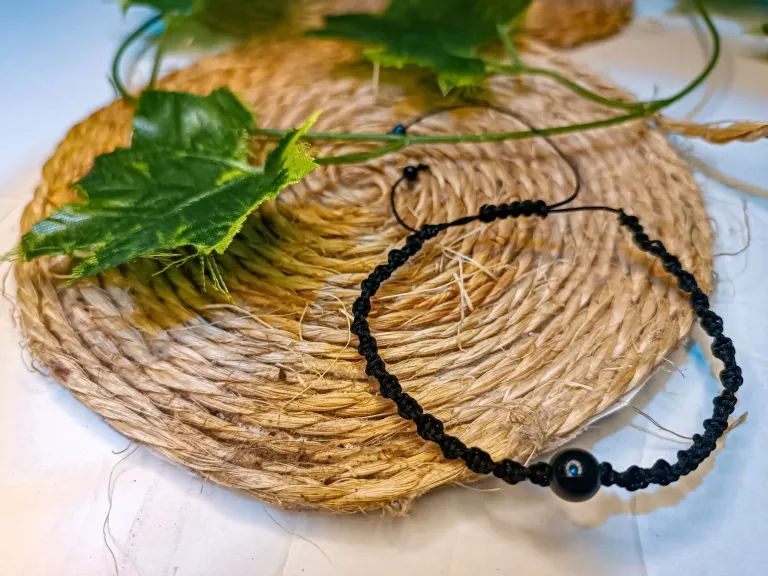
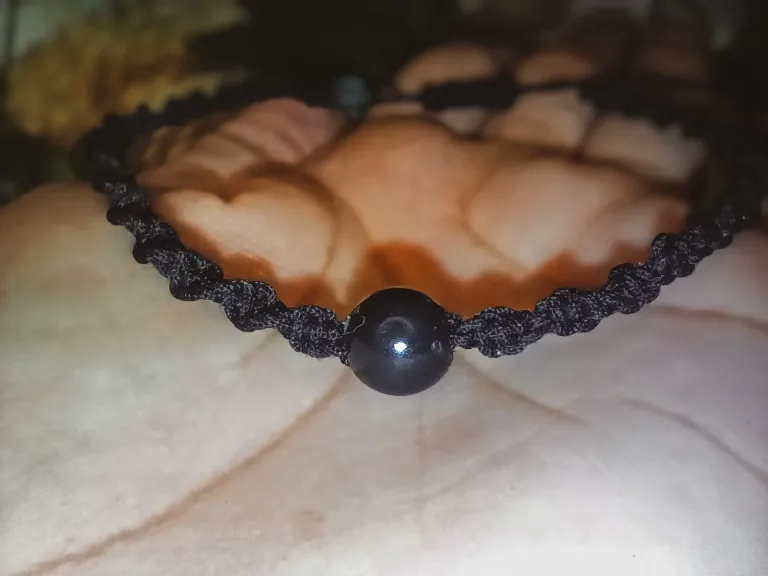
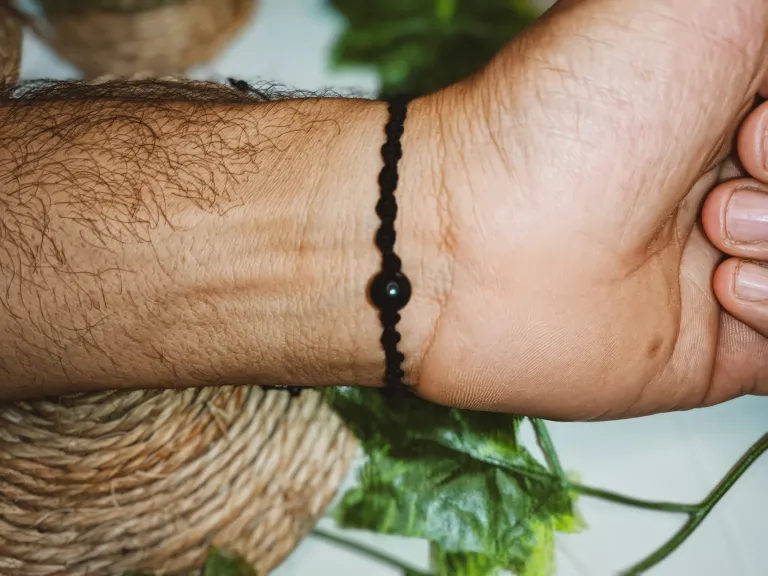
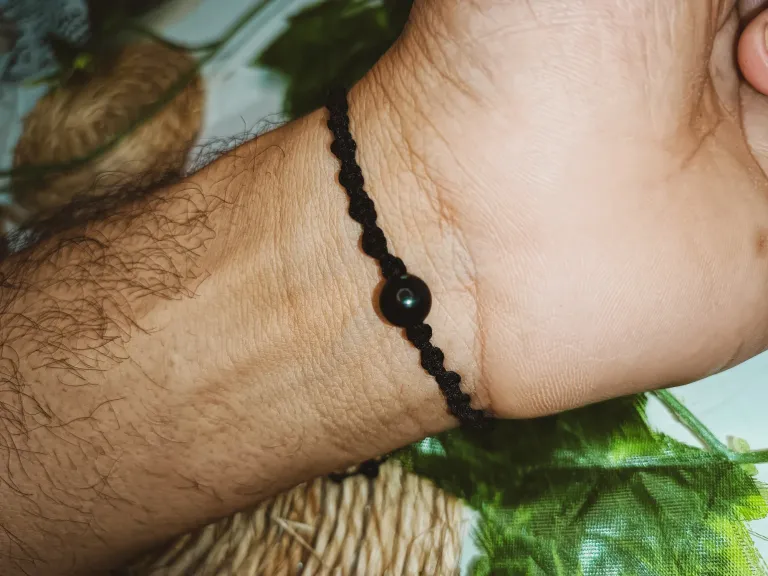
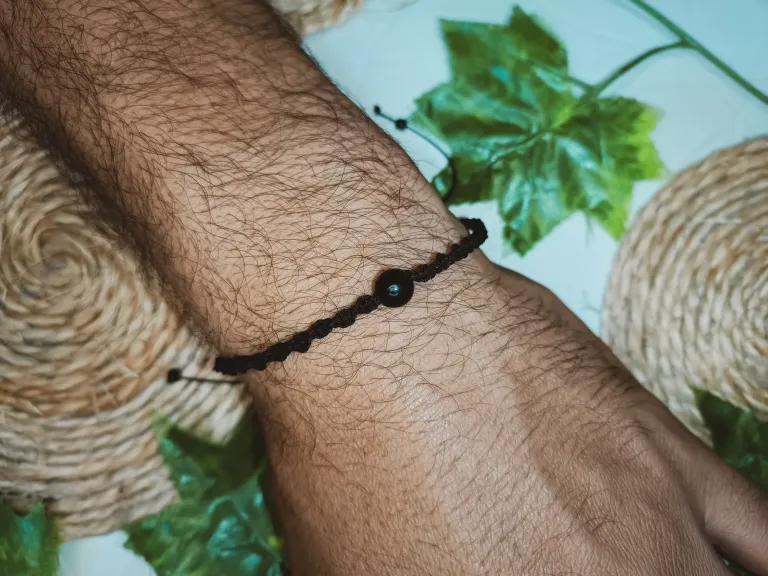
El resultado me gustó mucho, me sentí satisfecha de haber aprendido algo nuevo, sencillo... Pero nuevo para mí!
Pese a que la primera vez que la teji tuve algunos percances y no salió como quería, no me desesperé y volví a empezar de nuevo.
A mí esposo también le agradó mucho y de hecho ya la estrenó. 😍🫶🏻✨
Me despido con cariño, esperando les haya sido de utilidad este post. Un fuerte abrazo!✨
I liked the result very much, I felt satisfied to have learned something new, simple... but new to me! But new for me!
Although the first time I knitted it I had some mishaps and it didn't come out as I wanted, I didn't despair and I started again.
My husband also liked it very much and in fact he already used it for the first time. 😍🫶🏻✨
I bid you a fond farewell, hoping you found this post useful. A big hug!✨
For the best experience view this post on Liketu
