Espero que se encuentren muy bien con grandes energías y mucha creativida, llenos de inspiración hacia hermosas ideas de accesorios, un cordial saludo para todas las personas de esta fantástica y hermosa comunidad de @Hive y @Jewelry.
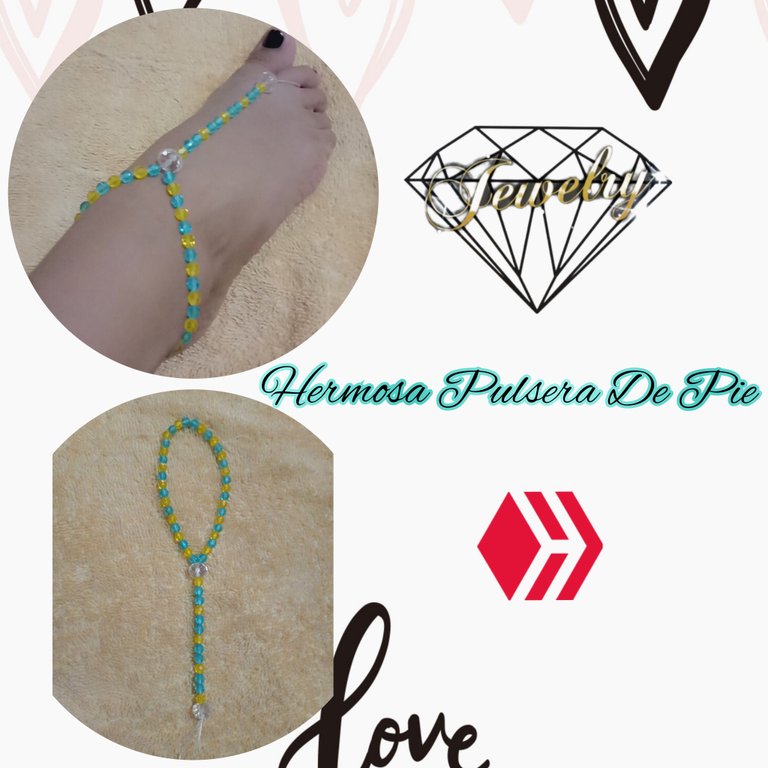
El día de hoy quiero hablar de un diseño que me gustó mucho y de verdad que al poder tener la oportunidad de ir a la playa o a un río después y no para estas fechas porque se me presentaron muchos inconvenientes de la universidad pronto quiero lucir una delicada y hermosa Pulsera de Pie hecha con biconos y elegante piedra transparente ideal para usarla y tener un poco de estilo, estoy enamorada de mi pulsera de pie ah Sido sin ninguna duda una de mis creaciones favoritas.
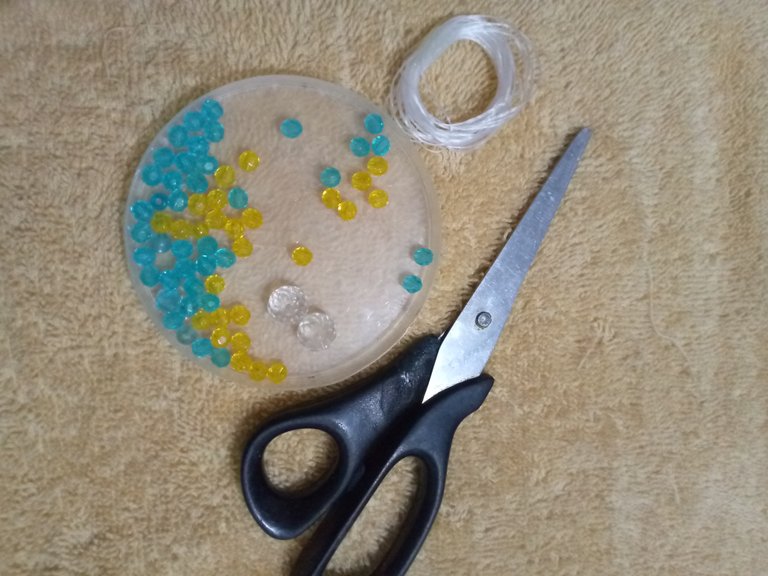
Materiales a Utilizar:
- Nailon Elástico blanco N° 25
- Biconos Azul y Amarillo
- Dos piedras transparente
- Tijera
Ahora a Realizar el Paso a Paso:
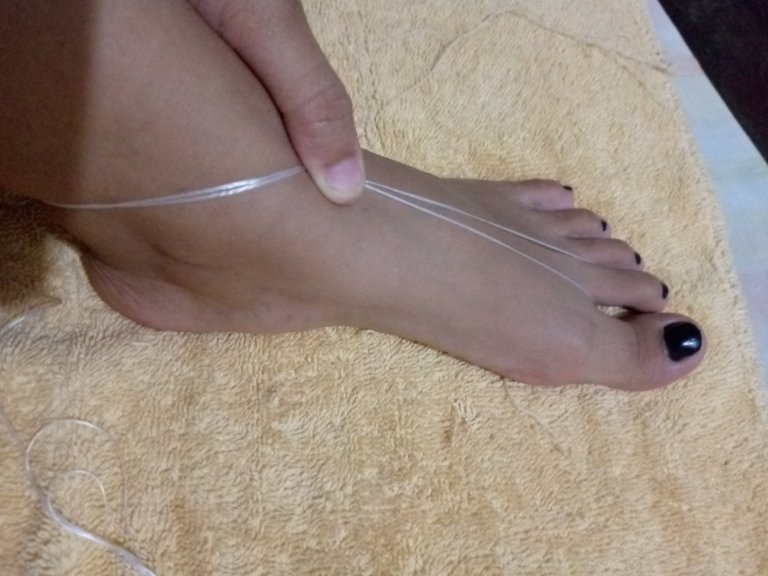
Paso 1:
Lo primero que vamos a hacer es seleccionar la cantidad de nailon que vamos a utilizar midiendo en el pie la cantidad de nailon que vamos a necesitar así de esta manera ya para que no se nos haga un poco más difícil a la hora de estructurar nuestra pulsera de pie.
Una vez ya listo solo vamos a cortar con la Tijera y manos a la obra.
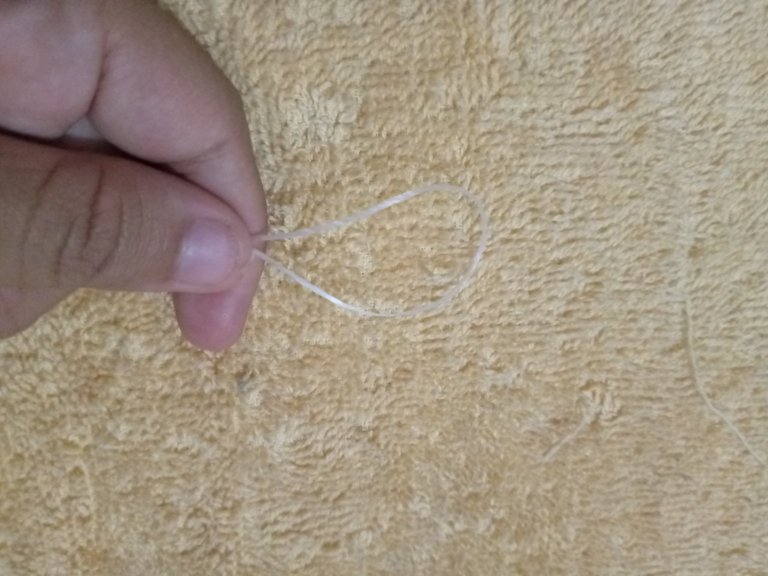
Paso 2:
Luego después de cortar el nailon solo vamos a poner punta con punta y tomamos la parte del medio entre los dos hilos y vamos a realizar un pequeño amarre de lado haciendo nudos de tres vueltas para que así no se salgan las piedras utilizadas.
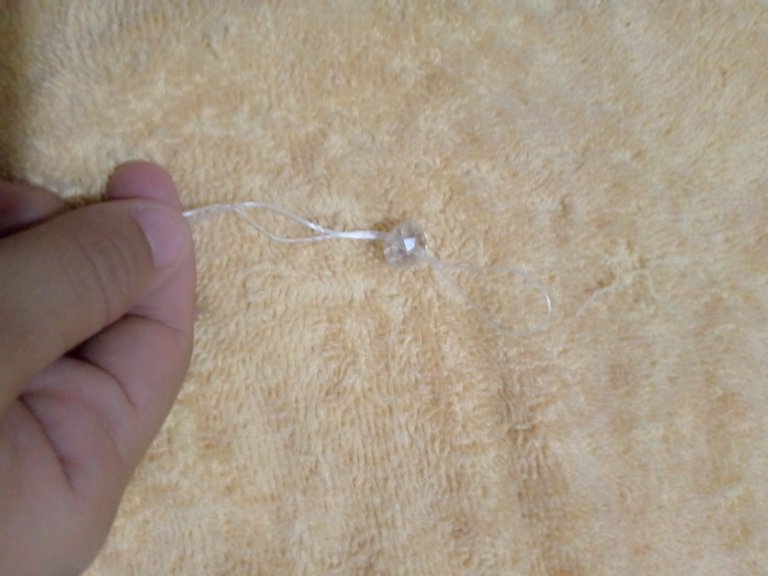
Paso 3:
Ahora vamos a empezar a introducir las piedras una de ellas va a hacer la piedra grande transparente así de esta manera.
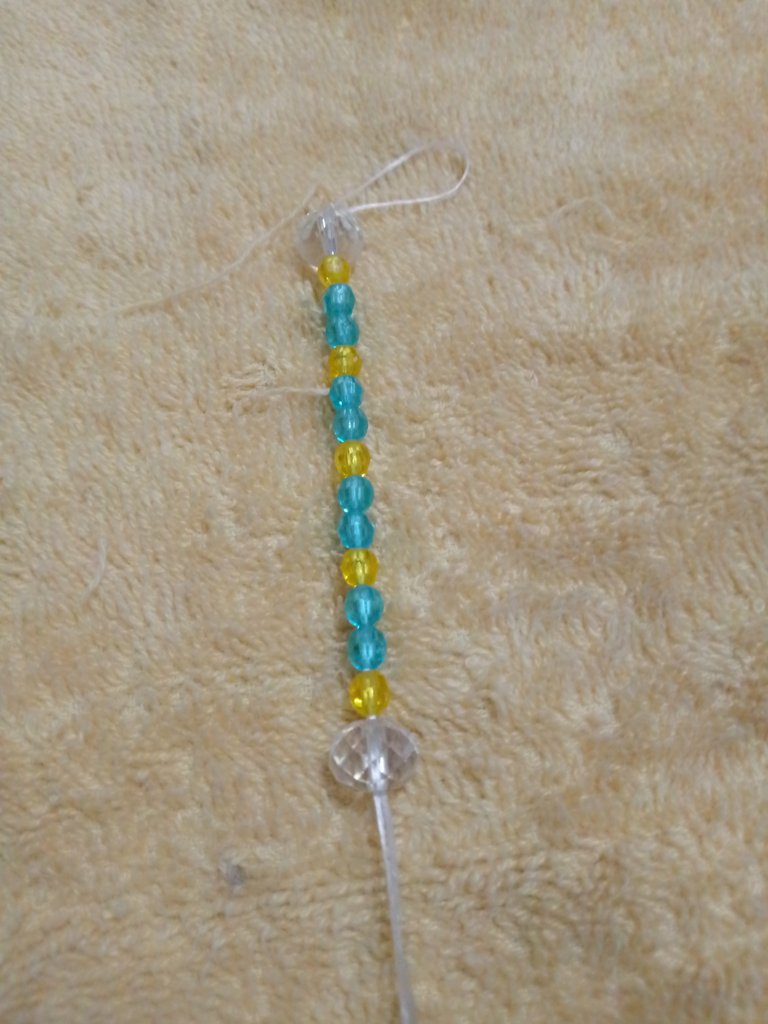
Paso 4:
Una vez ya hecha la base empezamos a colocar los biconos amarillos que van a hacer un y dos de los azules por dentro de los dos hilos así de esta forma tiene que ir quedando, debemos tomar en cuenta la secuencia de las piedras para así tener un orden específico, este paso vamos a realizar cuatro veces.

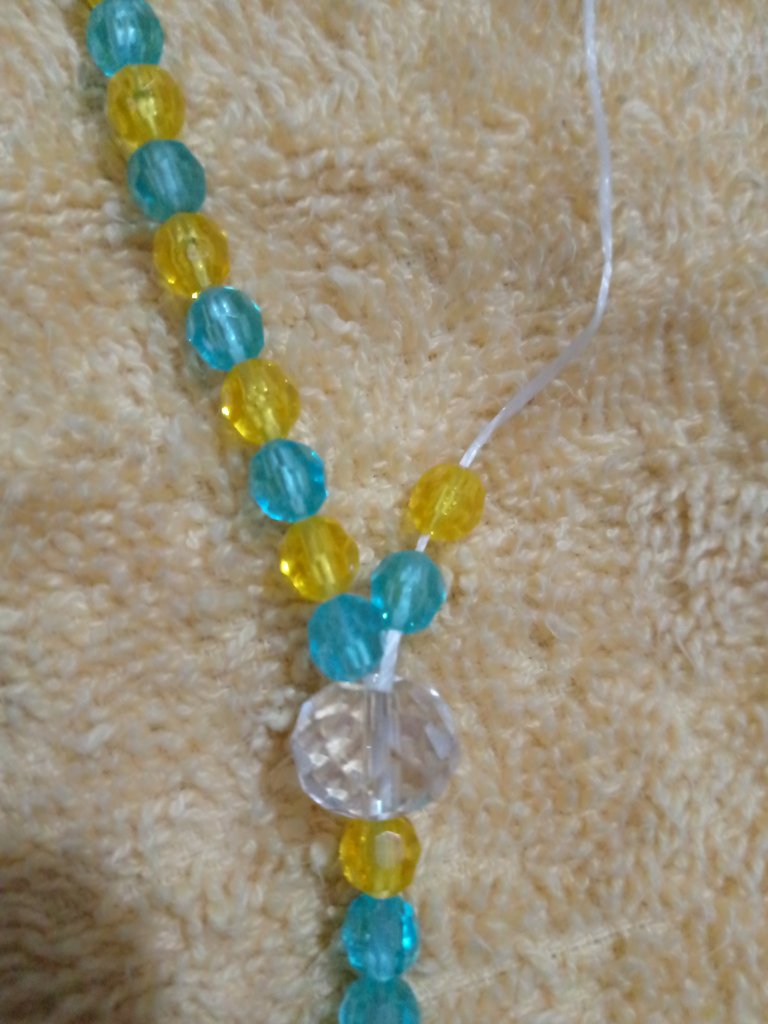
Paso 5:
Luego solo vamos a volver a introducir la piedra transparente grande de esta manera por los dos hilos.
Paso 6:
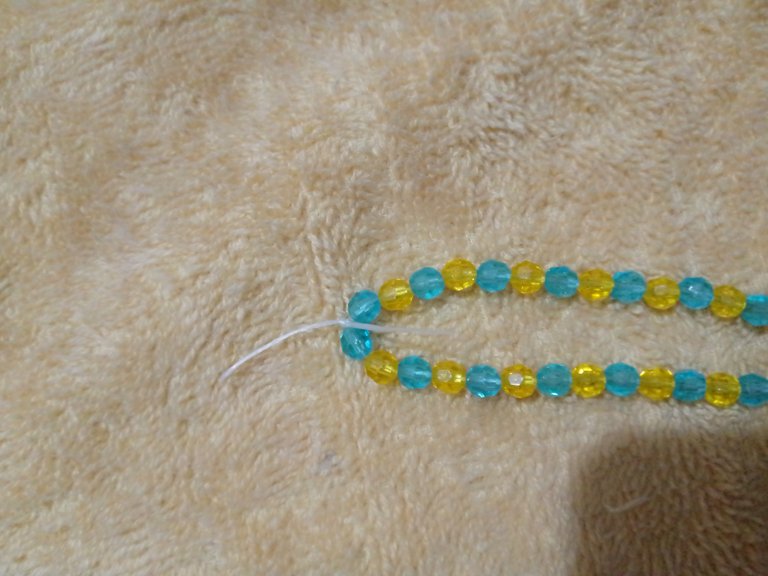
Ahora solo vamos a introducir por cada uno de los hilos un bicono azul y uno amarillo seguidamente uno amarillo y uno azul.
De esta forma irá quedando vamos hacerlos hasta llegar a la parte final de los dos hilos y así poder terminar con nuestra pulsera de pie, una vez ya terminados los dos así tendrá que quedar
Paso 7:
Vamos a realizar el toque final que es muy fácil debemos recordar que mayormente estás pulseras de pies son hechas con nailon Elástico quiere decir que son flexibles y estiran y son cómodas al usarlas,
En fin solo vamos a tomar los dos nailon de esta manera y vamos a realizar tres nudos quiero decir vamos a hacer unos mínimos tres amarres para así poder terminar de una vez.
Paso 8:
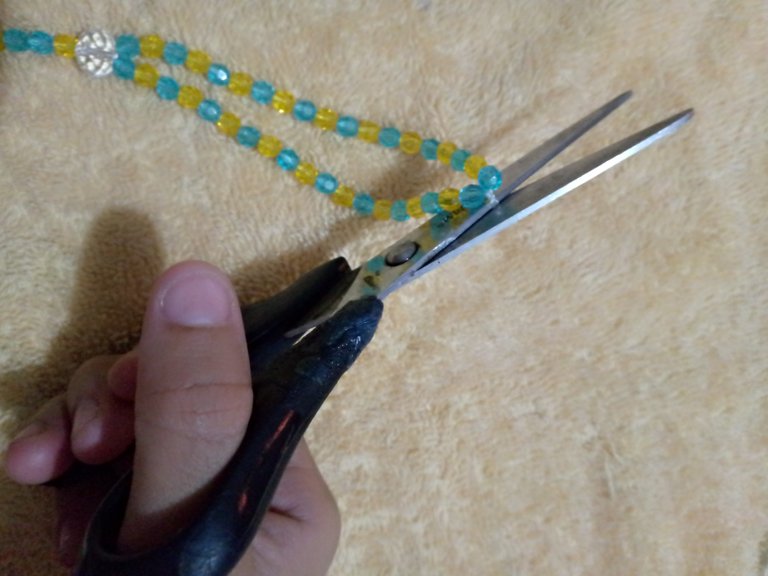
Ahora solo tomamos la tijera y vamos a cortar los hilos sobrantes y listo, ya tenemos una encantadora Pulsera de Pie muy fácil de hacer en casa y con pocos materiales.
Resultado Final
Muchas gracias amigos espero que Les guste mucho y se animen a hacerlas en casa, gracias por Pasar, Leer y Apoyarme Miles de bendiciones y hasta la próxima.
Las fotos las tome de mi Teléfono y me Pertenecen.
La traducción fue mediante la aplicación:
Las imágenes las edité en canva.
I hope you are very well with great energies and lots of creativida, full of inspiration towards beautiful ideas of accessories, a cordial greeting to all the people of this fantastic and beautiful community of @Hive and @Jewelry.
Today I want to talk about a design that I really liked and really that being able to have the opportunity to go to the beach or a river later and not for these dates because I was presented with many inconveniences of college soon I want to wear a delicate and beautiful Foot Bracelet made with bicones and elegant transparent stone ideal for use and have a little style, I'm in love with my foot bracelet ah Sido without any doubt one of my favorite creations.
Materials to be used:
- White Elastic Nylon N° 25
- Blue and Yellow Bicones
- Two transparent stones
- Scissors
Now to Perform the Step by Step:
Step 1:
The first thing we are going to do is to select the amount of nylon that we are going to use by measuring on the foot the amount of nylon that we are going to need so that we do not make it a little more difficult to structure our foot bracelet.
Once ready we will just cut with the scissors and let's get to work.
Step 2:
Then after cutting the nylon we will only put tip to tip and take the middle part between the two strands and we will make a small side tie making knots of three turns so that the stones used do not come out.
Step 3:
Now we are going to begin to introduce the stones one of them will make the big transparent stone like this.
Step 4:
Once the base is done we start placing the yellow bicones that are going to make one and two of the blue ones inside the two threads in this way, we must take into account the sequence of the stones in order to have a specific order, this step will be done four times.
Step 5:
Then we are only going to reinsert the large transparent stone in this way through the two threads.
Now we are only going to introduce through each of the threads a blue bicone and a yellow one, then a yellow one and a blue one.
In this way we are going to make them until we reach the final part of the two threads and thus be able to finish with our bracelet of foot, once already finished the two thus will have to be
Step 7:
Let's make the final touch which is very easy we must remember that mostly these foot bracelets are made with elastic nylon which means that they are flexible and stretchy and are comfortable to wear,
So we are just going to take the two nylons in this way and we are going to tie three knots I mean we are going to make a minimum of three ties so that we can finish at once.
Step 8:
Now we just take the scissors and we will cut the excess threads and that's it, we have a lovely Foot Bracelet very easy to make at home and with few materials.
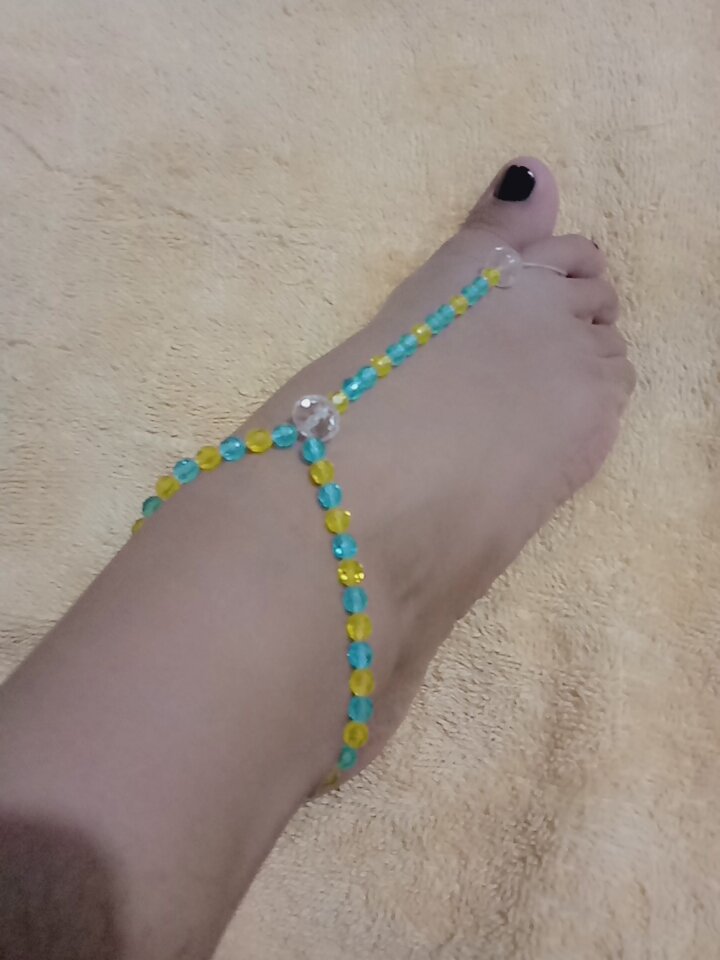
Final Result
Thank you very much friends I hope you like it very much and are encouraged to make them at home, thanks for stopping by, read and support me Thousands of blessings and see you next time.
The photos were taken from my Phone and they Belong to me.
The translation was through the application:
the edited the images in canva.