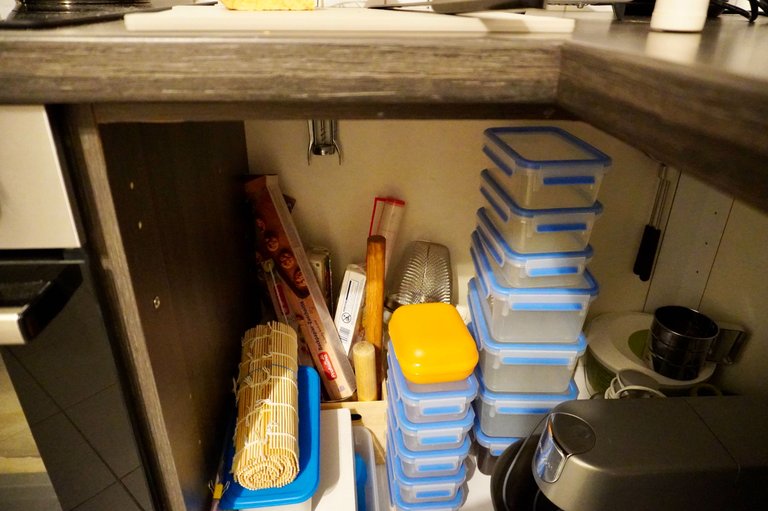
It’s been almost three years since we moved into our current home, and I’ve been meaning to add a shelf to the storage space under the kitchen counter. This storage has height, which leaves the upper section as wasted space. Admittedly, it was quite chaotic, with cooking tools and containers piled up 😇 It was such a hassle to retrieve anything!

Yesterday, I had an errand near a hardware store, so I stopped by on my way home. I came across some discounted boards with minor edge damage being sold at a low price. At the start of the year, I’d decided that this would be the year to finally install that shelf, so I’d already measured the space. I had the board cut to size at the free cutting station in the store.
The original board was twice the size I needed, so I only kept what I would use and left the rest at the store. Maybe it’ll be resold in the discount section for someone else to use—fingers crossed it finds a good home!

By the way, here’s what the discount section looks like. I enjoy browsing here to find hidden gems.

Initially, I had planned to buy a wooden board for around 10–15 euros, but thanks to the discountsection, I ended up spending only about 5 euros 🙌 The board was lightweight, so I could easily bring it home on the tram.
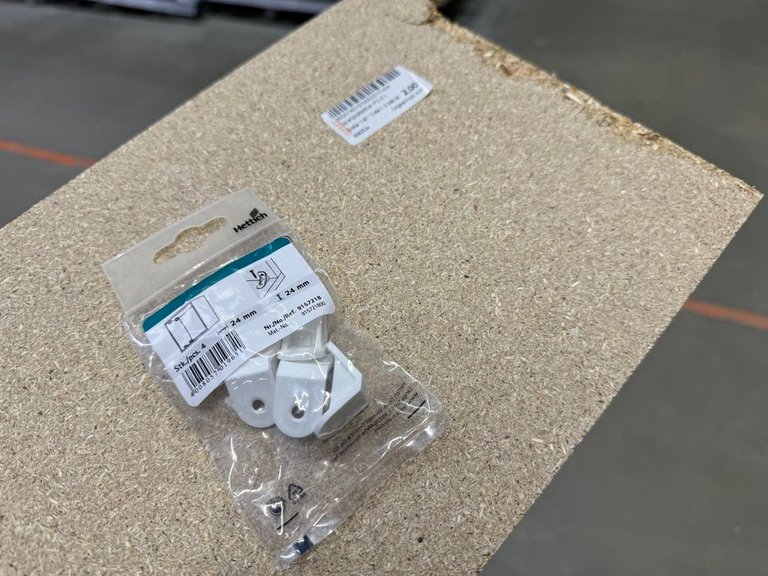
After a light dinner at home, I got straight to work on the shelf. First, I attached brackets to the shelf board so it could be mounted on the wall.

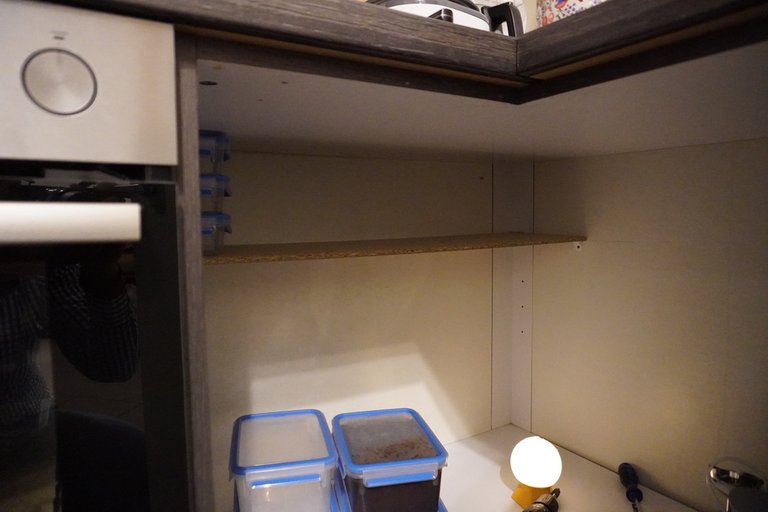
Next, I went under the counter to secure it to the wall. Here’s where the challenge came in—the kitchen wall wasn’t perfectly straight ...... ! Still, I managed to install the shelf. Compared to removing and reinstalling a bathtub glass door or cutting a hole for a stovetop, this was a piece of cake, taking only about 30 minutes to complete.

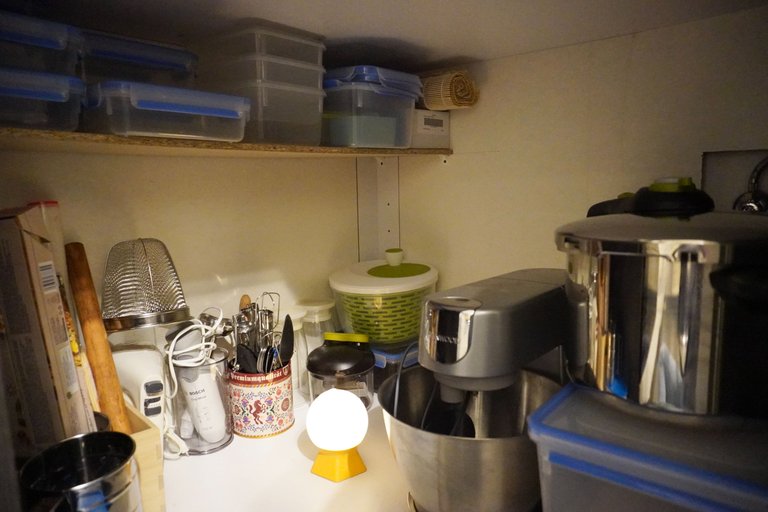
Now, I can store the containers that used to block access to other items right on top of the new shelf. I briefly wondered if I should have placed the shelf lower, but that would’ve made it harder to store taller items like baking paper upright. For now, I’ll see how it works.

And with that, the shelf I’d been planning for three years is finally installed! I’m so happy that the storage space is a bit more organized now ☺️
Living in the DIY country Germany, I can already tell this year will involve lots of DIY projects. I plan to enjoy each one of them!
Wishing you all a wonderful weekend 😊
今の家に引っ越してきて、3年近く、台所の作業台の下の収納に棚をつけたいと思っていました。この収納は高さがあって、上の方がデッドスペースになっていたのです。お見苦しいですが、調理器具やらタッパーやらでかなりのカオスになっていました 😇 物が取り出しにくいのなんの・・・。

昨日ホームセンターの近くに行く用事があり、帰りに立ち寄ったらいい端が欠けた板が安く売られていました。ちょうど年始に今年はこのスペースに棚をつけるぞと採寸してあったので、無料のカットコーナーで切ってもらいました。もともとはこの2倍の大きさがあったのですが、使う分だけ切ってもらって、残りはお店に置いてきました。多分また値下げコーナーで売られるのかな、誰かの役に立ちますように。

ちなみに値下げコーナーはこんな感じで、私はここを覗くのが結構好きです。

当初木の板を買う予定で、10-15ユーロくらいの予算を想定していましたが、全部で5ユーロほどにおさまりました 🙌 軽かったのでトラムで簡単に家に持って帰ってこられました。家に帰って軽めの夕飯を食べて、さっそく棚作り開始。まずは棚板に壁につけるための部品を取り付けました。

棚の下に潜り込んで、足を壁に取り付けます。ここでまた問題キッチン・・・奥の壁がまっすぐでなかったのですが、なんとか棚板を取り付けられました。バスタブのガラスドアの取り外しと取り付け、コンロの穴あけを考えるとこんなのお茶の子さいさい、30分程で完成しました。

手前に積まれて物の出し入れを妨げていたタッパーを棚の上に収納できました。もう少し低くしても良かったかなと思ったものの、そうするとベーキングペーパーなどを立てて収納しにくくなりそうなので、このまましばらく様子を見てみようと思います。

そんなこんなで3年越しの棚がついて、収納が少しスッキリしてなんともうれしいのでした ☺️
DIY天国ドイツで今年もあれこれDIYをする一年になりそうです。一つ一つの作業を楽しもうと思います。
それではみなさんよい週末を!