Hello, hivers!
It's been quite a while since my last guitar amp repair post. My previous repair post was back in August of last year. I wrote about repairing a 1960s era Kent DR-57 guitar amplifier. You can read that post here.
https://peakd.com/music/@amberyooper/repairing-another-old-guitar-amplifier
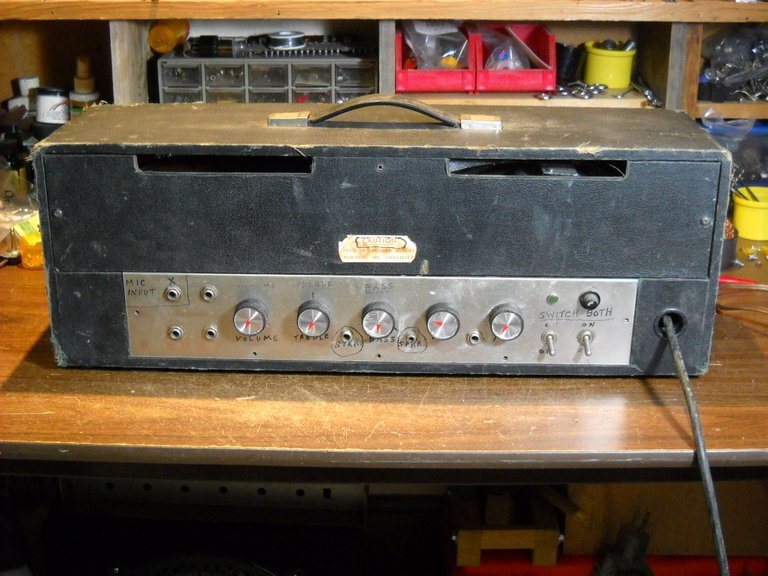
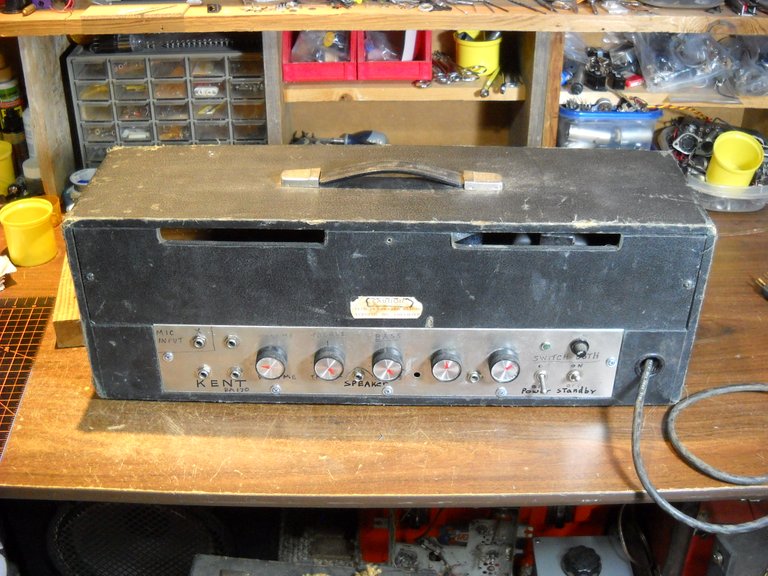
The amplifier that I'm writing about for this post is another 1960s era Kent amplifier, this one is a BA-170 bass guitar amp. The amp was brought to me in barely working condition, and it needed a lot of work done to it. This is an odd looking amp. All of the controls, the guitar inputs, the speaker output, and the power switches are all on the same side of the amp. Most of the original lettering on the amp was faded to the point that it could not be read. Someone had written on the faceplate to show the various controls.
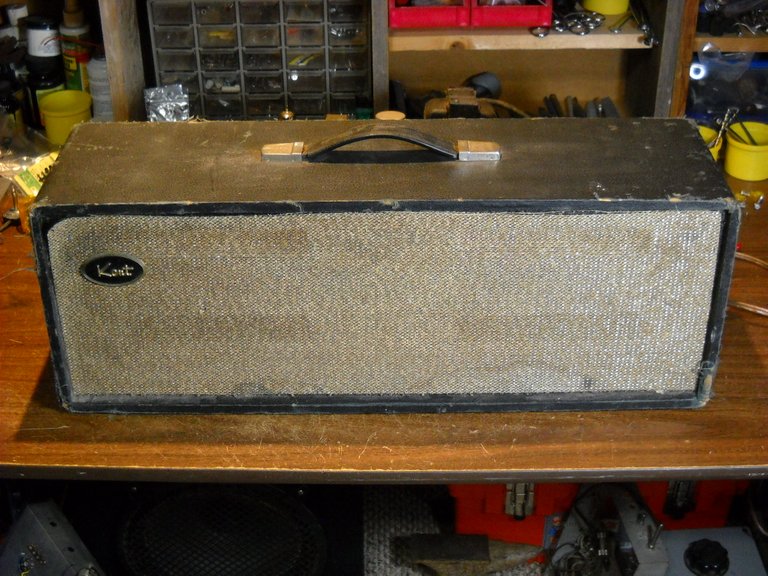
The other side of the amp is just covered with grill cloth. The amp is definitely looking it's age.
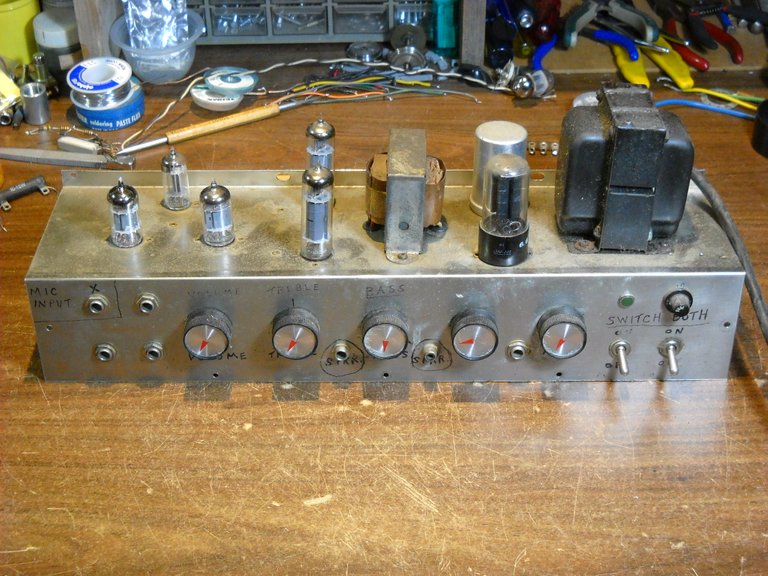
The first thing I had to do was to remove the chassis from the amp for inspection and repair work. This amp uses 2 EL-84 power tubes, 2 12AX7 preamp tubes, a 6AT6 tube for the tremolo circuit, and a 5Y3 rectifier tube. The silver cylinder behind the large tube is the main filter capacitor "can".
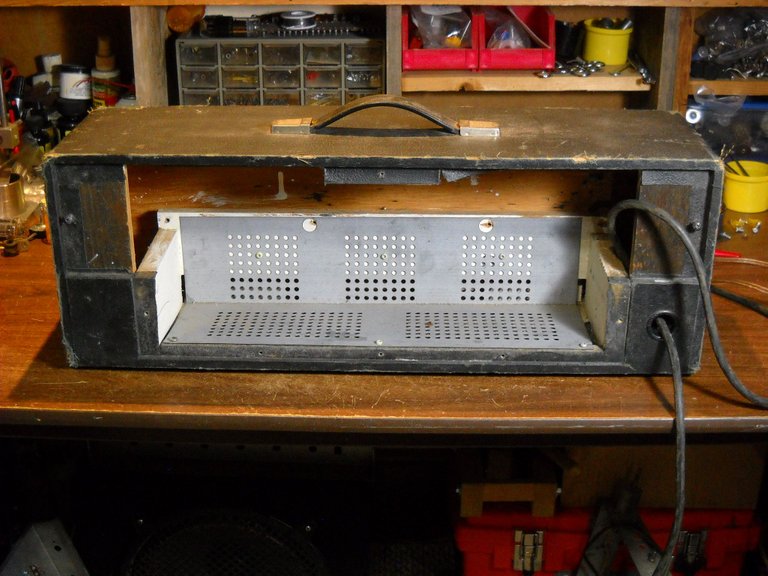
This is what the cabinet looks like on the inside.
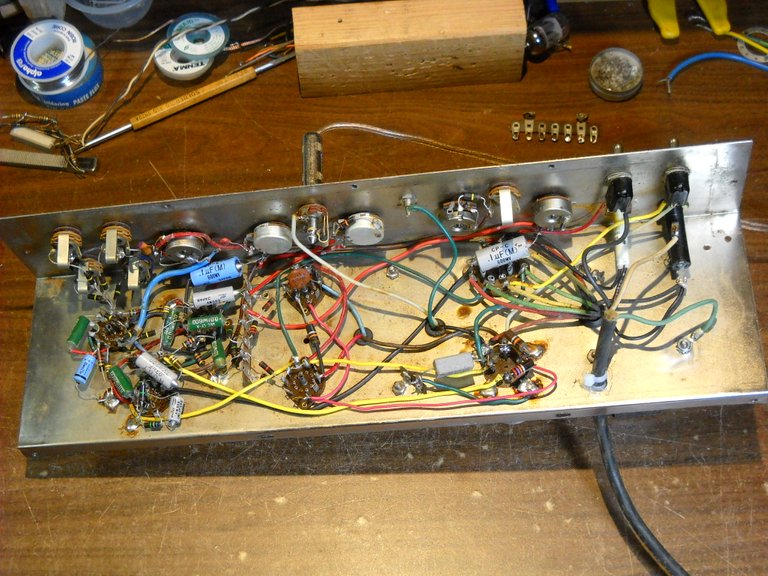
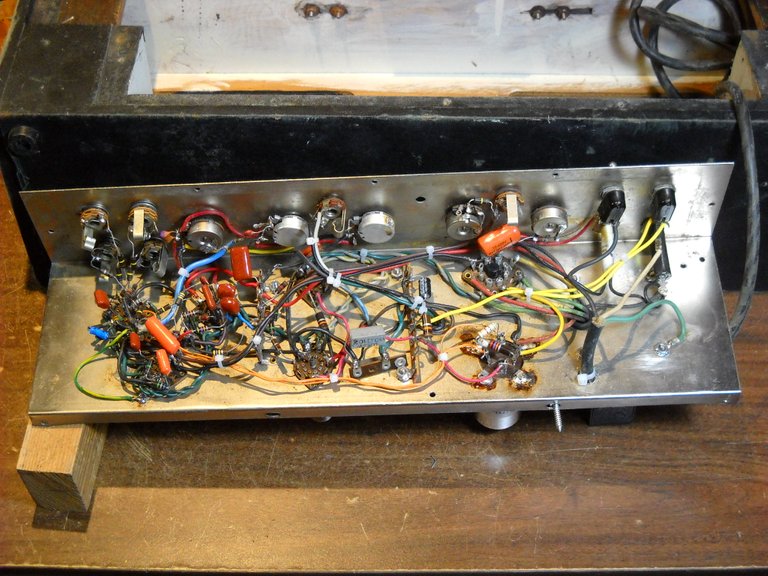
This is the parts side of the chassis. This is what is called "point to point" wiring, there's no circuit board.
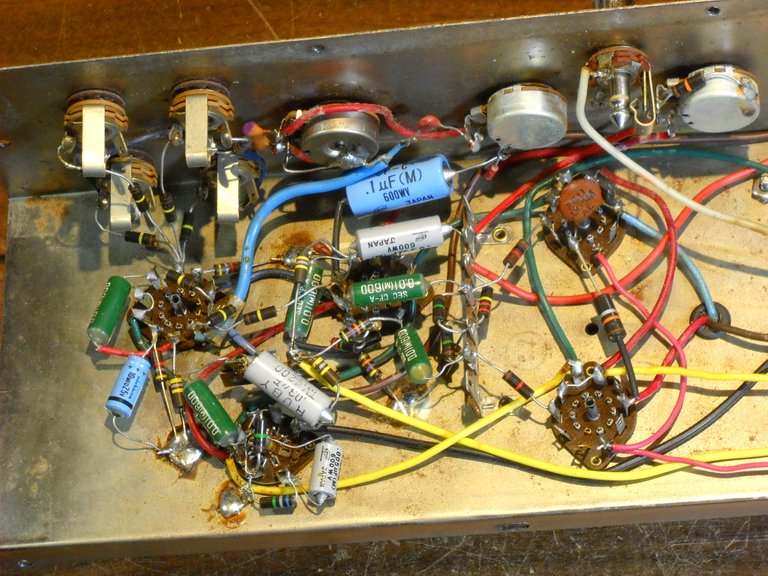
This is a close-up of the circuitry. The power tube sockets are on the right side of the picture, and the rest is the preamp and tremolo circuits.
Here's a close-up of some of the work in progress. I was replacing bad parts in the preamp circuits. At this point, I wasn't done yet.
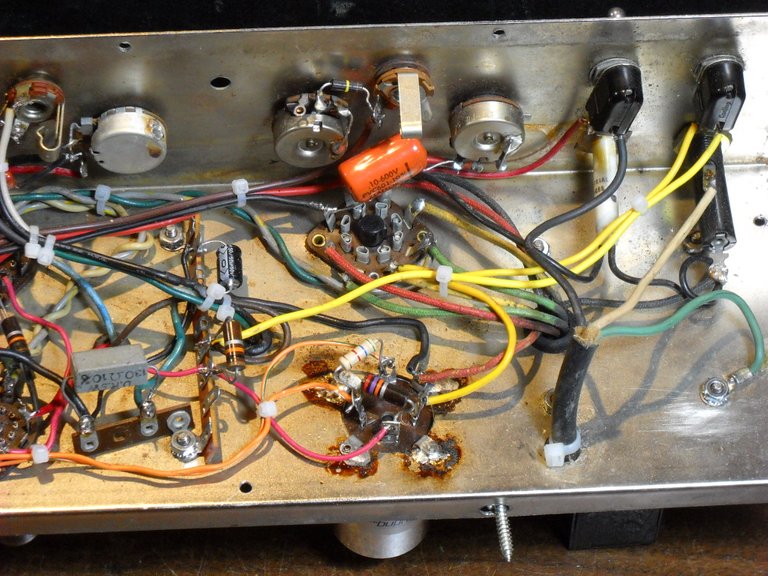
I ended up having to replace the main power supply filter cap "can". These are a multi-section capacitor, and one of the sections was bad. It's probably hard to tell, but this is a close up of the new cap can installed.
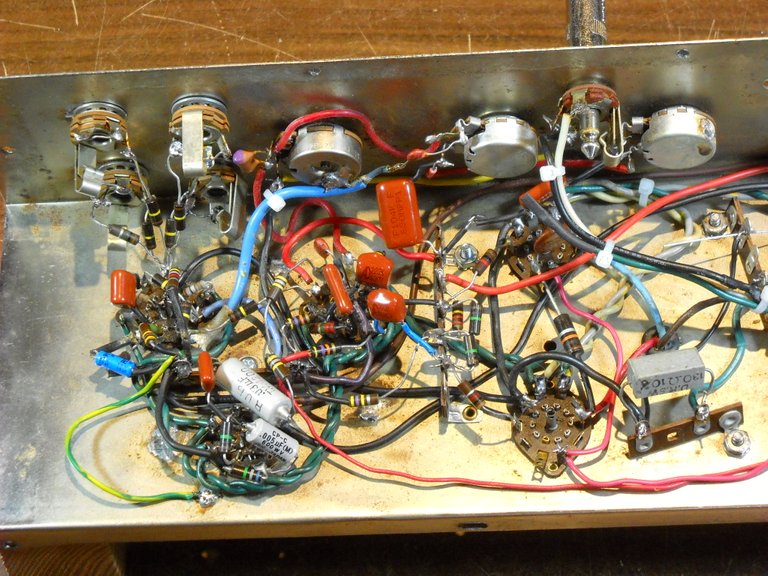
Here's a look at the chassis with all the repair work done. I ended up having to replace a lot of parts in this amp to get it to work properly again. Most of the parts don't cost very much, but the new power supply capacitor can was expensive because I had to get a new one that matched the values of the original as close as possible within what is currently available.
Here's the amplifier put back together. I used a paint marker on the faceplate to rewrite some of the lettering for the controls and jacks.
That's all I have for this post, I hope you found it interesting!

