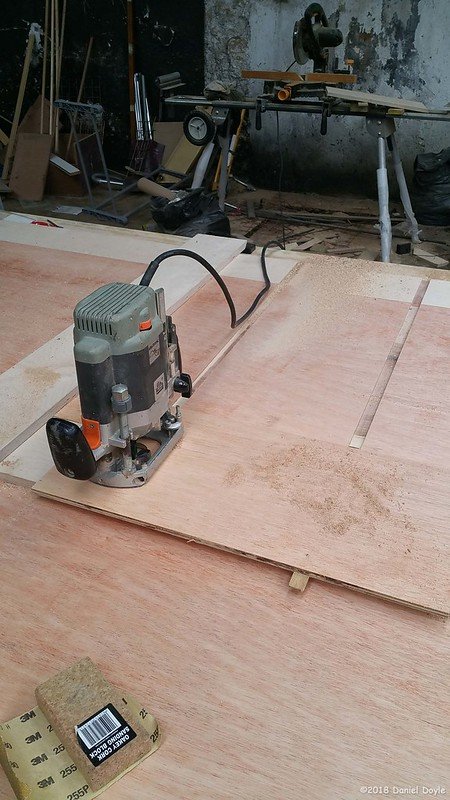
My friend Lisa, who you may remember from posts such as Folly and Cinema seats asked me if could I make a new door for her house. It was to fill a door-shaped opening between her living room and hall and she asked if it could be a secret door hidden behind shelves.
The house was old and a listed building meaning you couldn't do any structural changes but this opening needed a new door and since I wouldn't be doing anything, except hanging a door we figured we could get away with it.
After some back and forth I knew all the requirements she had. The most complicated was that she wanted it to be openable both ways. This made everything much more difficult. If she had wanted it to open just one way I could have kept the hinge side straight and the opening side could be cut at an angle to allow for clearance. If you don't know what I mean I'm sorry but I'm not going to go and make you a drawing... Ok, Ok, Ok, here it is!
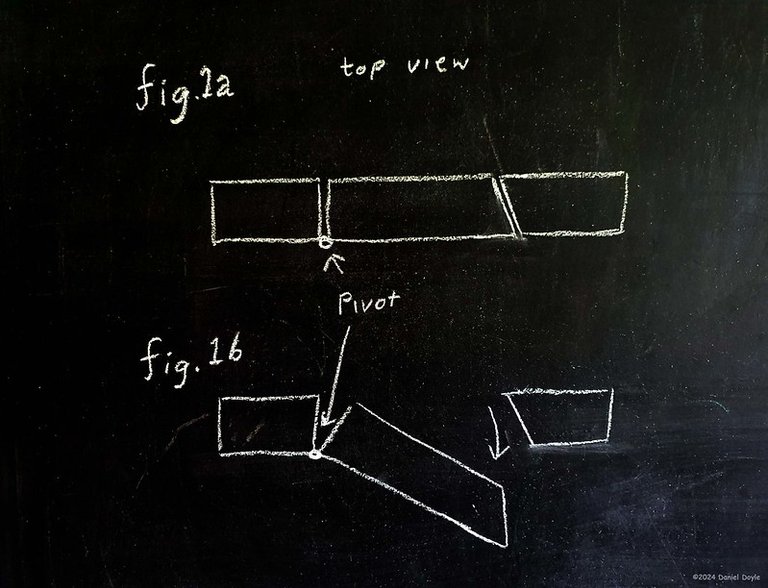
Fig.1a shows how you only need to chamfer the opening end to give clearance at the frame.
This will only allow the door to open inwards using the pivot point as in fig.1b
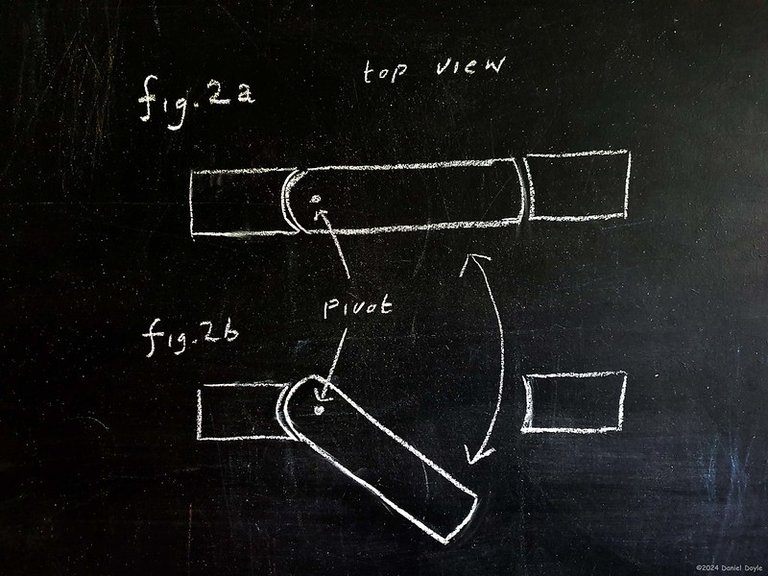
Fig.2a shows my solution which was to have the whole door pivot around an off-centre point and each edge would be a different radial arc to give clearance to the frame.
This would allow the door to swing both ways but require the sides of the door and frame to be curved at different arcs based on their distance from the pivot point. Get it? I hope so.
( I drew this on my blackboard especially for you so, show some love in the comments)
Lisa already had a lazy Susan which she thought I could employ as a hinge. She is smart like that. I would need a second one for the top so we ordered that and I got to work. I was pretty confident that the lazy Susan would be able to take all the weight the door and books would create.
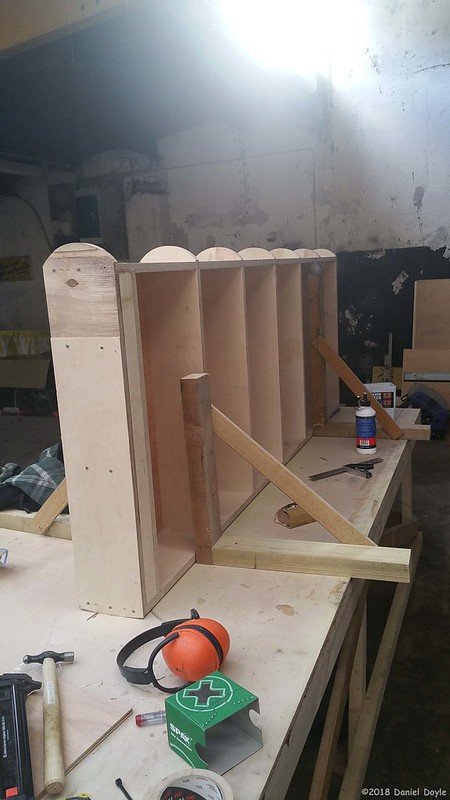
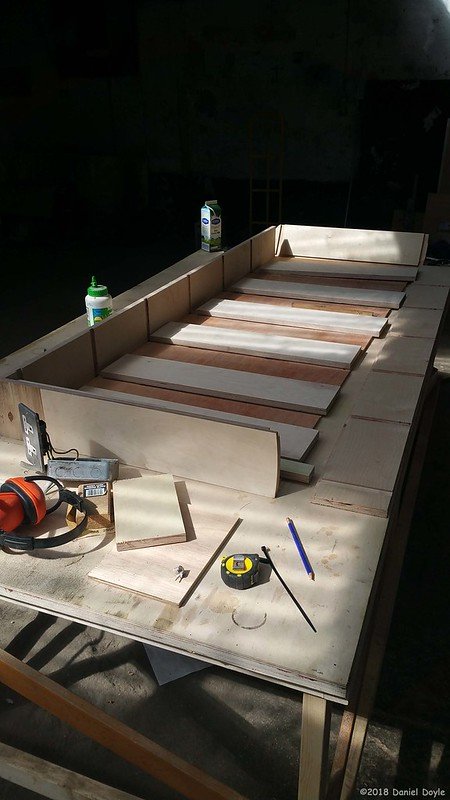
The bookcase was straight forward enough but I made sure everything was square, had nice strong joints everywhere and a backboard to stop it from sagging.
I took away some wood at the bottom and top to give room for the hinge so the gaps between the door and frame would be as small as possible. The door opening was not perfectly square but I could fit everything into place with shims to make the frame square again.
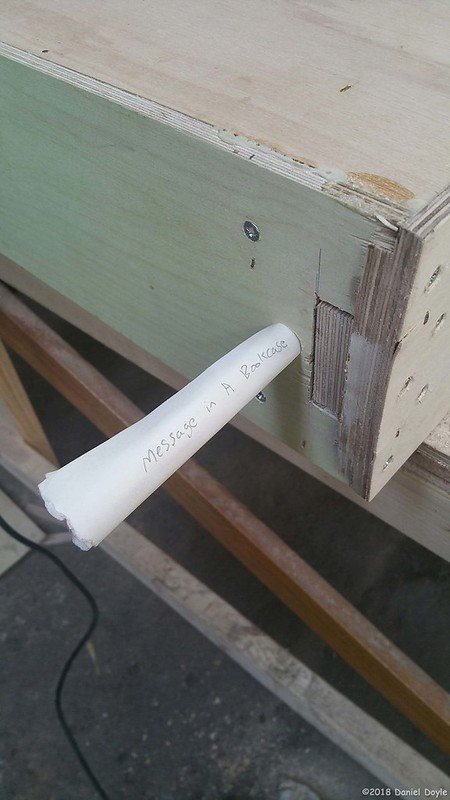
The curves at the edges were then added but before I did I wrote a little note and hid it in the bottom. I forget what I wrote, It was probably a treasure map.
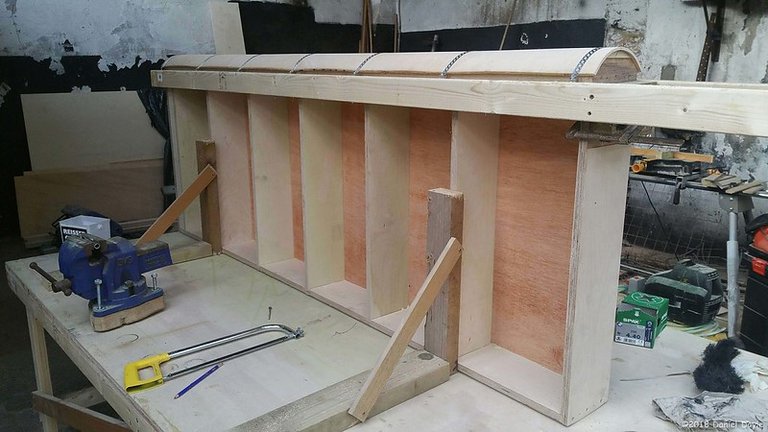
Along both sides, I made curved ribs which I could bend wood over. For the curve, I used bendy plywood. This is plywood with all the grain running in the same direction and has a net-like fabric in its core. It is quite cool stuff and allows you to make crazy bends although it is expensive and I had some issues trying to clamp it in place.
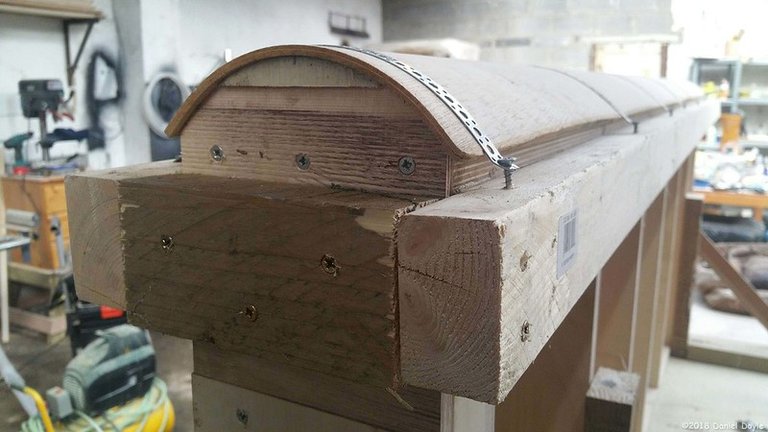
A temporary structure was built around the bookcase which I could then use bandolier strap to screw into. This worked pretty well but looking along I could still see the waves of pressure.
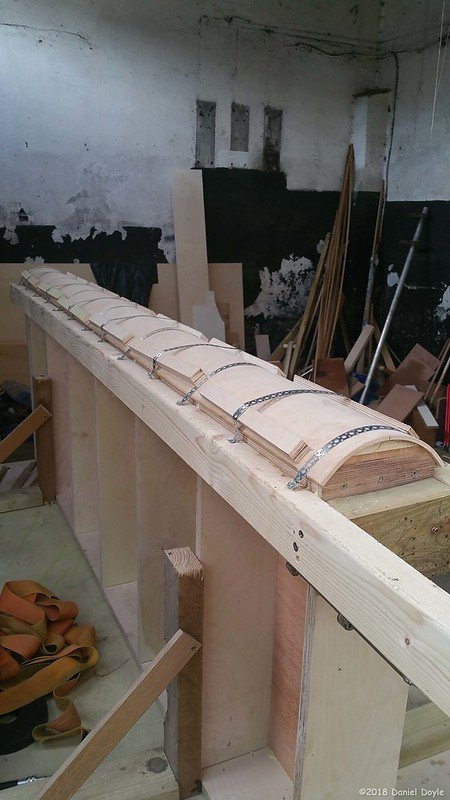
Before the glue dried I added other blocks of wood and more straps to straighten it out. The blocks of wood help even out the surface.
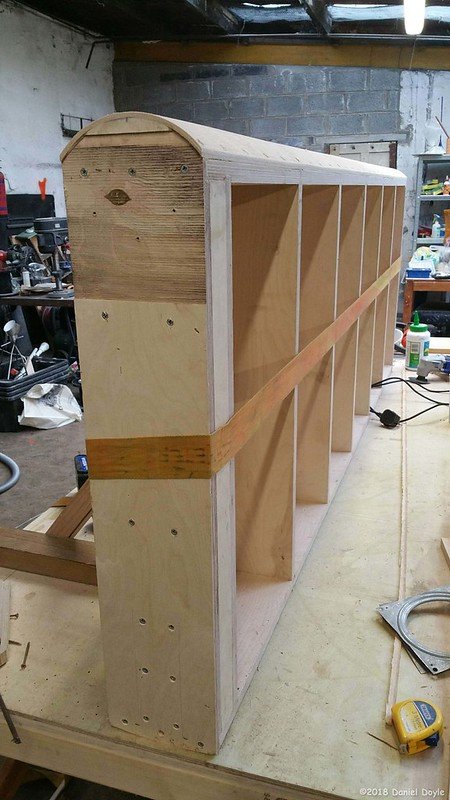
It worked very well. And the bookcase was complete. Now on to the frame.
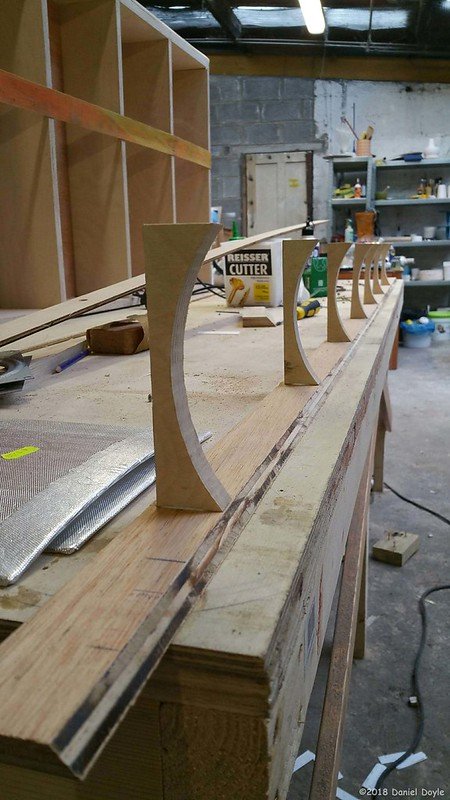
This would be a concave form which I made a skeleton for. I had to take into account the thickness of the bendy plywood and also a layer of card which I used as a spacer between the bookcase and frame.
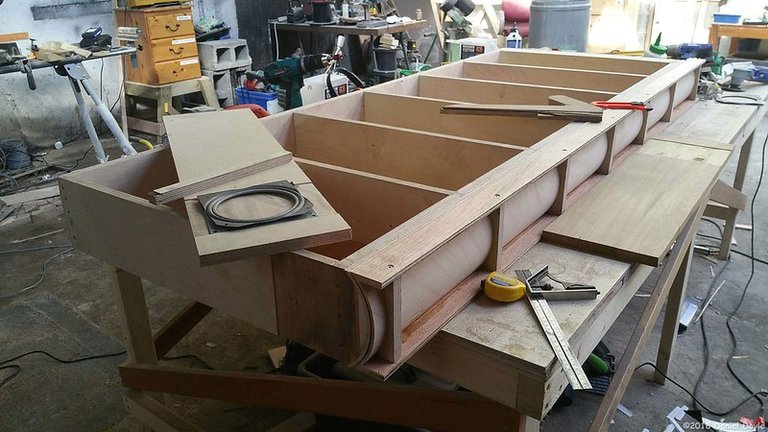
This made a pretty complex sandwich of layers. I then glued it up and clamped it onto the bookcase to hold everything in place while the glue dried.
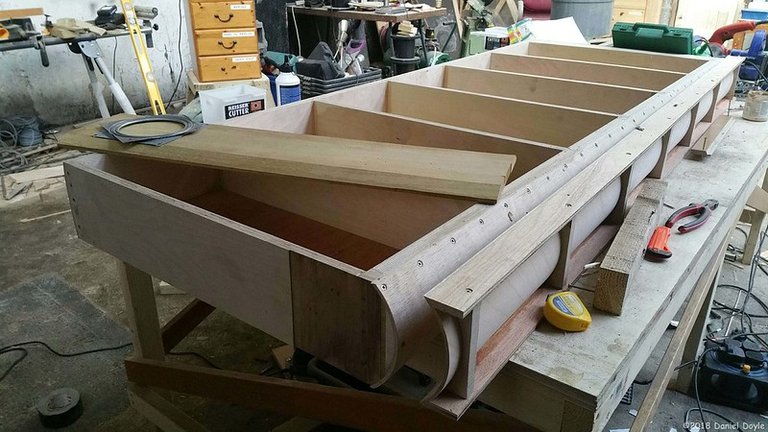
To my surprise, this worked very well. The cardboard spacer was removed and it gave a very nice clearance to the frame. Then I made the frame top and a traditional saddle for the doorways out of oak hardwood. These had a small rebate to accept the other side of the lazy Susan bearing.
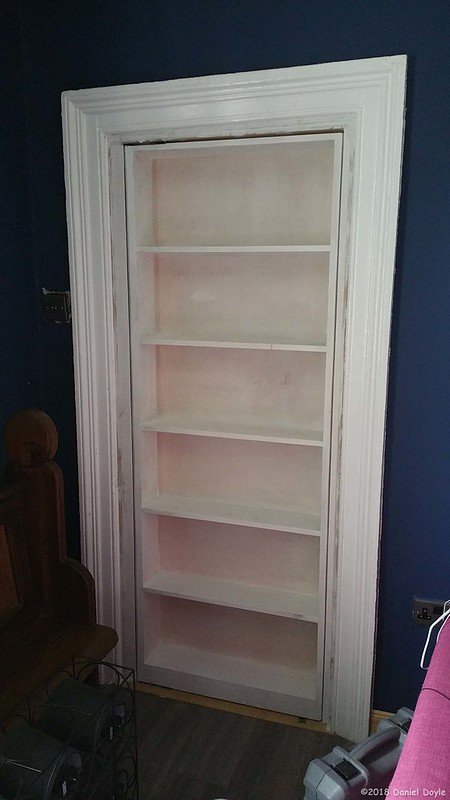
I never got any images of the installation because I was under pressure to get it done. The whole thing had been painted with a first coat of undercoat in my workshop which is why it now looks white.
It went in easy enough. First the saddle (That bit at the bottom) then the sides. I then attached the top frame to the door and slid the whole thing in.
The original door frame was very bent so, I needed to shim the top to get it to line up.
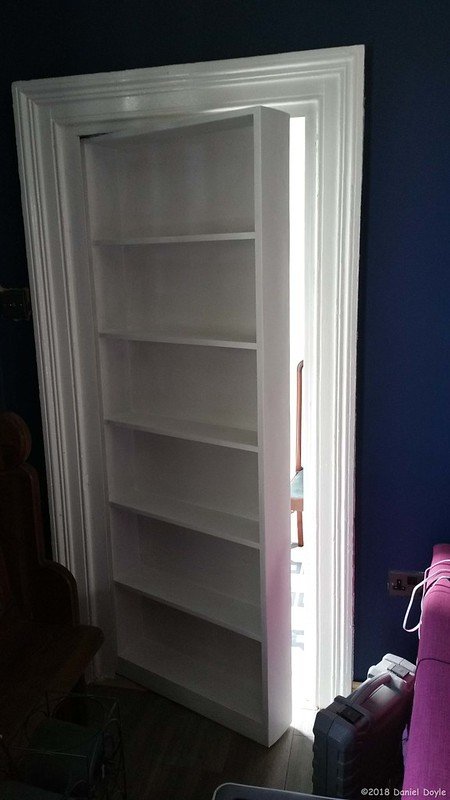
Another coat of undercoat and it looked pretty well. Lisa said that she would do the final coat of paint to match the room she was decorating.
The door swung nicely and was perfectly balanced which I was quite proud of.
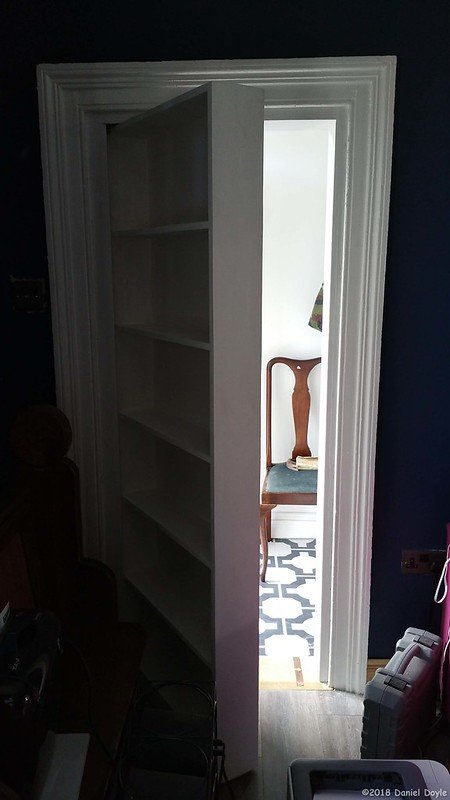
To help the door stay shut I Placed a spring-loaded metal ball underneath and on the saddle I inlaid a copper strap that it could run along. (you can see it at the bottom there) In the middle was a pocket that the ball would pop into to stop it with a satisfying click in the correct position.
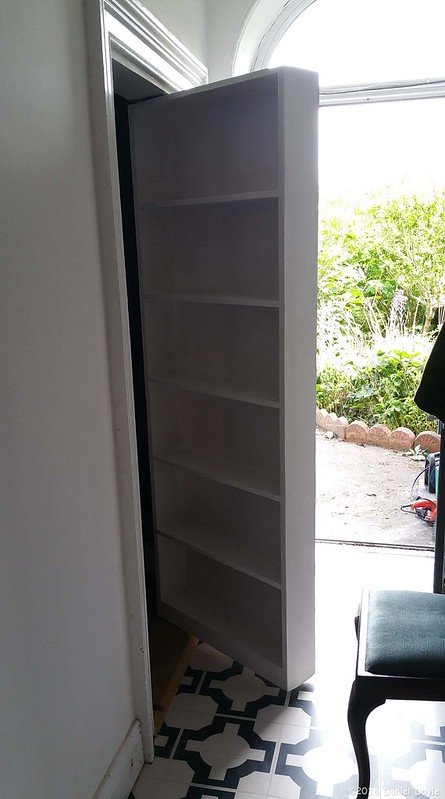
The door also swung out into the hall. The mechanism of the lazy Susan bearing and the curved frame worked perfectly. When closed there was about a 3mm gap all around and when opened there was no rubbing.
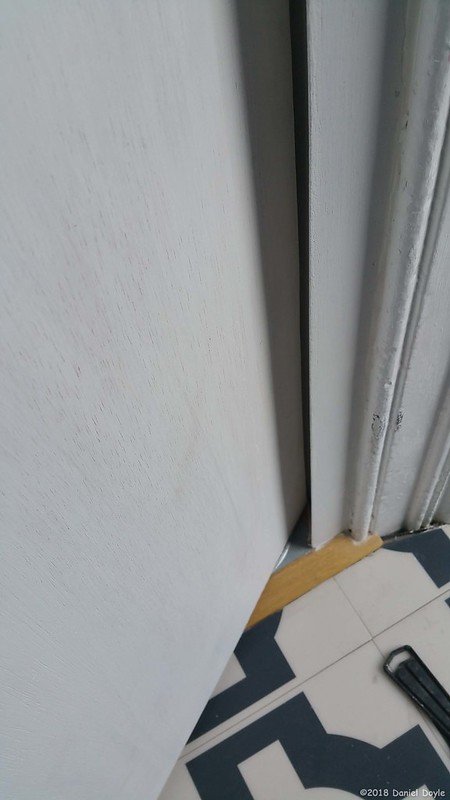
I really liked the way the edges slid by each other as smooth as silk.
I never did get a picture of the finished paint job or when the whole thing was filled with books and other stuff. But, trust me, Bro. It looked great.


