Acrylic Paint Pouring Gift to My Newlywed Friend DIY

Acrylic Paint Pouring Gift to My Newlywed Friend DIY
Greetings friends! A dear friend of mine got married last month and I wanted to make him a gift. I haven't done acrylic painting for a very long time and I hope he and his wife likes this one. Today I will tell you step by step how I did it. Here are the materials:
- 6-pack acrylic pouring paint set.
- Glove. Gotta protect our skin from chemicals.
- A tarpaulin to keep it off the floor. Or you can do it outside but be careful not to leave it there because the wind will ruin the paint and leave marks.
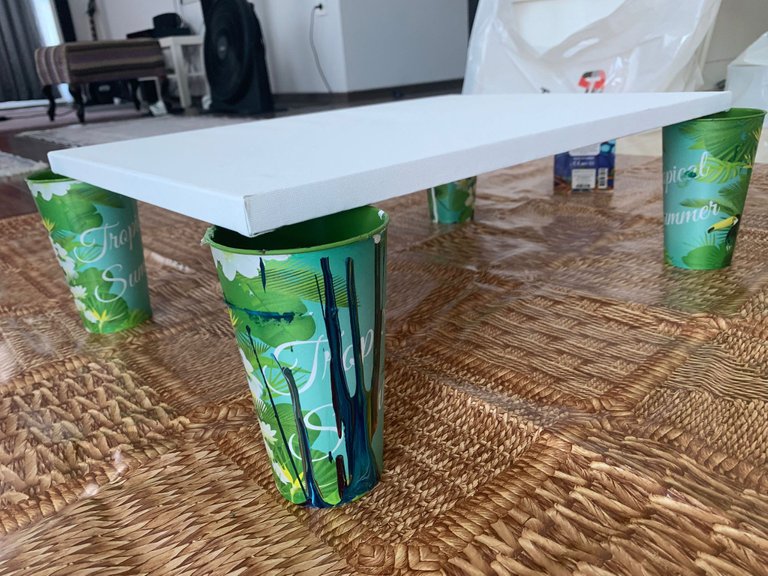
- 4 cups for collecting the paint that spills over the edges
- Cup for mixing your paints
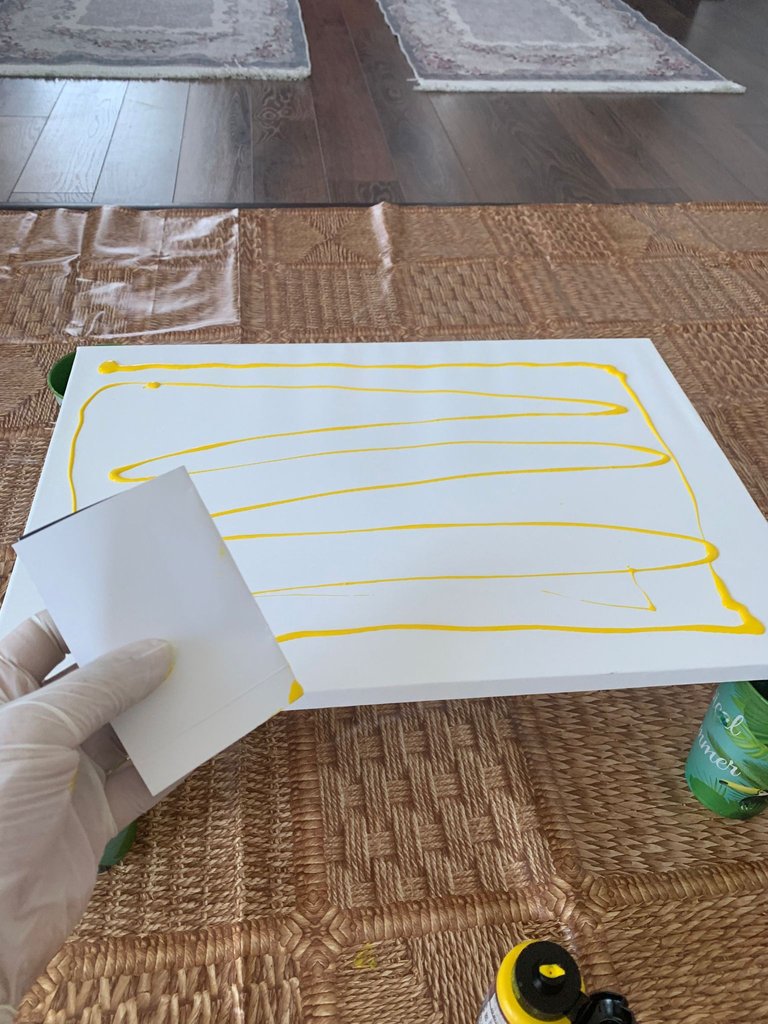
- A flat tool to spread your paints, but I used cardboard, that was enough.
- Creativity
Step one. The Hidden Base!
First, put the color you like least and can afford to spend on at the bottom. Why? Because this color will be almost completely covered. That's why I used yellow, which is the color I use very little and spend very little. My fiancé said to use this color a little more at the end, it would add lightness and freshness. That's why you will see some yellowness on the top. But in essence, the color you use here doesn't really matter.
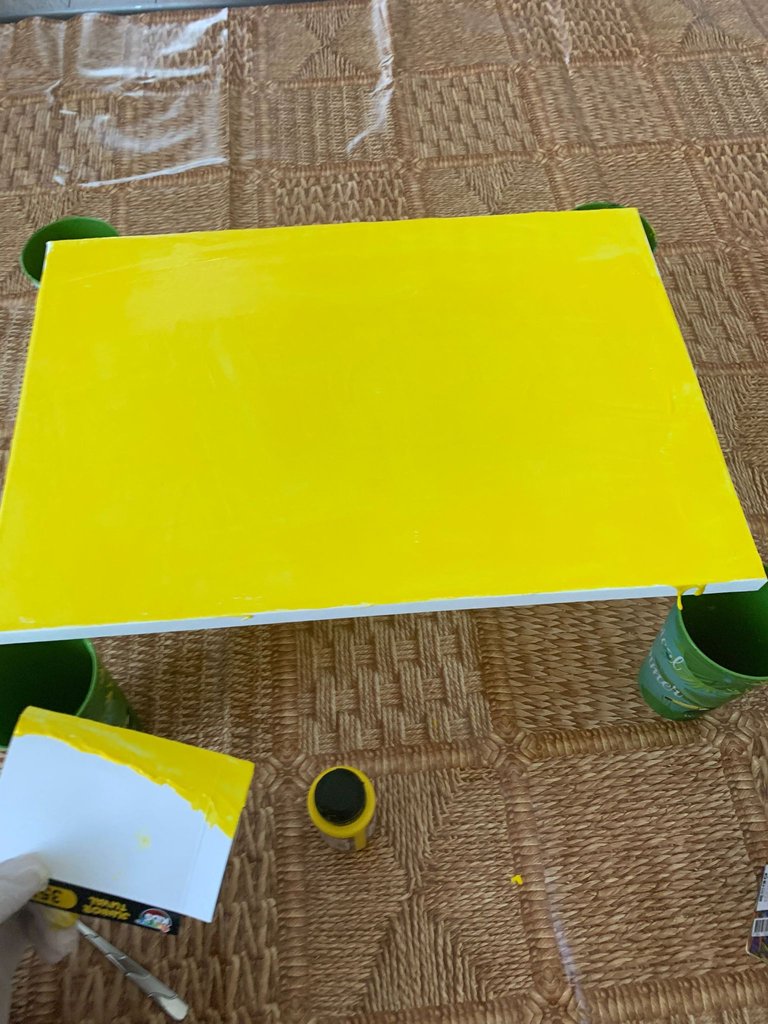
We spread the yellow beautifully all over the canvas with cardboard. Because it will close.
The biggest purpose of doing this is that the colors we will add later will maintain their fluidity and not stick directly to our canvas.
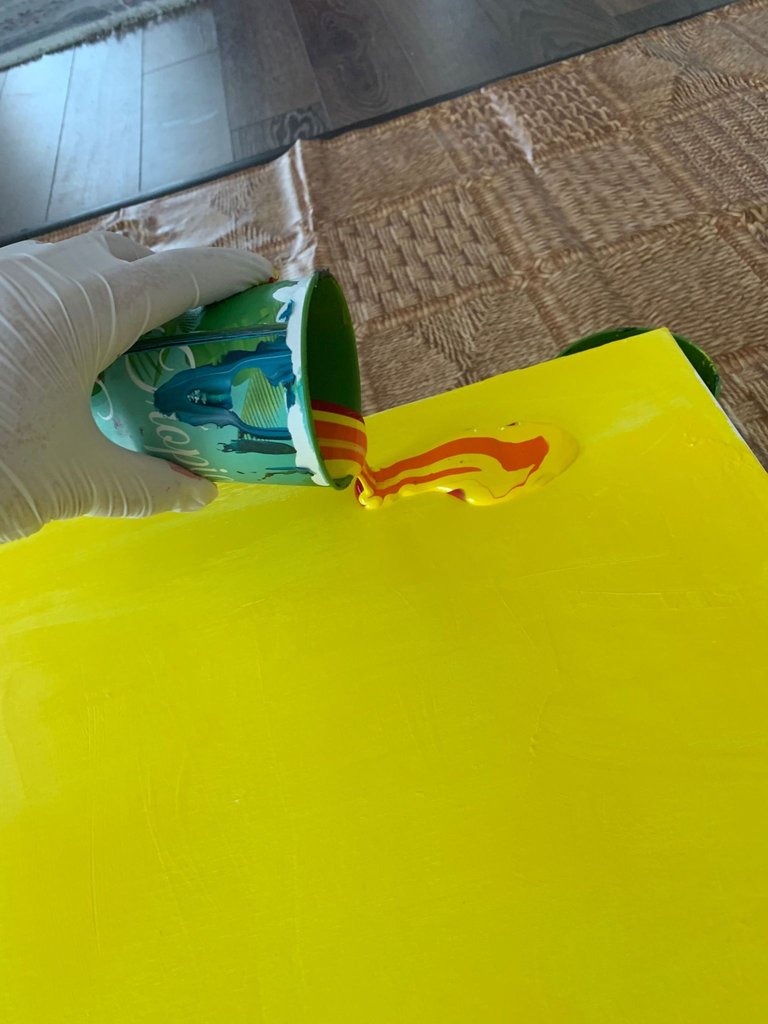
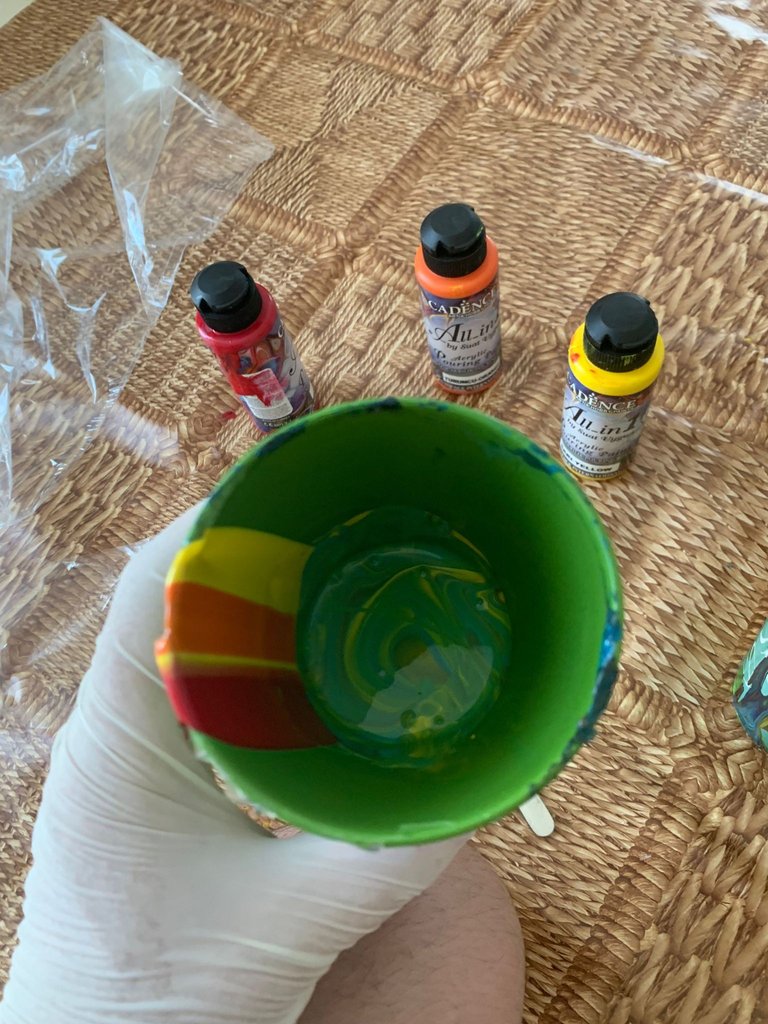
Step two. First Colors.
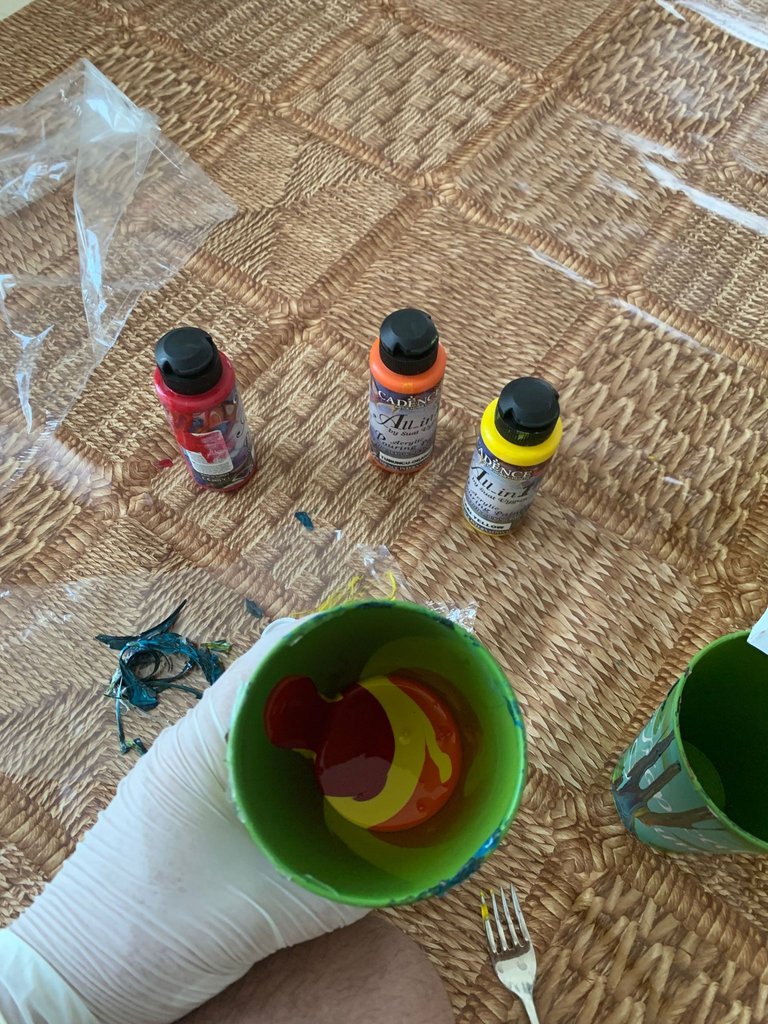
Secondly, I chose something close to the basic colors and combined them in a glass for pouring. I mixed them. I hope he likes it. Because every time I use the pouring technique with acrylic I don't know what will come out in the end.
Here you can slowly distribute the colors you like. As you can see in the first picture, we will use the most important and most colors in the next step. Because here I chose the edges and the tops, the far side for me, because I tilted the painting towards me, so it flowed towards me. And where it flowed, I poured new colors. So I think the fluidity looks more aesthetic rather than bad. You can experiment as you like.
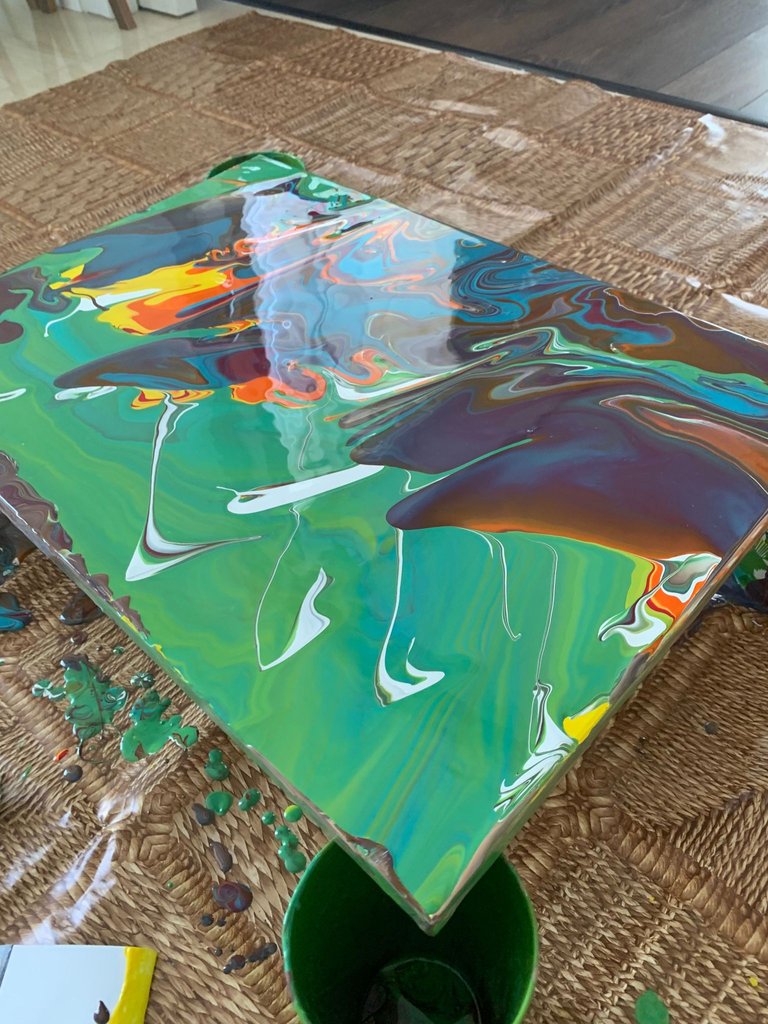
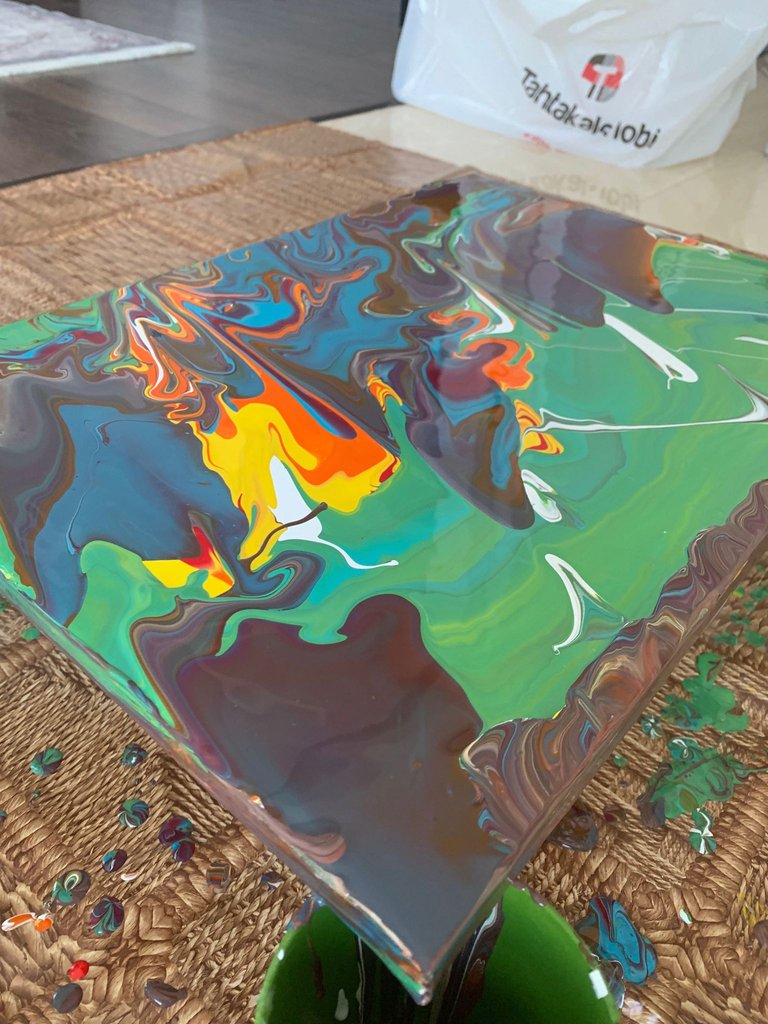
Step Three: It's time to pour the colors you want to show up the most.
In this step, I'm glad I went to my friend's house because she designed a slightly rustic house. She used greens and shades. I didn't want to disturb these tones and I wanted the painting to be harmonious. I mixed blue and yellow to get green tones. In addition, purple is a must. That's why I also used purple, it's one of my favorite colors.
And when I had spread it out nicely, I sent a picture to my fiancé, but he didn't like it and said it was too empty. He said put a little more yellow. So I finally added yellow and bada bim! Here are the results below!

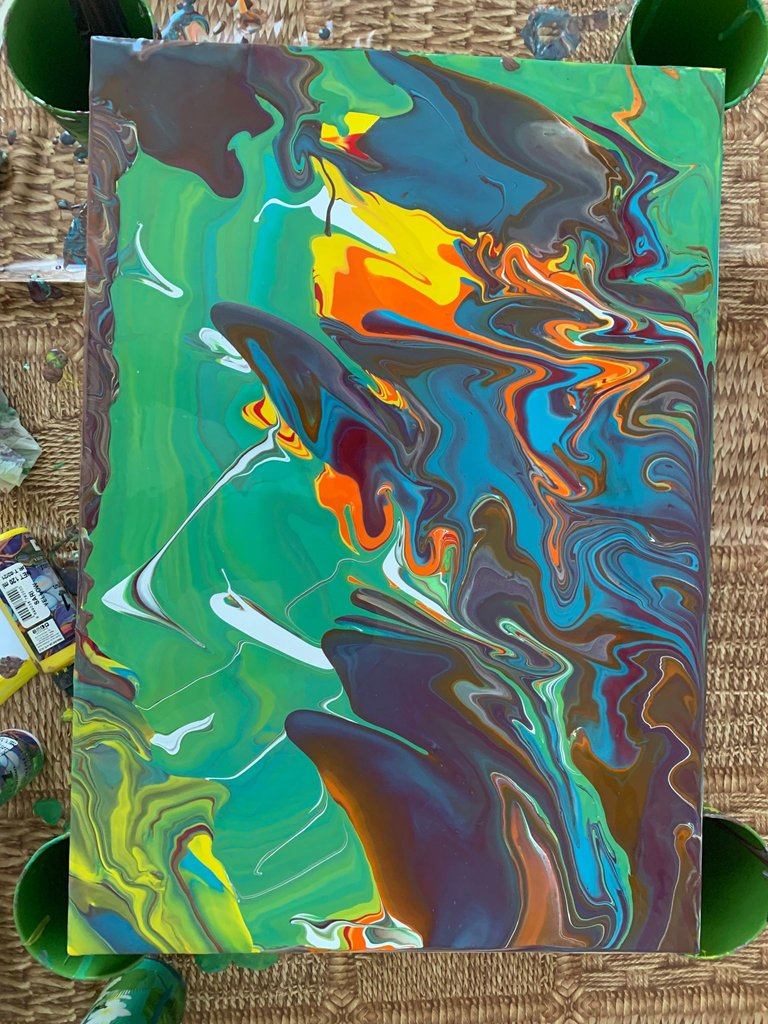
The End
In the end it's an art that depends entirely on the direction of your pouring and tilting. You can make it flow in any direction you want. You can try it in any direction. After all, if you don't like it, you can scrape it or try again directly on it! That's why I love acrylic so much.
I hope my friend and his wife like it too! Thank you very much for reading. I want to sell a lot of acrylic paints this summer vacation and I hope I can do it. Thank you very much everyone!
Have a colorful day!

