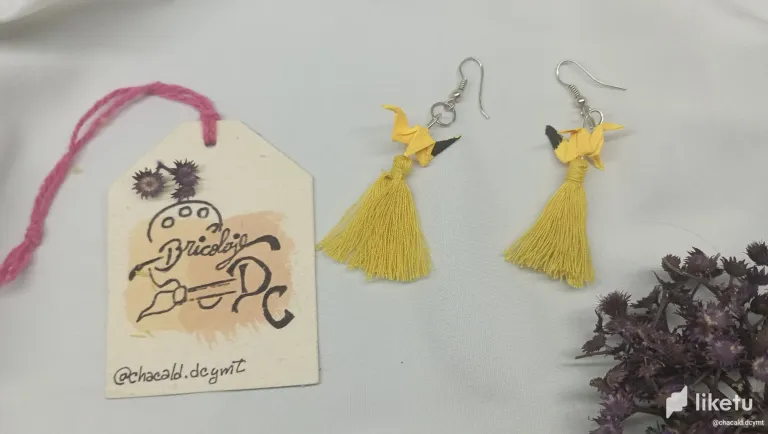


Greetings friends who love handicrafts! Welcome once again to my workshop Bricolaje DC. This time we are going to work with the origami technique to make some mini cranes dangling earrings. Join me and I'll show you the step by step.
For this project we will need:
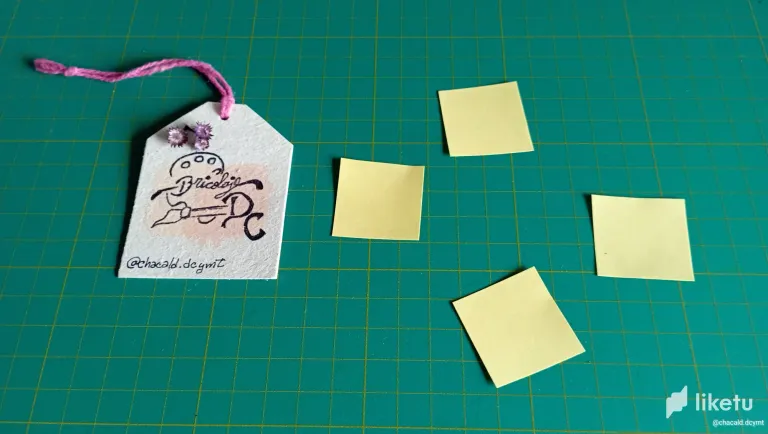
Colored paper in a square shape (3 centimeters by 3 centimeters).
Black gel pen
2 Hooks for dangling earrings
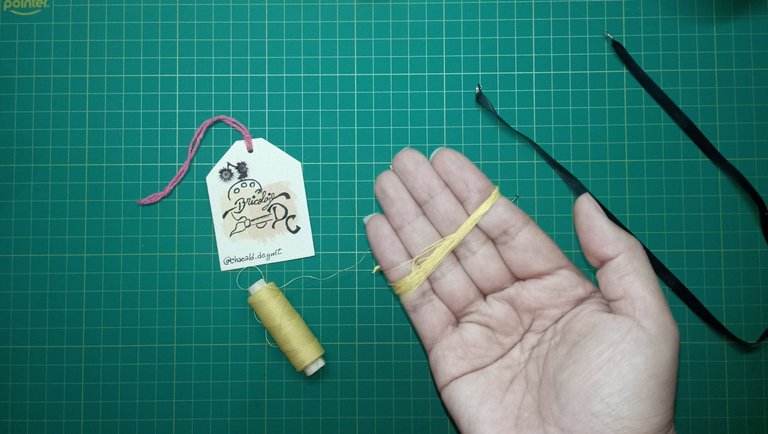
Thread of the same color as the paper
2 pins
2 hoop earrings
Scissors
Fine comb
Cutting pliers
We start by making the cranes
1.Fold the paper in half.
2.Open and fold in half again.
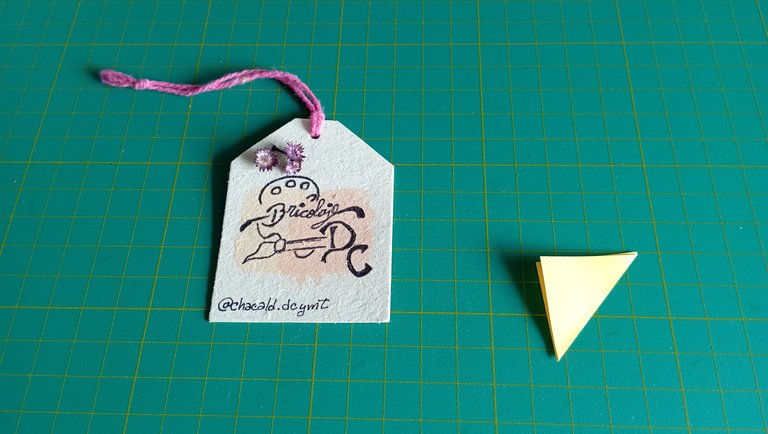
3.Fold the ends backwards leaving a square.
4.We are going to fold the corner of the square towards the center on both sides, leaving the closed end up.
5.We turn over and do the same thing on the back.
Bring the triangle from the closed end downwards marking the doubles.
Open them again.
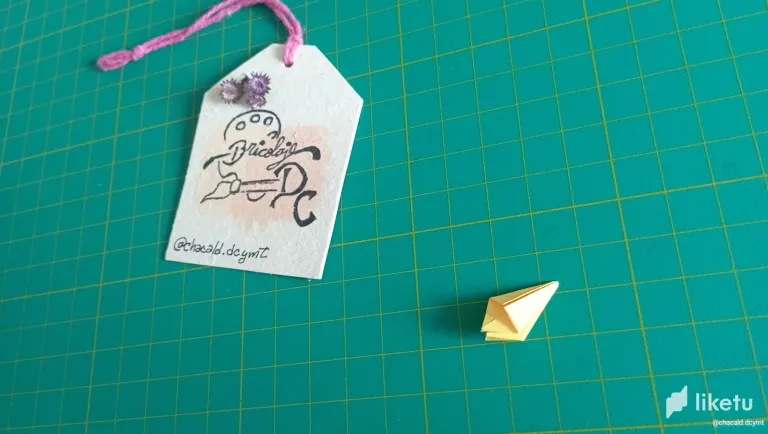
We are going to lift and push the sides through the folds that we made in the previous two steps.
9.We flatten along the folds we already made.
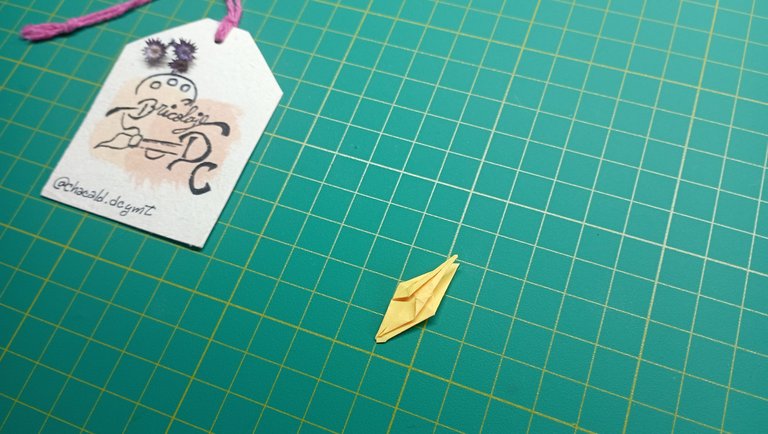
Fold the side corners to the center (this part can be a little tricky because of the tiny size of our crane).
10.Turn over and do the same process on the other side.
11.Fold the triangles upwards.
12.Now we make a reverse fold inward along the triangles we just made on the right side of the figure.
13.Turn over and do the same on the left side.
14.Lift the paper through the folds we made, and then smooth all the edges.
15.Fold the right corner downwards and in reverse we form the head.
Fold the wings in half.
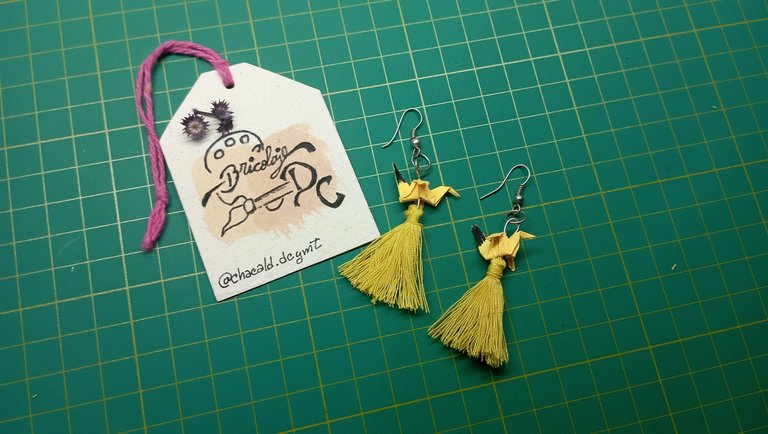
And that's it. We have our tiny origami cranes.
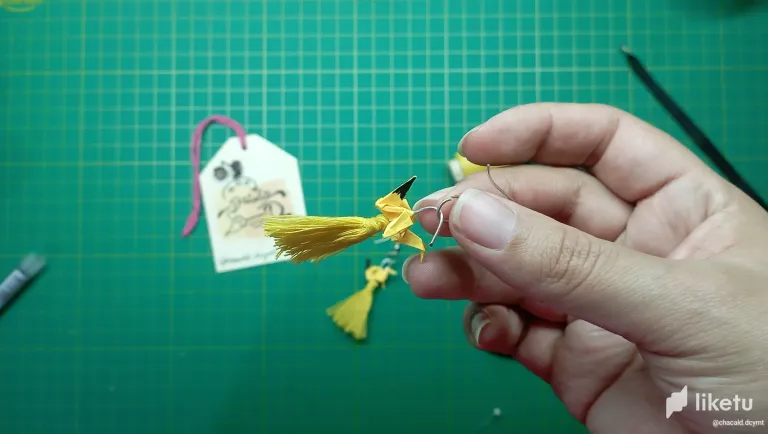
Then, with the lilo I made some beards. I knotted them and placed the pin in the middle. I cut with the pliers and finally added the ring with the hook.
To protect them I coated them with a layer of resin, so they would be water resistant and would last longer.
I loved these earrings. I hope you are encouraged to make them at home and surprise with this beautiful design. See you at See you next time. Bye!
Aretes con mini Grullas en Origami
Tutorial
¡Saludos amigos amantes de las artes manuales! Sean bienvenidos una vez más a mi taller Bricolaje DC. En esta oportunidad vamos trabajar la técnica del origami para hacer unos aretes colgantes de mini grullas. Acompáñenme y les muestro el paso a paso.
Para este proyecto vamos a necesitar:
Papel de colores en forma cuadrada (3 centímetros por 3 centímetros)
Bolígrafo de gel color negro
2 Anzuelos para aretes colgantes
Hilo del mismo color del papel
2 Pasadores
2 Argollas
Tijera
Peine fino
Tenaza de corte
Comenzamos haciendo las grullas
1.Doblamos el papel por la mitad.
2.Abrimos y doblamos otra vez por la mitad.
3.Doblamos las puntas hacia atrás dejando un cuadro.
4.Vamos a plegar la esquina del cuadrado hacia el centro en ambos lados, dejando la punta cerrada hacia arriba.

5.Damos vuelta y hacemos lo mismo por detrás.
6.Llevamos el triángulo de la punta cerrada havia abajo marcando el dobles.
7.Abrilos de nuevo.
8.Vamos a levantar y empujar los lados a través de los pliegues que hicimos en los dos pasos anteriores.
9.Aplanamos a lo largo de los pliegues que ya hicimos.
10.Plegamos las esquinas laterales hacia el centro. (esta parte puede ser un poco complicada por el diminuto tamaño de nuestra grulla)
10.Damos la vuelta y hacemos el mismo proceso del otro lado.
11.Doblamos los triángulos hacia arriba.
12.Ahora hacemos un pliegue inverso hacia dentro a lo largo de los triángulos que acabamos de hacer en el lado derecho de la figura.
13.Damos la vuelta y hacemos lo mismo del lado izquierdo.
14.Elevamos el papel a través de los pliegues que hicimos, y luego alisamos todos los bordes.
15.Doblamos la esquina de la derecha hacia abajo y a la inversa formamos la cabeza.
16.Doblamos las alas hacia la mitad.
Y listo. Tenemos nuestras diminutas grullas en origami.
Luego, con el lilo hice unas barbas. Las anudé y coloqué el pasador en la mitad. Corté con la tenaza y finalmente agregué la argolla con el anzuelo.

Para protegerlas di una capa de resina, así quedaran resistentes al agua y se conservaran por micho más tiempo.

Me encantaron estos aretes. Espero se animen a realizarlos en casa y sorprender con este bonito diseño. Nos vemos en una próxima oportunidad. Chao!

Original content by the author.
Resources: App: Canva / Giphy / Inshot
📷 Redmi 10 Smartphone
Translation done with Deepl.com
✿ All Rights Reserved || © @chacald.dcymt 2023 ✿
💌 Discord: chacald.dcymt#3549
X: @chacald1
_
Contenido original del autor.
Recursos: App: Canva / Giphy / Inshot
📷 Redmi 10 Smartphone
Traducido con Deepl.com
✿ Todos los Derechos Reservados || © @chacald.dcymt 2023 ✿
💌 Discord: chacald.dcymt#3549
X: @chacald1
For the best experience view this post on Liketu


