Greetings friends who love handicrafts! We start the year and with this the new projects in my workshop Bricolaje DC. It's something like saying: "new year new doodle notebook", and for that I would first like to show you some of the gifts I received this Christmas. Join me and let's open the gift.
Año nuevo, cuaderno de garabatos nuevo | Diseño y elaboración DIY
¡Saludos amigos amantes de las artes manuales! Iniciamos el año y con esto los nuevos proyectos en mi taller Bricolaje DC. Es algo así como decir: "año nuevo cuaderno de garabatos nuevo", y para ello me gustaría primero enseñarles algunos de los regalos que recibí en esta navidad. Acompáñenme y abrimos el regalo.
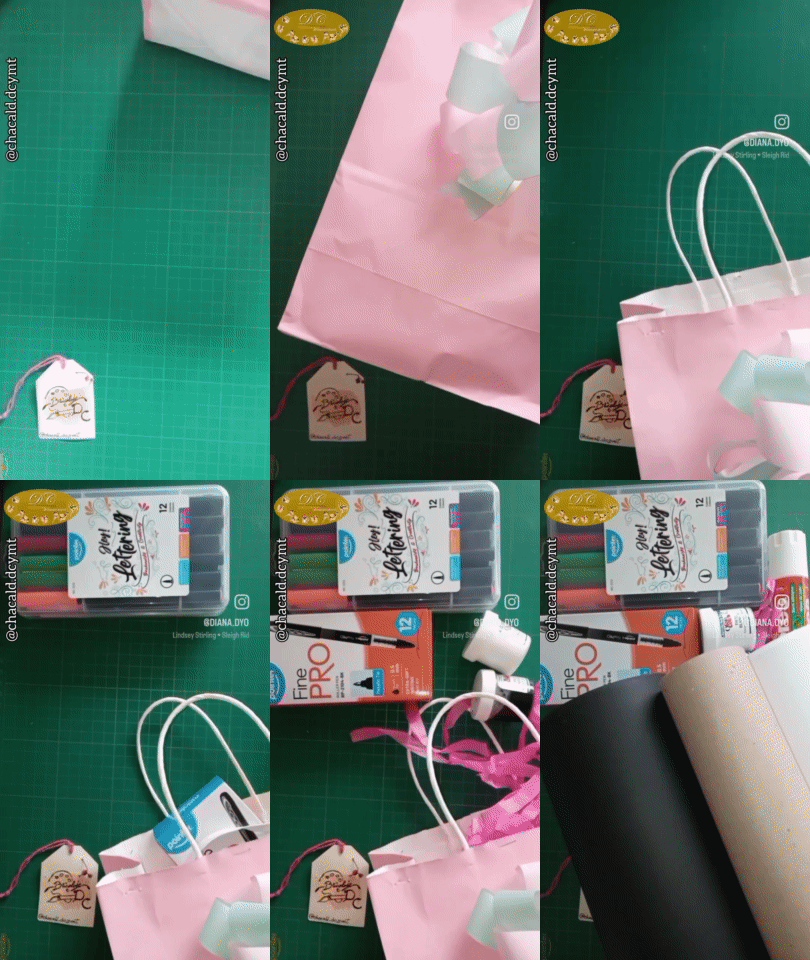
In that beautiful paper bag, came some special brush tip markers for Lettering and for my favorite technique Zentangle a box of black gel pens with 0.5 millimeter tip and easy grip. Also included were black and white fabric paints, glue sticks and liquid glue, white liquid chalk, craft paper and black and white opaline cardstock. I am so happy for these gifts.
Using these materials, I wanted to make my own doodle notebook, since my old one ran out of space to doodle in.
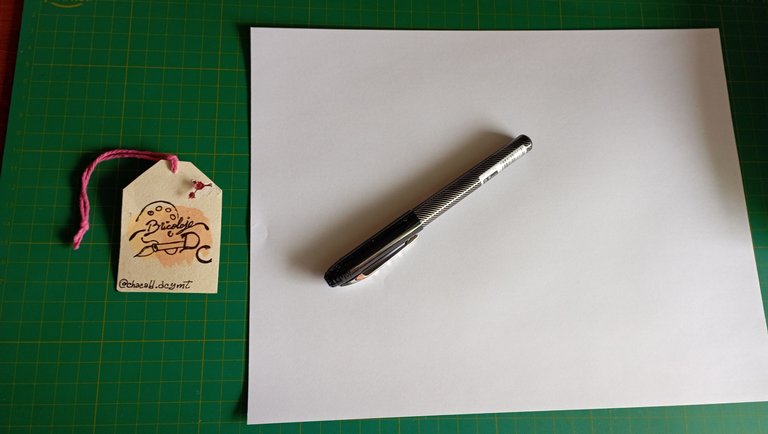
To make this project I used:
1 white opaline card stock.
1 black opaline card stock
2 sheets of cardboard for banding
1 black spring ring
2 sheets of laminating paper
Scissors
Pencil
Compass
Banding and laminating machine
En esa preciosa bolsa de papel, venian unos marcadores punta pincel especiales para Lettering y para mi técnica favorita Zentangle una caja de bolígrafos de gel de color negro con punta 0.5 milímetros y de fácil agarre. También venían pinturas para tela de color blanco y negro, pegamento de barra y líquido, tiza líquida de color blanco, papel crafts y cartulinas opalinas de color negro y blanco. Me siento tan feliz por estos regalos.
Utilizando estos materiales, quise hacer mi propio cuaderno de garabatos, ya que el anterior se quedó sin espacio donde poder garabatear.
Para realizar este proyecto utilicé:
1 cartulina opalina de color blanco
1 cartulina opalina de color negro
2 hojas de cartulina para anillar
1 anillo de resorte color negro
2 hojas para plastificar
Tijera
Lápiz
Compás
Anilladora y plastificadora
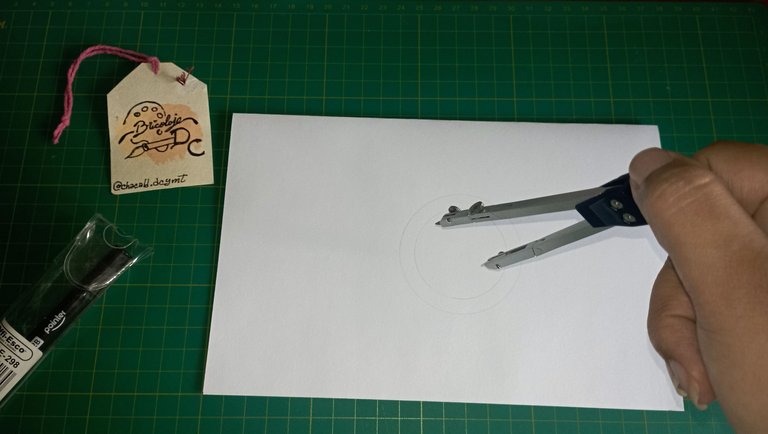
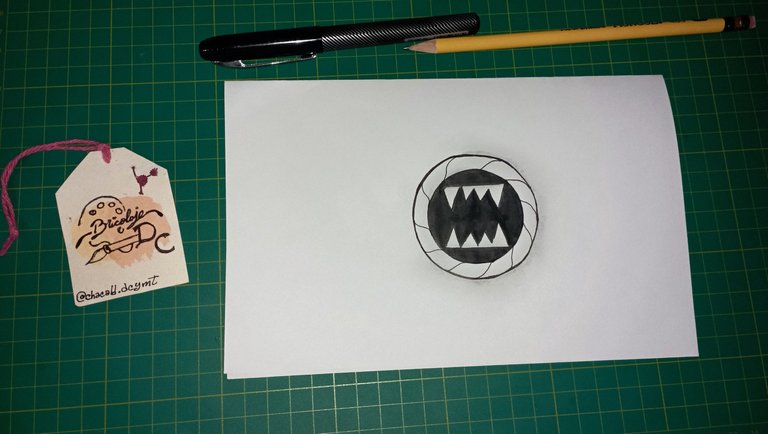
I started by making a circle in the center of a piece of cardboard and a ring around it. Then with the pencil I drew the Splinterlands logo, since the doodle pad will be for making fan art of the game cards.
Comencé haciendo un círculo en el centro de una cartulina y un anillo a su alrededor. Luego con el lápiz dibujé el logo de Splinterlands, ya que el cuaderno de garabatos será para hacer fan art de las cartas del juego.
 |  |
|---|
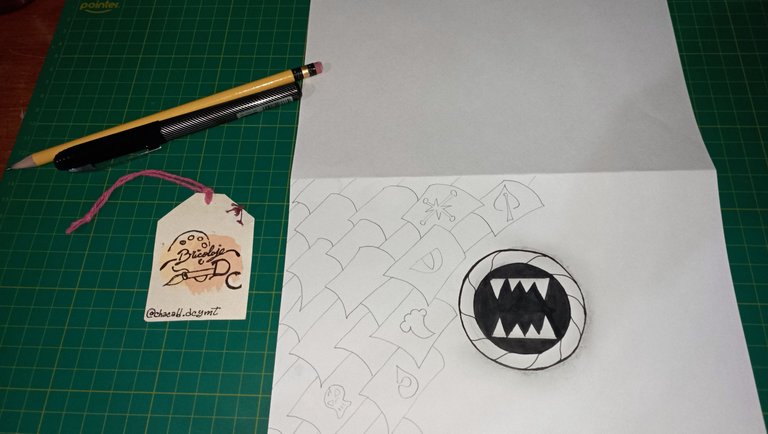
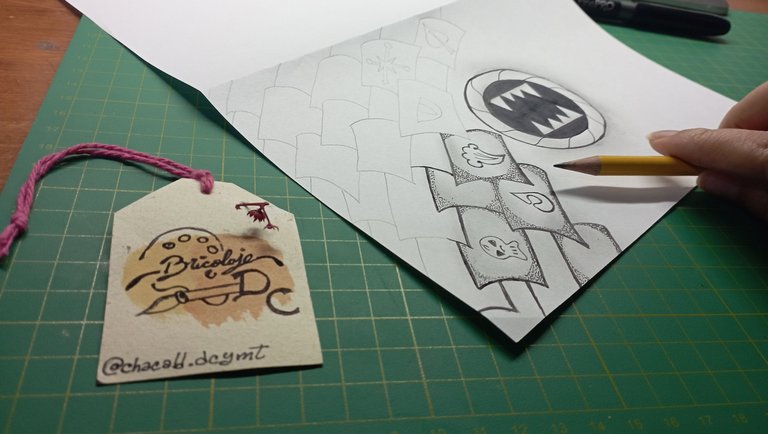
I made some lines that are very typical of the Zentangle technique, I wanted to simulate squares where I then made the symbols of the groups of cards.
Hice unas líneas que son muy propias de ña técnica de Zentangle, quería simular cuadros donde luego hice los símbolos de los grupos de cartas.
 |  |
|---|
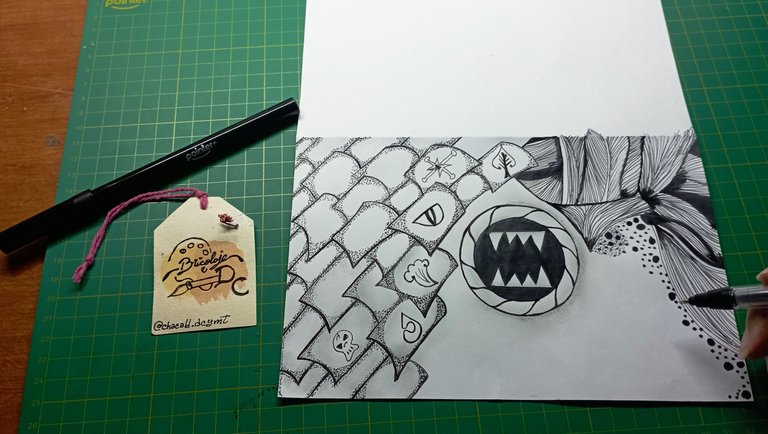
After having all the squares with a filling in the inside corners with dots, I began to make other figures to finish filling the sheet. What I love about this technique is that in the same work there can be different designs and shapes that end up integrating perfectly.
Después de tener todos los cuadros con un relleno en las esquinas interiores con puntos, comencé a hacer otras figuras para terminar de rellenar la hoja. Lo que me encanta de esta técnica es que en un mismo trabajo pueden haber diferentes diseños y formas que terminan integrándose perfectamente.
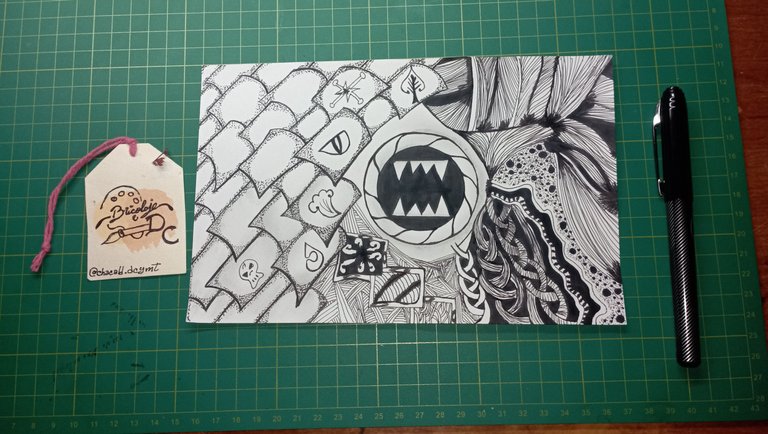
With the design finished, place the beige cardstock underneath and cut out a border.
Con el diseño terminado, coloque la cartulina beige debajo recorté dejando un borde.
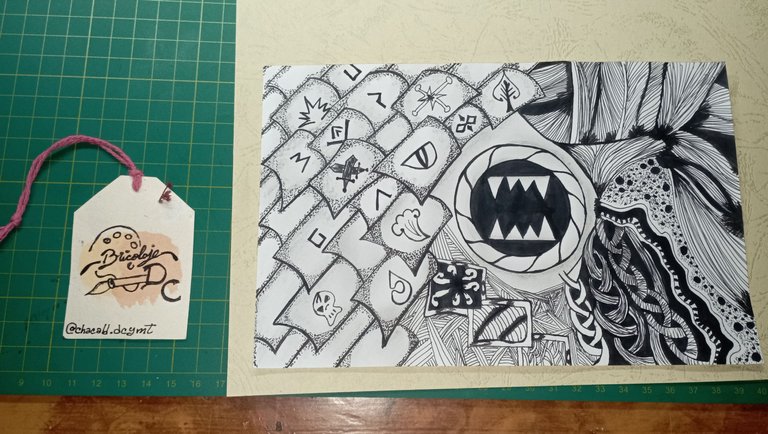
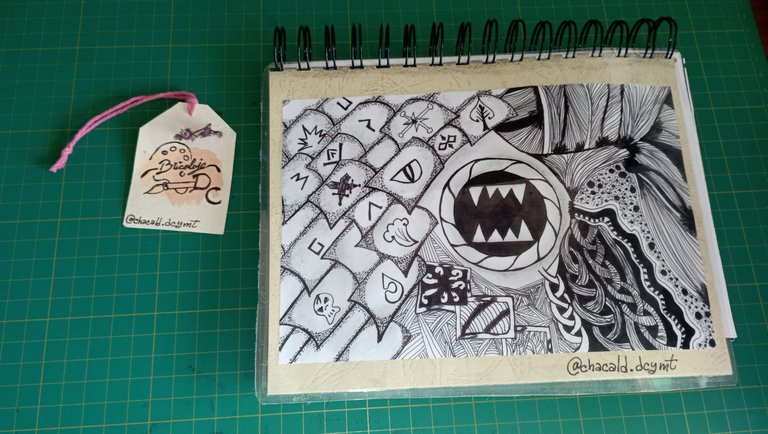
I set out to draw the back of my notebook. For this I made the Rebellion logo and filled the rest of the sheet with squares to apply the Zentangle technique.
Me dispuse a dibujar la parte de atrás de mi cuaderno. Para esto hice el logo de Rebellion y llene el resto de la hoja de cuadros para aplicar la técnica de Zentangle.
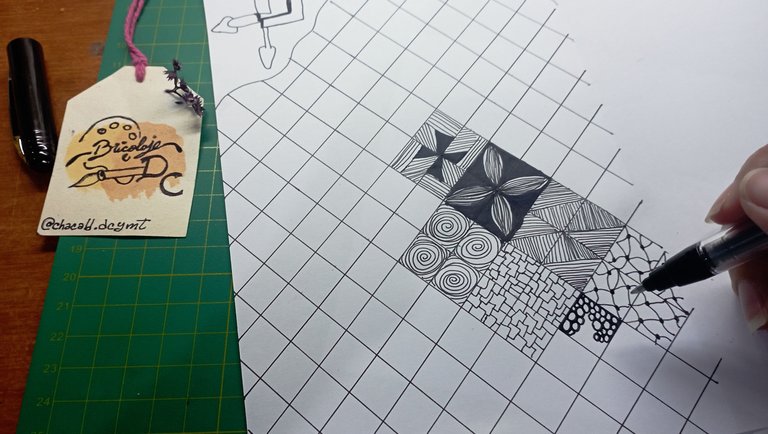
Little by little I worked segments of 4 squares to fill each space on the sheet.
Poco a poco fui trabajando segmentos de 4 cuadros para rellenar cada espacio de la hoja.
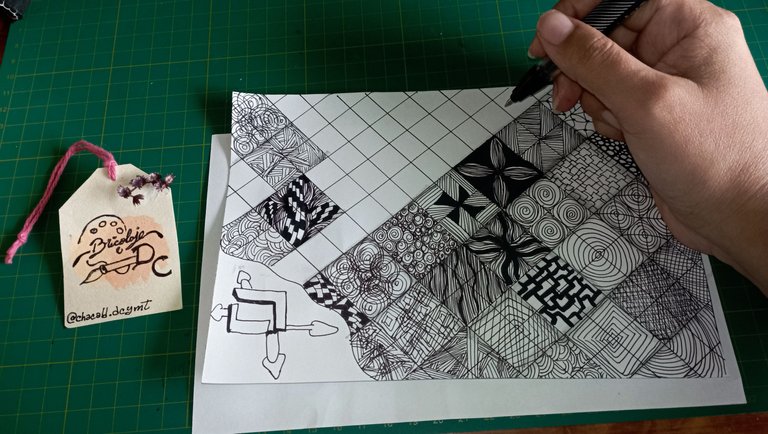
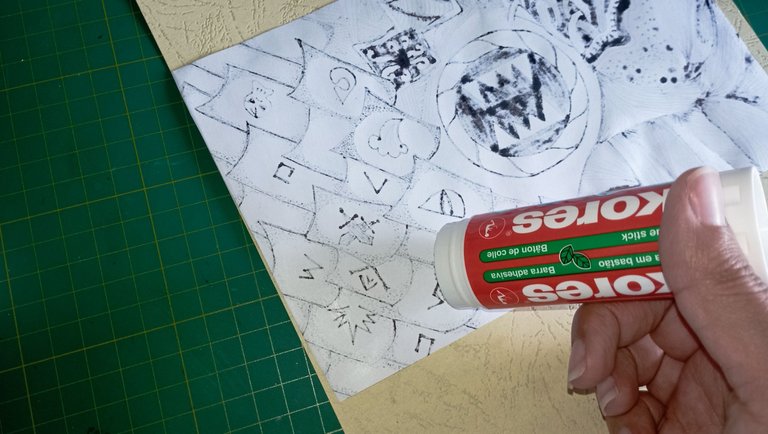
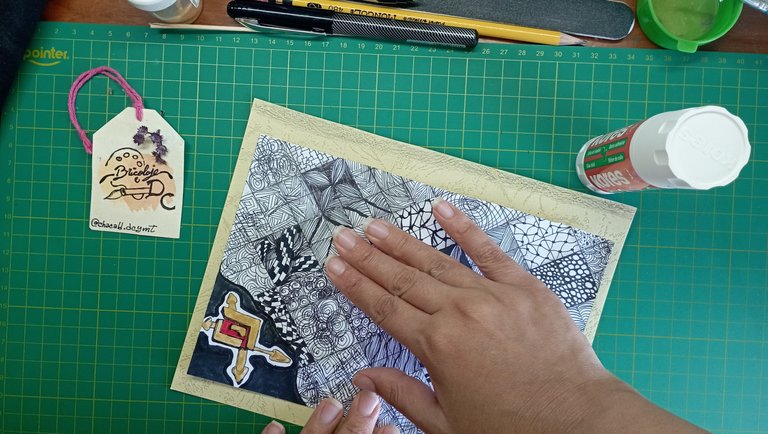
With the glue stick I fixed the drawing of the cover on the cardboard. To prevent it from smudging when laminating.
Con el pegamento de barra fijé el dibujo de la portada en la cartulina. Para evitar que se corra al momento de plastificar.
 |  |
|---|
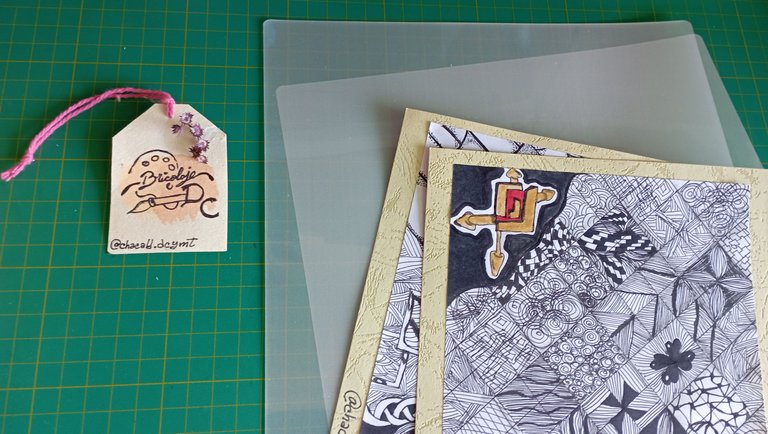
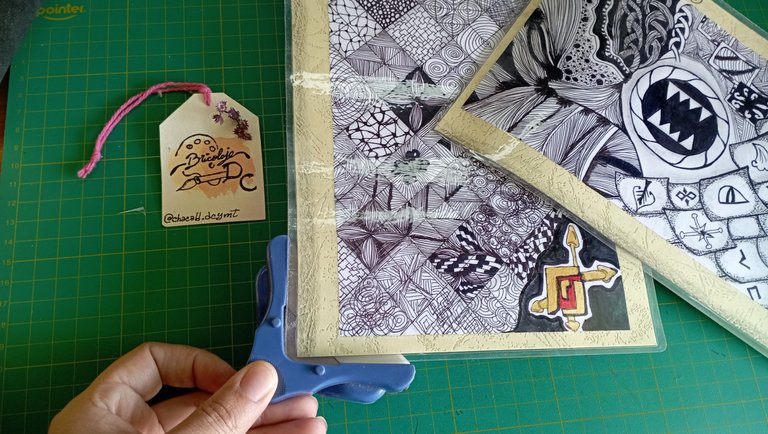
Then I plasticized the tops. I cut the ends in a round shape with a hole punch to give it a better finish.
Luego plastifiqué las tapas. Corté las puntas de forma redonda con un perforador para darle un mejor acabado.
 |  |
|---|
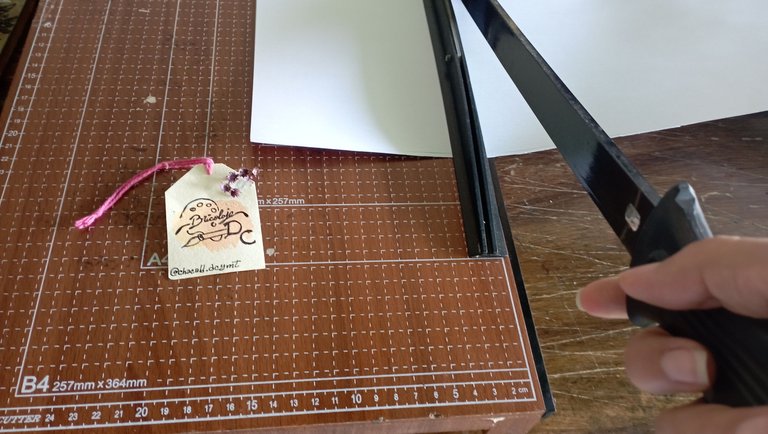
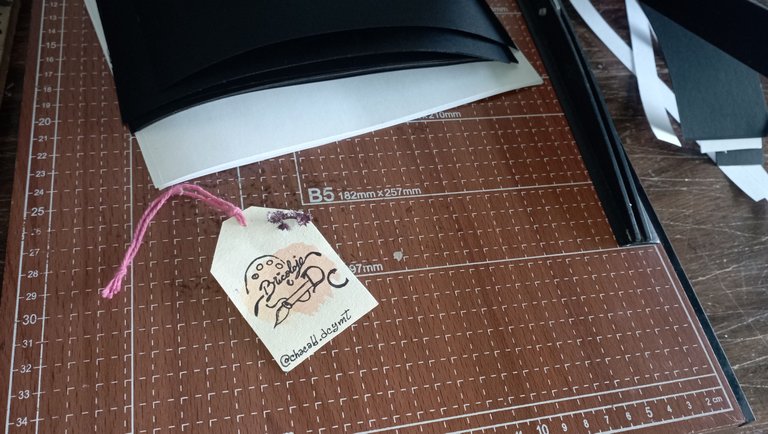
I cut the black and white cardstock.
Corté las cartulinas de color blanco y negro.
 |  |
|---|
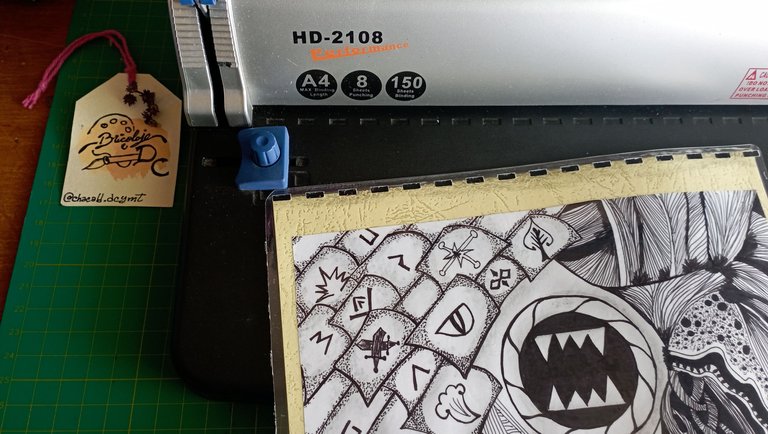
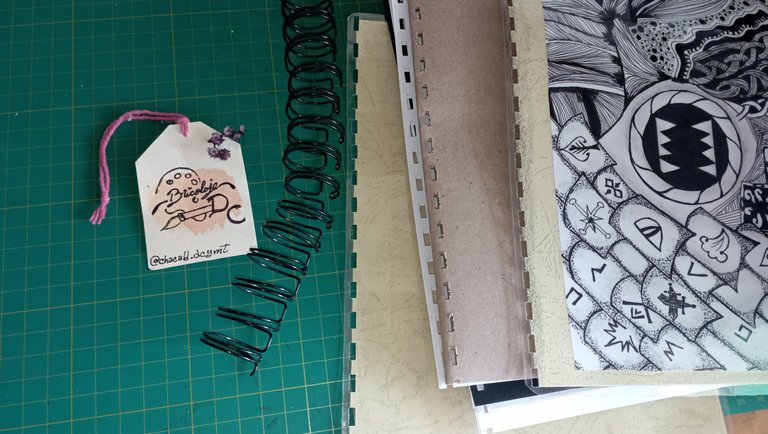
With a banding machine, I made the perforations to pass the ring to both the covers and the cardboard.
Con una anilladora, hice las perforaciones para pasar el anillo tanto a las tapas como a las cartulinas.
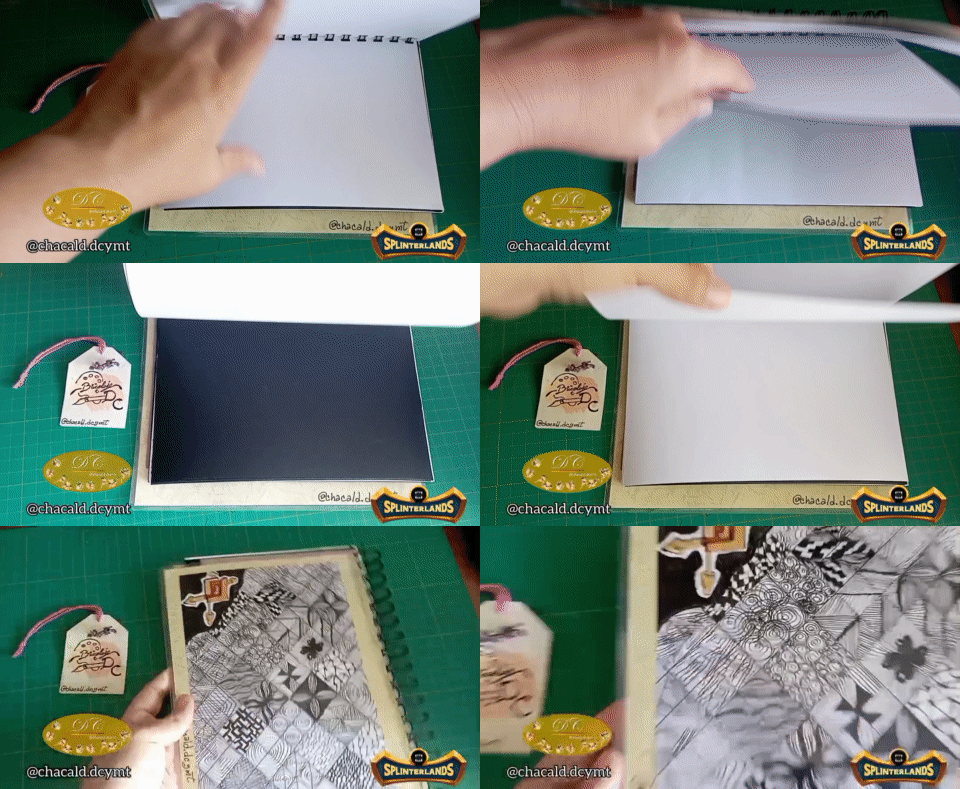
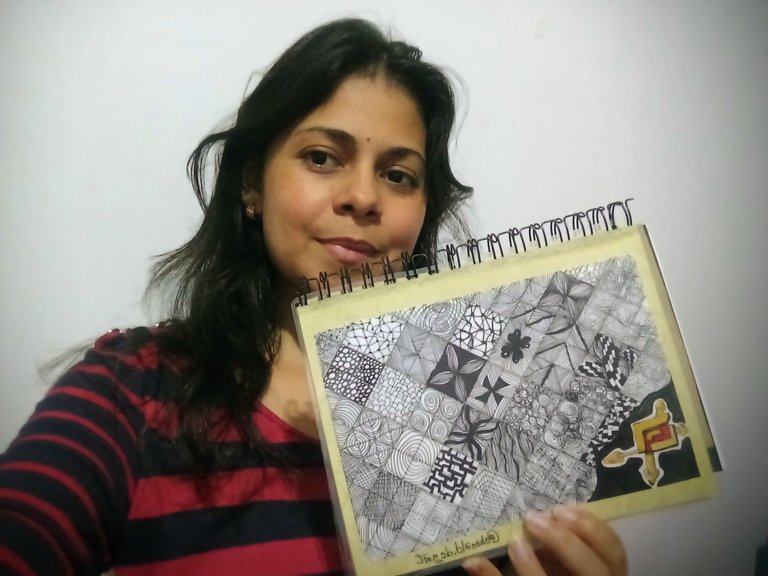
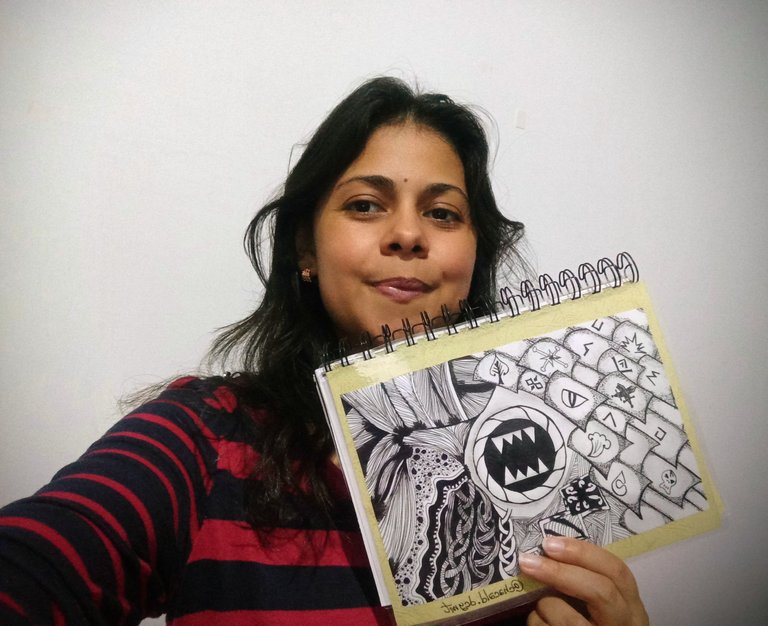
And that's it! My notebook is waiting for my doodles of this new year. I hope it will be a year of many creations and enjoying every project. See you next time. Bye!
Y listo! Mi cuaderno espera por mis garabatos de este año que comienza. Espero que sea un año de muchas creaciones y de disfrutar cada proyecto realizado. Nos vemos en una próxima oportunidad. Chao!
 |  |
|---|

If you are not yet playing Splinterlands go here and join the adventure.
Si todavía no estás jugando Splinterlands entra aquí y únete a la aventura.

Original content by the author.
Resources: App: Canva / Giphy / Inshot
📷 Redmi 10 Smartphone
Translation done with Deepl.com
✿ All Rights Reserved || © @chacald.dcymt 2024✿
💌 Discord: chacald.dcymt#3549
X: @chacald1
Reddit: chacald
_
Contenido original del autor.
Recursos: App: Canva / Giphy / Inshot
📷 Redmi 10 Smartphone
Traducido con Deepl.com
✿ Todos los Derechos Reservados || © @chacald.dcymt 2024✿
💌 Discord: chacald.dcymt#3549
X: @chacald1
Reddit: chacald


