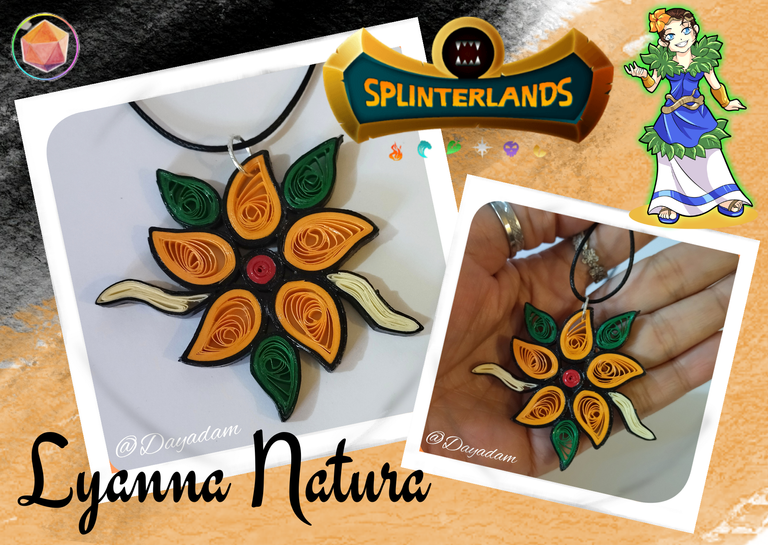
Hello everyone... 🌼
Hello to my dear Hivers and the community of DIYHub, as always very pleased and excited to be here again, showing you my work made with love and especially for you.
Greetings to the Splinterland community, and everyone who lives there, I am pleased to be here to participate in the Splinterlands Art Contest Week 267.
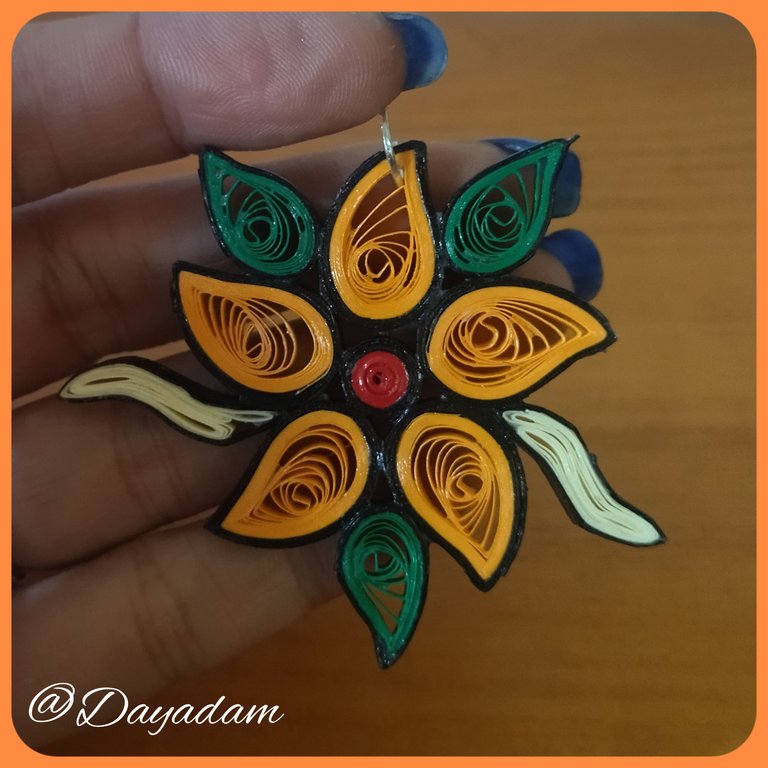
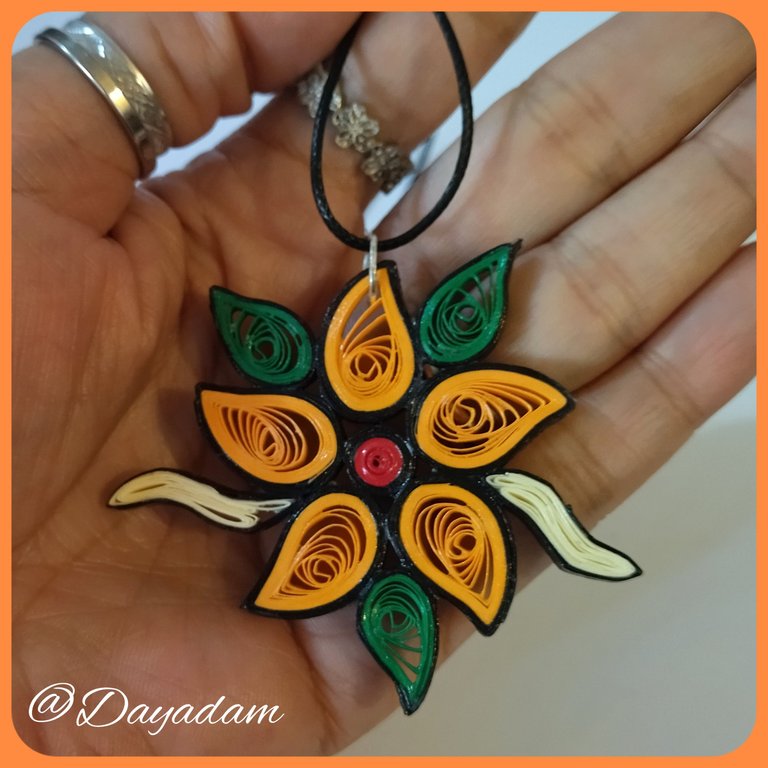
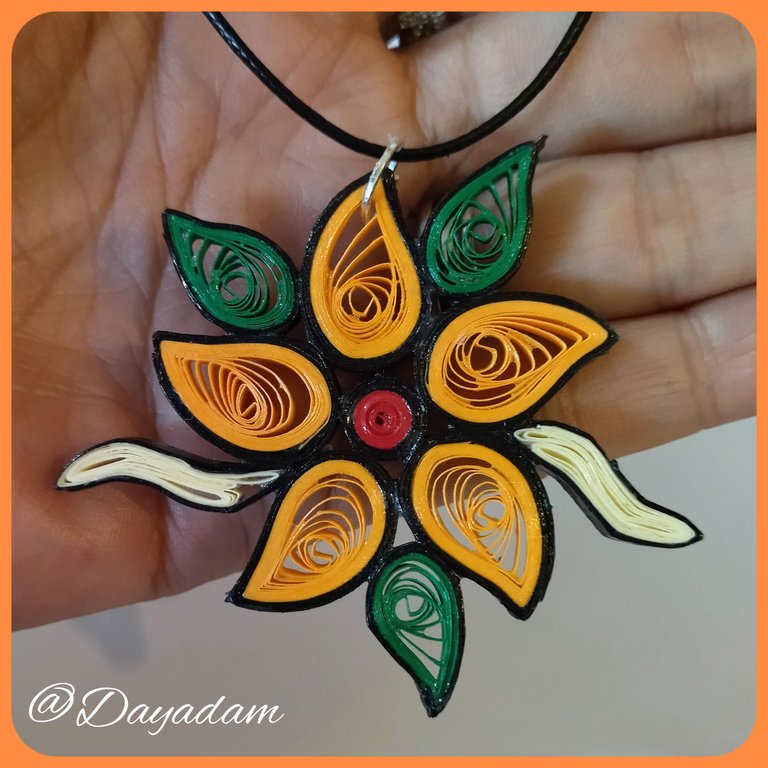
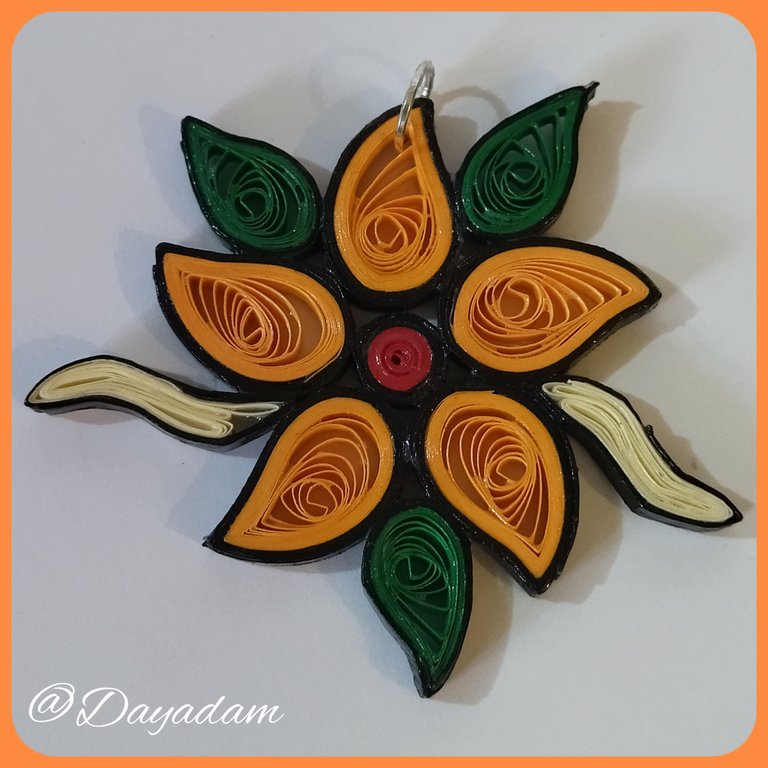
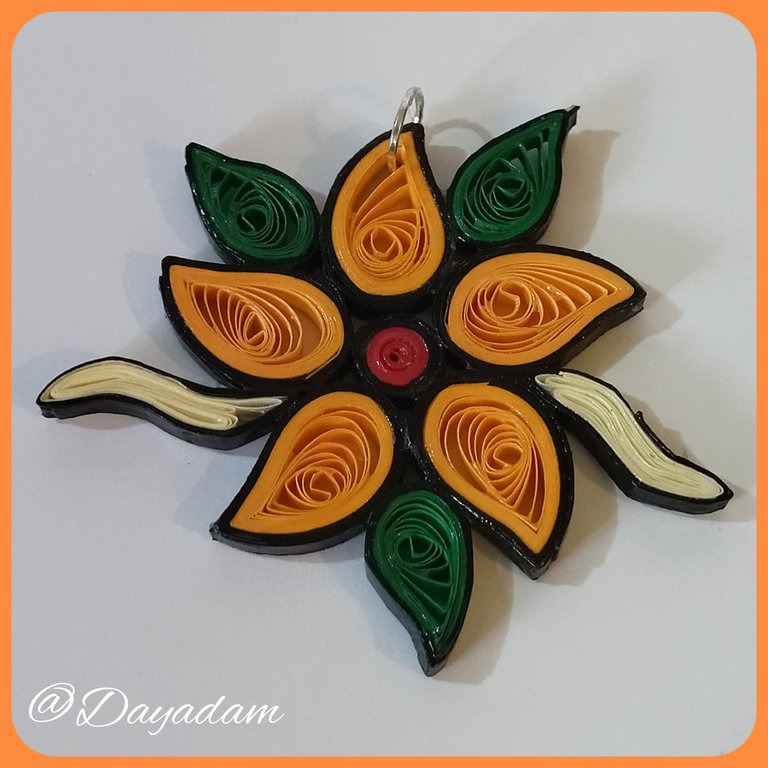
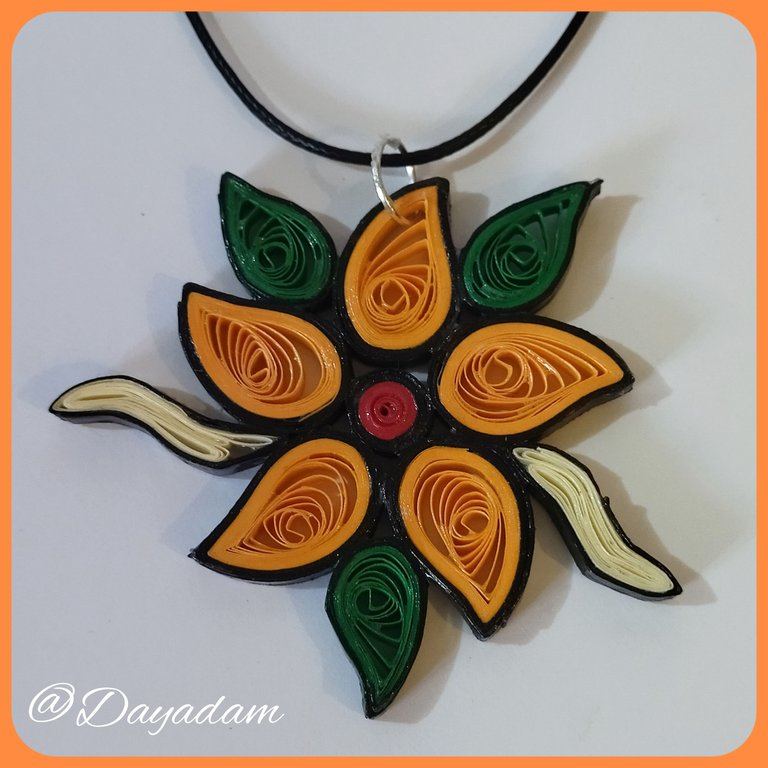
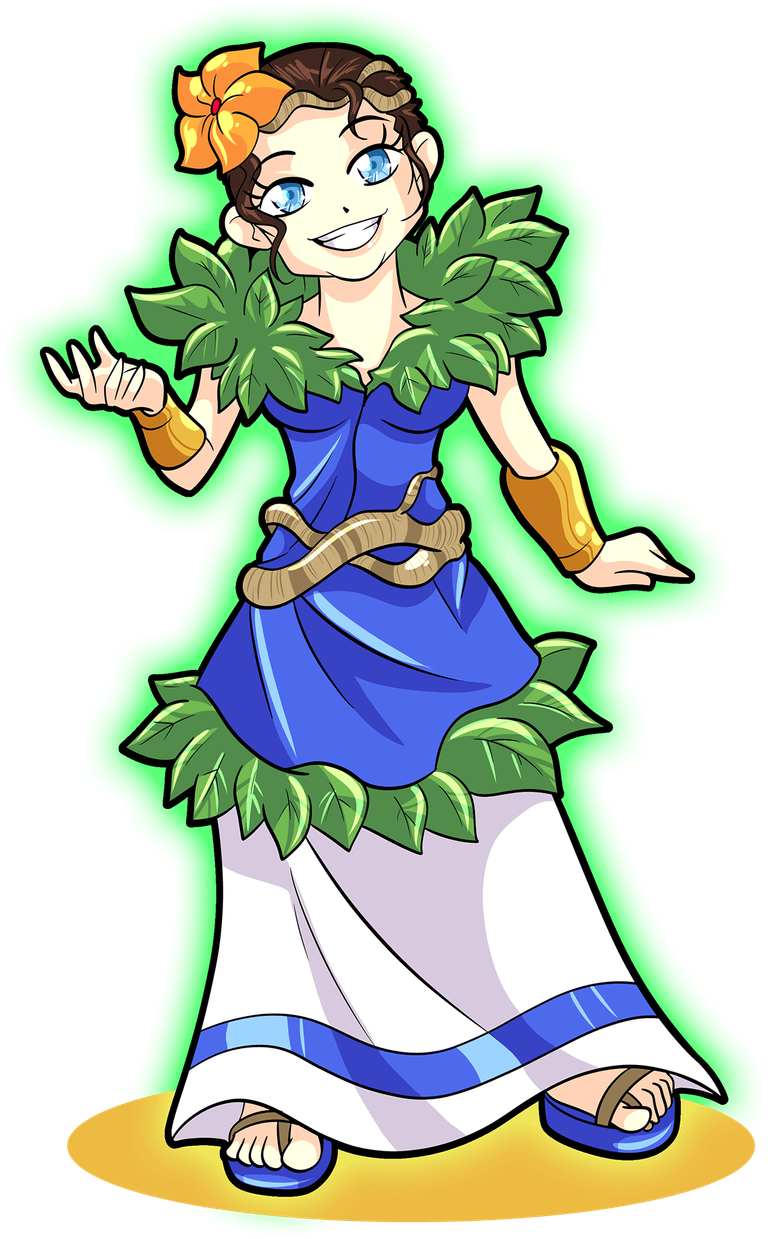
For today I materialized, a pendant for necklace or pendant in the quilling technique, with some of the elements of the beautiful letter Lyanna Natura, I have always liked to make flowers and that is why I took mainly that wonderful detail that adorns it, along with the leaves and roots that represent the beauty of nature.
If you want to know more about the game, I leave you my reference link to enter it and navigate through this wonderful world: https://splinterlands.com?ref=dayadam
Hoping you like my work, without further ado, I leave you with my creative process.
Let's start:😃

Hola a Todos...🌼
Hola a mis queridos Hivers y a la comunidad de DIYHub, como siempre muy complacida y emocionada de encontrarme por acá nuevamente, mostrándole mi trabajo hecho con mucho amor y especialmente para ustedes.
Un saludo para la comunidad de Splinterland, y todos los que hacen vida por allí, me gratifica estar por acá para participar en el Splinterlands Art Contest Week 267.
Para hoy materialice, un dije para collar o colgante en la técnica de quilling, con algunos de los elementos, de la hermosa carta Lyanna Natura, siempre me ha gustado hacer flores y por ello fue que tome principalmente ese maravilloso detalle que la adorna, junto a las hojas y raíces que representan lo bello de la naturaleza.
Si quieren saber más con respecto al juego les dejo mi enlace de referencia para que ingresen en él, y naveguen por este maravilloso mundo: https://splinterlands.com?ref=dayadam
Esperando les guste mi trabajo, sin más preámbulos, les dejo mi proceso creativo.
Comencemos:😃

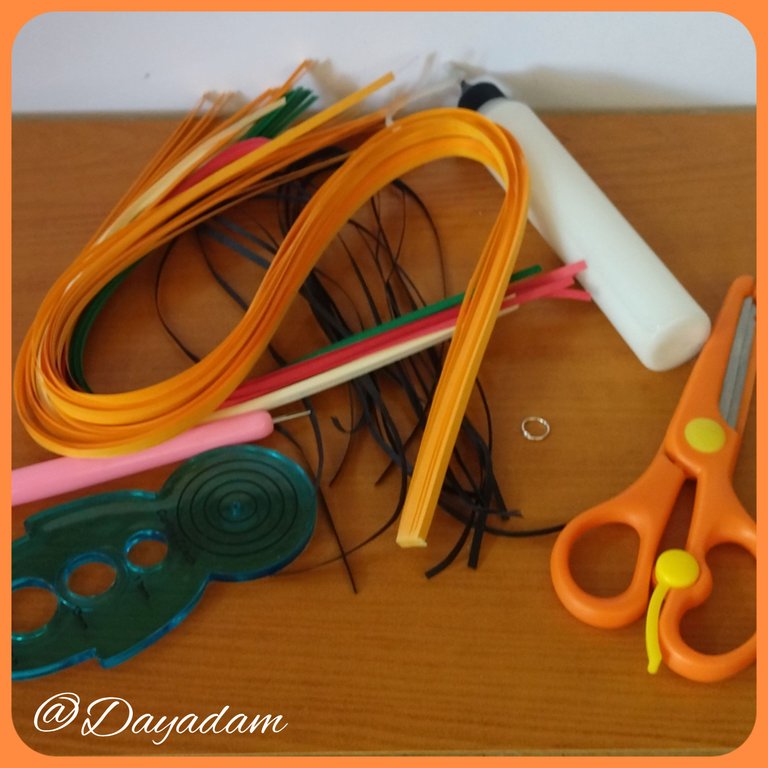
• Cintas de quilling de variados colores.
• Aguja para quilling.
• Molde para círculos.
• Pega blanca extra fuerte (de carpintería).
• Tijera.
• Pincel.
• Alicate punta fina.
• Argolla mediana de bisutería.
- Quilling ribbons of various colors.
- Quilling needle.
- Mold for circles.
- Extra strong white glue (carpentry glue).
- Scissors.
- Brush.
- Fine nose pliers.
- Medium size jewelry ring.

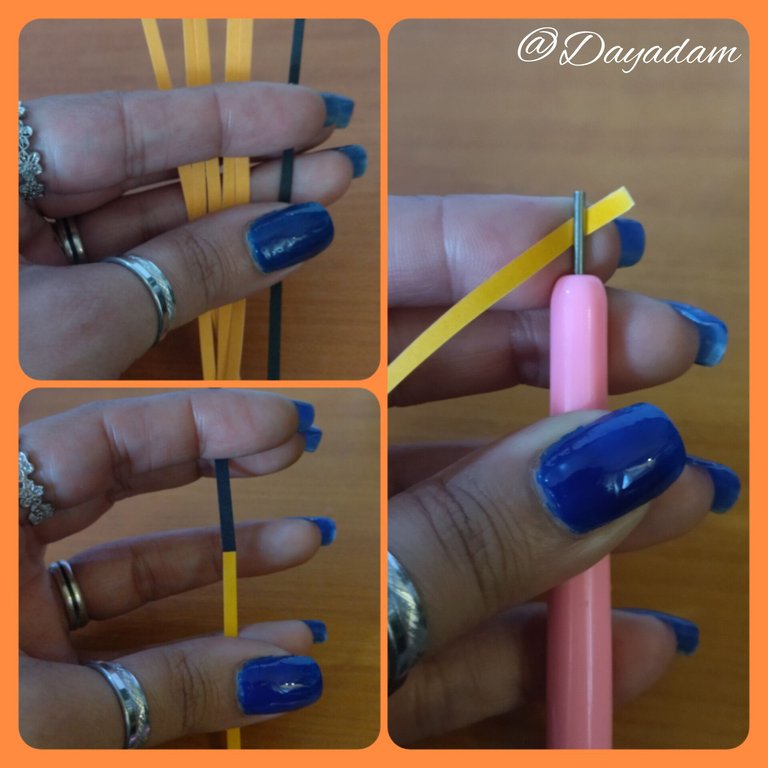
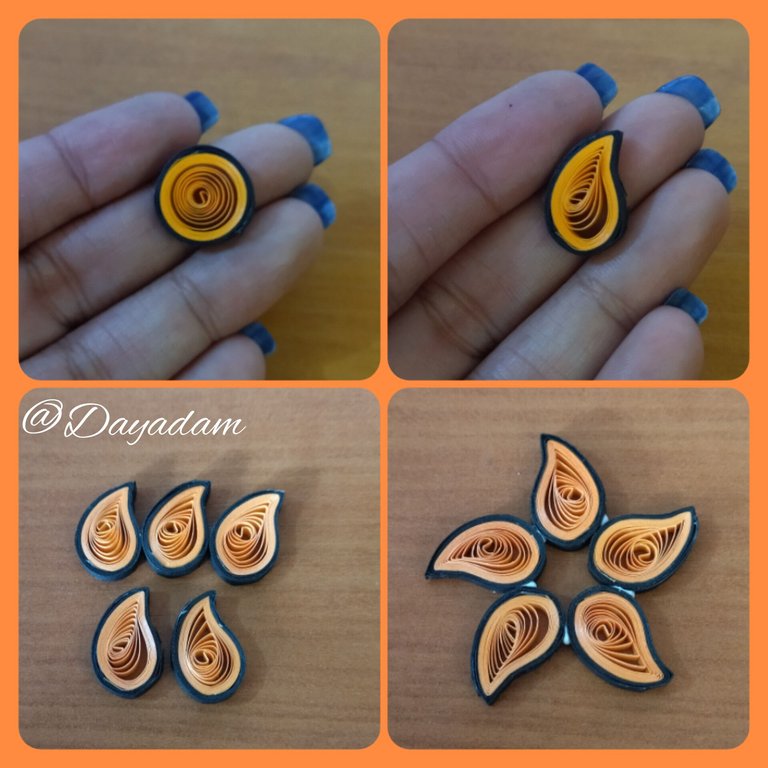
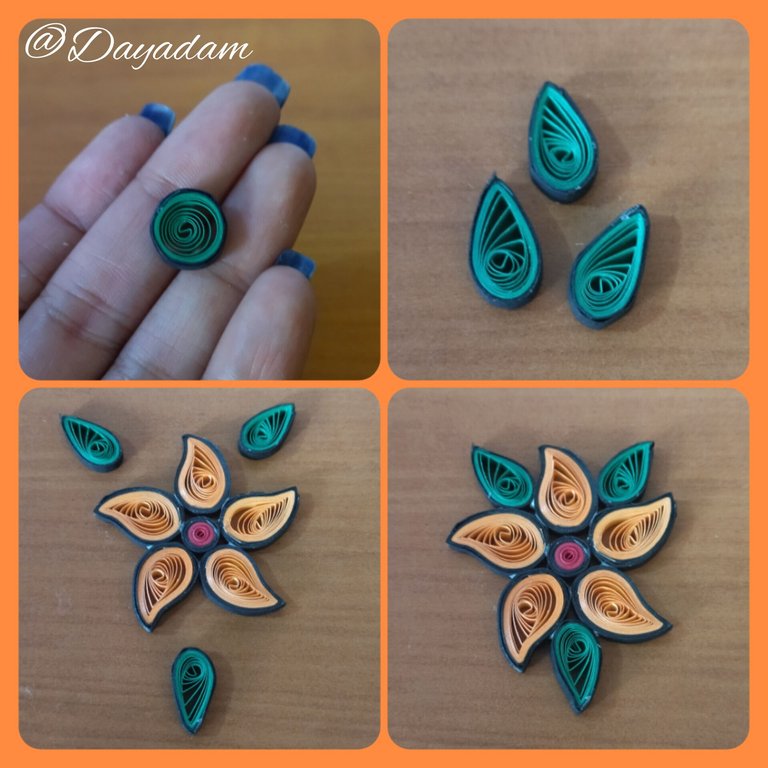
- Let's start by taking an orange quilling ribbon 3mm wide x 50cms long and a black ribbon 3mm wide x 15cms long, we will join them with a touch of glue to form a single ribbon.
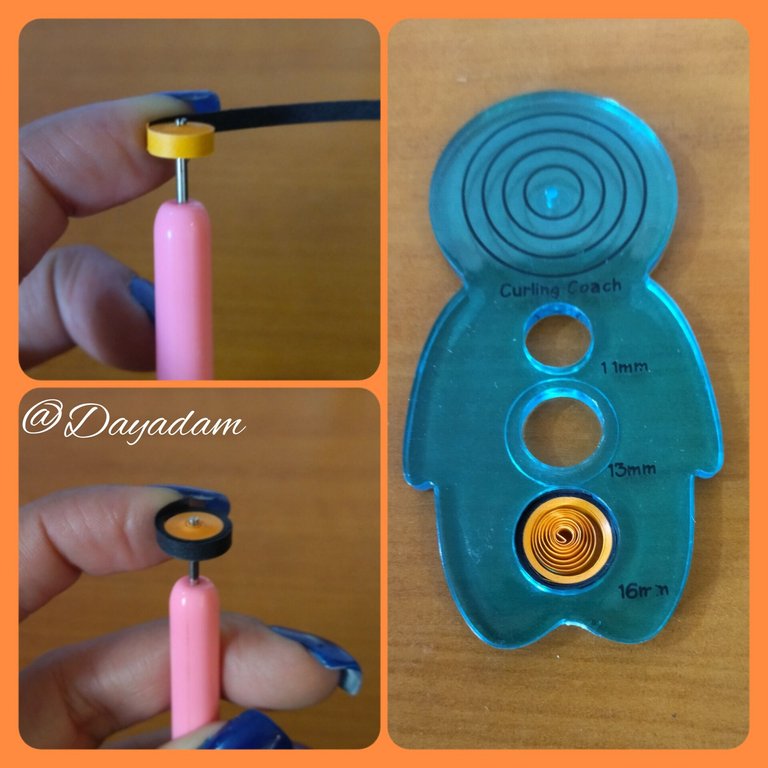
- We will roll with the quilling needle starting with the orange part, to finish with the black part, we take out of the needle and measure in a circle mold in the measure that best suits our taste and the size we want our petals to be, we take out of the mold and seal with glue, we will get an open circle which molds in the shape of a drop a little inclined. Like that we will need 5.
- We are going to join the 5 petals in a harmonic way, to form a flower.

• Vamos a comenzar tomando una cinta para quilling color naranja de 3mm de ancho x 50cms de largo y una cinta negra de 3mm de ancho x 15cms de largo la uniremos con un toque de pega para formar una sola cinta.
• Enrollaremos con la aguja para quilling empezando por la parte naranja, hasta finalizar con la parte negra, sacamos de la aguja y mediremos en un molde de círculos en la medida que mas se adapte a nuestro gusto y del tamaño que deseamos que queden nuestros pétalos, sacamos del molde y sellamos con pega, conseguiremos un circulo abierto el cual moldee en forma de gota un poco inclinado. Como ese necesitaremos 5.
• Vamos a unir los 5 pétalos de manera armónica, para formar una flor.
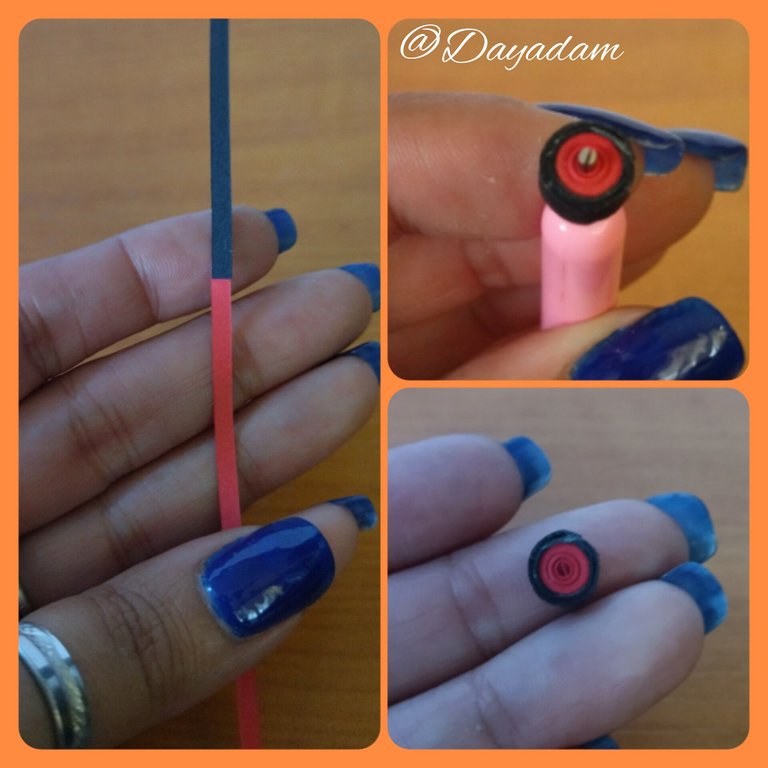
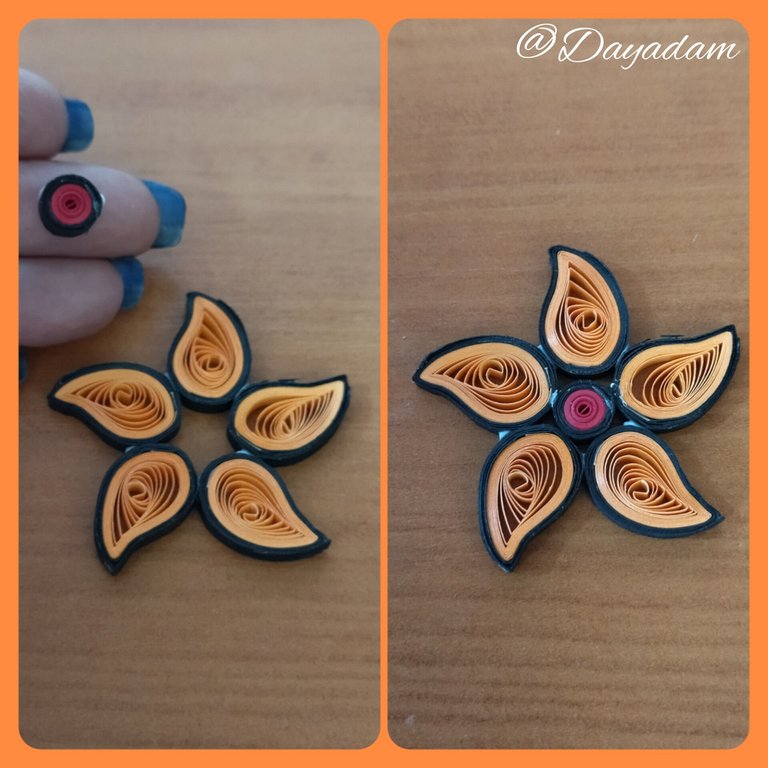
- To make the center of the flower we will do it with a piece of red ribbon 3mm wide x 21cms long and another piece of black ribbon 3mm wide x 7cms long we will join to form a single ribbon and with the quilling needle we will roll to form a closed circle, we will place it with a touch of glue in the center of the flower that we made in advance.
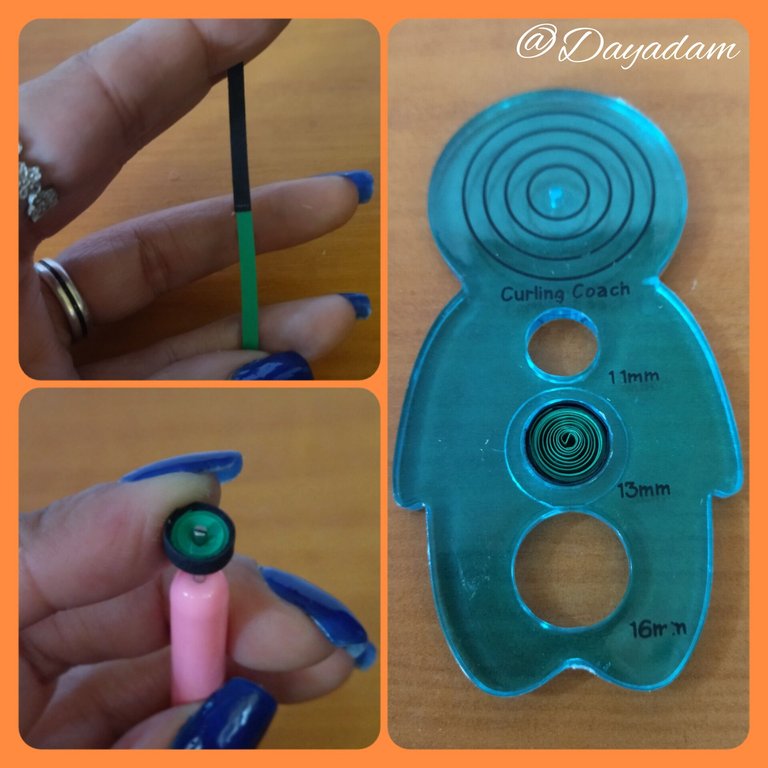
- Let's make some leaves in this case would be 3 we will do it with a piece of green ribbon 3mm wide x 21cms long and another piece of black ribbon 3mm wide x 7cms long will join to form a single tape and with the quilling needle will roll, remove and measure in the mold for circles, seal with glue and mold in the shape of a leaf. Glue the leaves on the flower.

• Para realizar el centro de la flor lo haremos con un trozo de cinta roja de 3mm de ancho x 21cms de largo y otro trozo de cinta negra de 3mm de ancho x 7cms de largo uniremos para formar una sola cinta y con la aguja para quilling enrollaremos para formar un circulo cerrado, colocaremos con un toque de pega en el centro de la flor que realizamos con antelación.
• Vamos a realizar unas hojas en este caso serian 3 lo haremos con un trozo de cinta verde de 3mm de ancho x 21cms de largo y otro trozo de cinta negra de 3mm de ancho x 7cms de largo uniremos para formar una sola cinta y con la aguja para quilling enrollaremos, sacamos y mediremos en el molde para círculos, sellamos con pega y moldeamos en forma de hoja. Pegaremos las hojas en la flor.
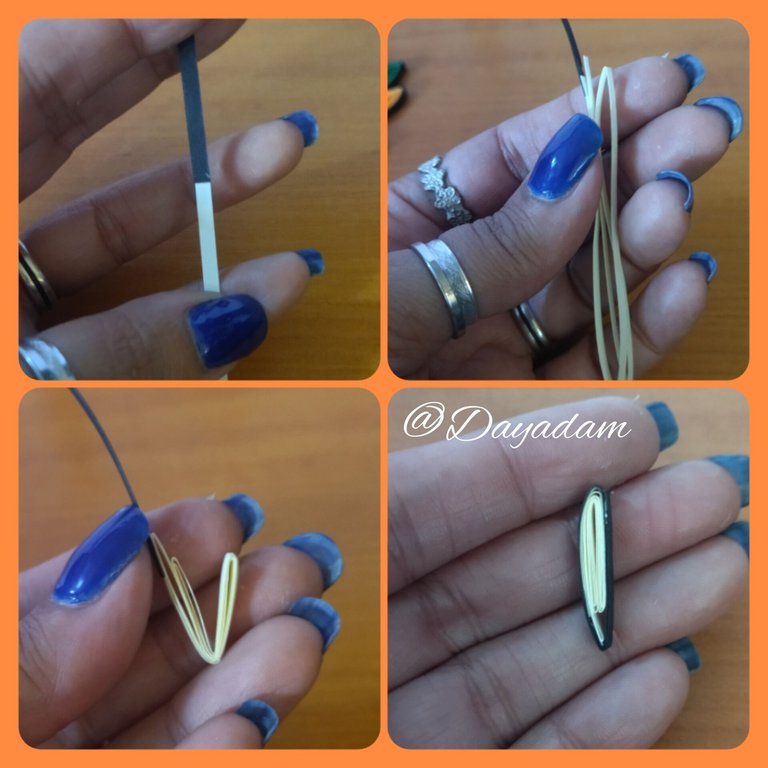
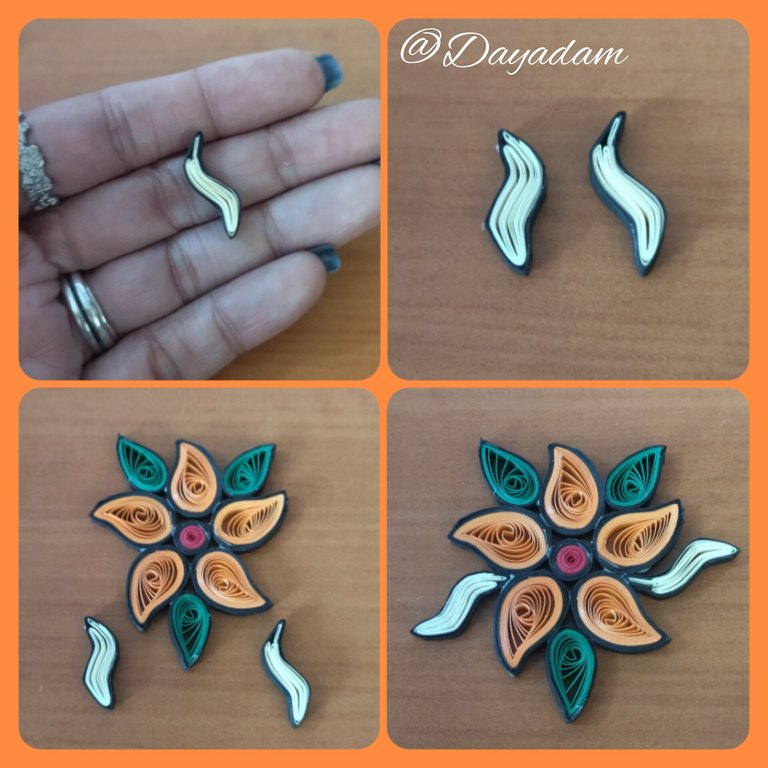
- To finish with the elaboration of the pieces we will take a piece of beige ribbon 3mm wide x 21cms long and another piece of black ribbon 3mm wide x 7cms long we will join to form a single ribbon, we will fold in several parts and we will leave the black ribbon on the outside, mold it to my taste to incorporate this detail to the flower. make 2 equal ones we will glue them on the sides that are free of the flower.
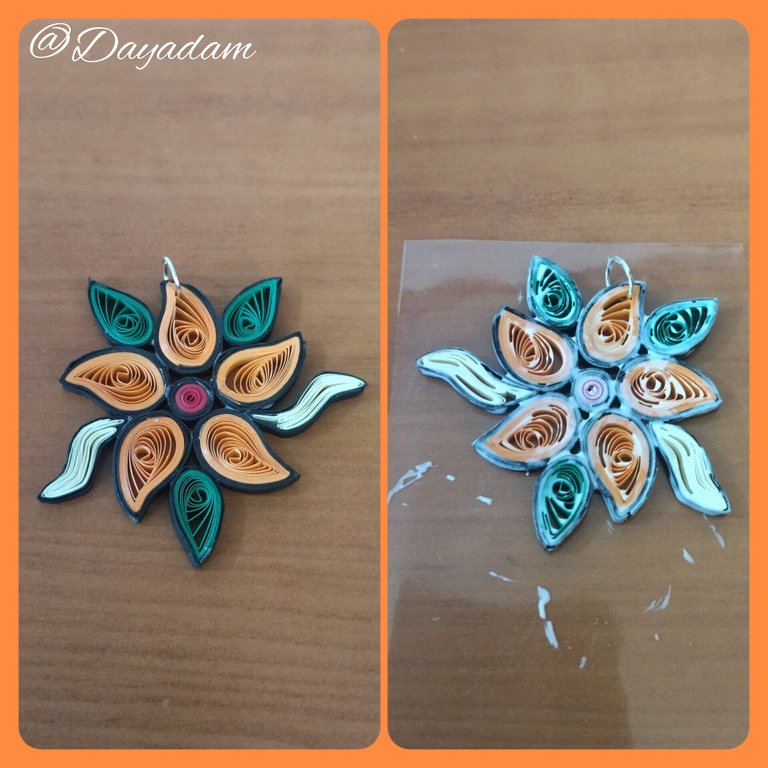
- To finish we will place a medium size costume jewelry ring, and we will apply several layers of extra strong white glue, letting it dry between one layer and the other, to give protection and plasticizing to the pendant.
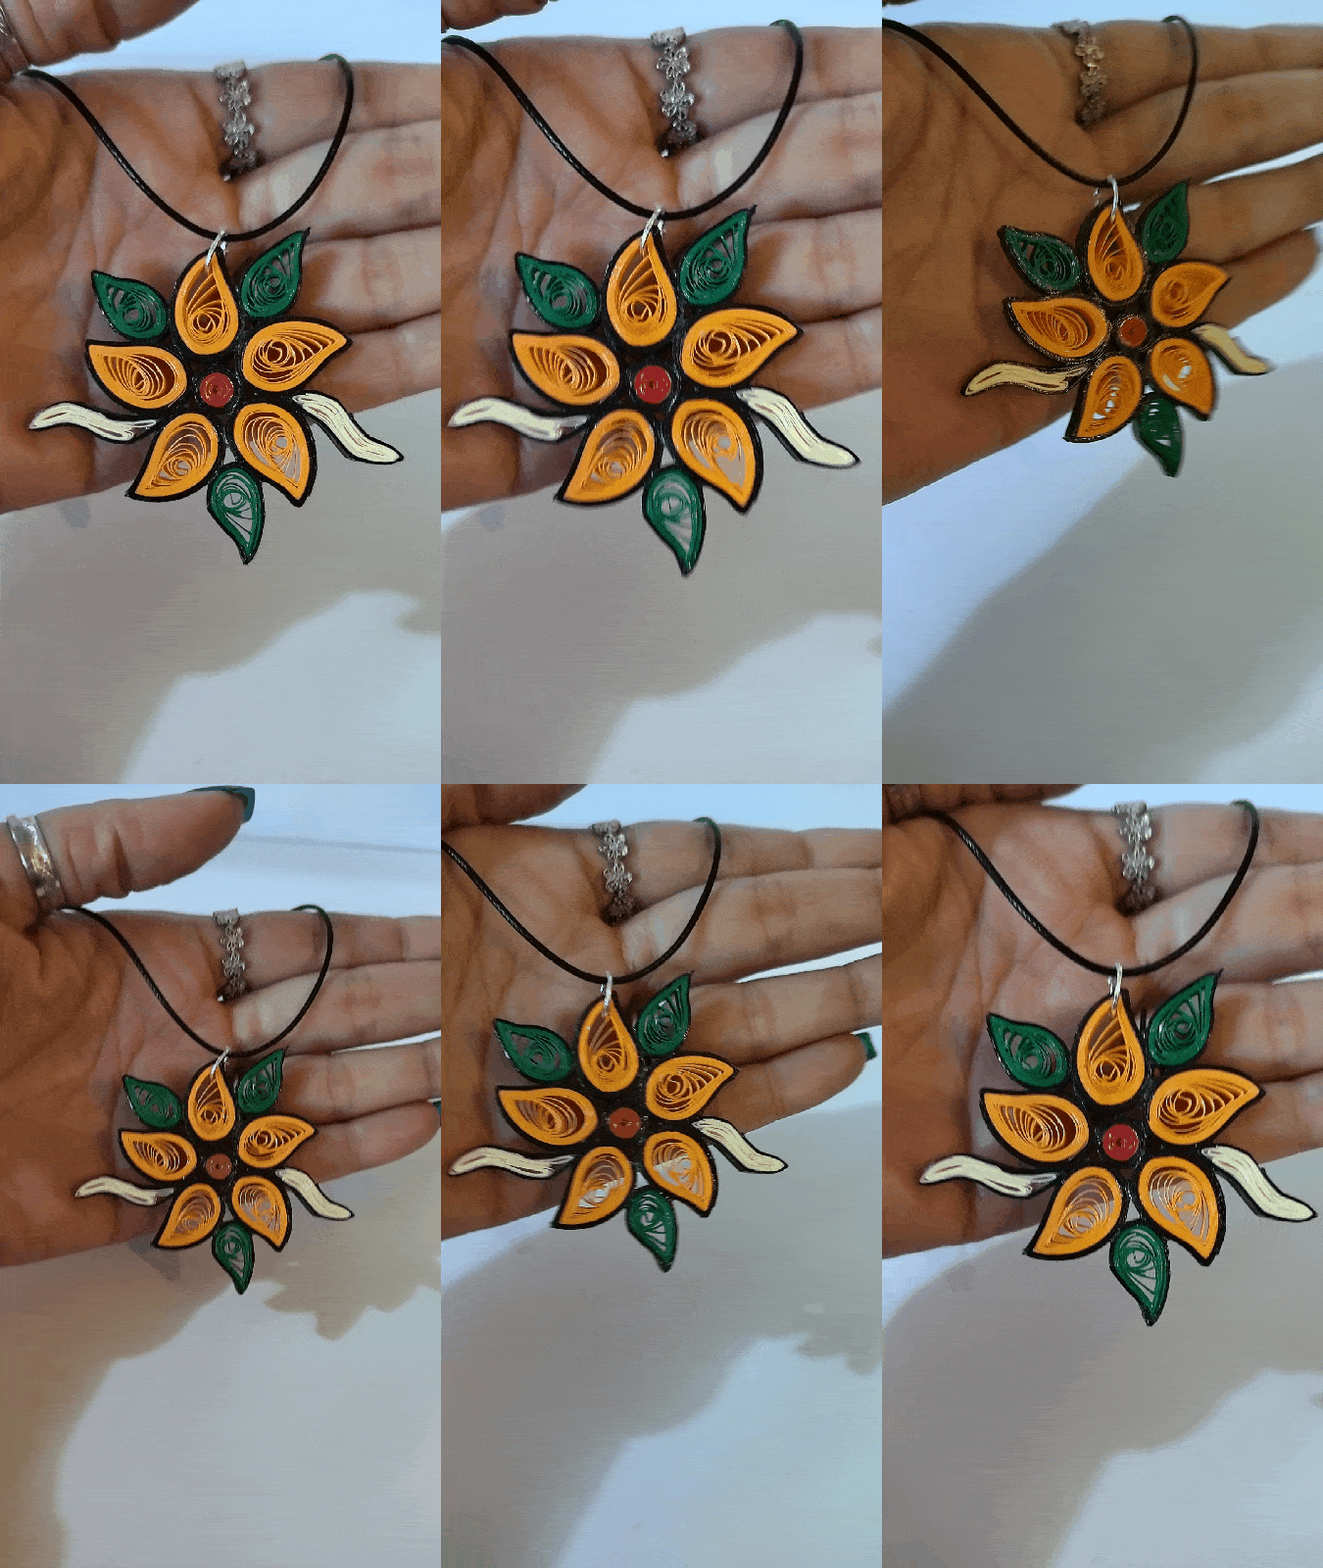
This way this pendant for necklace or pendant in the quilling technique that I made with the elements of the Lyanna Natura card is ready.

• Para finalizar con la elaboración de piezas tomaremos un trozo de cinta beige de 3mm de ancho x 21cms de largo y otro trozo de cinta negra de 3mm de ancho x 7cms de largo uniremos para formar una sola cinta, doblaremos en varias partes y dejaremos en la parte de afuera la cinta negra, moldee a mi gusto para incorporar este detalle a la flor. realice 2 iguales estas las pegaremos en los lados que quedan libres de la flor.
• Para finalizar le colocaremos una argolla mediana de bisutería, y aplicaremos varias capas de pega blanca extra fuerte dejando secar entre una capa y otra, para darle protección y plastificado al dije.
De esta manera esta listo este dije para collar o colgante en la técnica de quilling que realice con los elementos de la carta Lyanna Natura.


What did you think, did you like it?
I hope you did, I hope you liked my explanation, procedure and photos, I made them with love for you.
"Let out that muse that inspires you, and let your imagination fly".
Thank you all, see you next time.

¿Que les pareció, les gustó?
Espero que sí, que les haya gustado mi explicación, procedimiento y fotos, los hice con mucho cariño por y para ustedes.
"Deja salir esa musa que te inspira, y deja volar tu imaginación".
Gracias a todos, nos vemos en la próxima.

Todas las fotos usadas en este post son de mi autoría y han sido sacadas en mi celular personal un Redmi 9T y editadas en Canva y en Inshot Sourse/ Fuente Banner y separador hecho por mí en Canva Traducido con la ayuda de DeepL


