Good day to the creative users of this wonderful community @diyhub,I hope all is well and you are all doing well. We are in the season of Christmas as you all know and one thing I like about Christmas the most is decorating, and designing and luckily today I was opportune to do some decorating. it's almost Christmas and I thought about decorating my home to give it that Christmas touch and look, and so I thought why not make a wall craft with yarn. It looked hard at first but as I continued, my hands created something truly wonderful and I would love to share it with you all. Here are the process I took in creating this diy wall hanging decor made with yarn.
MATERIALS NEEDED
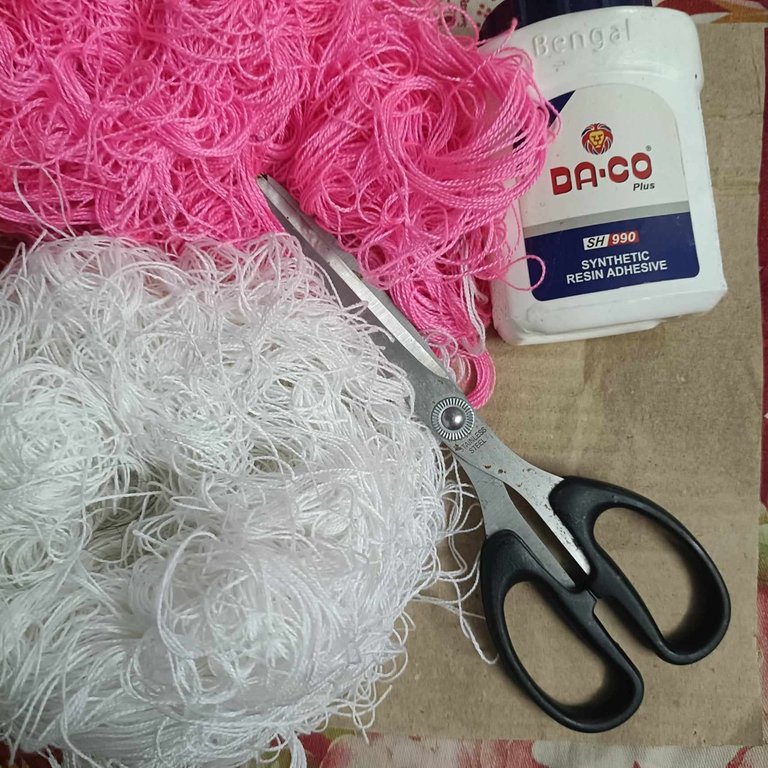
• carton/cardboard
• gum
• scissors
• bead
• yarn of different colours.
PROCEDURE
step I
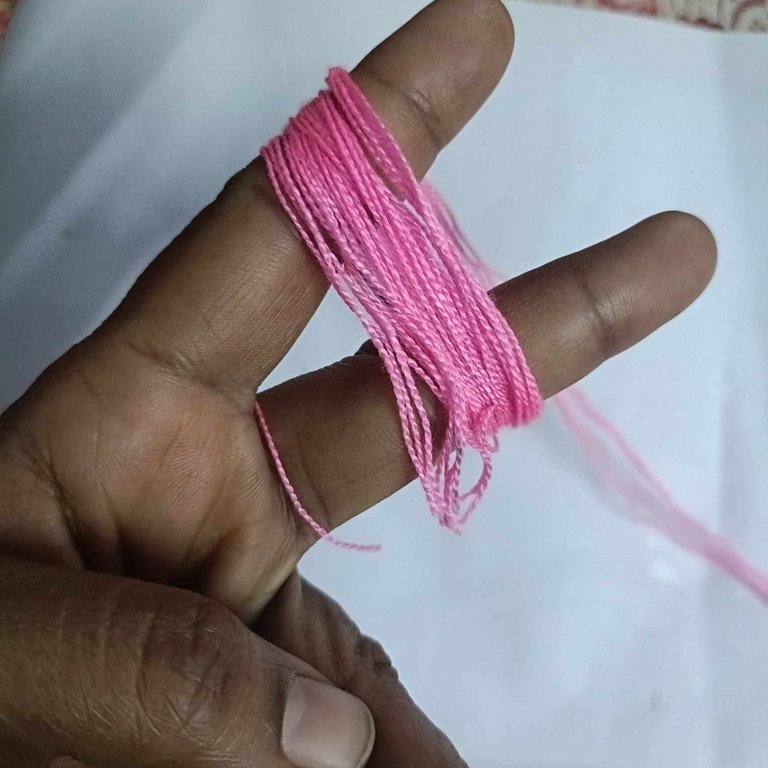
After getting all my necessary materials, I then wrapped or twisted my pink yarn around my two fingers first.
step 2
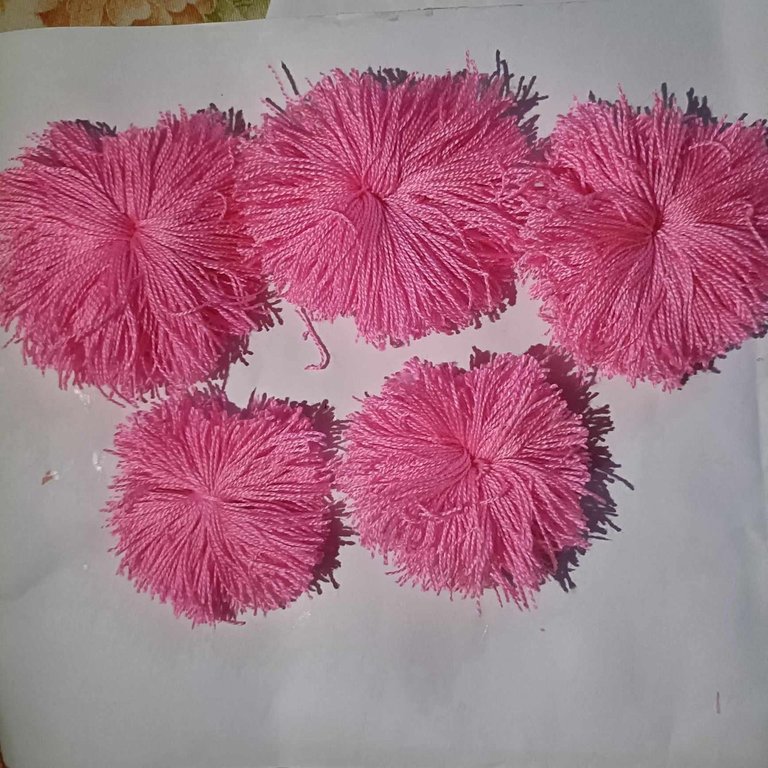
After doing that, I then cut the twisted yarn to size and made flower of different sizes, both big and small ones.
step 3
I then carefully cut both the inside and outside of my carton into a Love shape
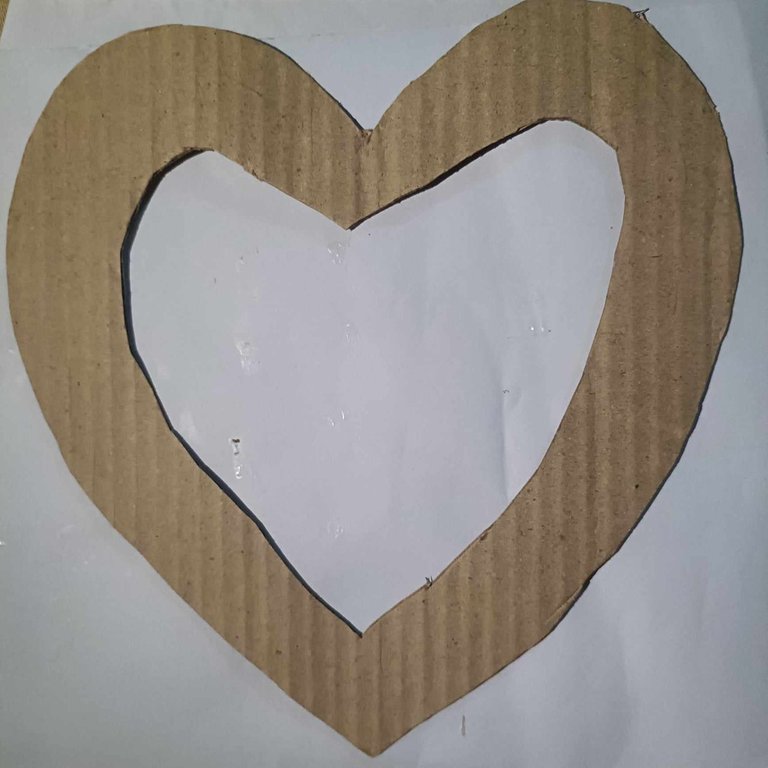
step 4
Then again, I then took my pink yarn and began to wrap it round my love shaped carton
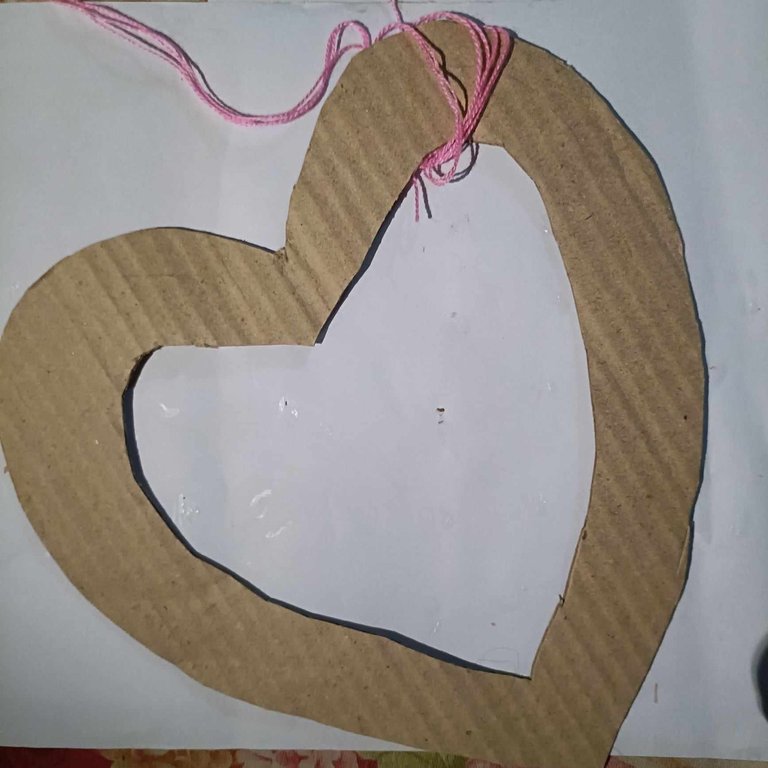
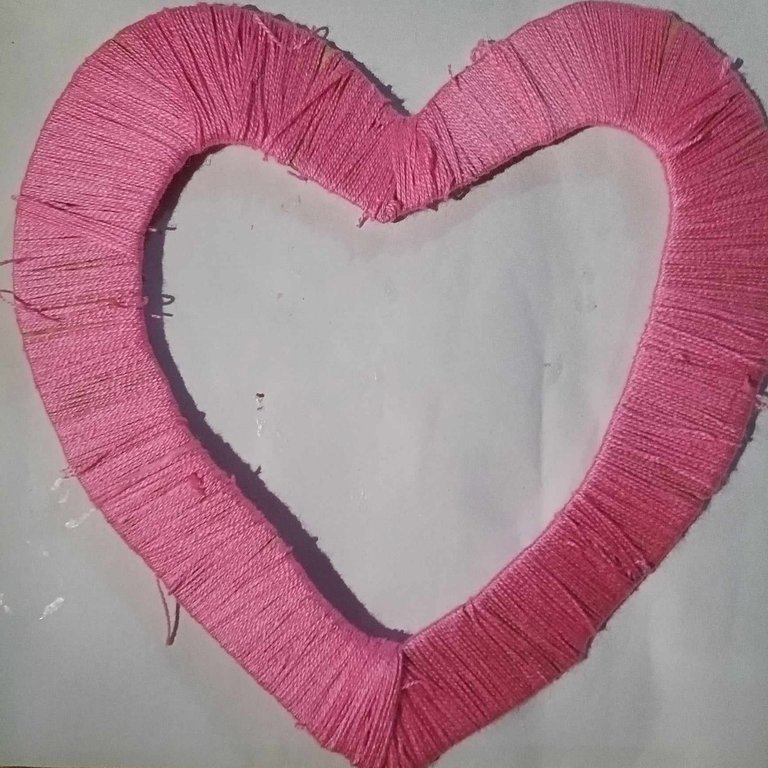
step 5
After doing that, I then made several white flower yarn in the same way I made the pink flower yarn, Make both big and small ones.
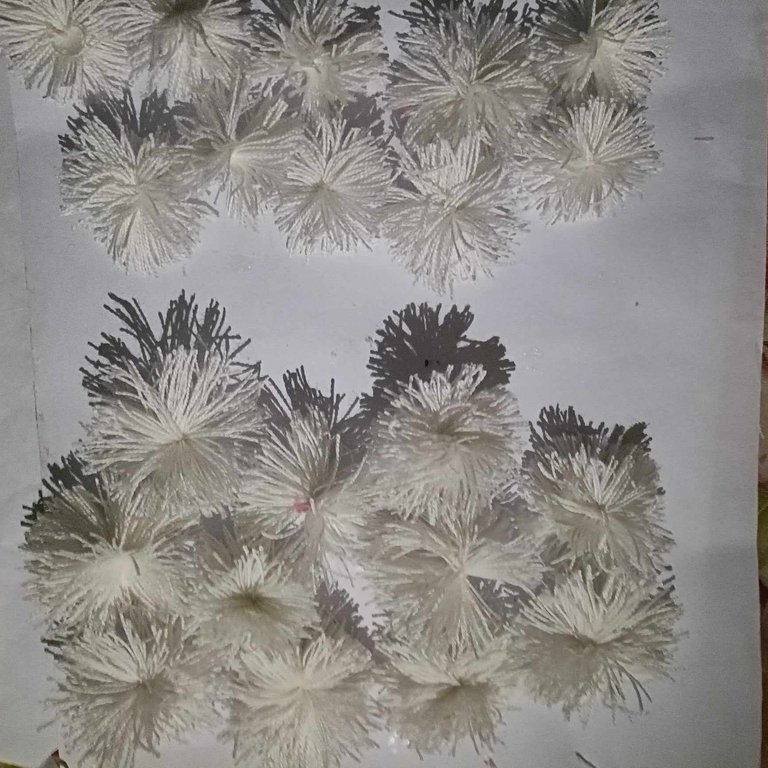
step 6
and then I stitched the white flowers in a little circle with green yarn in between the white flowers.
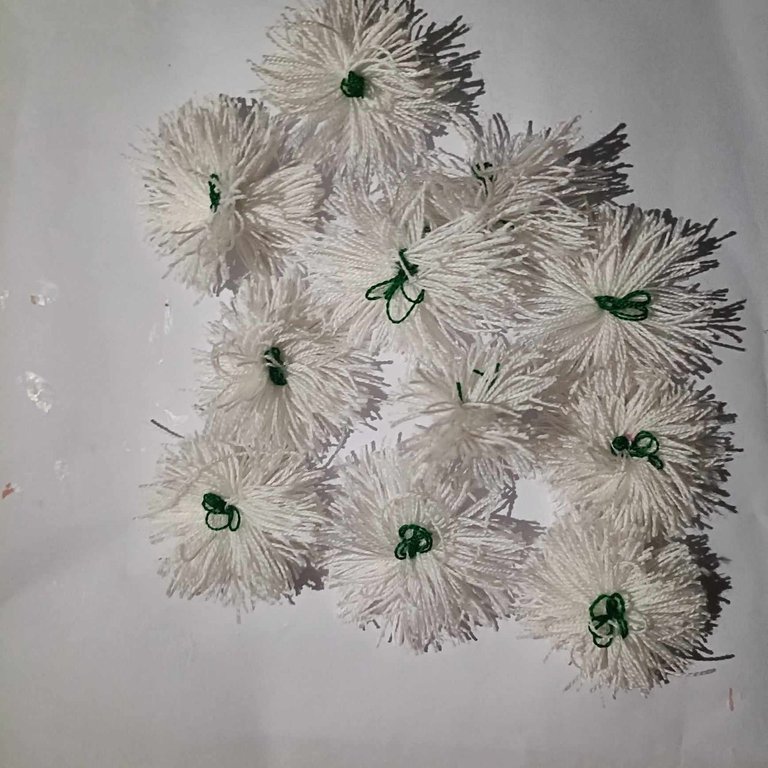
step 7
Here I then carefully gum the white yarn flowers to the right side of the love shaped carton
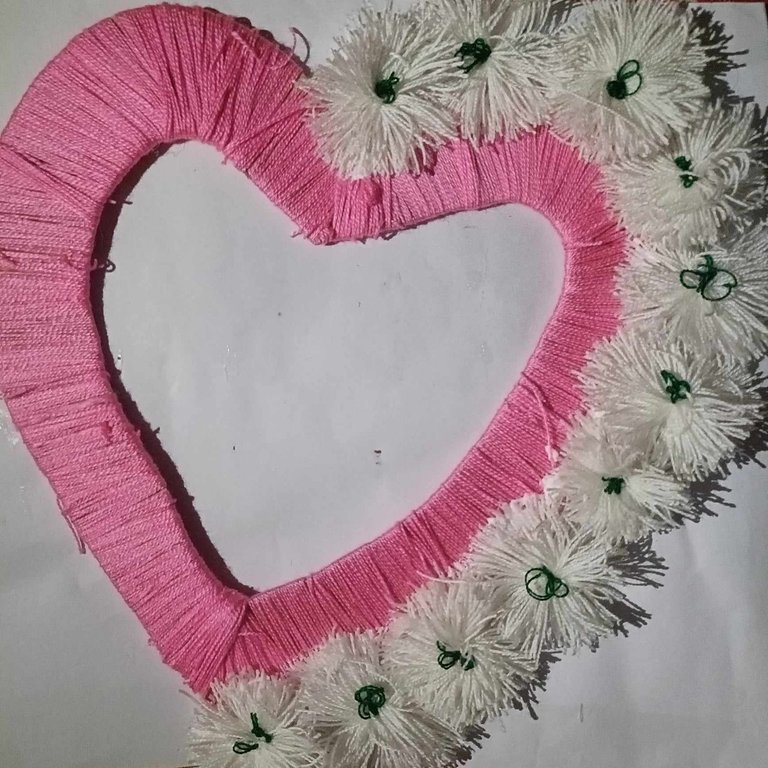
step 8
I'm this step, I then gum each of the white and pink yarn together to form tersel.
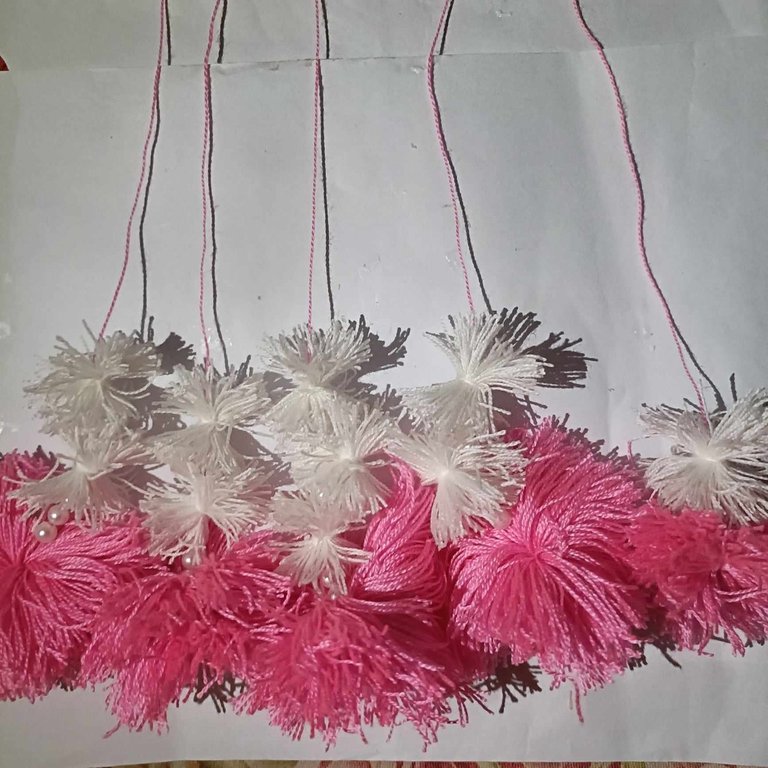
step 9
Then I then began to glue the tersel to the other side of the love shape and in the middle I attached a small tersel using my gum.
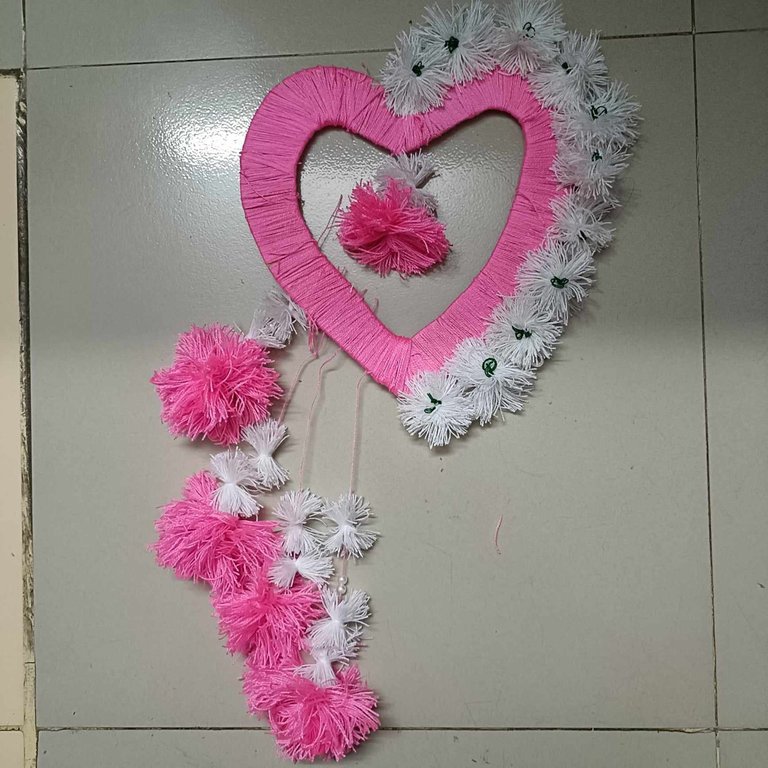
step 10
Here I then attached some white bead to it with the help of my glue and then made a pink yarn at the back to hang it on the wall.
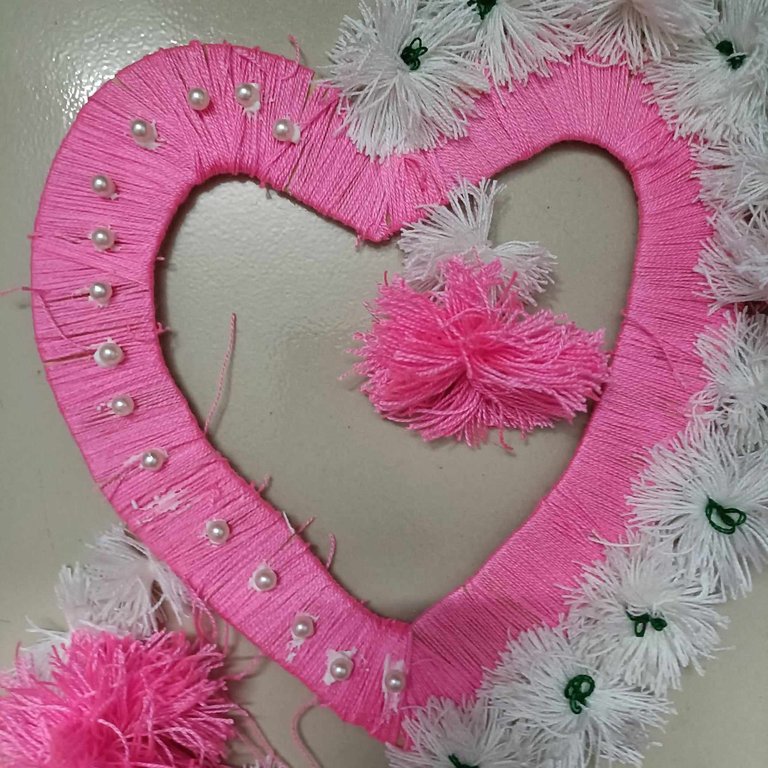
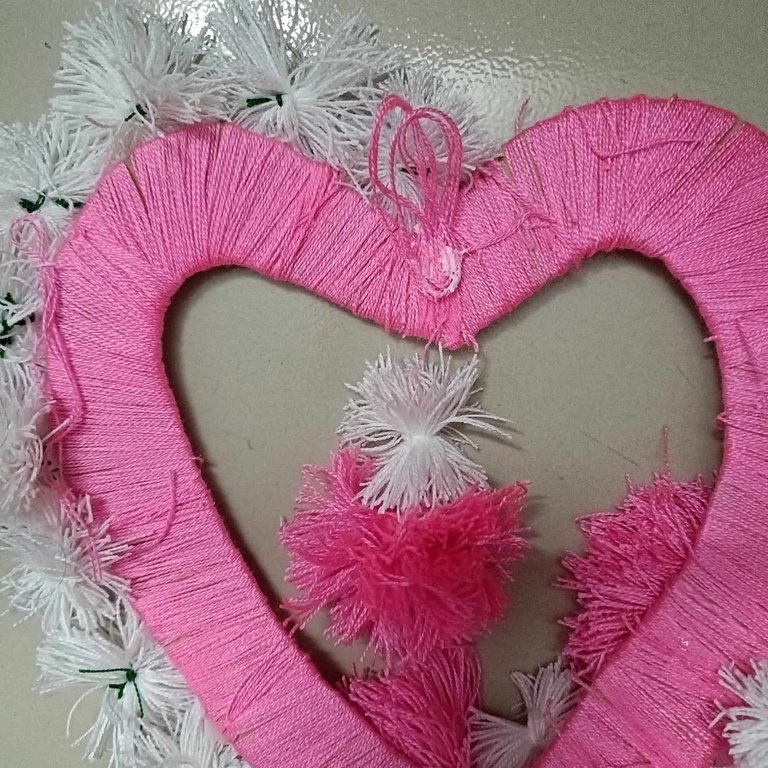
step 11
After some time I allowed it to dry a bit and then it was now ready to be hung.
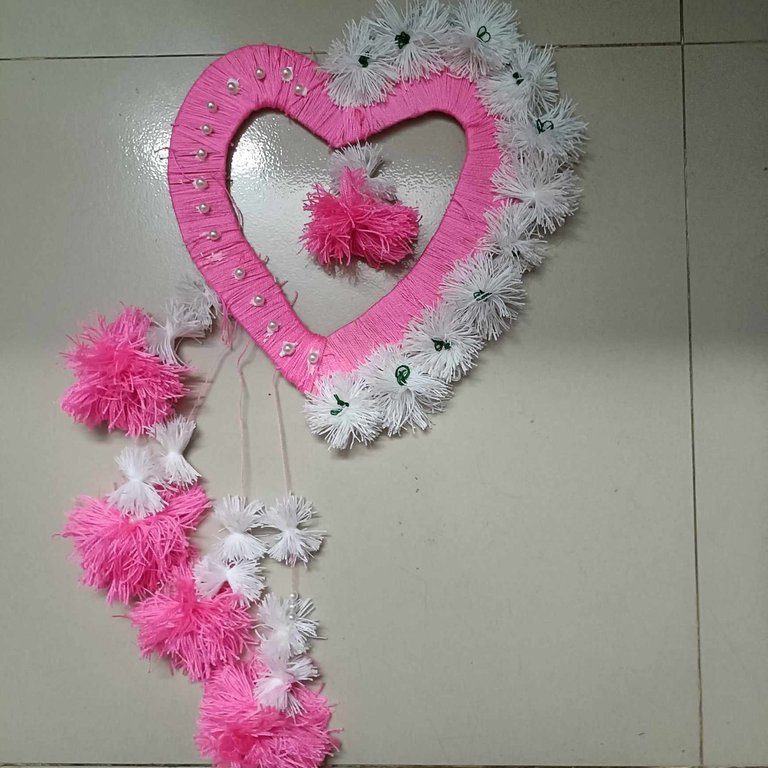
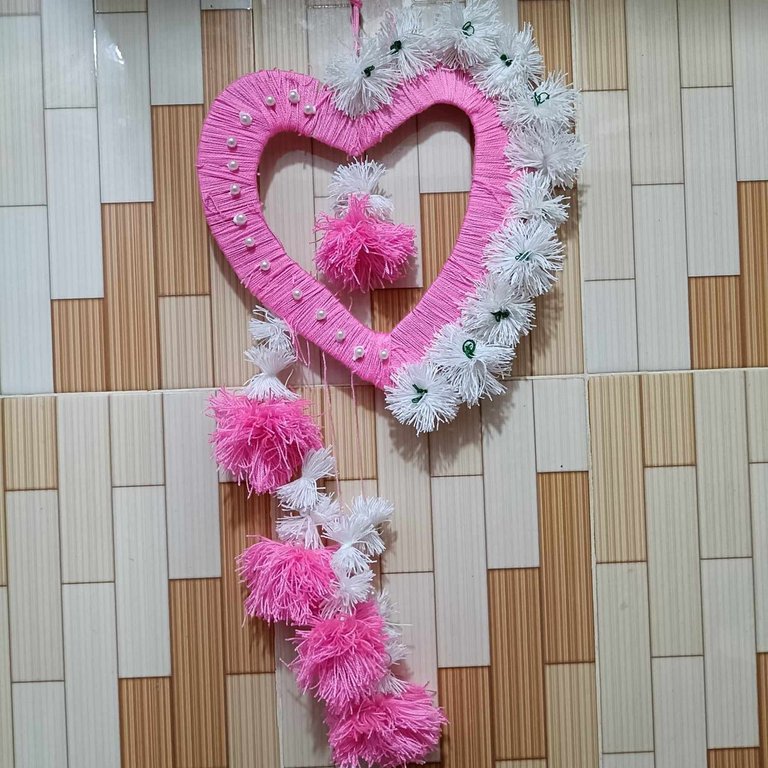
Here's a picture of my final result

It was a bit time consuming and also difficult to make but the results was truly worth it. I hope you all enjoyed reading through and I hope you also try this out in your homes as well.
