Greetings to everyone in this community, welcome to my blog once again and I hope you are all doing well. I am filled with a sense of joy and pride anytime I come here to share my craft with you all, diy paper craft has now become an integral part of my everyday life where I am opportune to share my creativity and transform my home into a reflection of my personality. My fascination with paper craft started with a simple paper craft I made and through that I explored this form of art further and found out that I really loved it. So today I will be giving you a detailed tutorial on how to make a beautiful paper Wall hanging craft with colored paper, it may seem hard to achieve but I promise you that it's very easy. Without much further ado let's start creating.
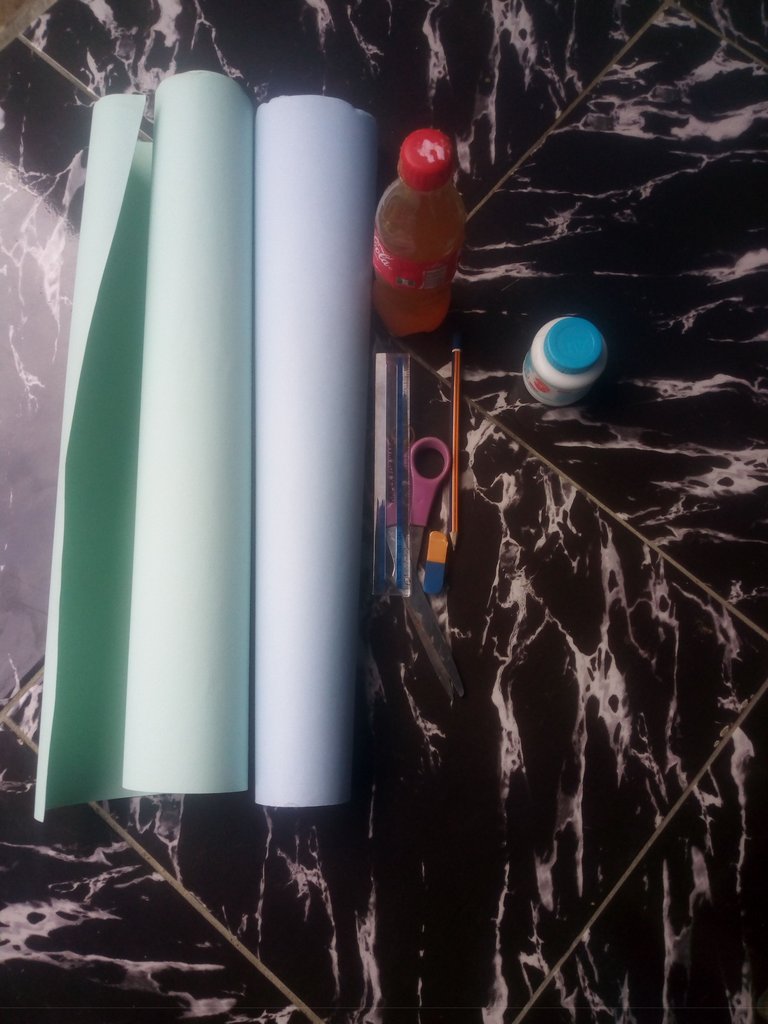
MATERIALS
• colored paper of your choice
• gum
• pencil
• cardboard
• ruler and
• scissors
PROCEDURES
step 1
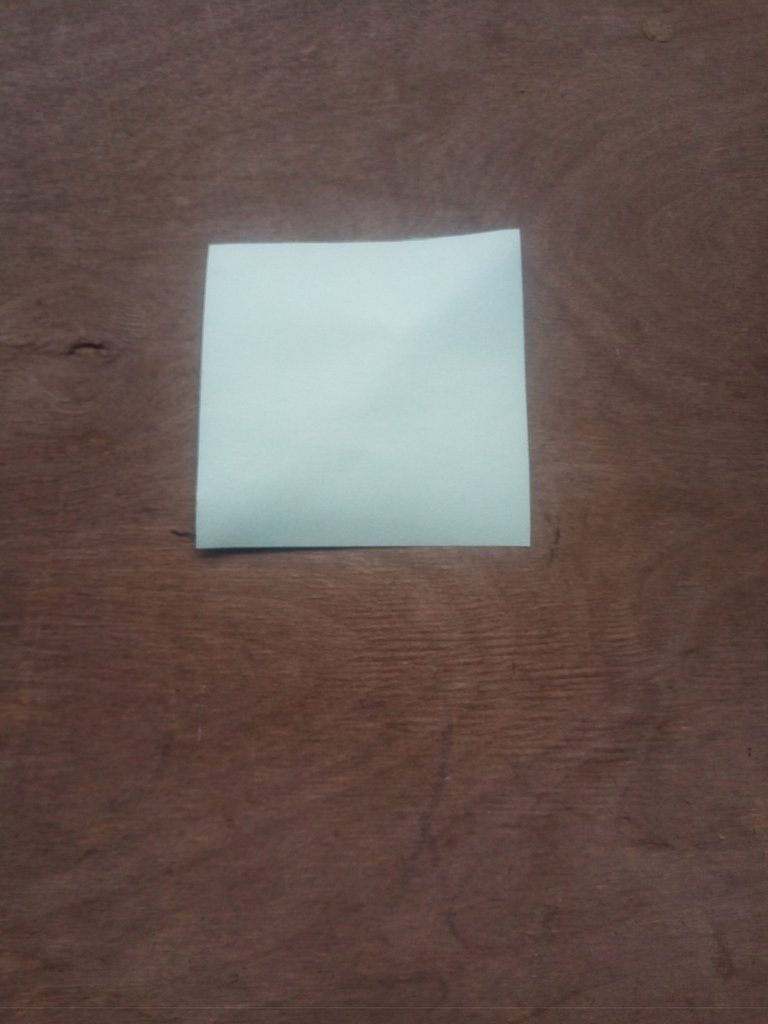
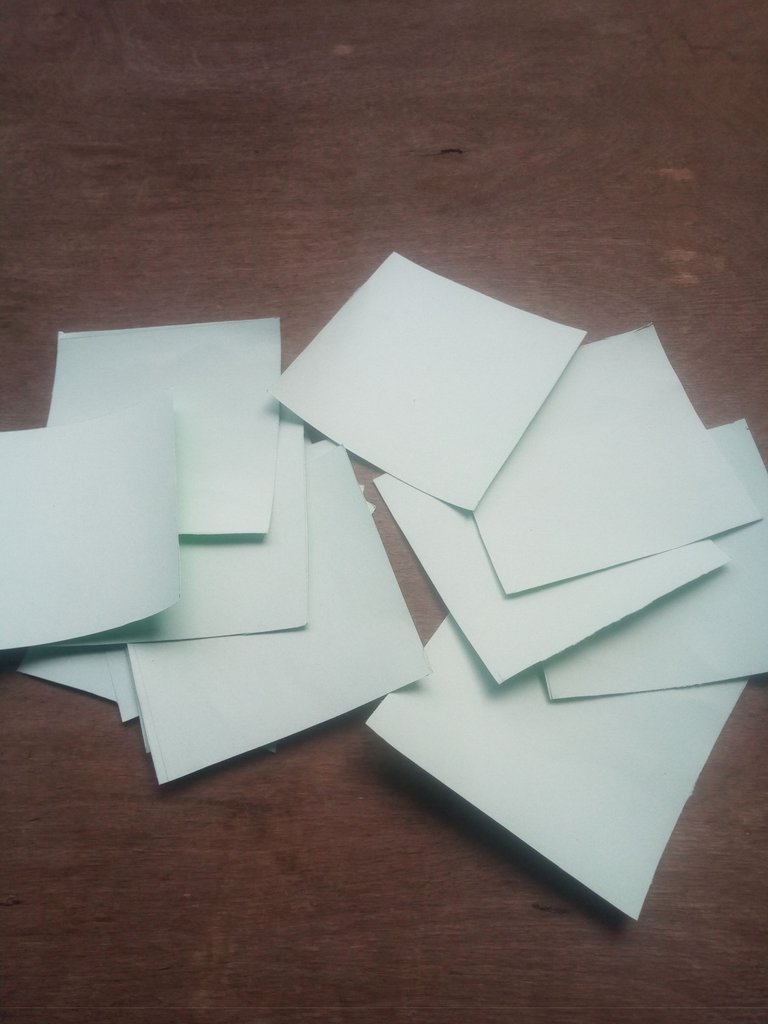
The first step I made in achieving this craft was yo cut out my colored paper by the length 10 cm x 10 cm into multiple pieces.
step 2
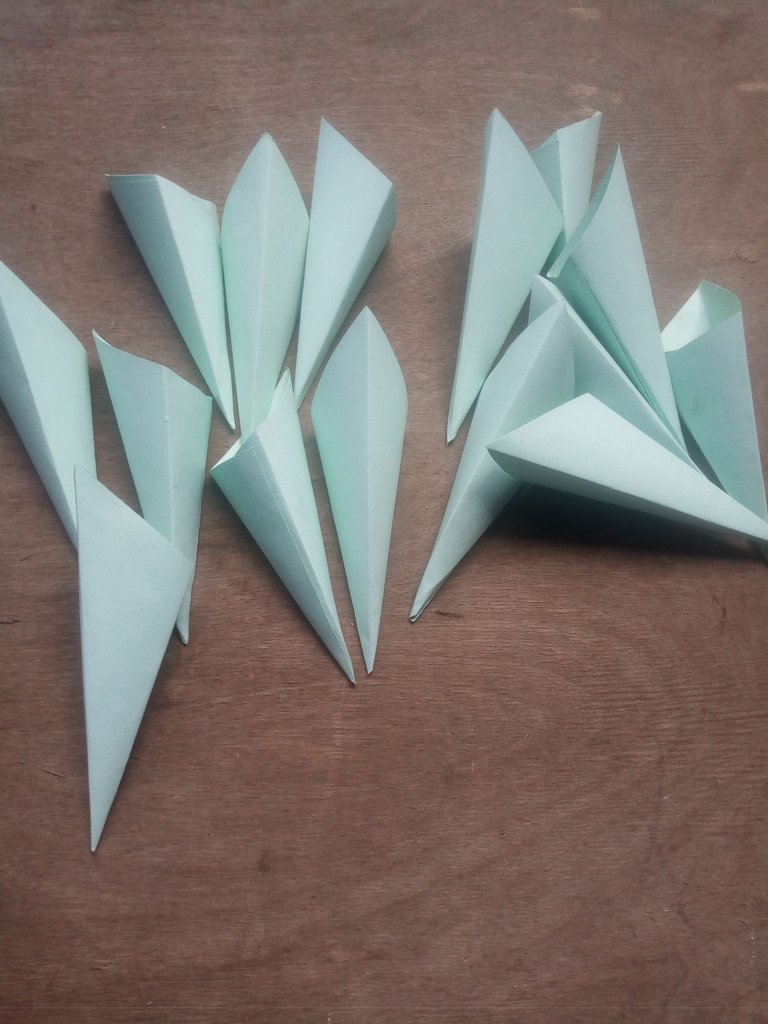
After doing that, I then folded my paper into a cone like shape, I continued doing it for all the paper i cut
step 3
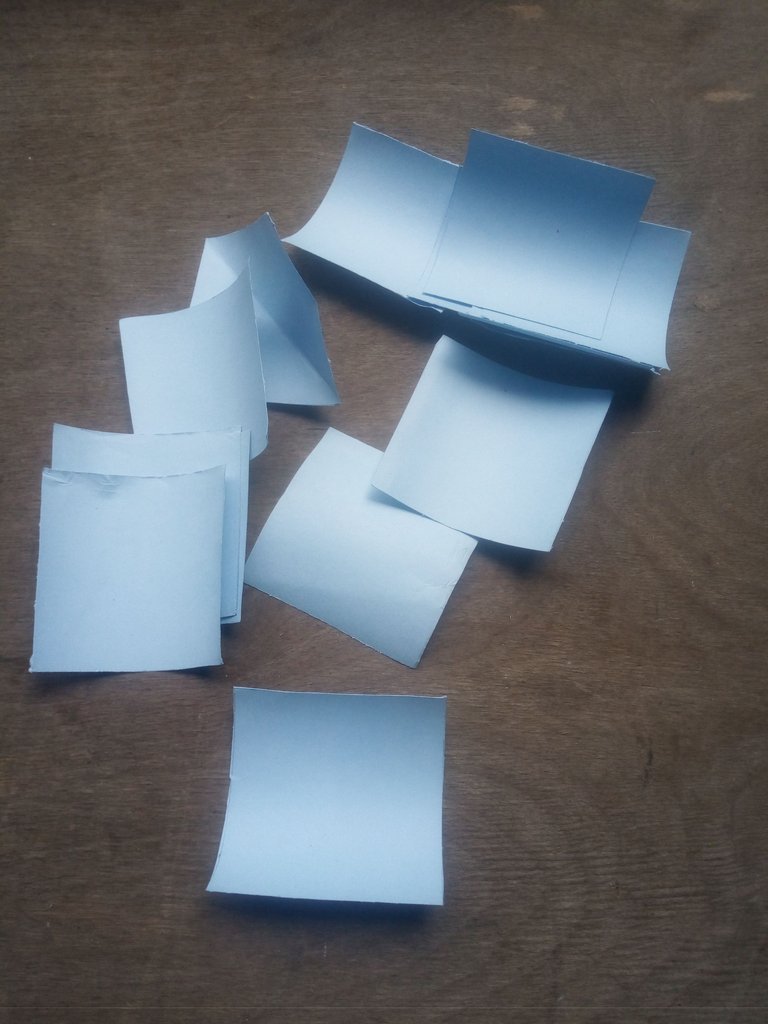
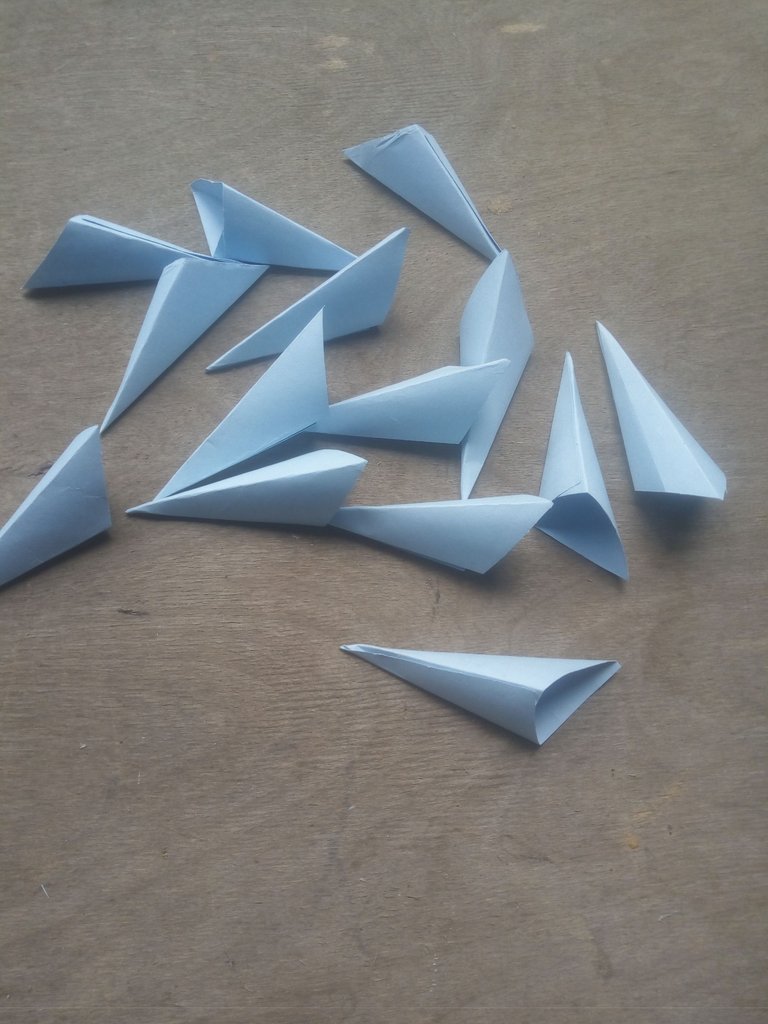
Here I made the same shape as before but with a different colored paper by the length 7 cm x 7 cm
step 4
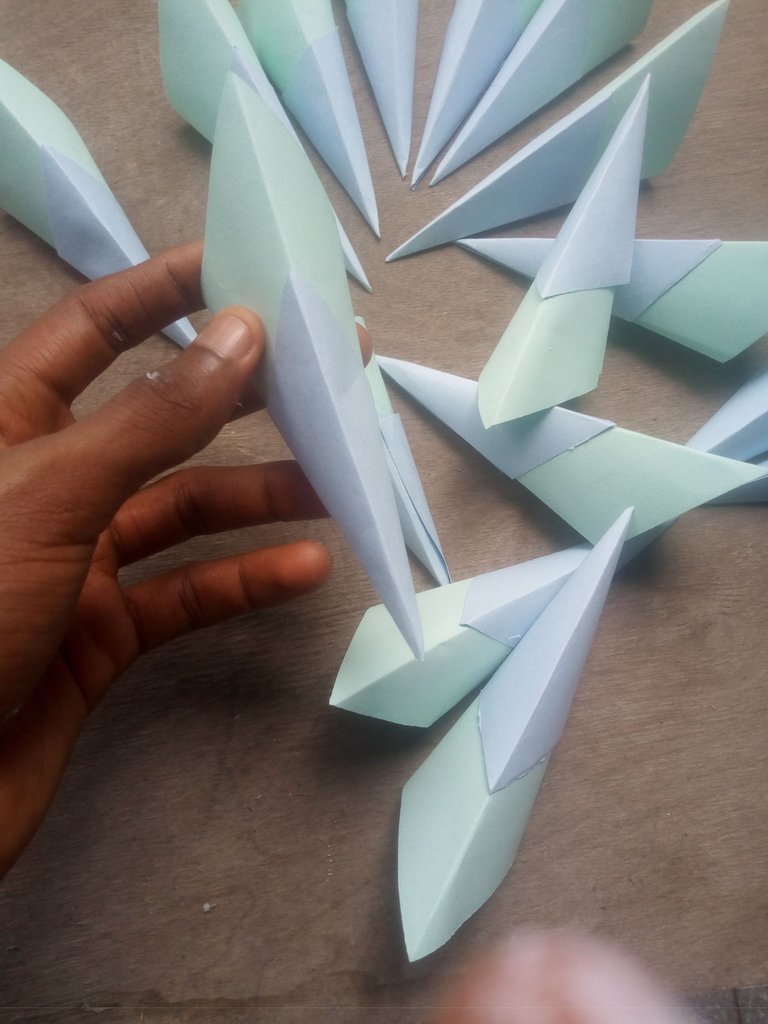
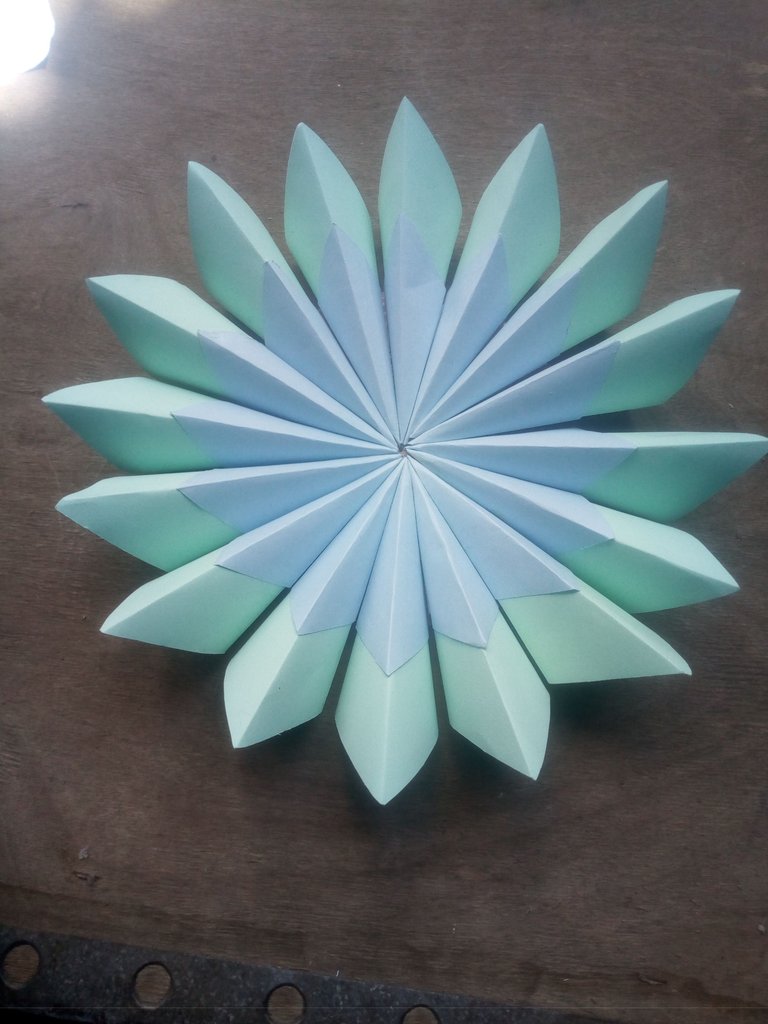
After finishing that part, I then inserted the bigger shape into the smaller one and apply gum on it.
step 5
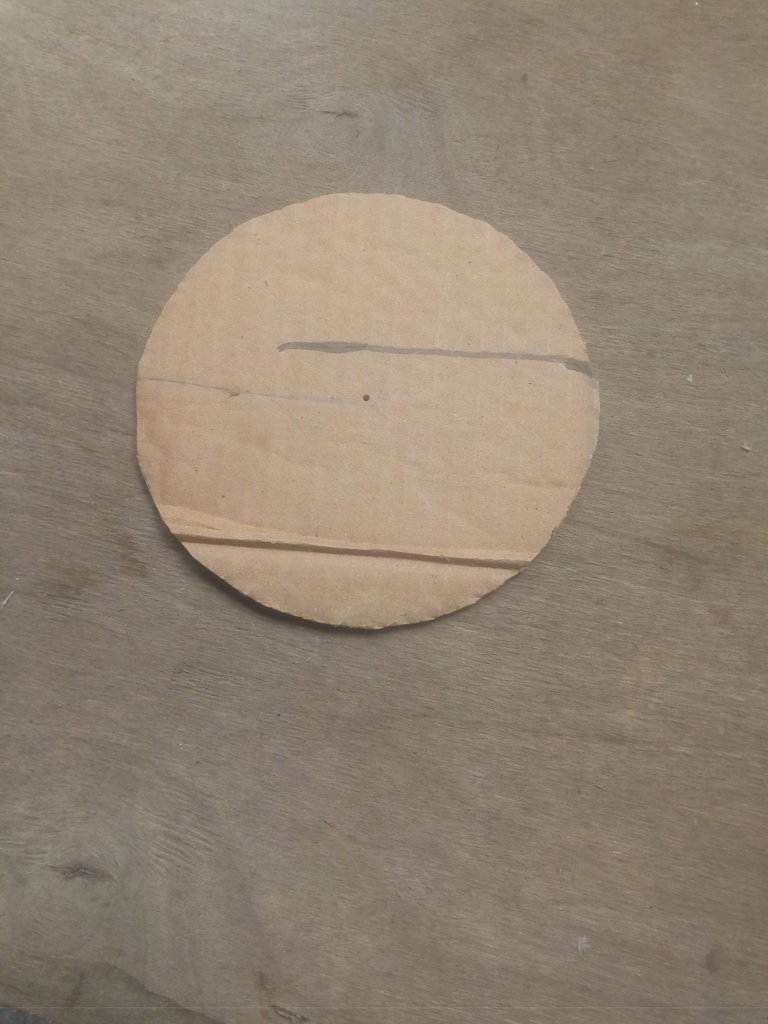
In this step, I measured my cardboard by the radius 8cm and cut it off, and then I began to gum the colored paper which I have made to it.
step 6
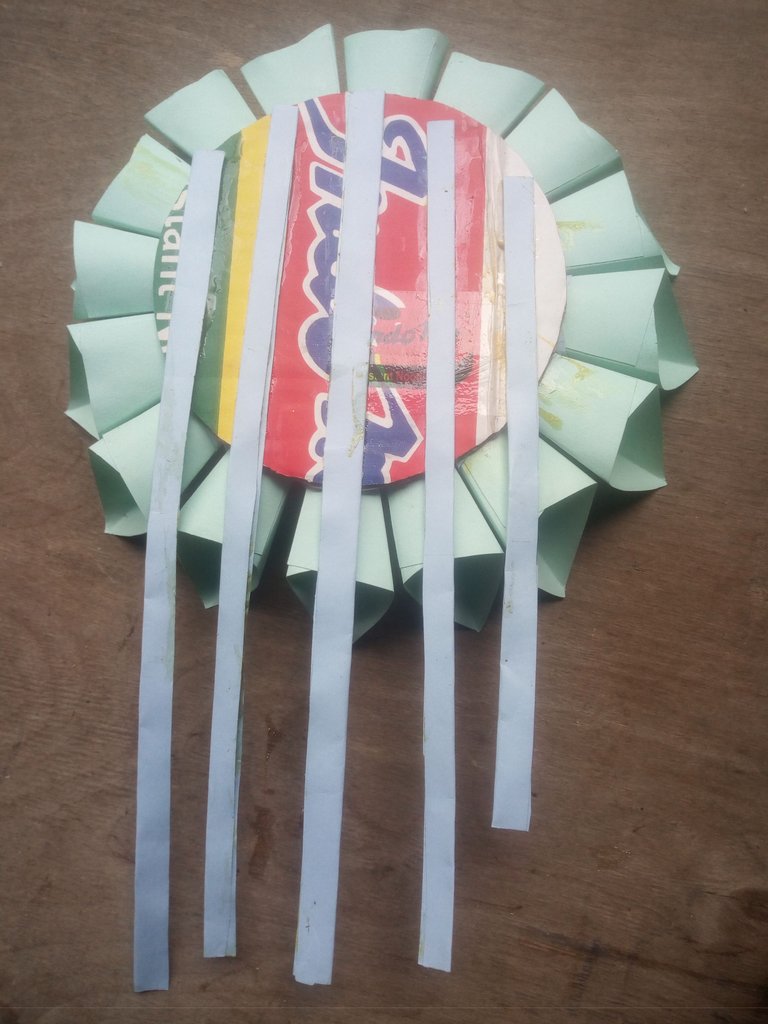
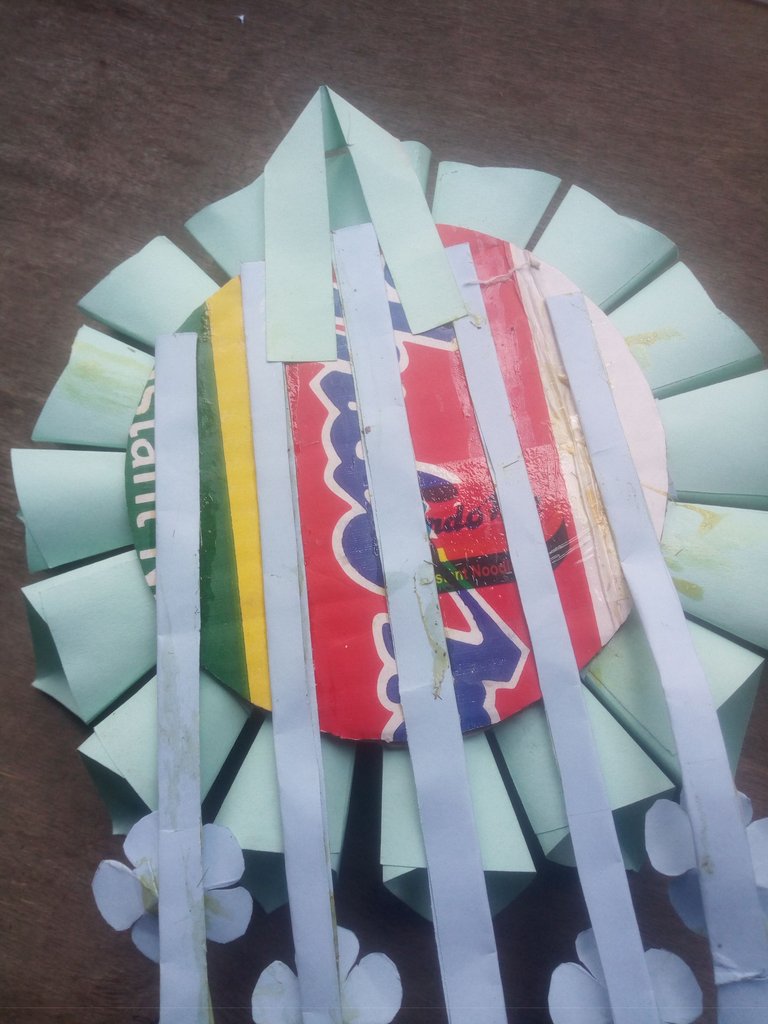
I then turned the back of the craft and gum three long paper to it.
step 7
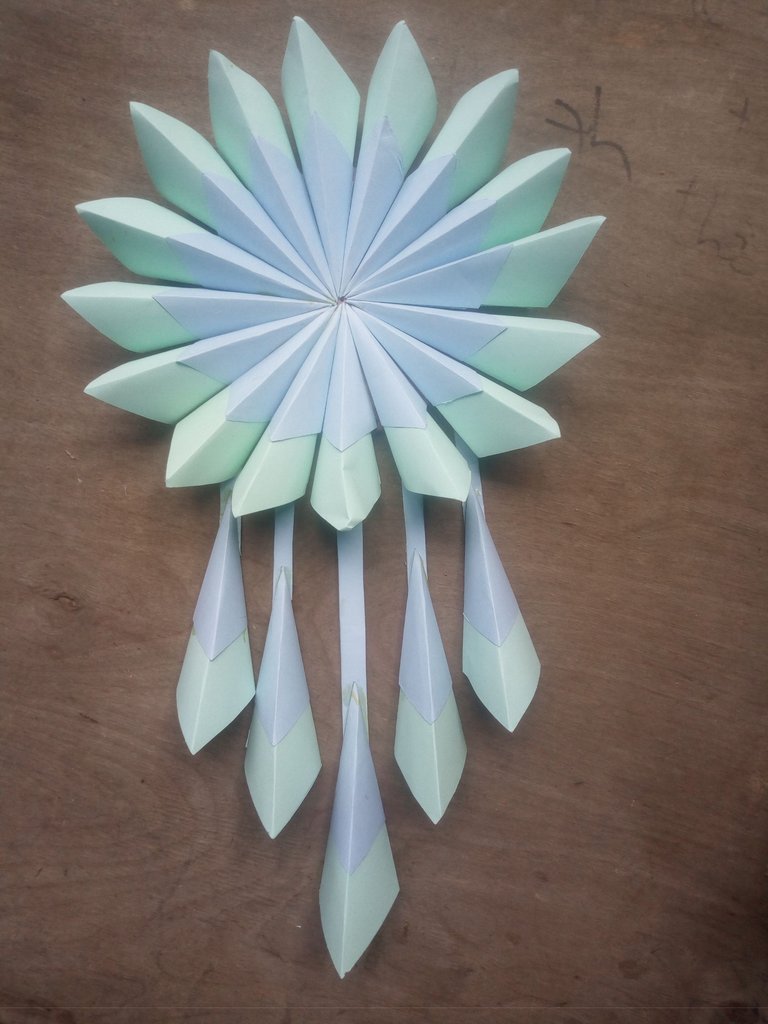
After doing that, I then gum the design to the bottom of the paper which I gum to the back of the craft.
step 8
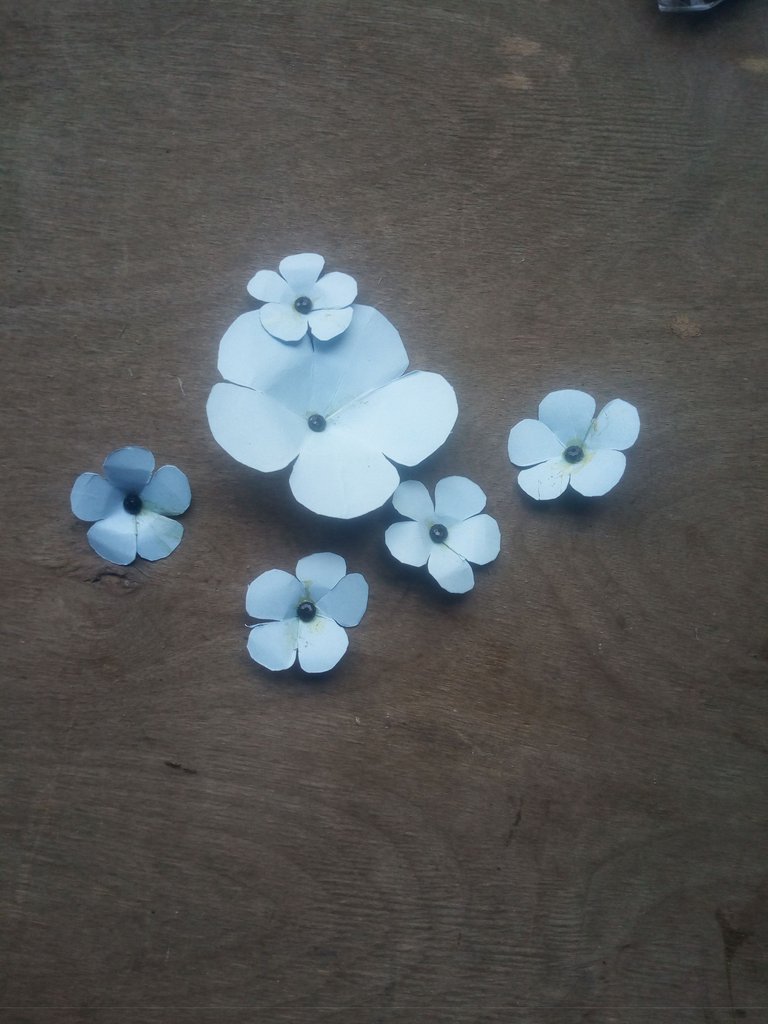
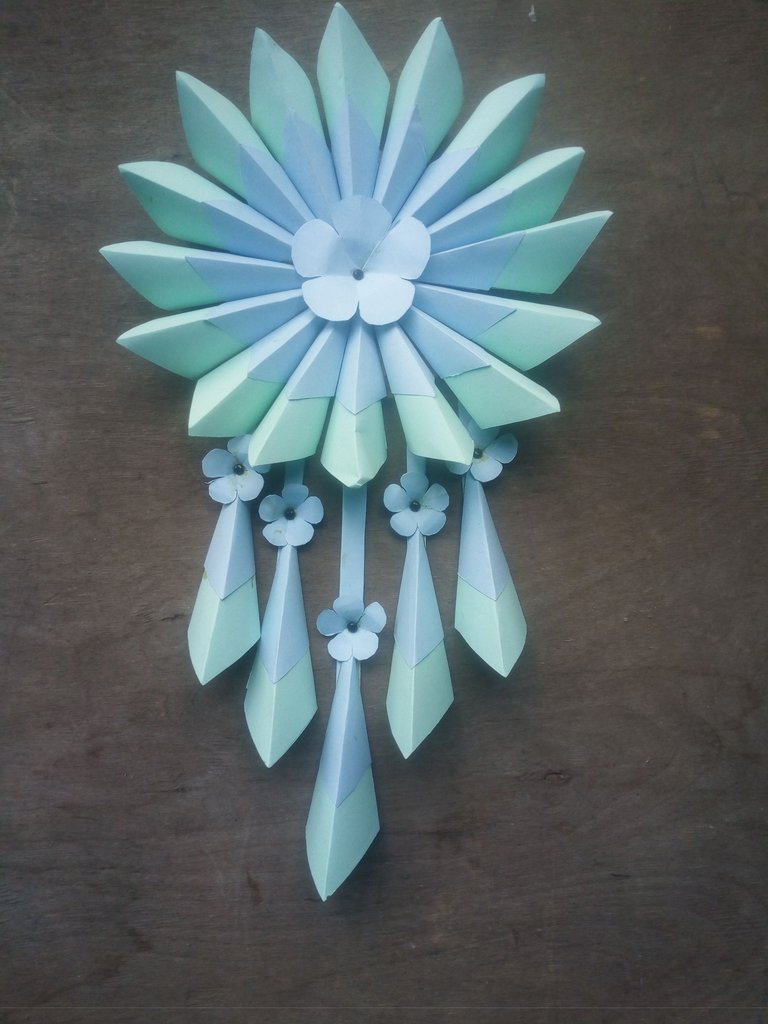
Here I made a flower design with my blue colored paper and then I attached it with the help on my gum to various part of the craft to make it look beautiful.
step 9
Lastly, I the put a wall hanging support structure at the back of the craft so it can be hung on the wall.
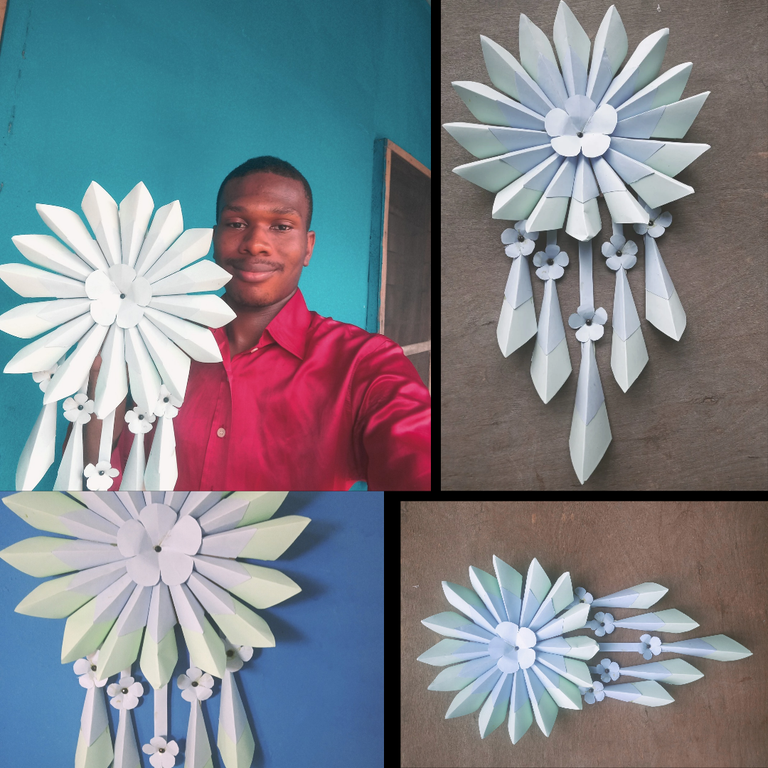
After completing everything and finishing up with the whole process, at last I came out with a stunning and amazing results, here a picture of my final result.
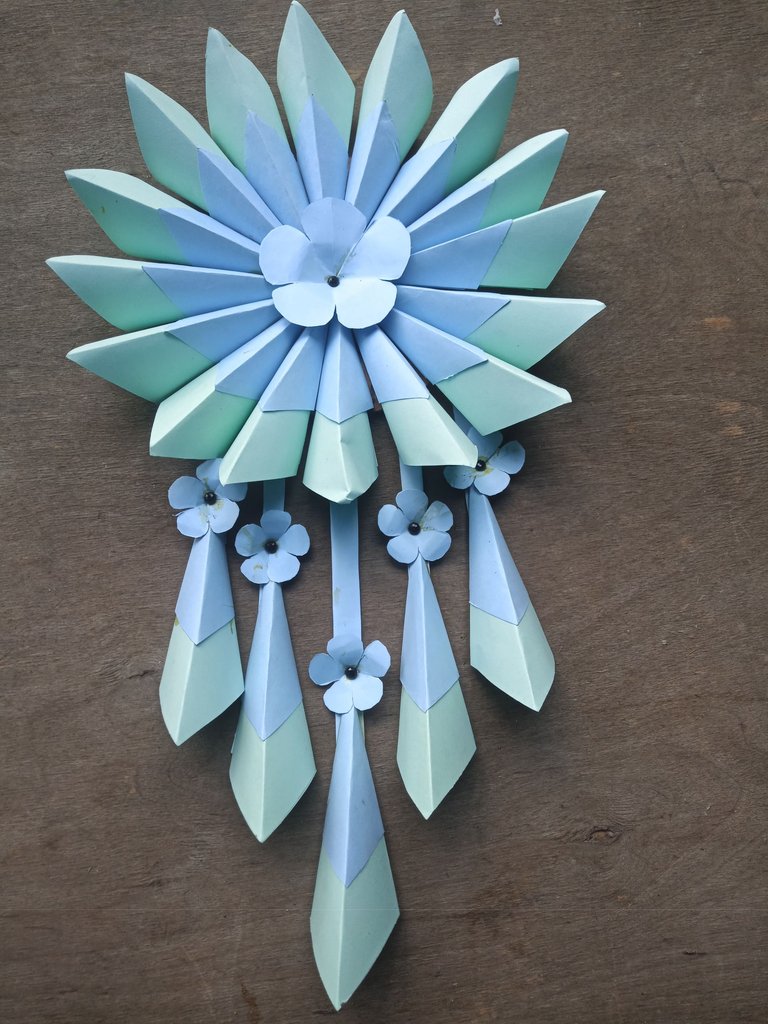
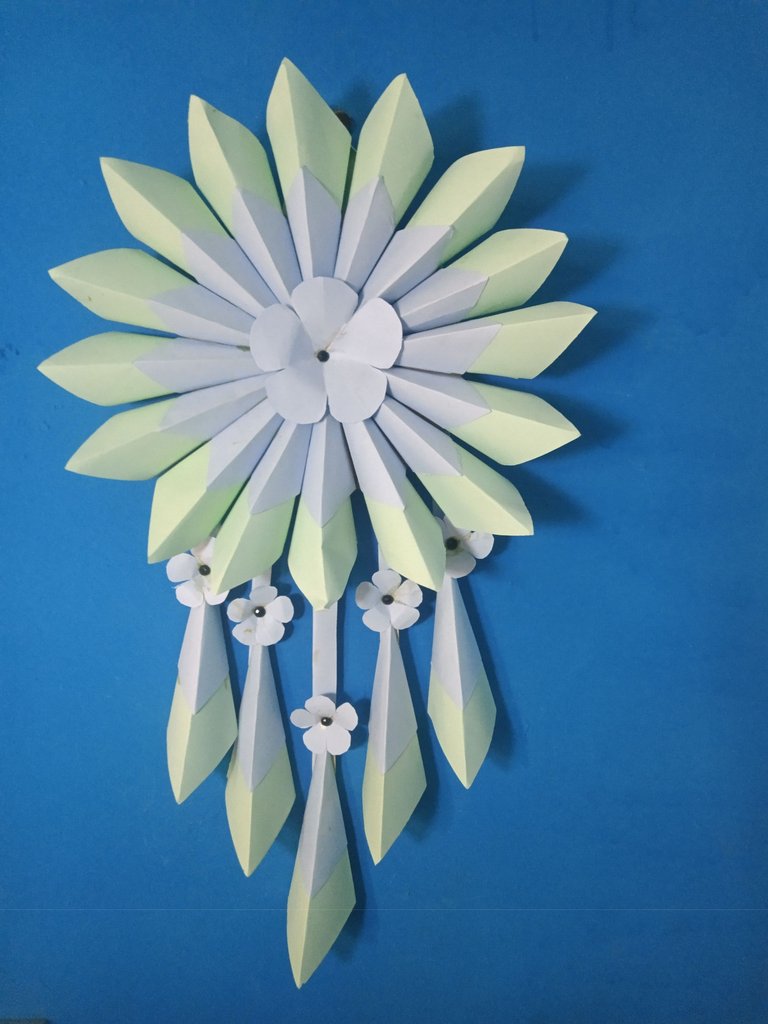
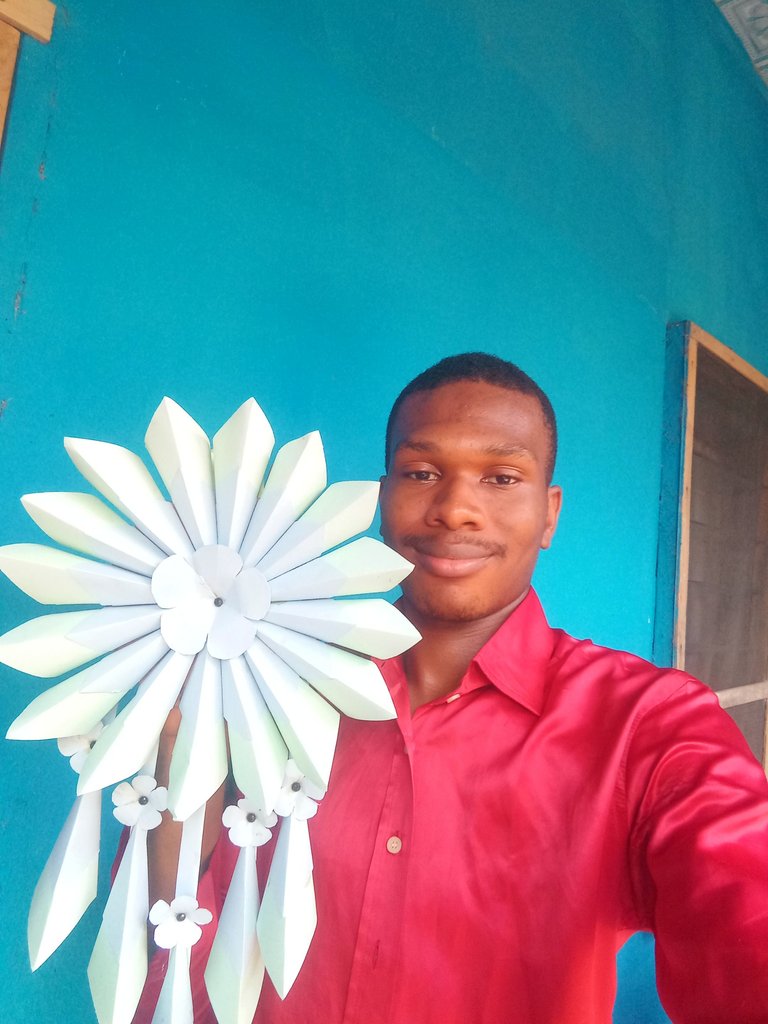
I hope you enjoyed my post and the steps I took in achieving this craft, maybe you can try out yours with these steps. Thanks for sticking with me till the end and feel free to drop your thoughts on the comment section.
