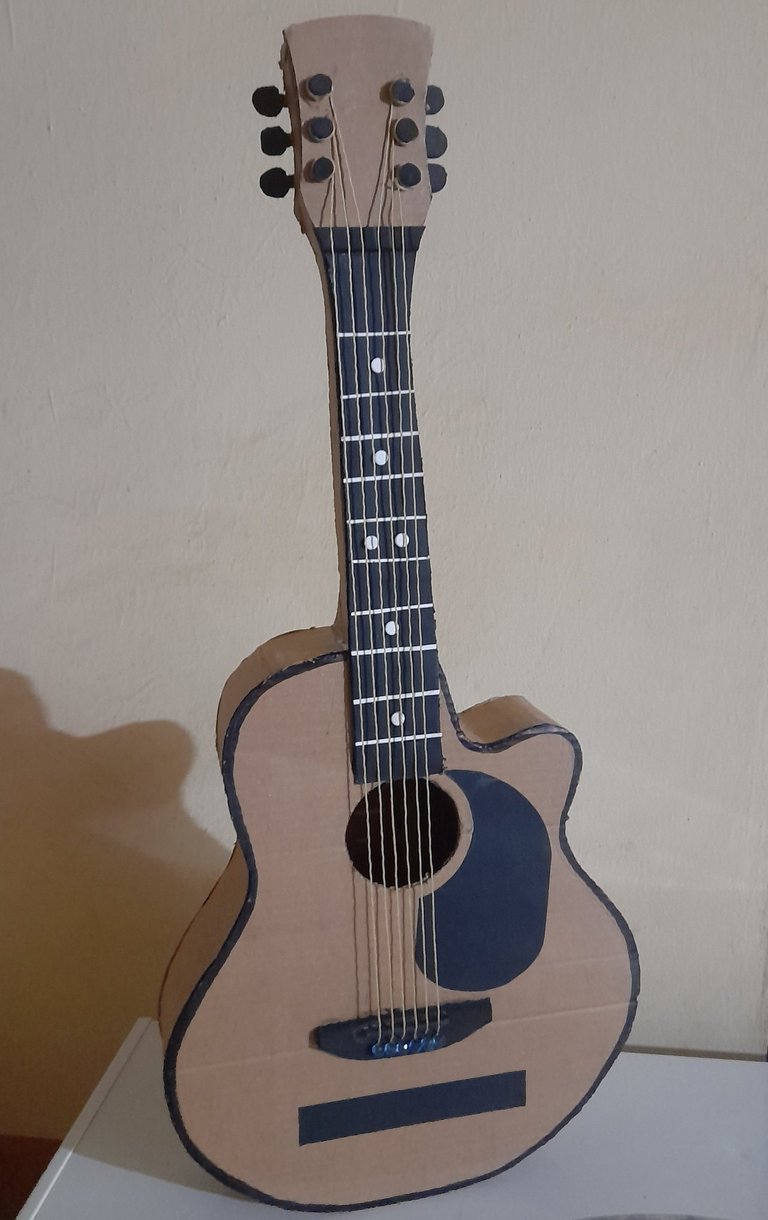
Greetings and I welcome you all to my blog, I hope you are all doing well and fine. My brother has always been fascinated by musical instruments he always talked about how cool it would be to get one especially a guitar, but since he is too young to play a real one, I decided to make him a realistic replica using simple materials such as cardboard. It actually took me a day or two to complete this project but I was glad I was able to finish it, So today I will explain the process of making the cardboard guitar.
MATERIALS NEEDED
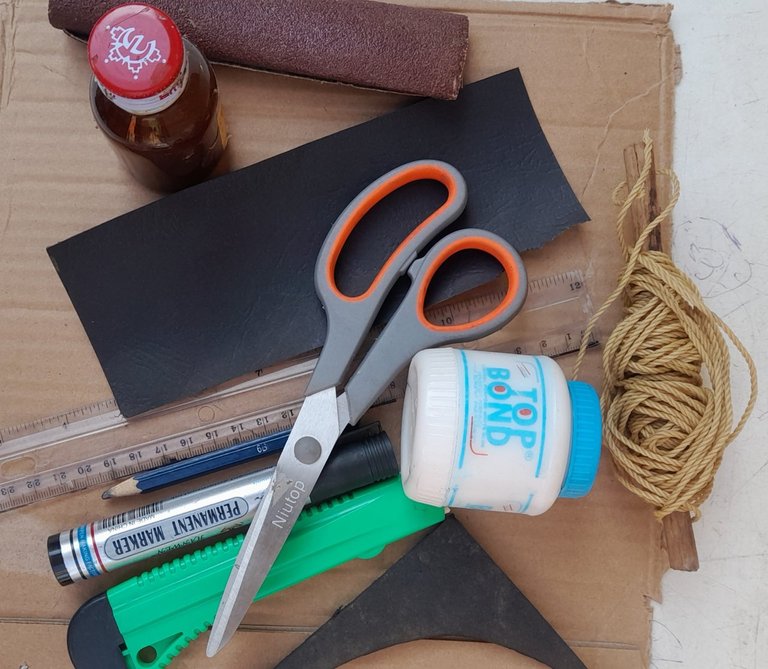
The materials I used are ;
• Carton
• pencil
• Eraser
• Bold marker
• Evostik gum
• Top bond
• Black & white Embossed paper
• Rope
• scissors
• paper cutter
• sandpaper
PROCESS OF MAKING
step I
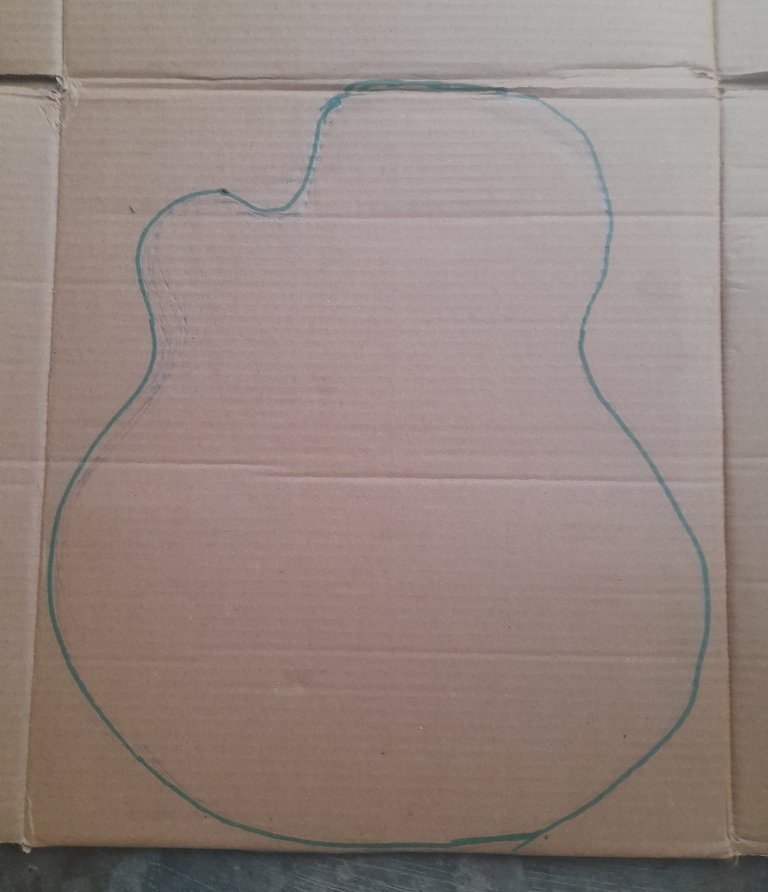
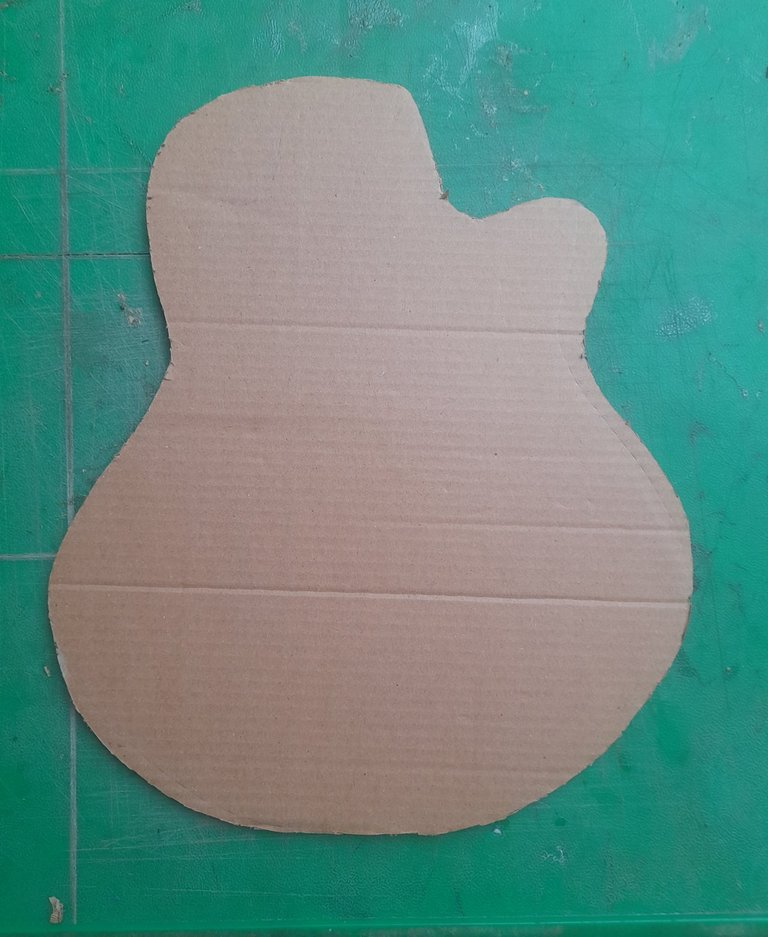
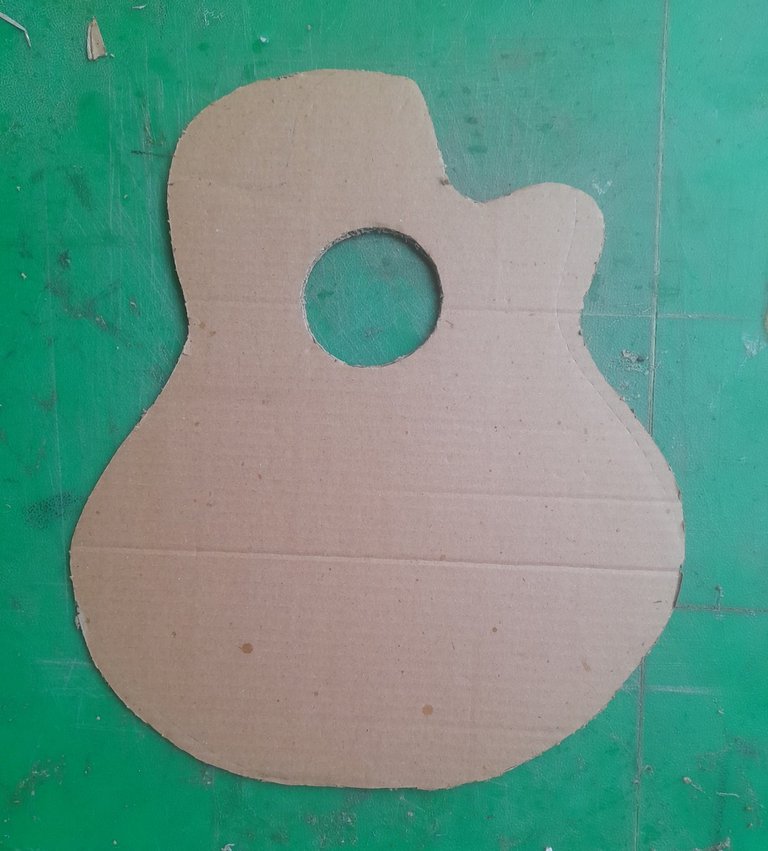
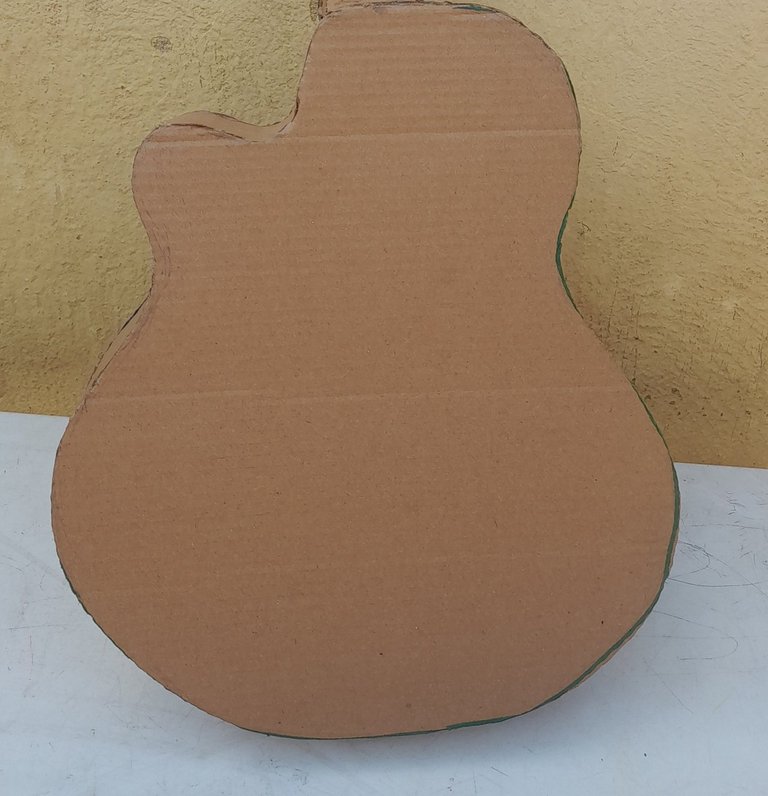
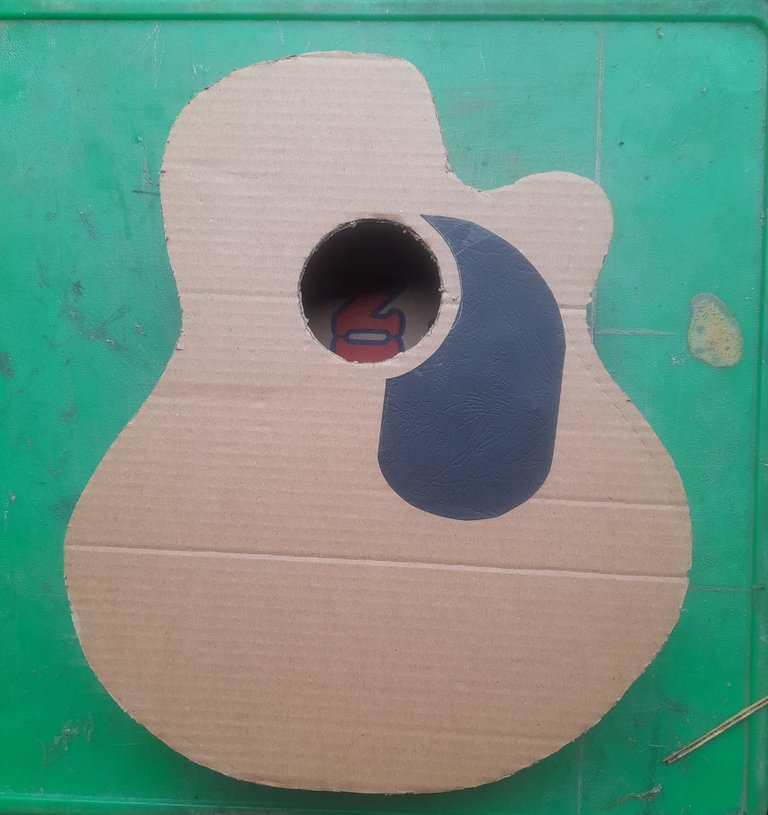
I first of all drew the body of the guitar on a cardboard using pencil, then I carefully cut it out. After cutting, I duplicate it so that one will serve as the front and the other one as the back.
step 2
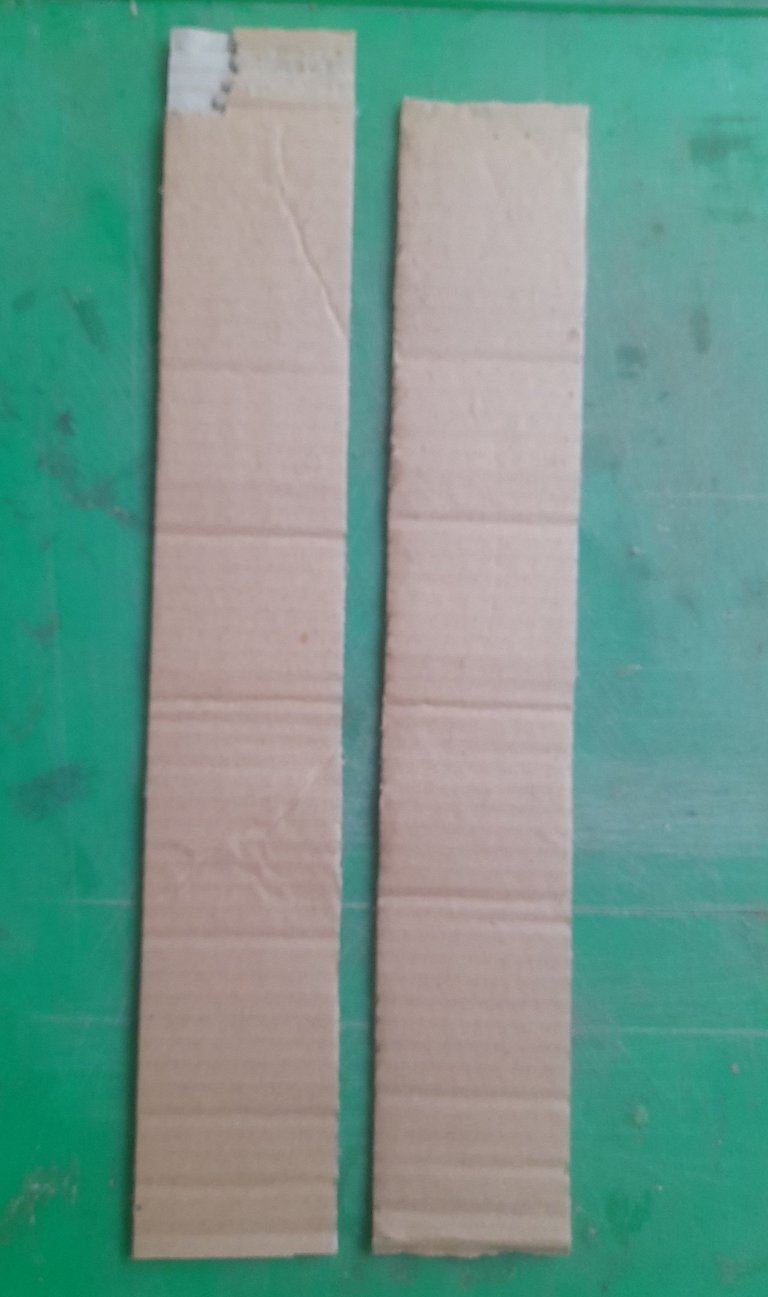
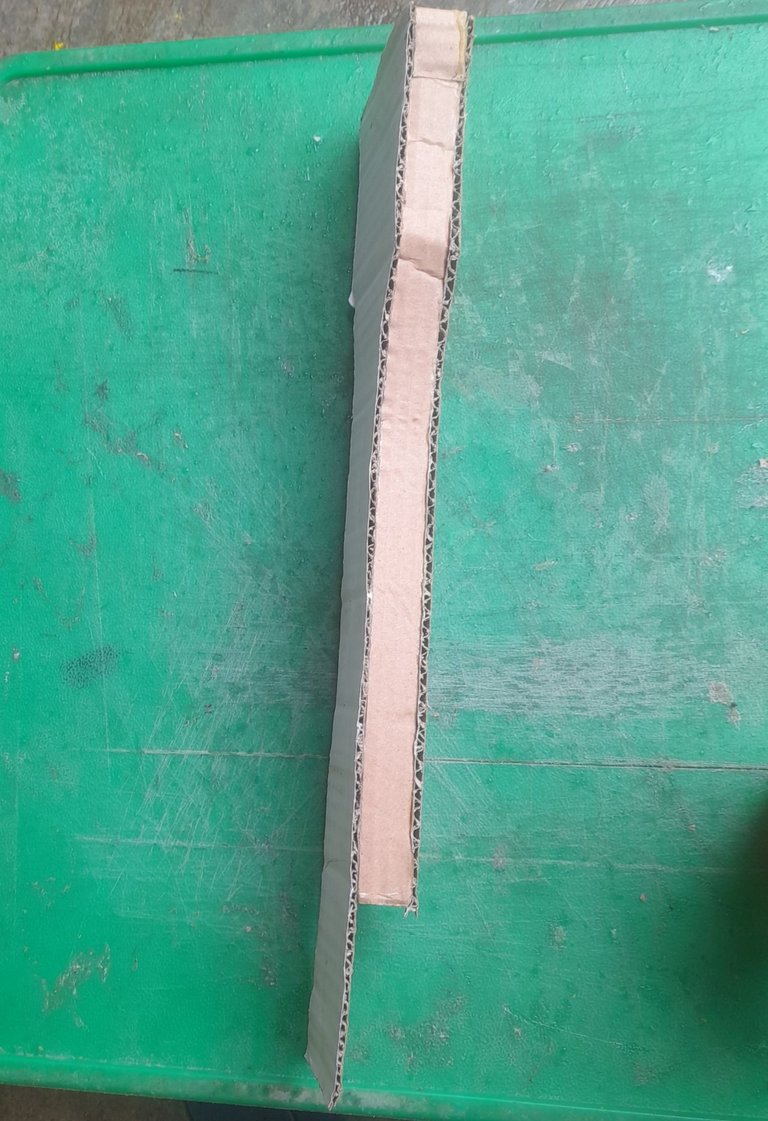
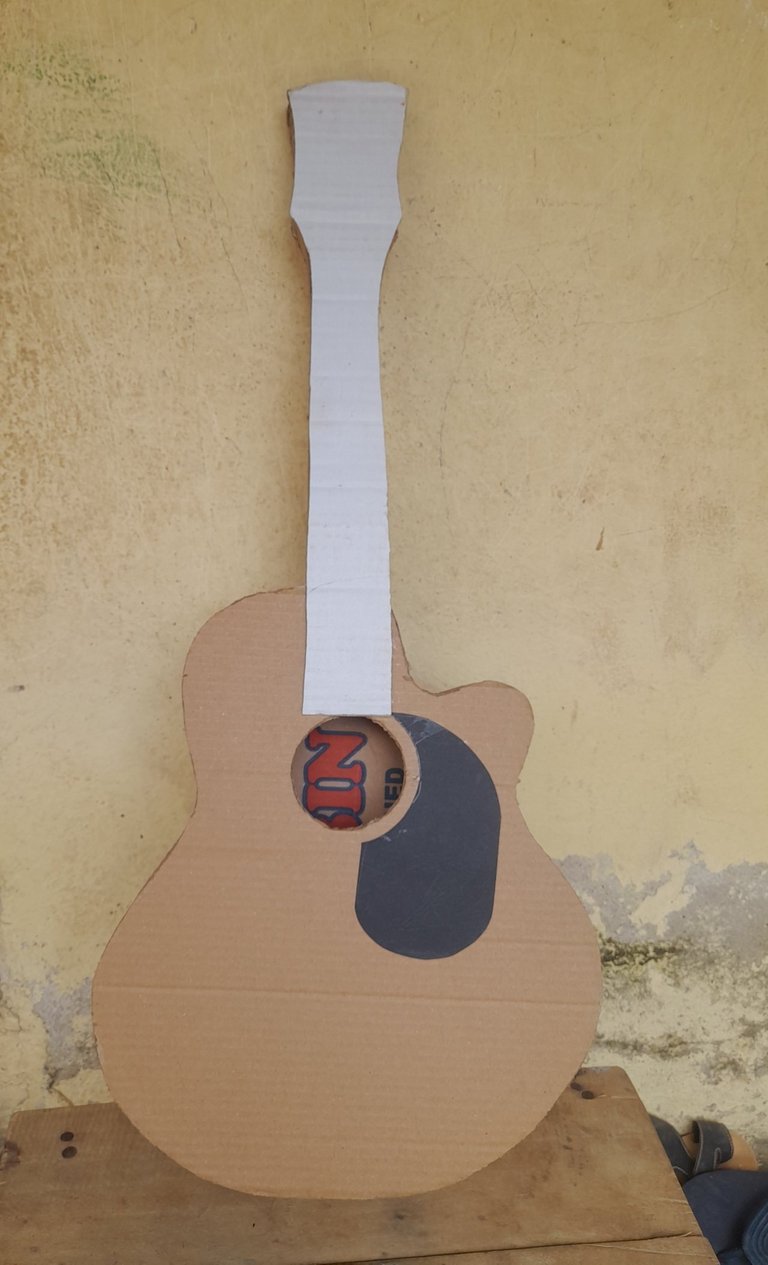
Next I carved out s hole on the body of the guitar that will serve as the front. Then I cut cardboard with the length 7 cm wide and peeled one side of it to enable it curve well.
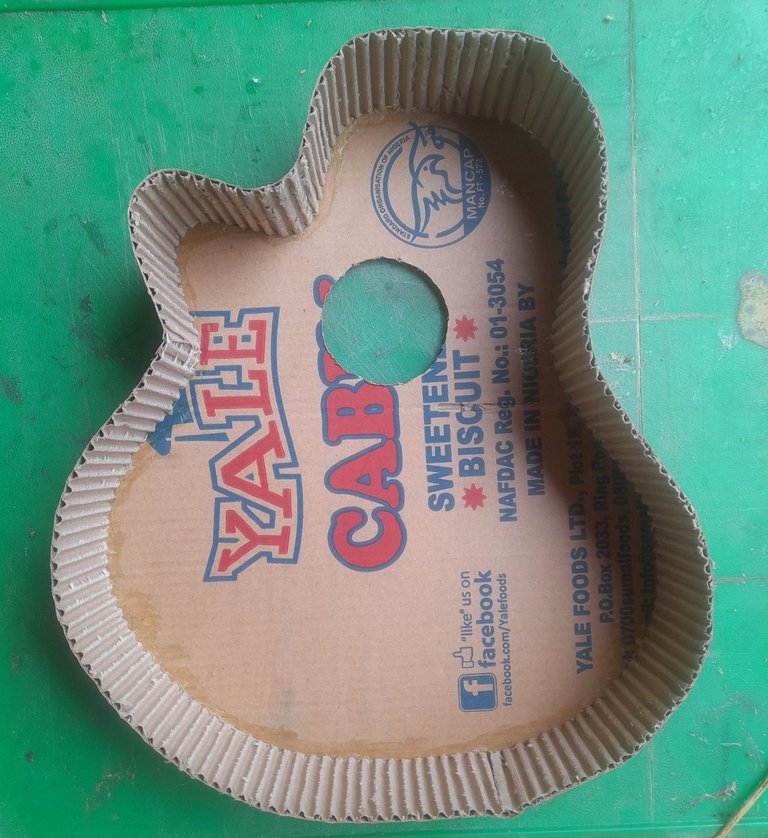
step 3
After doing that, I then applied gum on the edges of the 7 cm cardboard which I cut and gum it on the body of the guitar, I also did the same for the other side as well.
step 4
Then I drew a shape on black embossed paper, cut it out and used the gum to glue it at the front of the guitar.
step 5
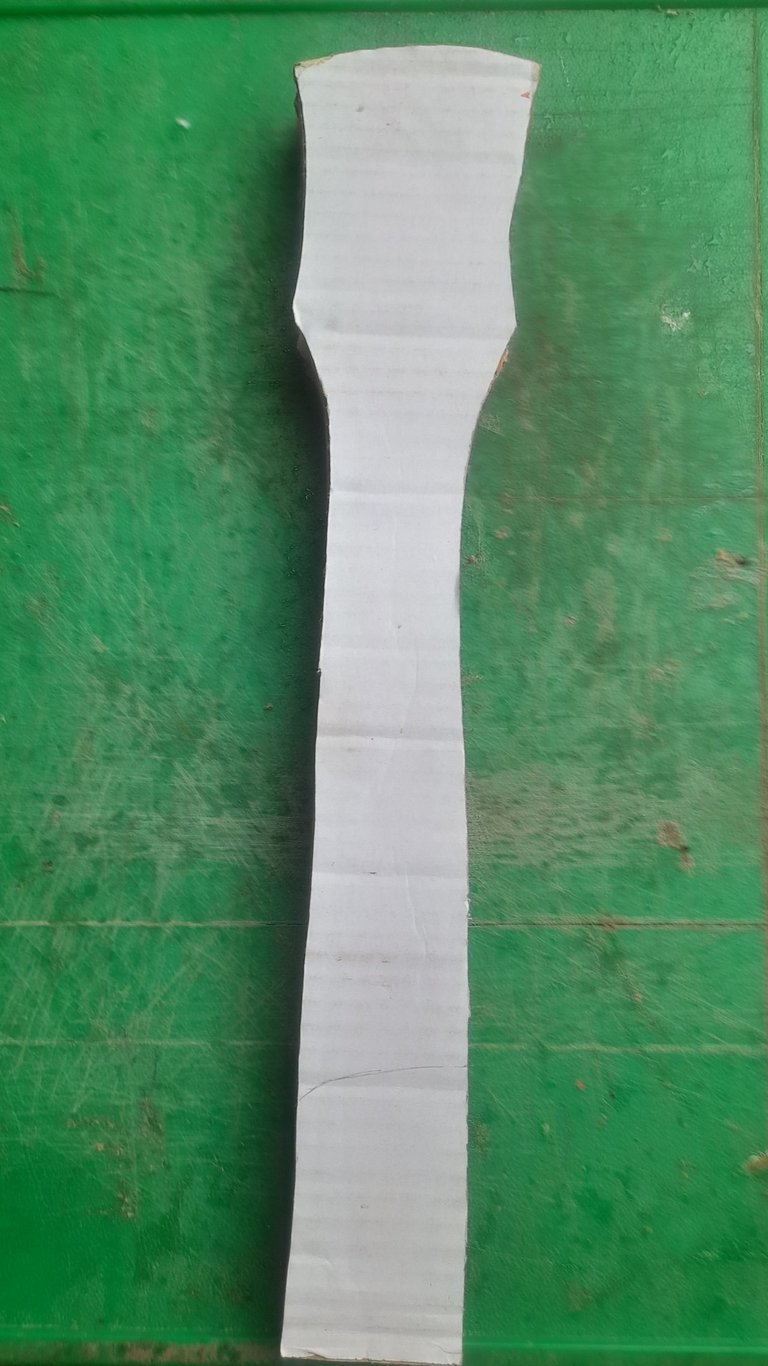
Next I drew the neck of the guitar on a piece of cardboard and cut it off and also duplicated it. Then I cut a cardboard with the width 3 cm and applied gum on it and then I used it to gum the neck of the guitar together.
step 6
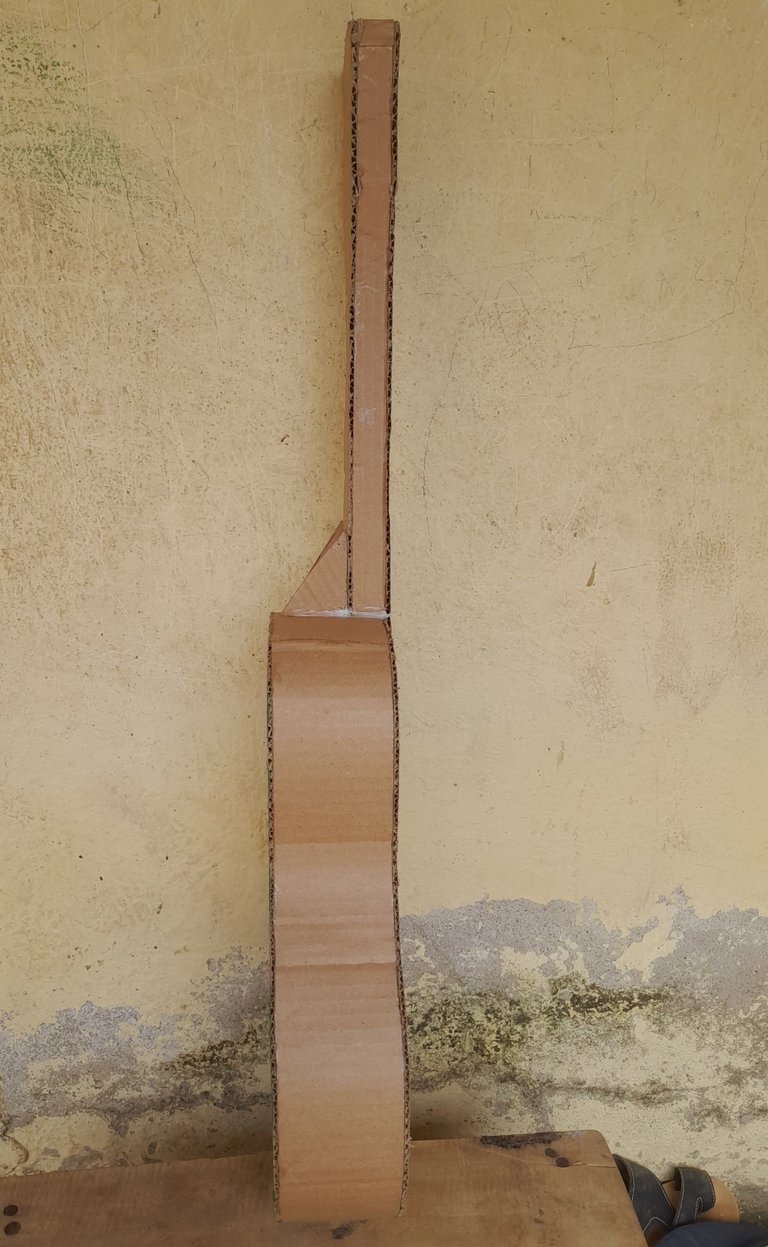
After doing that, Here I connect the neck and body of the guitar. I first used evostic gum and later on, applied a top bond to enable it to glue firmly.
step 7
I cut the black embossed paper to cover the front neck of the guitar.
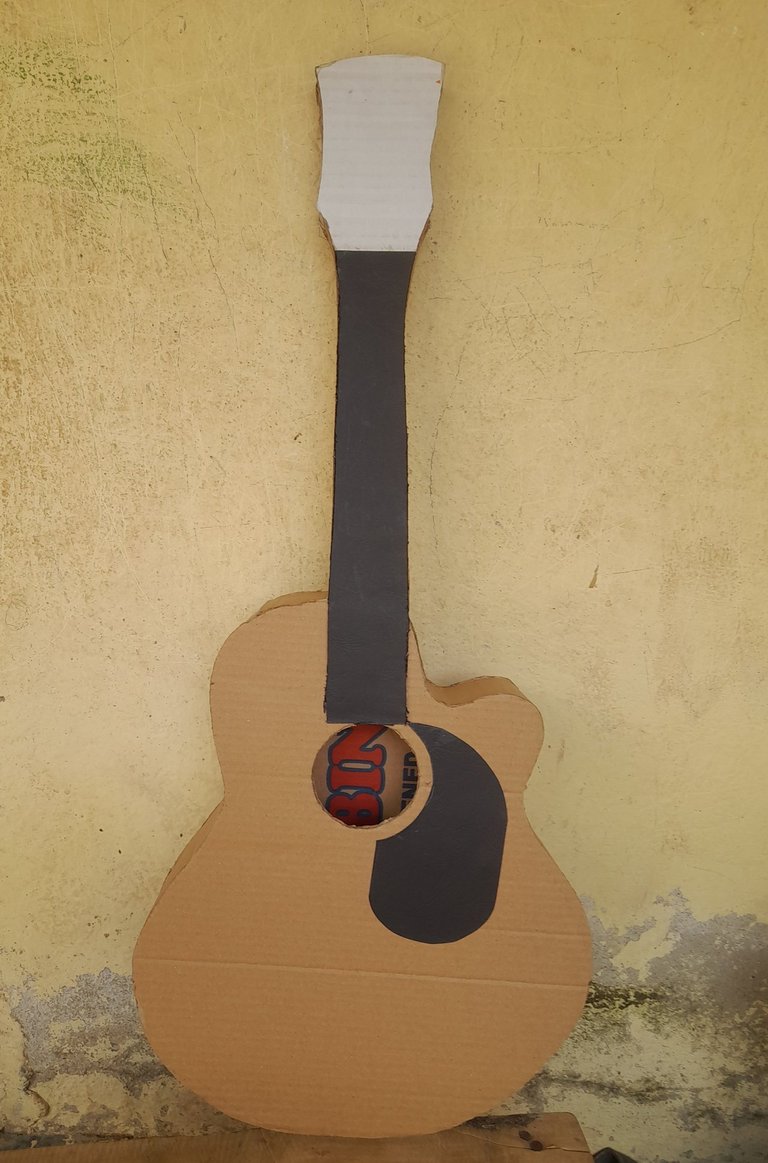
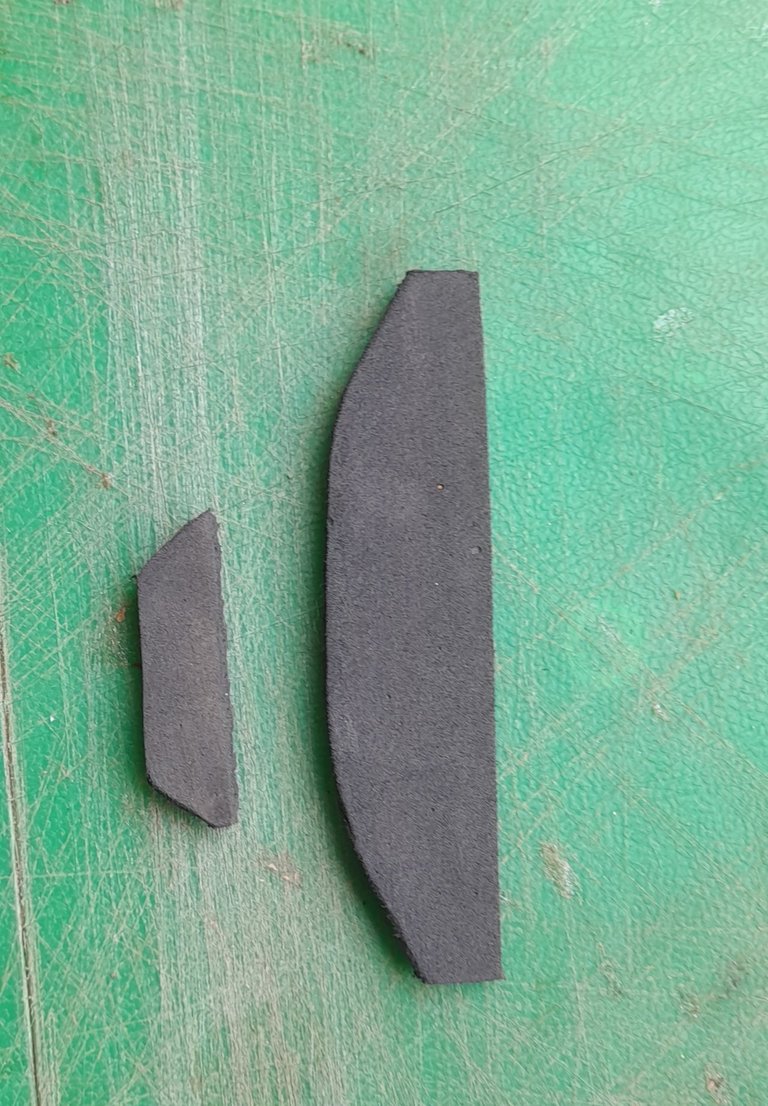
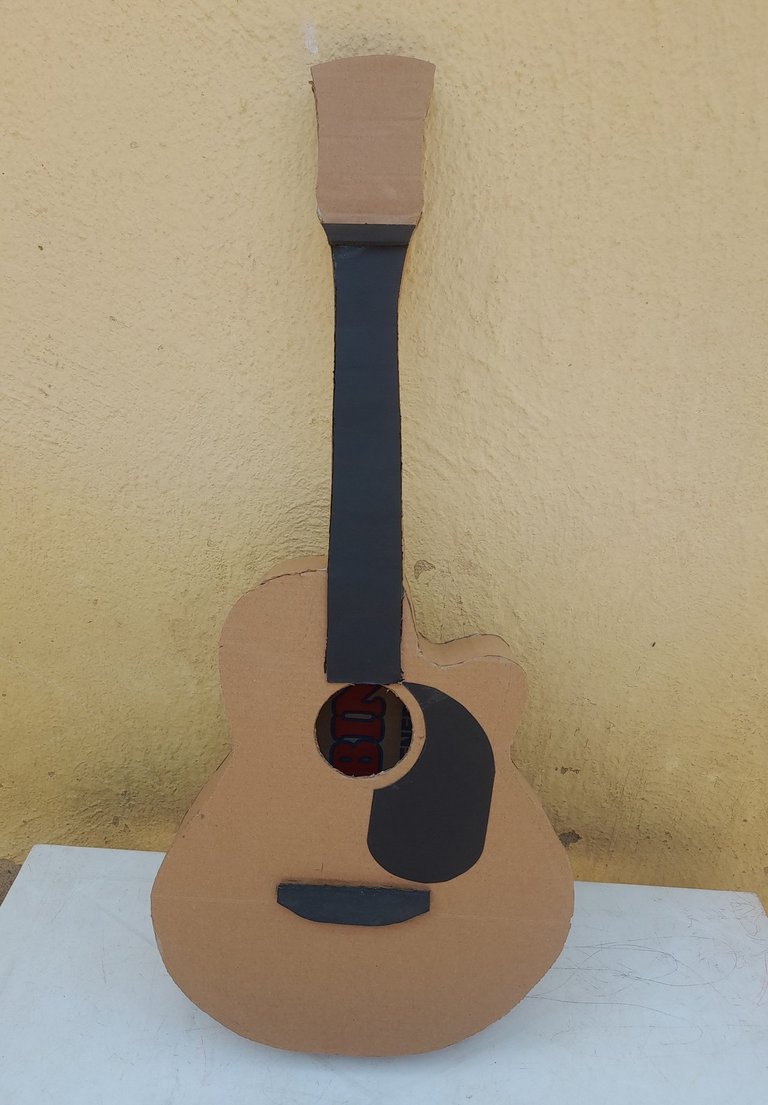
step 8
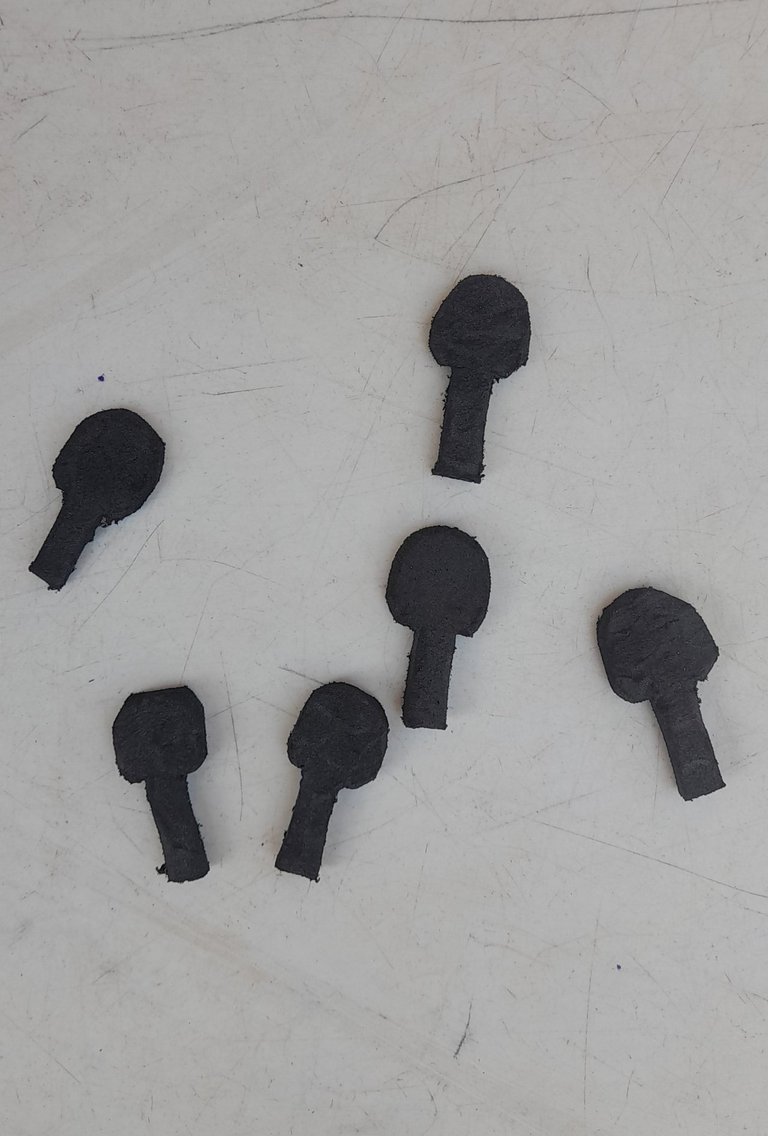
Next I cut a condemned slippers in two different sizes, brushed it with sandpaper to make it neat and gummed one at the neck and the other at the body of the guitar. They both serve as a base and at the same time elevator of the guitar strings.
step 9
Next I cut my slippers into six pieces of different size to serve as the adjusting or tune-setting notes of the guitar strings, then I gummed it at the top back of the guitar neck.
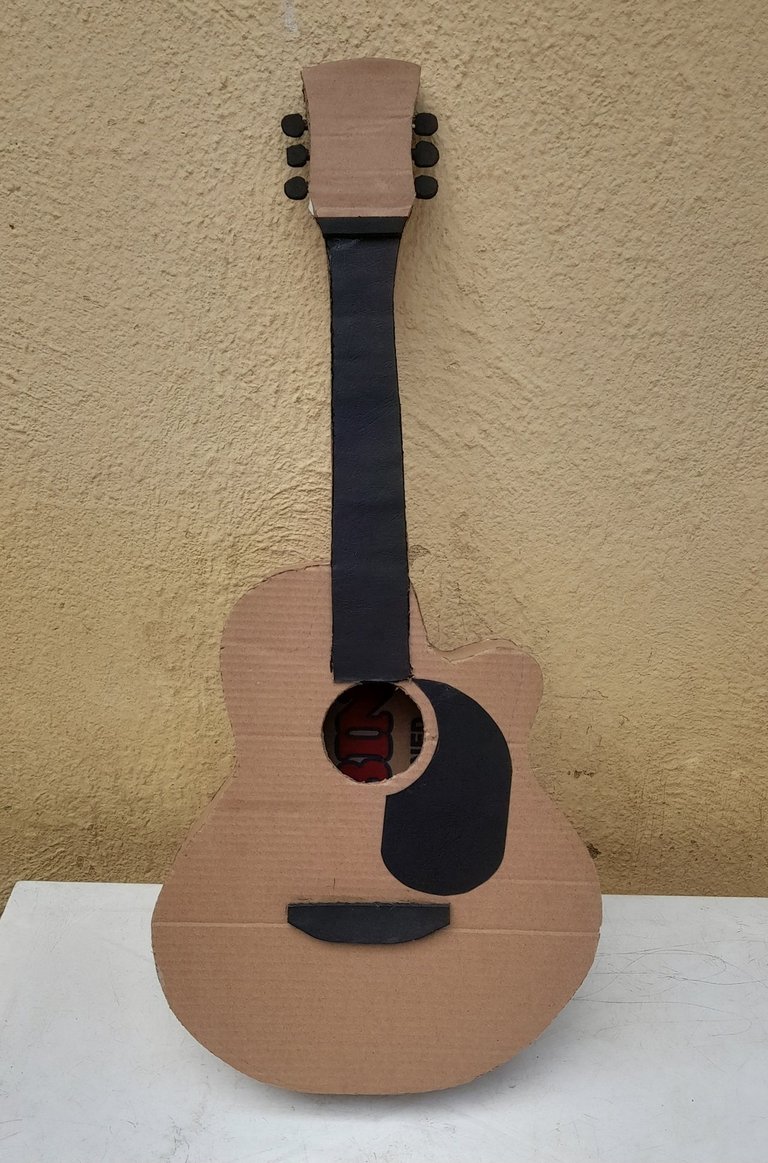
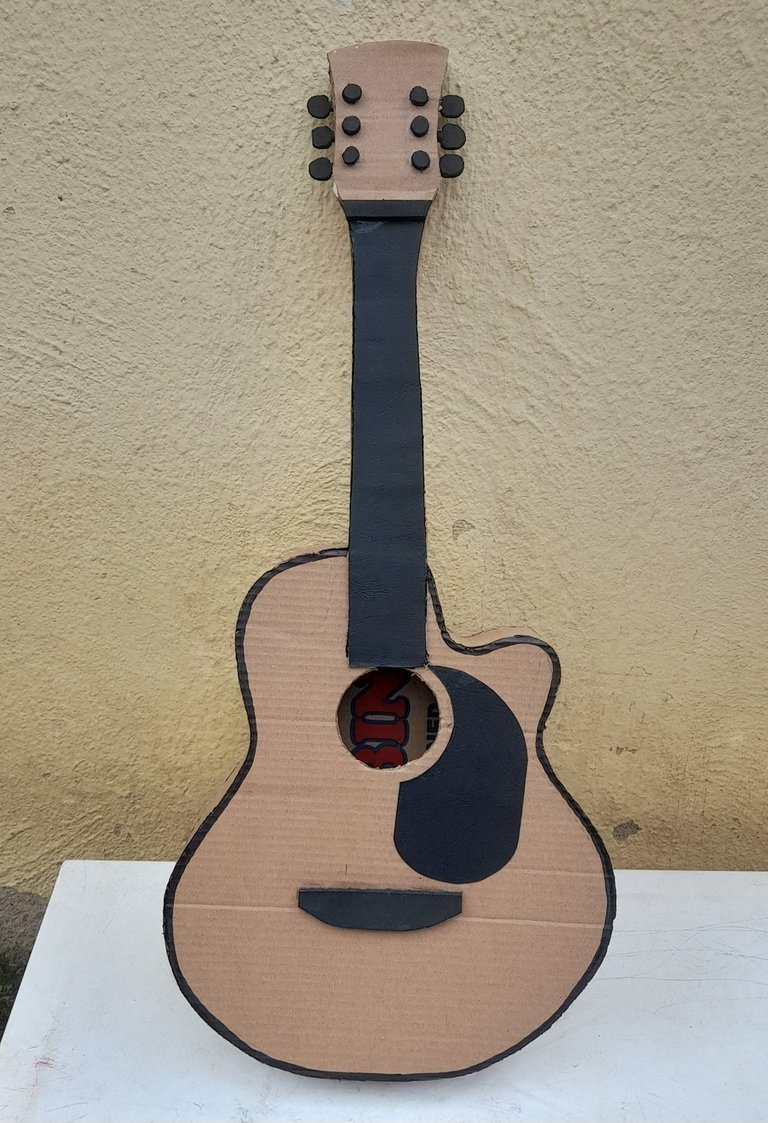
step 10
After doing that, I used my permanent marker and traced the edges of the guitar and then cut six round slippers and gum it at the top of the guitar to help hold the strings. Then I took white embossed paper and attach it to the neck of the guitar to serve as the Fred.
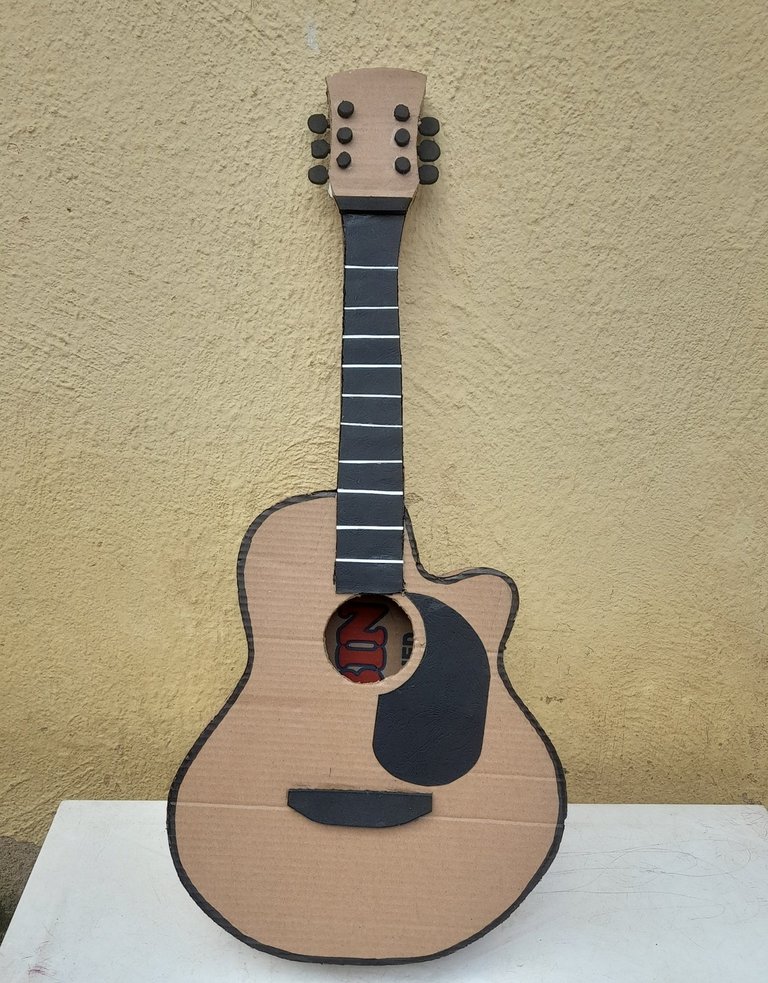
step 11
Next I gummed six string on my guitar and I gummed six beads one each from the starting point of every string and also, I gummed some white dots in between the Freds.
And finally I have come to the end of my craft and here's my final result.
After making the guitar seeing the excitement and happiness on his face made the effort worthwhile. It was a fulfilling and enjoyable experience that allowed me create something unique while bringing joy to him. I hope you all liked it, feel free to drop your thoughts on the comment section.
Have a nice day.
