Diy mini Christmas tree

in #hive-18964118 hours ago

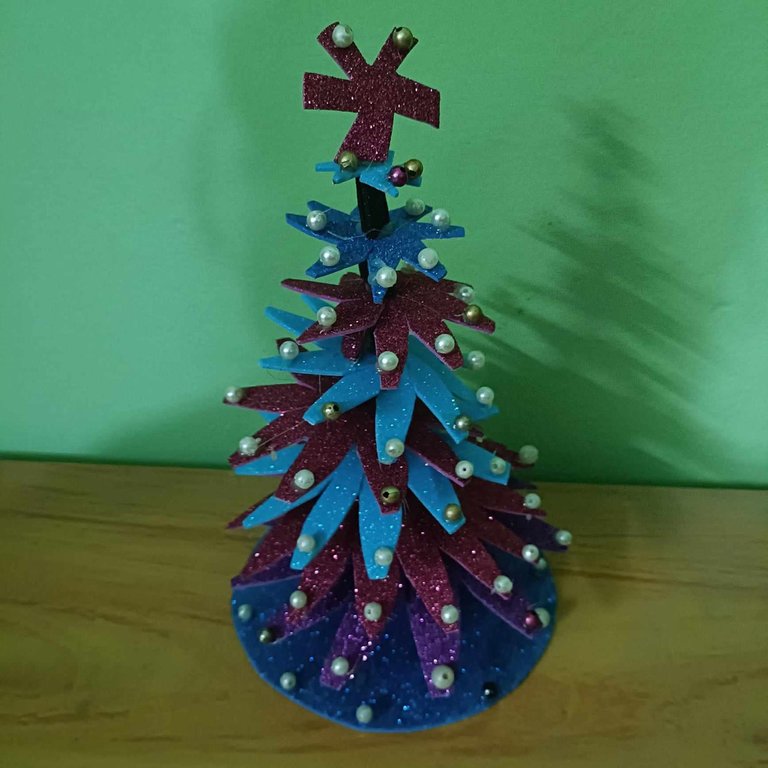
Greetings to everyone and i hope you are all doing well and fine. It's that time of the year were we celebrate and spend time with our family, Christmas is a time of joy and giving and one symbol that represents the season is a Christmas tree. A Christmas tree is one of the many things found in many homes during Christmas and Today I will show you how to make a Christmas tree with a glitter paper. December means Christmas, and in this month everybody spends it with festivities and joyous celebrations. So on the occasion of this special day, I will show you how to make a Christmas tree. Let's see how I made it.
pBMyo3B2Sao2EbuHAFTX1CNWMbam25xJGPs4sKmLS6XL7ji3b2jUAw8G9YZKm5kLw2NFG82eHSgtBen8zXqAmcGGHfEiwdGvH5nTE6v3kKcUpNsSGojYe67E35YewkidZsHGsy8tt3ivYrZZBixnKiJRNSuGbCyfs7ZLQy71ZhR1zov6 (1).jpeg

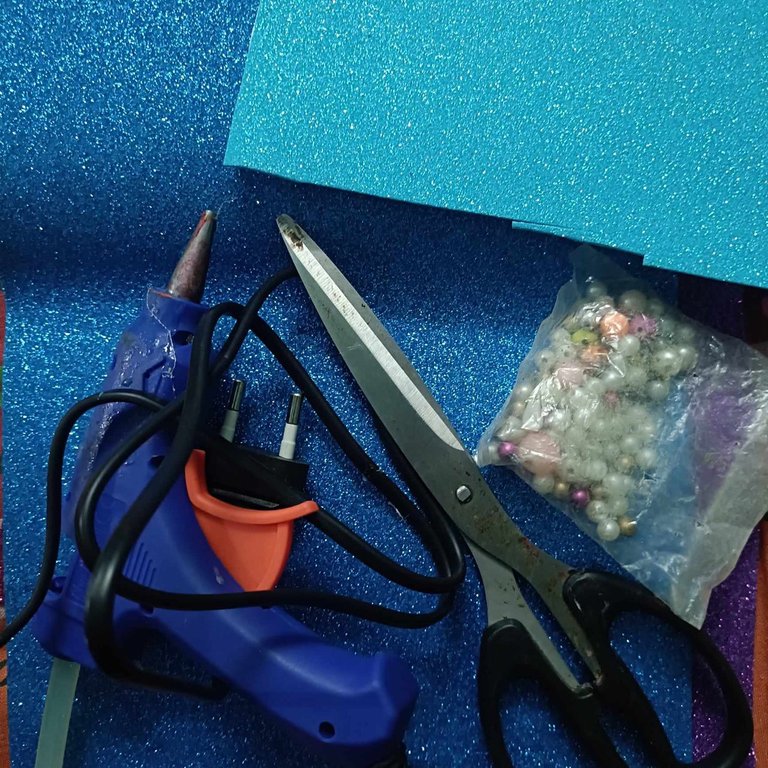
MATERIALS USED

• glitter paper
• scissors
• gum gun and
• white bead
pBMyo3B2Sao2EbuHAFTX1CNWMbam25xJGPs4sKmLS6XL7jfEmjqYYNKeeSc3qRUTc1dM7pZcFd8cUFNqLP9cfMbUqMDvgckp8guQcj9GD7e3skB53hvN6YDL5bPrf6NXHwBs2RJMhFd1Zsjemrvp7eRtdqsZP1fVBgZC7fKAHrE2FpEz.jpeg

LET'S BEGIN

step I

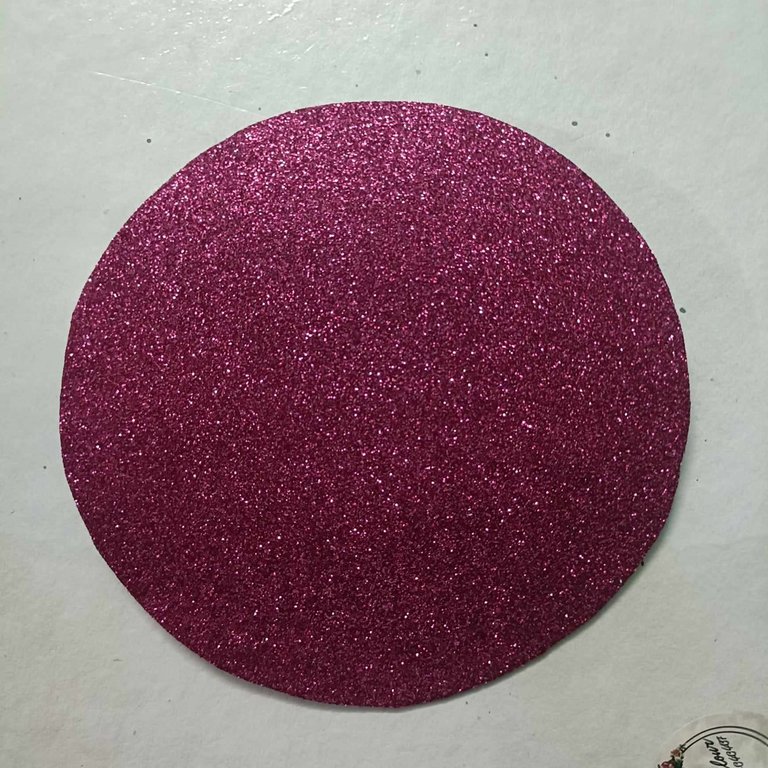
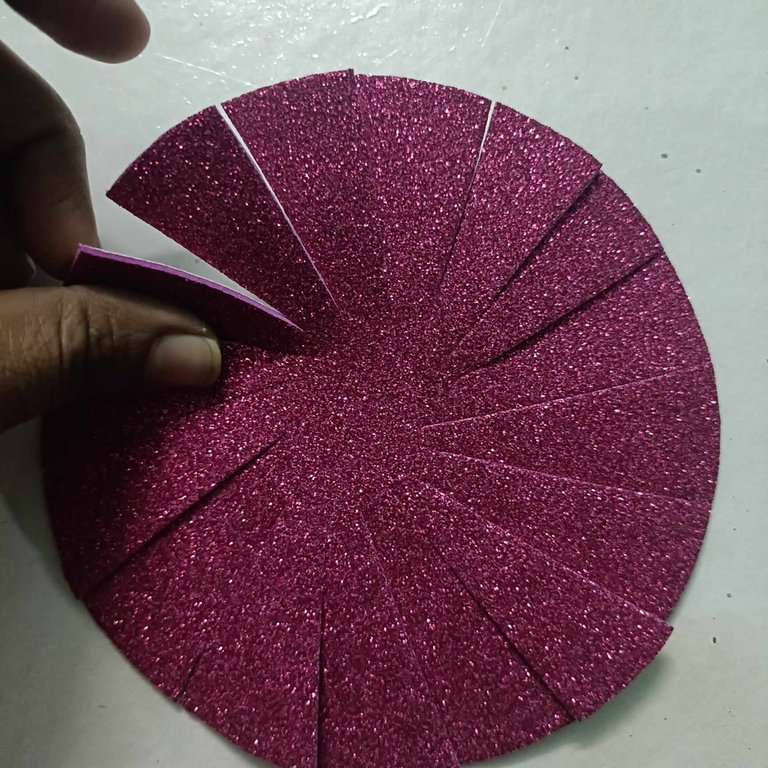
To start, I took my red glitter paper and cut it into a large round shape and then I cut it into small pieces afterwards.
4bEjbgCbFMvA8T33kKpp3RsBvZue1Hns5Cwuz57pgmmNsNbwdTdNppqYzqaMN2HefJ2tXCJr7BVrEuZaSThJ5nmeFW9rZf1McUVHupS2BjeaeTEob9yHMFWBujtiWTcu8ojYwxrkGkD7rkZyKGqjeLe4Nzbkxe5qsKb3fgNg2qY4ZAJ7PU.jpeg

4bEjbgCbFMvA8T33kKpp3RsBvZue1Hns5Cwuz57pgmmNsNVtYYZJxNqFeSaXR2TmUfTZdhHSJFPHkcEDjQTFMzpkq8AqE2NpneWSgbe46tRwanujitaqjiBjanHYLiFY6m5D7a5A6wydTqJCf6yf4rcw2PvV53VRawQn6KQ29QupbP58Bg.jpeg

step 2

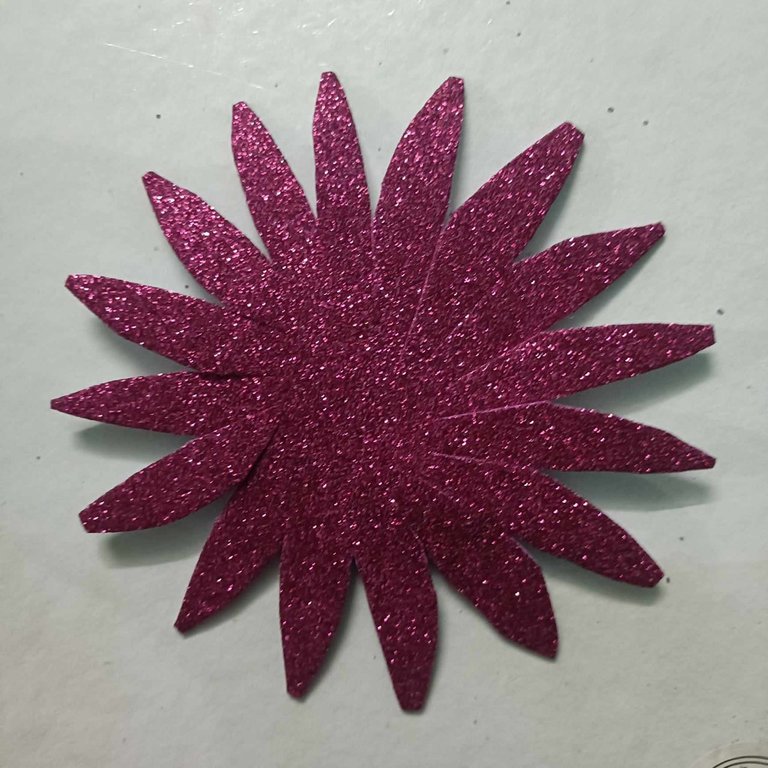
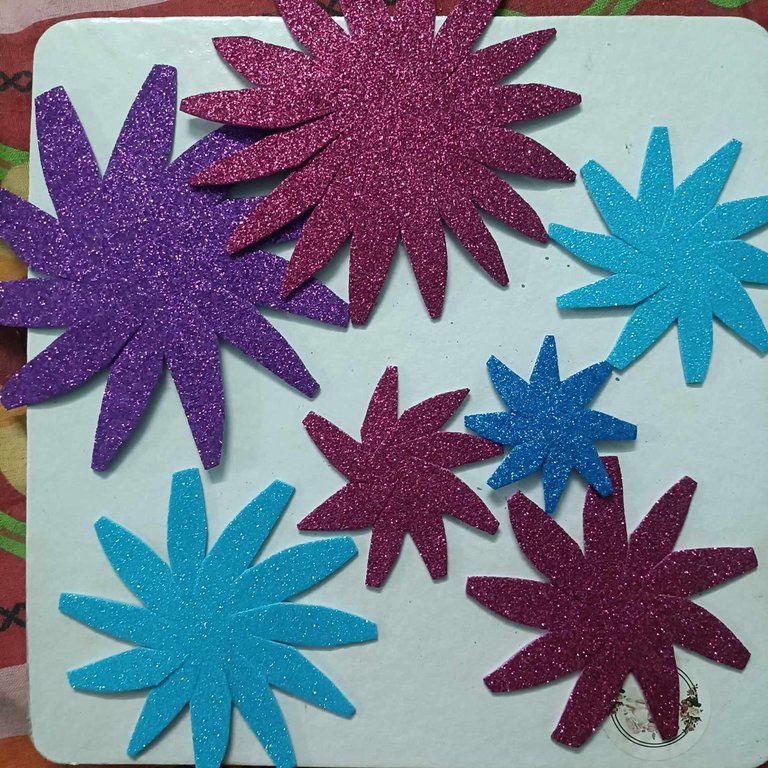
After doing that, I then cut the glitter paper into thin flowers, and made seven flowers of glitter paper of different colours.
pBMyo3B2Sao2EbuHAFTX1CNWMbam25xJGPs4sKmLS6XL7oWpMbzUrL1cp49Xcz2tcoBhtMno88sSBUGUYVtmXb8DvmPYoJT39VWqfLpGHxrwkjM6mZKbP4YZstLwsnbozsmv6gDWvw9KeGcE3TeyrHrSeoeXCe2gdq6oxfkzrffZe2yC.jpeg

4bEjbgCbFMvA8T33kKpp3RsBvZue1Hns5Cwuz57pgmmNsP3XdZEFd3gz12L4NWTFiabGhJWGJ6LNipHhWjG9LKSN8Xn41GX4HwRHV4GJx3omceoK9hLdEeCv7xo7yBpKMjsVjSVs8DDKf3H4WwNQtEwZtntK9Vee3gPXCRuptYEB4XDFSe.jpeg

step 3

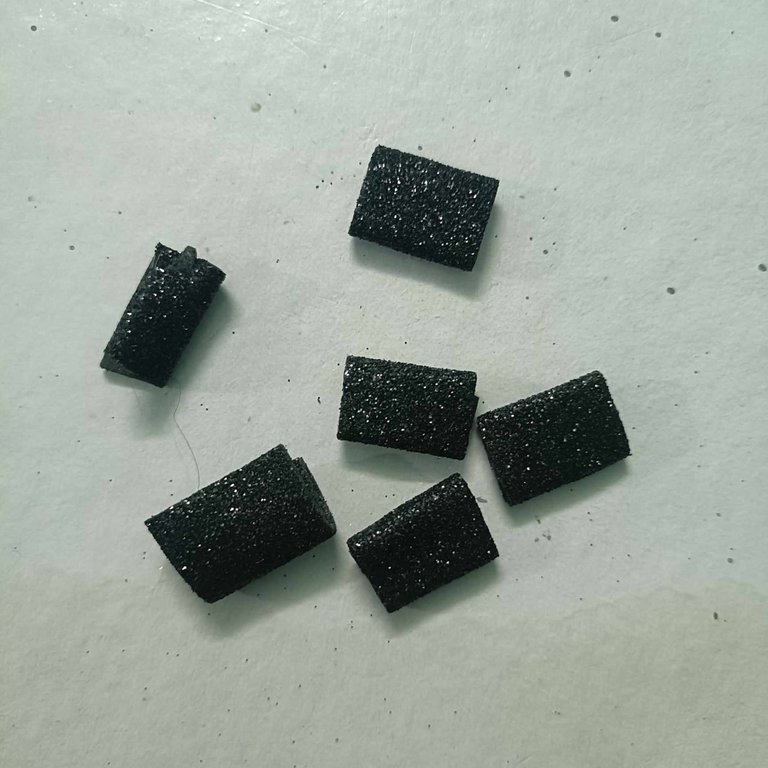
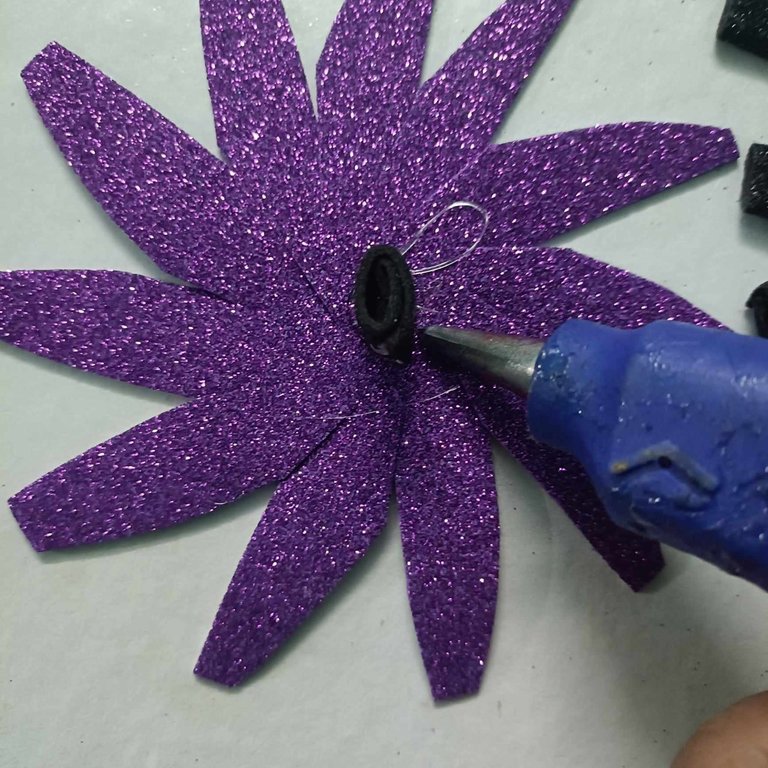
I then cut black glitter paper into six pieces and wrapped them in a circle and gum it, then I glue the black glitter paper to the flowers I made.
4bEjbgCbFMvA8T33kKpp3RsBvZue1Hns5Cwuz57pgmmNsP8HX92QcvvRXUnFQnxuK4gV53Pn2eVaaFRvdTkoT7mYqpsE2qZjAkTzpRPyw54cYqEZqXSaGbc3K8cxWLLg2DTXVucVaHheMMYkEwNskHpdRCGNa7BRG8dhQWq4sxNf2nJAqk.jpeg

pBMyo3B2Sao2EbuHAFTX1CNWMbam25xJGPs4sKmLS6XL7kMCRBTtpW4zyVjsnXqXqKZ337nMR1iXhS2sJmaox6TGm7Zk95Zz8penyPt6KynikLRPjHEbAQmzUFN6CvqumUbSYFahNbvggK2NeaQ4B869HBzvhQwnnQUT7WT7RQiM7D1g.jpeg

step 4

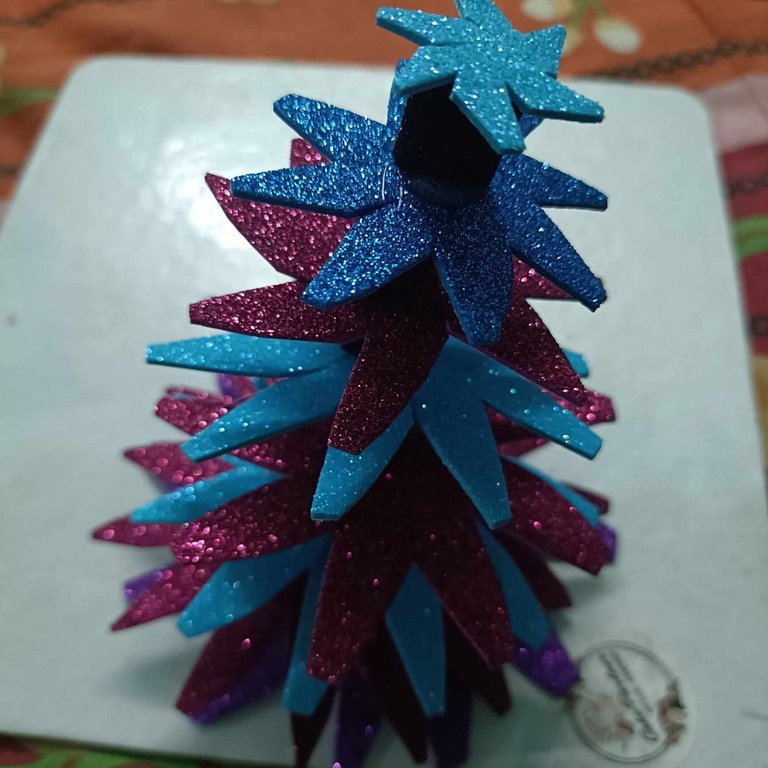
After doing that, I then began to gum them together one by one.
pBMyo3B2Sao2EbuHAFTX1CNWMbam25xJGPs4sKmLS6XL7pZKWV6beBno8LShaLM18DYpAKSxSZxFrE5r43dwrLz5NUDypLPQ5oPMZdyZU67epVp3fwgrx2ndSNX64bS92mBYsi5H8Tfz65hfaEAPMobTA2jzdTkmdF2gXdzeRdHxDhLi.jpeg

step 5

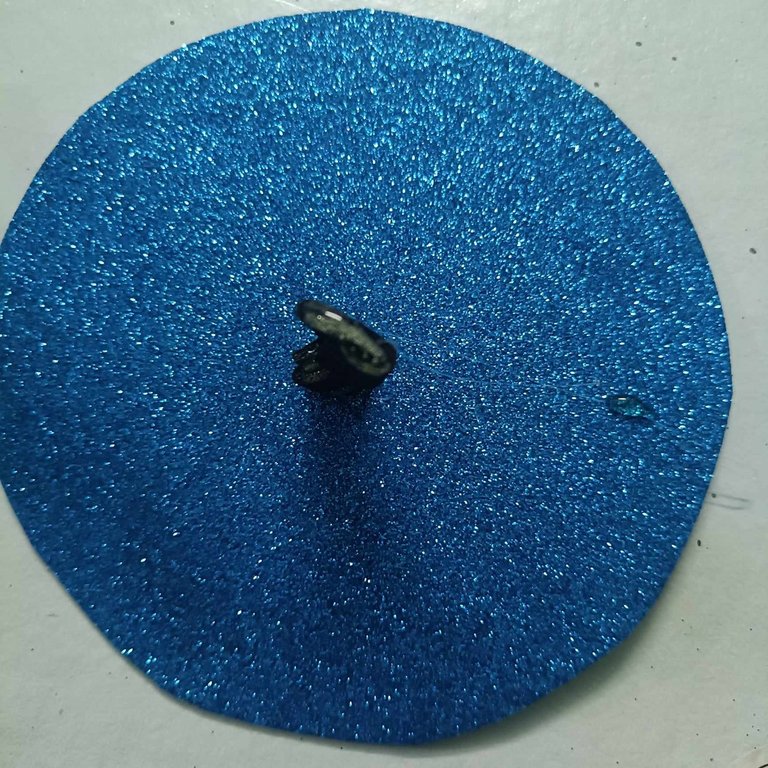
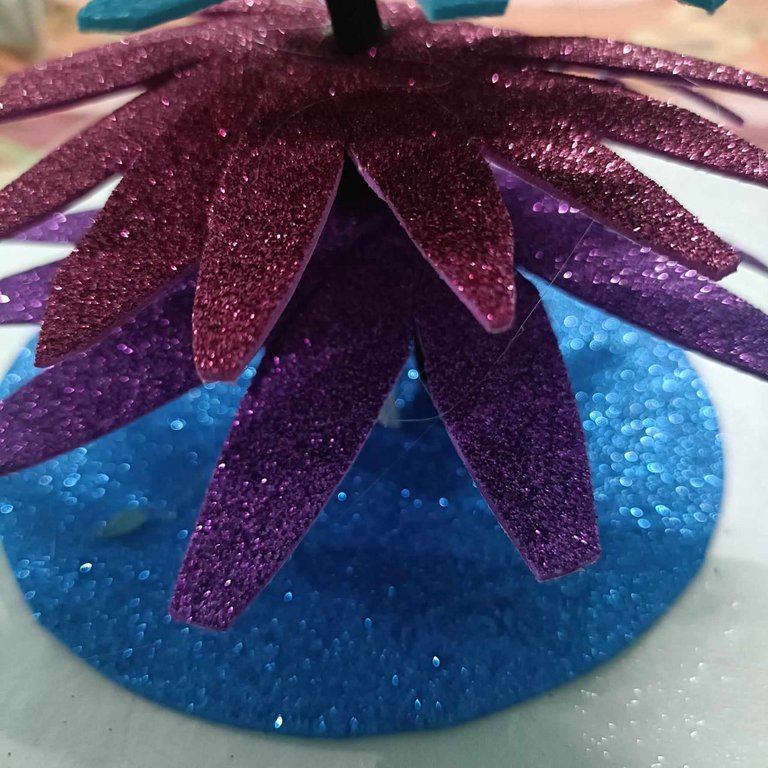
Then I also cut another round blue glitter paper and gum the black paper on top of it and then I place my tree on top.
4bEjbgCbFMvA8T33kKpp3RsBvZue1Hns5Cwuz57pgmmNsNbs7mZouTkxVyF3wrXy2zLj8o9G8NQTHvebbD9FPnE68sKpJAfcH8fYPzmQPYyM5pHftyuxwGNvFoWAKtrKjJmEf3ox1U3wbumNcUQ9tSWEy4XgwcTtW6nDViZi6gUYm6HHev.jpeg

pBMyo3B2Sao2EbuHAFTX1CNWMbam25xJGPs4sKmLS6XL7hg2sUKbZy5QozH4FjuqY8RTH7BAJvQeqHSeoHJmGALgugvxSFetH65u9yZyeD82oXF2BBY7rqkQBgH5PVQt7YRECD6RMZ6KuJFw4r59zQYEnSNZ1YSSDSE9ce8wawD5B29c.jpeg

step 6

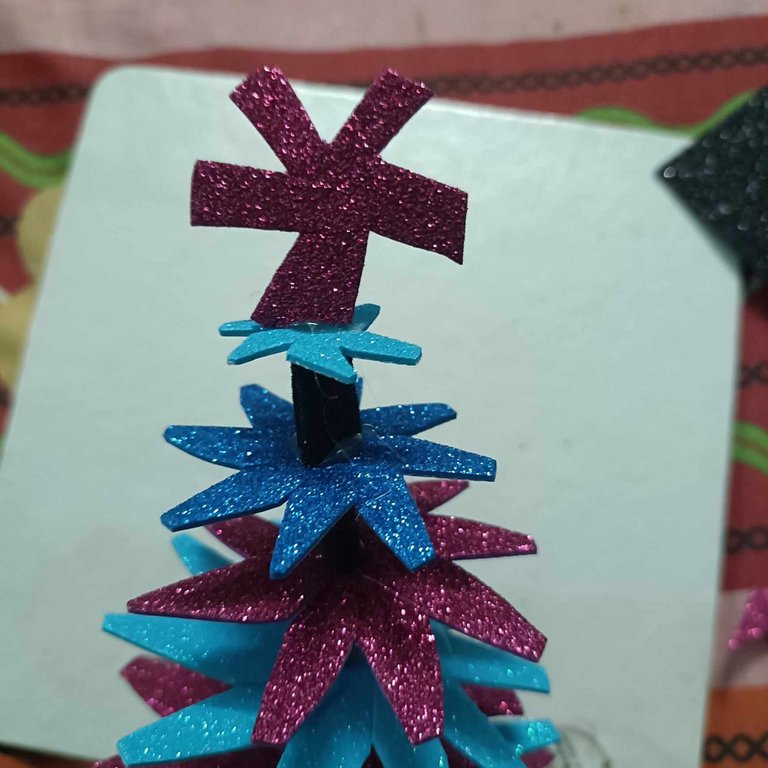
After that, I then cut out red glitter paper with scissors to the size and shape I want and then I gum it to the top.
4bEjbgCbFMvA8T33kKpp3RsBvZue1Hns5Cwuz57pgmmNsNkwXFXGWbfVW1wZVWpWzY6YoJC5vYwt4oNQXBRHP4wg2ccMYZQxNBXoZ1g1GebGVjzEfbfxo9yasrtjDhYa3rfWsscsYCm15itFuwDzvTghygt1MQKYok1pghNPvT6q2fKxLE.jpeg

step 7

Lastly I then gum my white bead's to my tree to give it a spark a little.
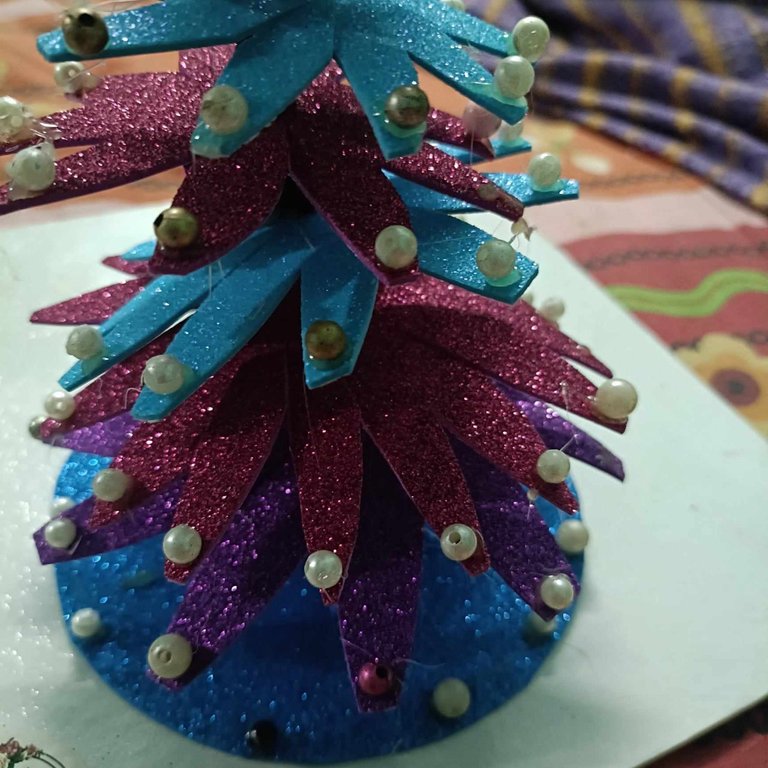
4bEjbgCbFMvA8T33kKpp3RsBvZue1Hns5Cwuz57pgmmNsP6mgqUhiYt2VyTauYAXvvEXf9fRwSZFzgx8emfSK8xt8QLs6ZZXF8zENc414tfzq7ezbDRHFPECsUXtg3r8cjLSsrcncFFyBa4EPeg7q6J8erWMks7TArpWAPjqeGKQeqUSNA.jpeg


My Christmas tree is now ready, here's a picture of my final result.

pBMyo3B2Sao2EbuHAFTX1CNWMbam25xJGPs4sKmLS6XL7ji3b2jUAw8G9YZKm5kLw2NFG82eHSgtBen8zXqAmcGGHfEiwdGvH5nTE6v3kKcUpNsSGojYe67E35YewkidZsHGsy8tt3ivYrZZBixnKiJRNSuGbCyfs7ZLQy71ZhR1zov6 (1).jpeg


This month is truly a special month as Christmas is celebrated around the world and we get to spend time with our loved ones. I hope everyone likes the Christmas tree I have made today and I will see you in my next post. Until then, best wishes and take care.

THANKS FOR READING THROUGH

Sort:  

Congratulations @eberechi01! You have completed the following achievement on the Hive blockchain And have been rewarded with New badge(s)

You distributed more than 1000 upvotes.
Your next target is to reach 1250 upvotes.

You can view your badges on your board and compare yourself to others in the Ranking
If you no longer want to receive notifications, reply to this comment with the word STOP

Check out our last posts:

The Hive Gamification Proposal - Renewal
Christmas Season is Back - Gift your Loved Friends

This is really pretty and perfect for decoration.
Merry Christmas to you and yours

Thank you so much for reading through, wishing you all the best

The final result is pretty cool. It looks amazing. Good to see each step of making this. Nice work! Thanks!

Thank you , am glad you liked it

This Christmas tree will light up any home in this festive season . Nice work dear.

Thank you

Wow! this turned out so lovely friend🥰

An glad you liked it... thanks for stopping by

You’re most welcome

Your mini Christmas tree looks nice and beautiful
I love it

Thanks