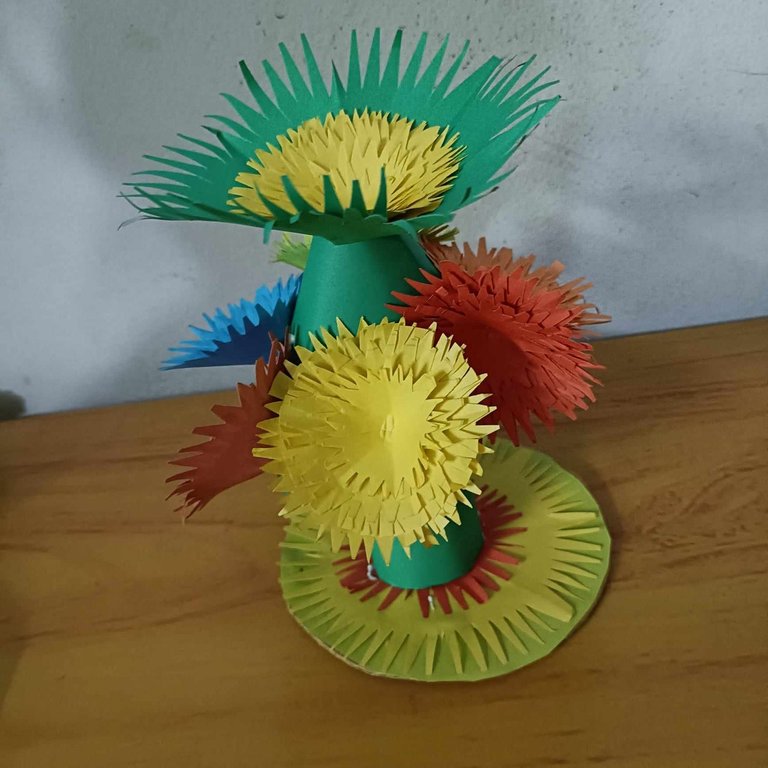
Greetings to the creative enthusiasts of this community, I humbly welcome you all to my blog. Decorating a home with handmade craft is a creative and innovative way to add a personal touch to any home, well luckily for me I am good at crafting paper craft and my home needed some redecorating and so I decided to make a flower vase made of paper, an easy and budget free project that makes my home a vibrant and colourful space. Without further ado, let's get into how I made this flower vase.
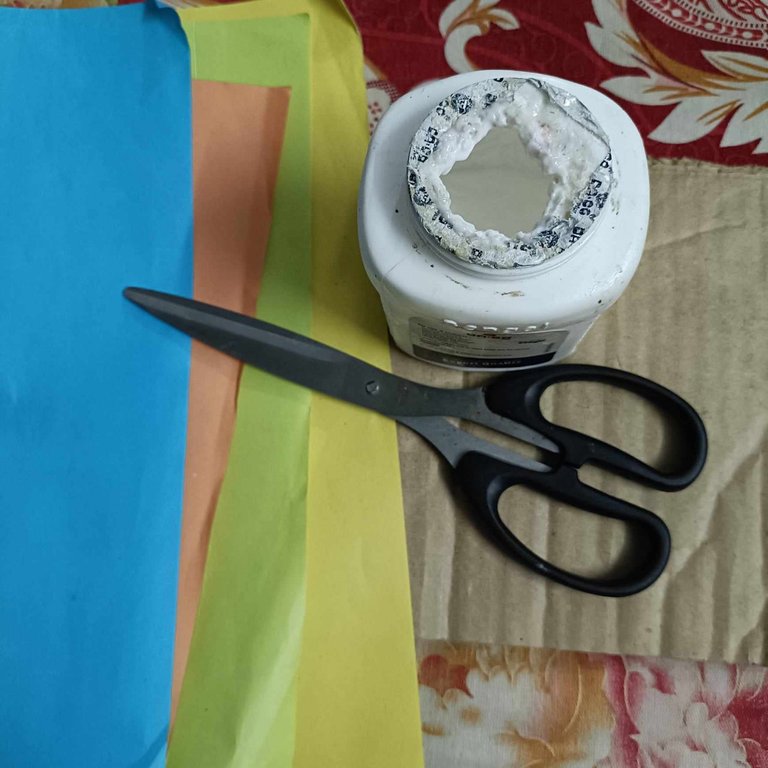
MATERIALS
*Cardboard paper
*various colours Color paper
*Raw glue
*scisser
PROCESS INVOLVED
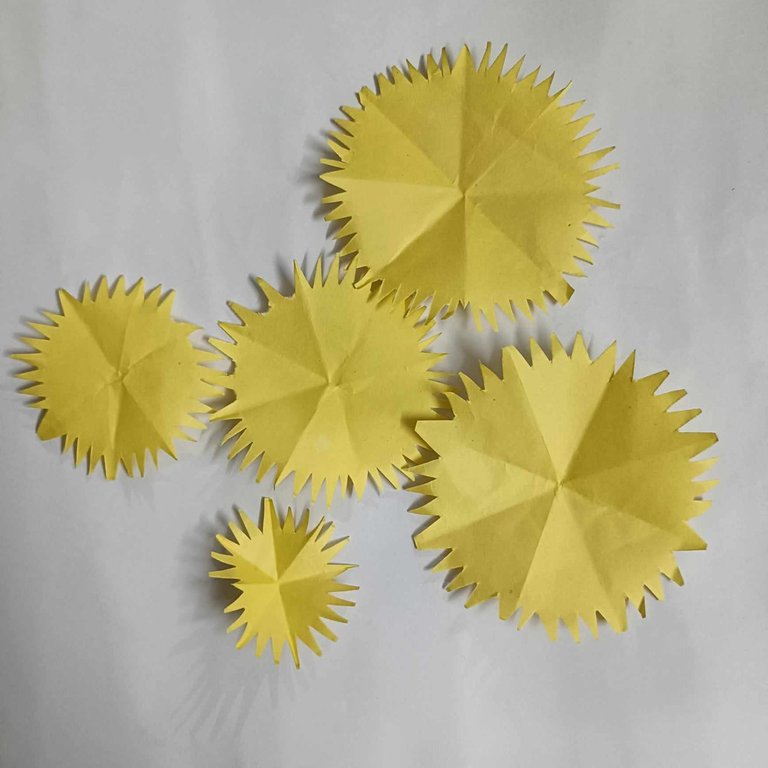
step I
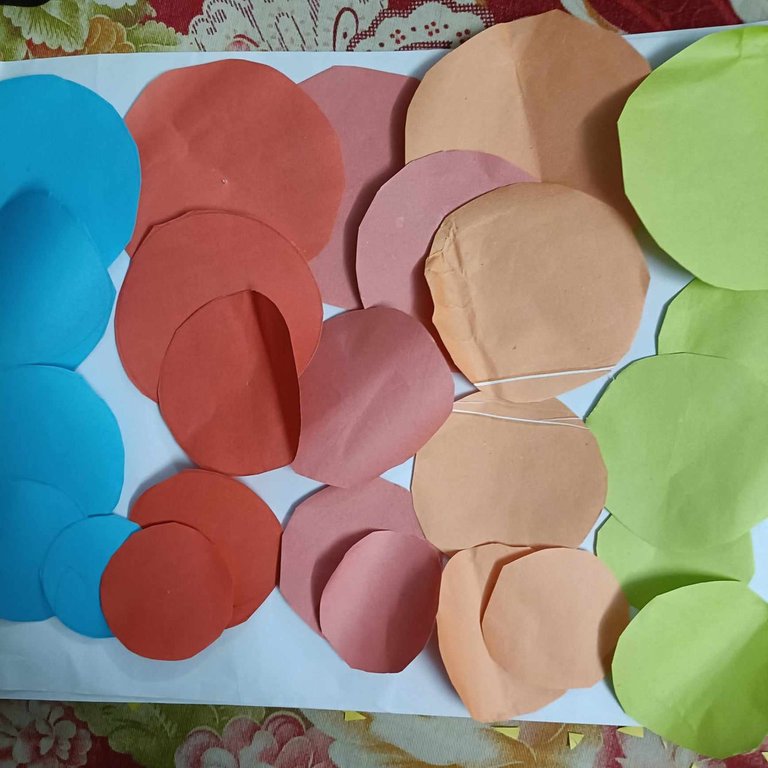
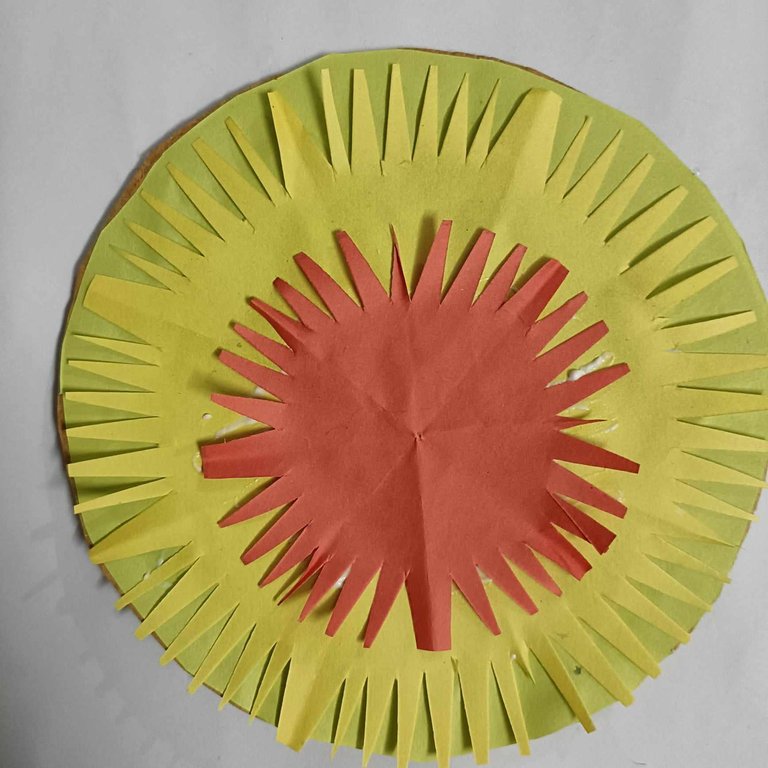
Step I involves getting my crafting materials ready and I started by cutting different sizes of circular yellow colour paper.

step 2
After doing that I then carefully cut the yellow circular paper into flower shape.
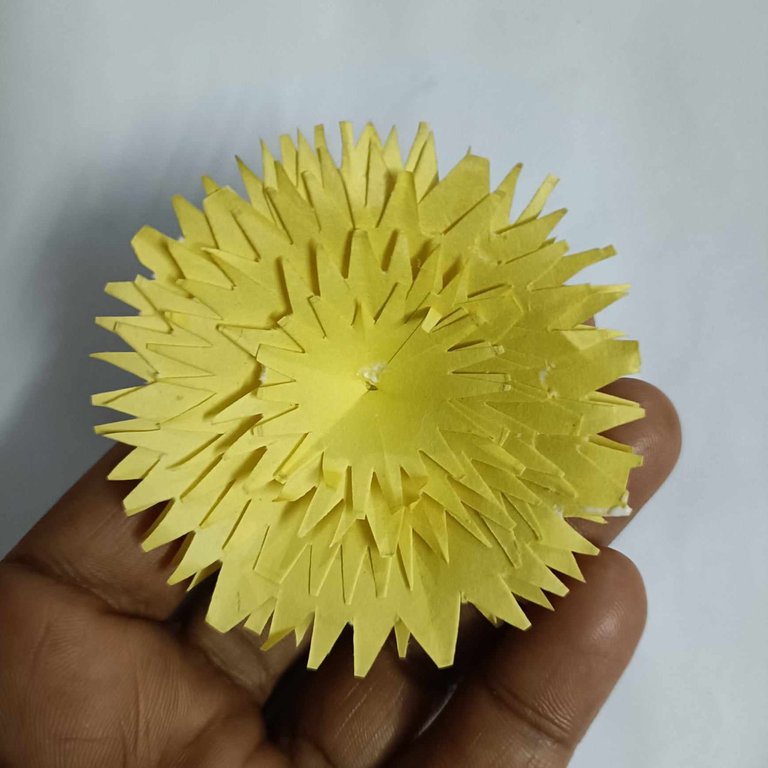
step 3
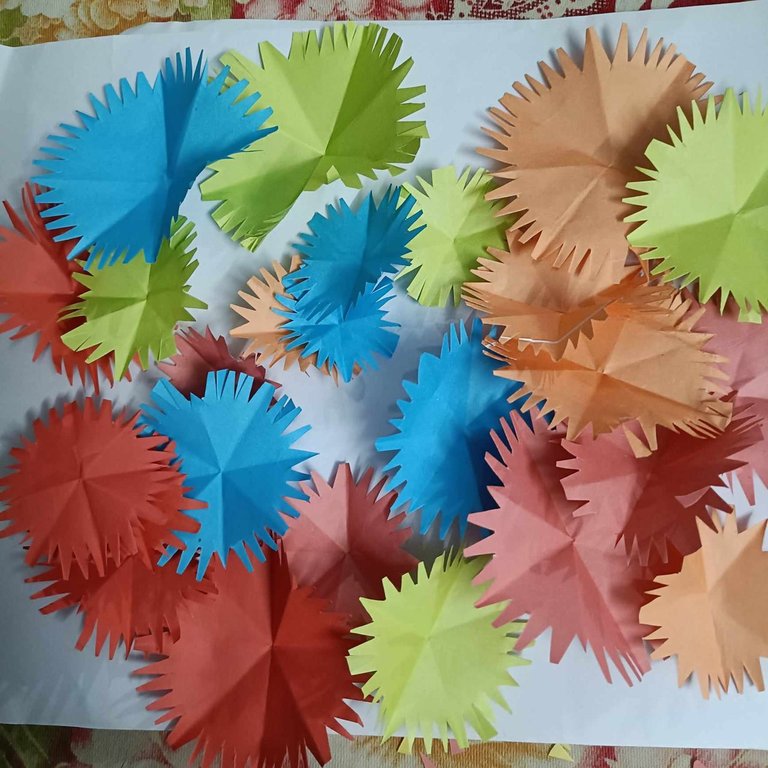
Then using my gum, I then gum each of the yellow flower on top each other to give me a bigger flower.
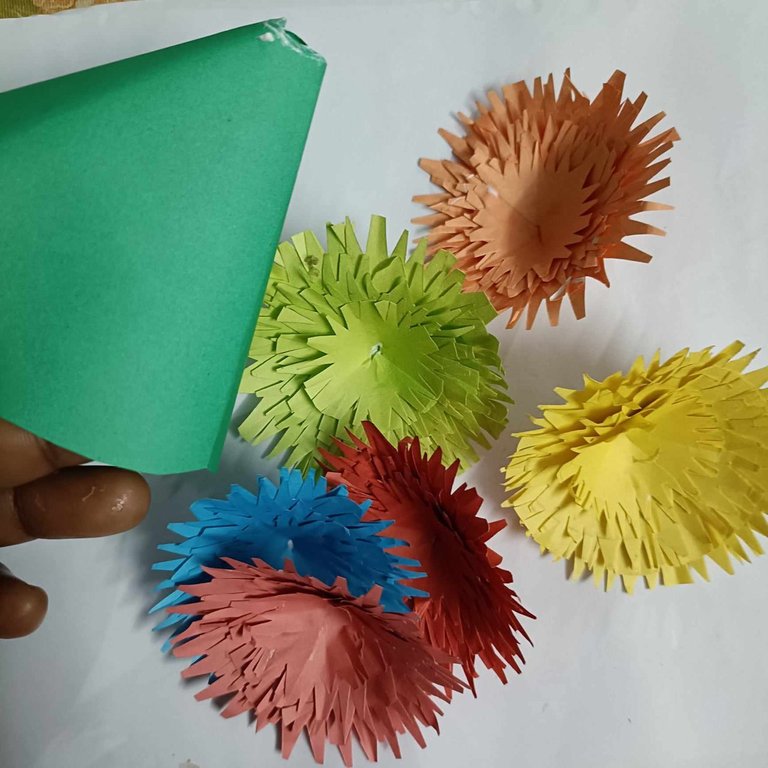
step 4
Using the same process, I cut my red, pink, blue and orange colour paper in circles and cut them into flower design.
step 5
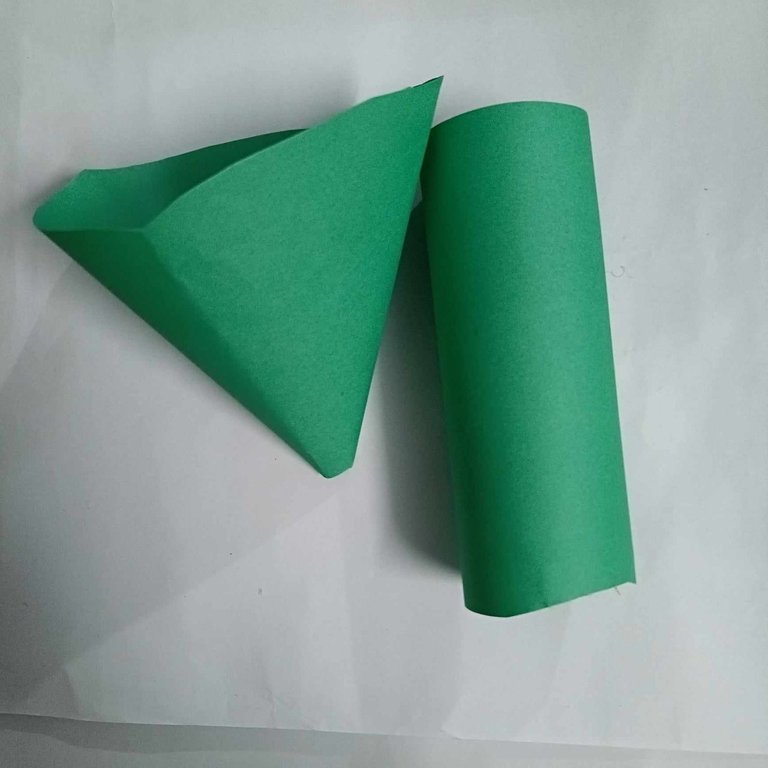
Then I cut my green colour paper in a triangular shape and round the other one.
step 6
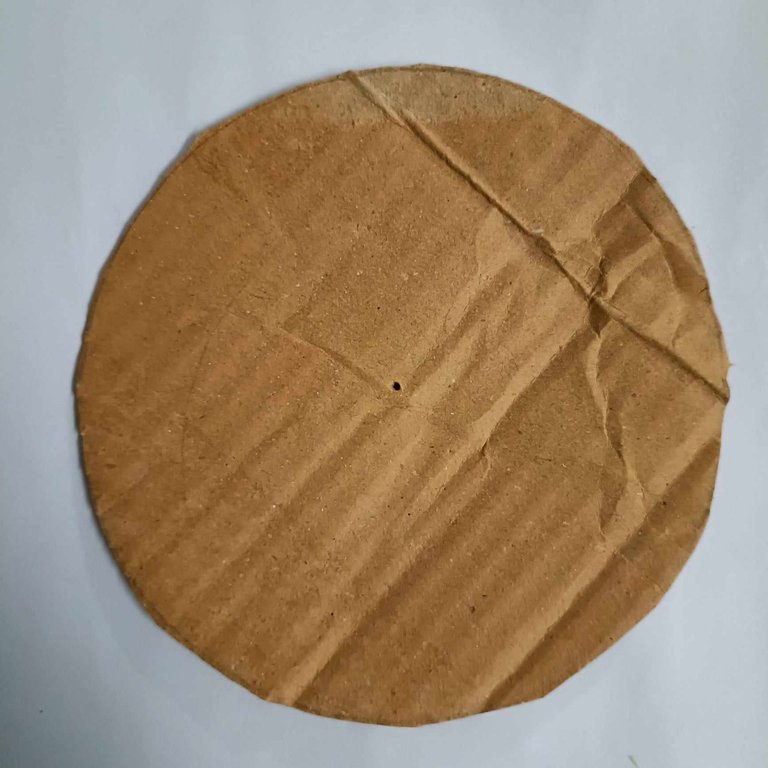
This is the step where I made the base of the vase by cutting my cardboard in a circle shape and designed it with some coloured paper as shown below.
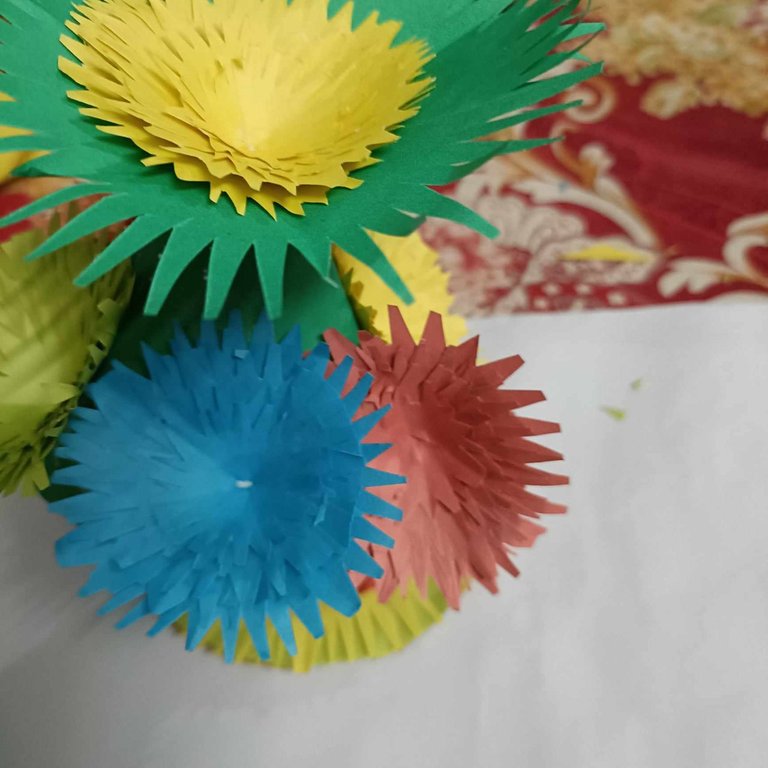
step 7
then I did the same as before. We made several flowers by glueing the papers from big to small one by one.
step 8
Then I began to place them one after the other on top of each other on the green triangle paper which I cut.
step 9
Then I gum the green long paper to the cardboard and also attach the flower on top of it also.
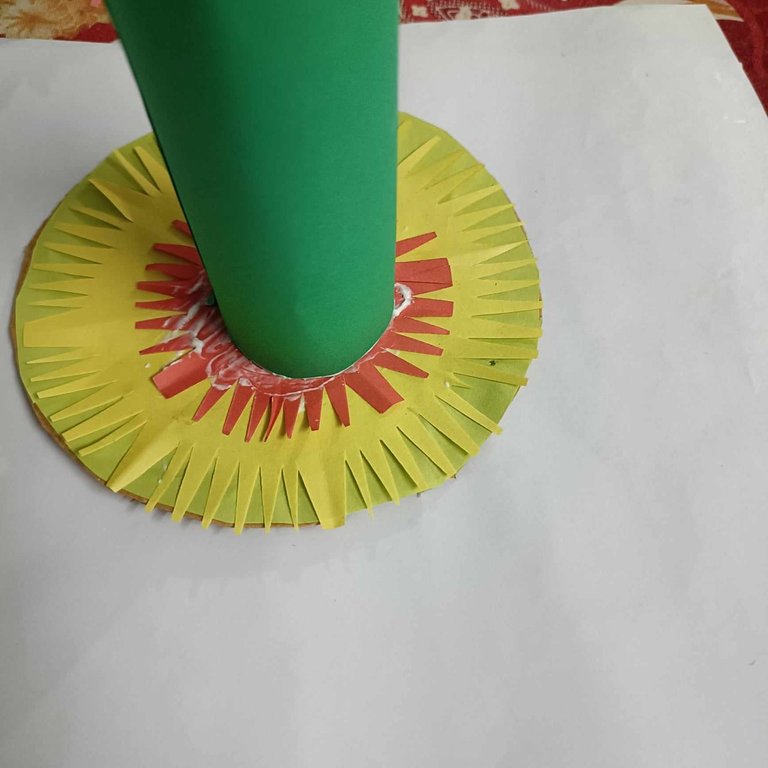
After doing everything, then my paper flower vase was now ready .
The vase I made today took a little longer to prepare because I had to cut a lot of paper and glue them together, but I'm so happy to see the flower vase when it's all done because it allowed me to express my creativity while adding a unique decorative piece to my home. I hope you like it too, I will surely meet you again with a new craft. Have a nice day.
