
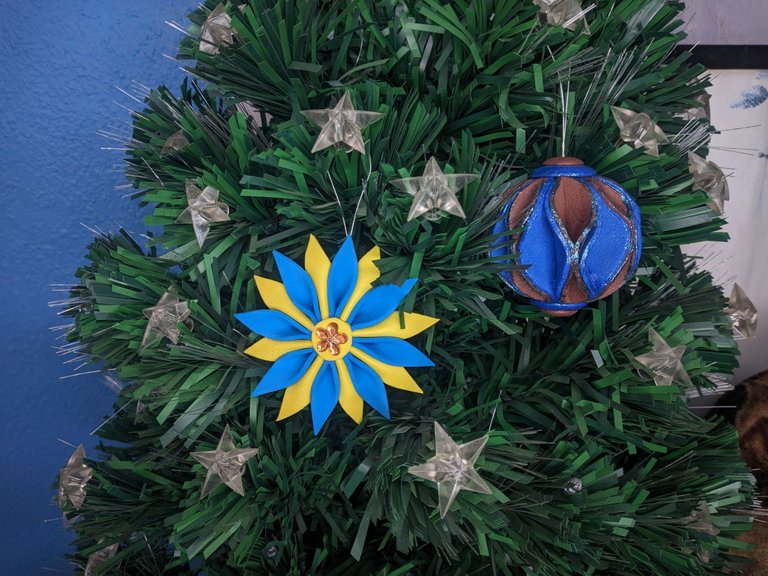
The Christmas spirit has taken over our minds and homes and creativity has sprung up everywhere. Or so I would like to say, but my Christmas tree has very few ornaments this year and that can't be. So it's time to get to work and create some nice ornaments for my tree because I'm still on time. And if you are one of those who, like me, haven't had time to decorate your tree, you are in luck because today I will show you how to make two extremely simple, beautiful, and easy-to-make Christmas ornaments.
El espíritu navideño se ha apoderado de nuestras mentes y hogares y la creatividad ha brotado por doquier. O eso me gustaría decir, pero mi árbol navideño tiene muy pocos adornos este año y eso no puede ser. Así que es hora de poner manos a la obra y crear unos buenos adorno para mi arbolito, pues todavía estoy a tiempo. Y si eres de esos que al igual que yo no ha tenido tiempo de decorar su árbol, pues estas de suerte porque el día de hoy te voy a enseñar como hacer dos adornos navideños extremadamente sencillos, bellos y de fácil confección.

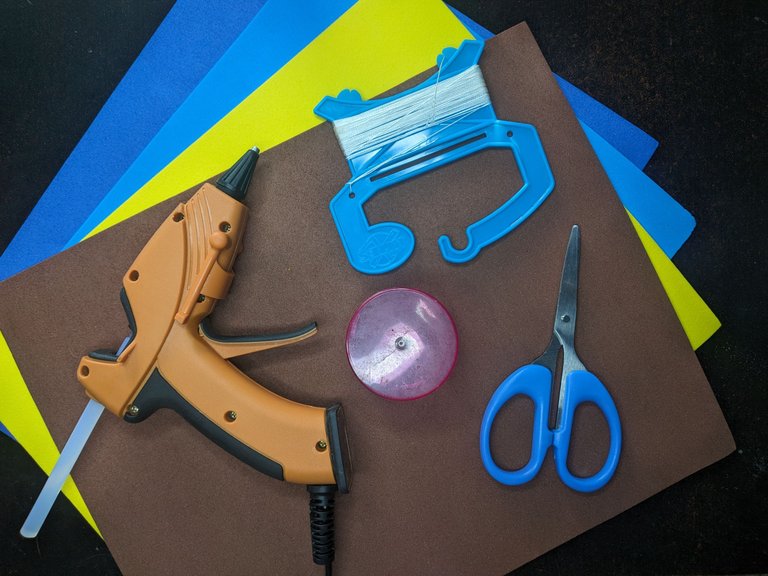
Materials // Materiales
- Fomi sheets (can be with or without glitter).
- Silicone gun.
- Scissors or cutter.
- Mold or guide base.
- String or ribbons.
- Hojas de fomi (puede ser con o sin brillo)
- Pistola de silicona.
- Tijeras o cúter.
- Molde o base guía.
- Cordel o cintas.
If you looked closely at the first picture, they are two very cute but very easy to make ornaments. So I will divide the tutorial into two segments. I'll start with the round ornament and then move on to the floral or star ornament or whatever you want to call it.
Si se fijaron bien en la primera imagen, son dos adornos muy lindos pero muy fáciles de hacer. As que dividiré el tutorial en dos segmentos. Empezaré por el adorno redondo y luego pasaré al adorno floral o estrella como quieran llamarlo.

Step by step // Paso a paso
Ball ornament // Adorno esférico
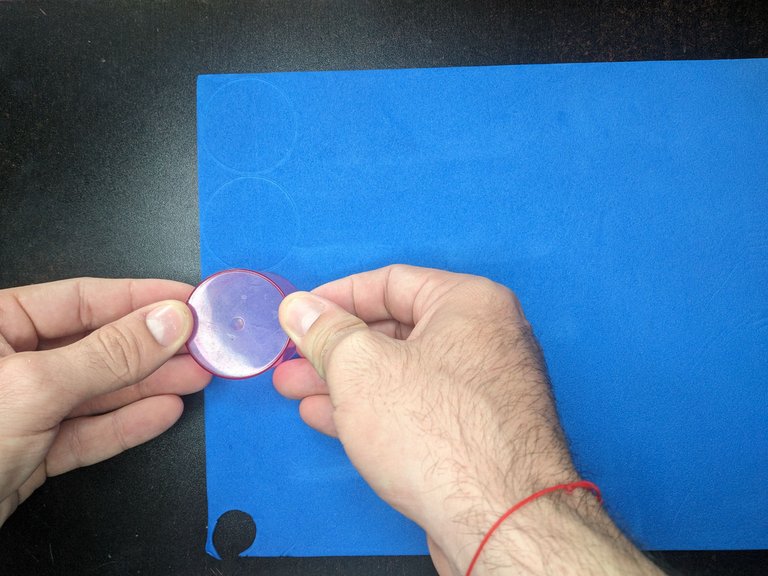
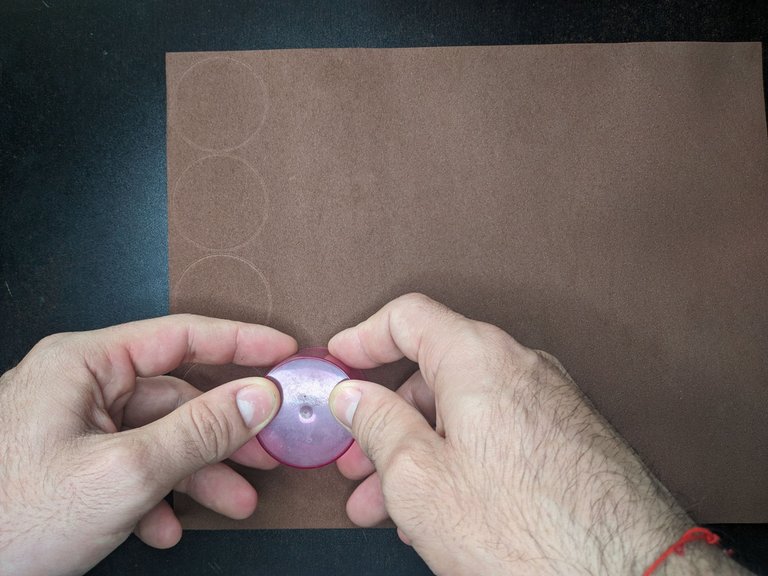
1- Using the mold or base guide we mark 16 circles on two sheets of fomi. We mark 8 of one color and 8 of another color. The colors of free choice.
Utilizando el molde o base guía marcamos 16 círculos en dos hojas de fomi. Marcamos 8 de un color y 8 de otro color. Los colores de libre elección.
 |  |
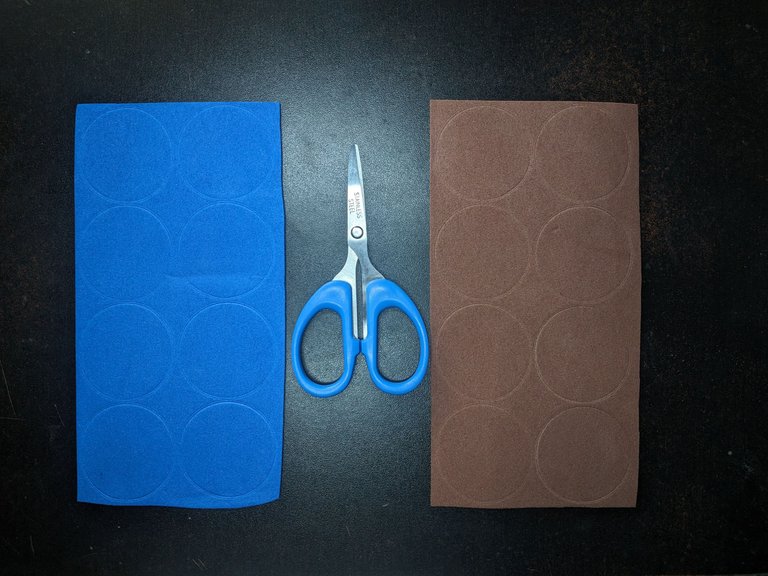
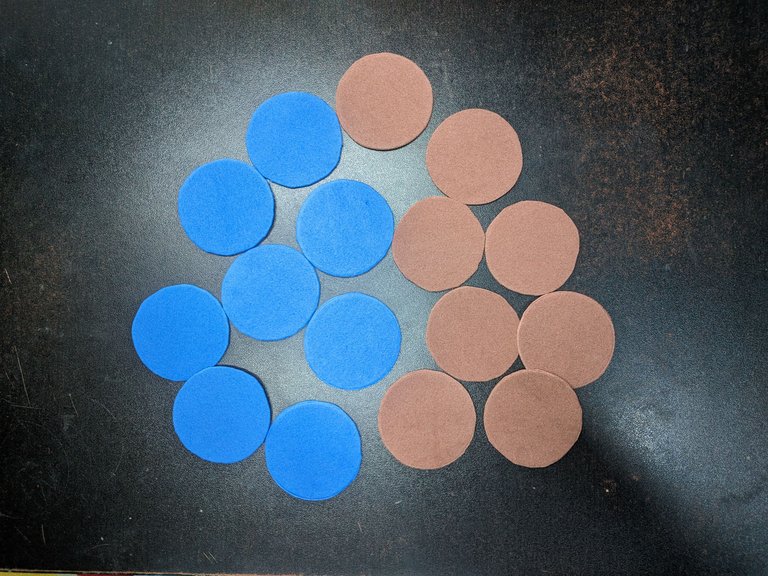
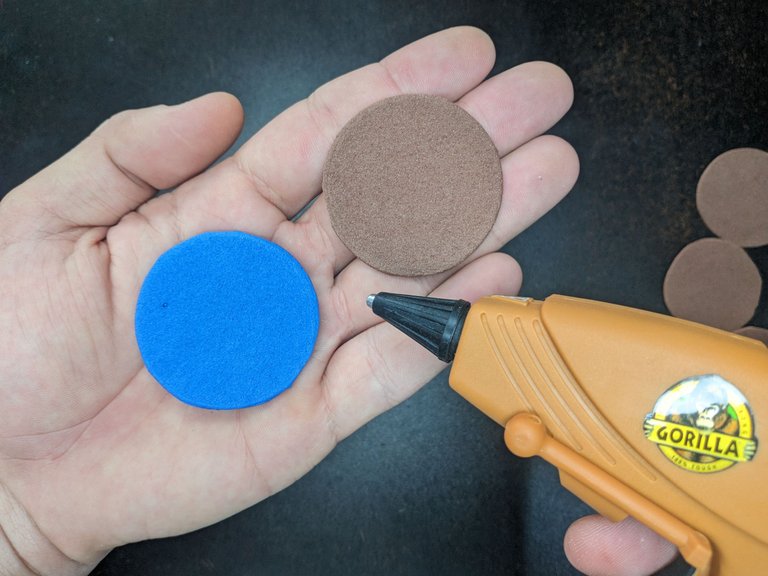
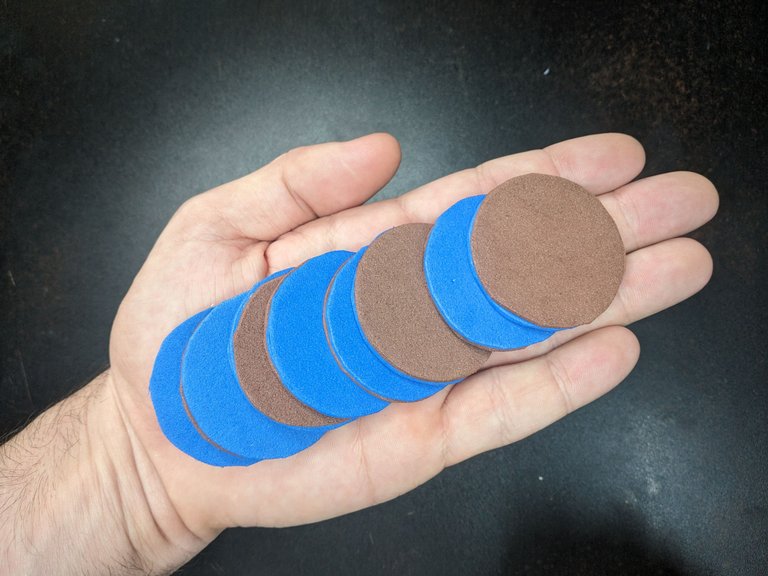
2- Then we cut out the 16 marked circles and glue one of one color with another of a different color.
Luego recortamos los 16 círculos marcados y pegamos uno de un color con otro de un color diferente.
 |  |
 |  |
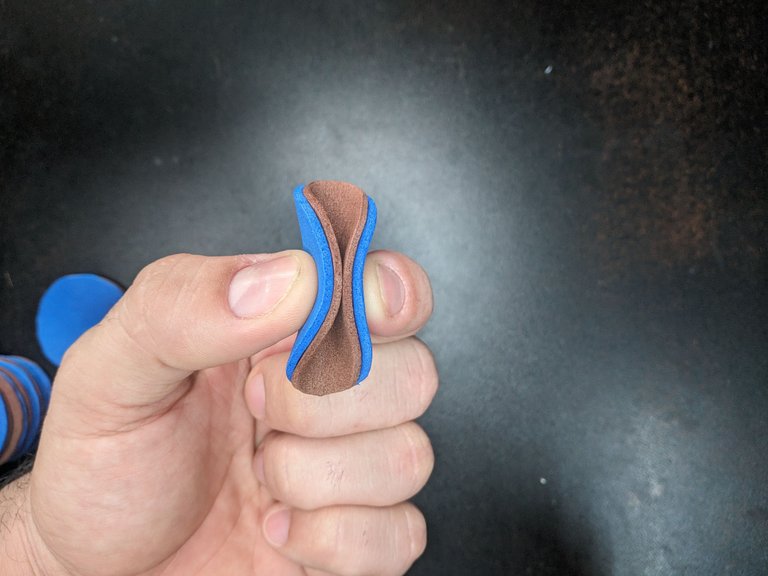
3- To the 8 bicolor circles we fold them in half and glue the middle end where they touch each other.
A los 8 círculos bicolores los doblamos por la mitad y pegamos el extremo medio donde se tocan.
 |  |
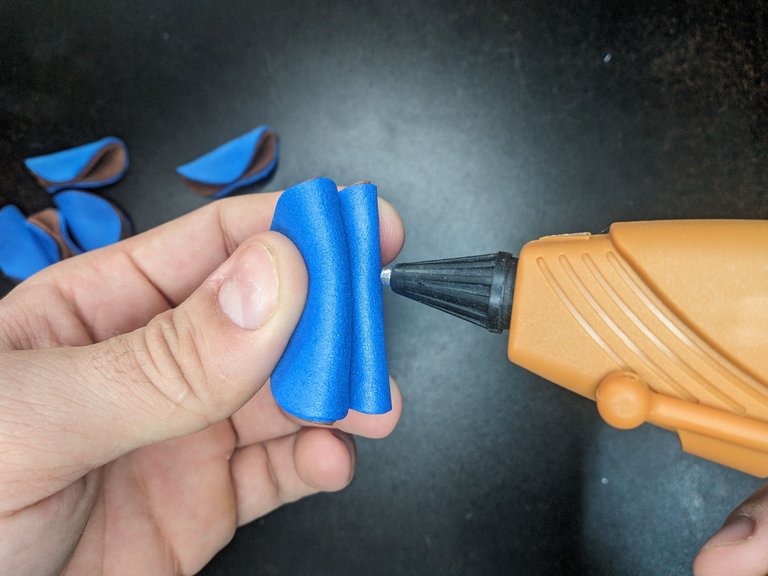
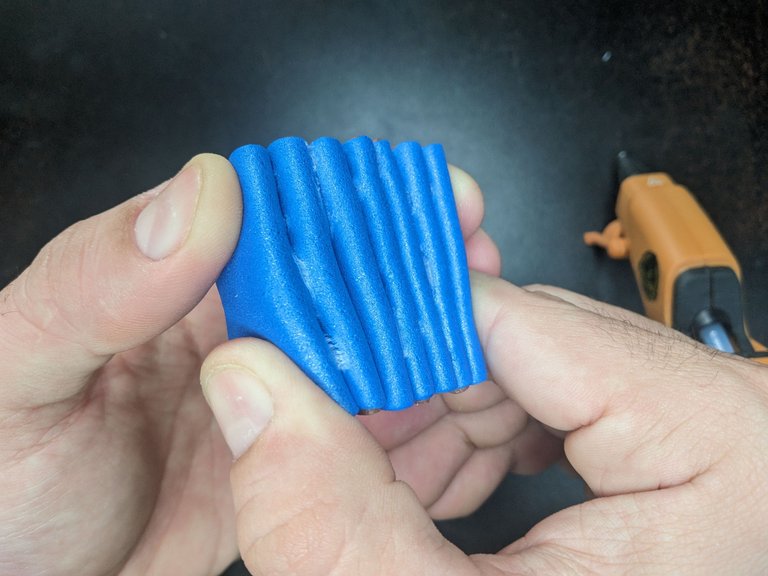
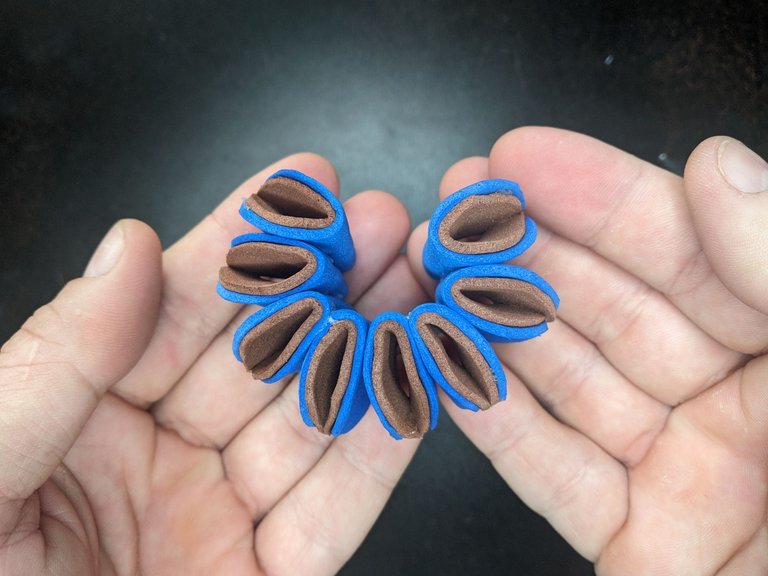
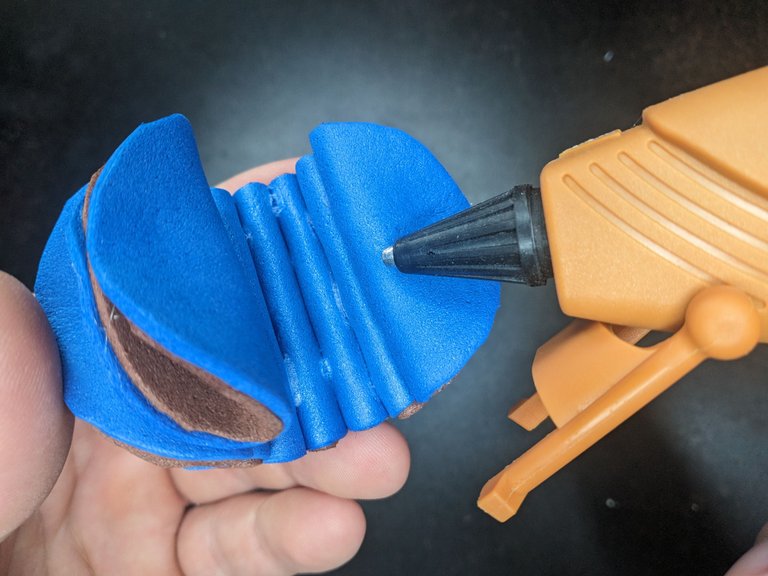
4- Next we glue the 8 bicolor semicircles, one next to the other, but only on the inside edge. Then glue the upper part to the lower part forming a circle.
Seguidamente pegamos los 8 semicírculos bicolores, uno al lado del otro, pero solo por el borde interior. Para luego pegar la parte superior con la inferior formando así una circunferencia.
 |  |
 |  |
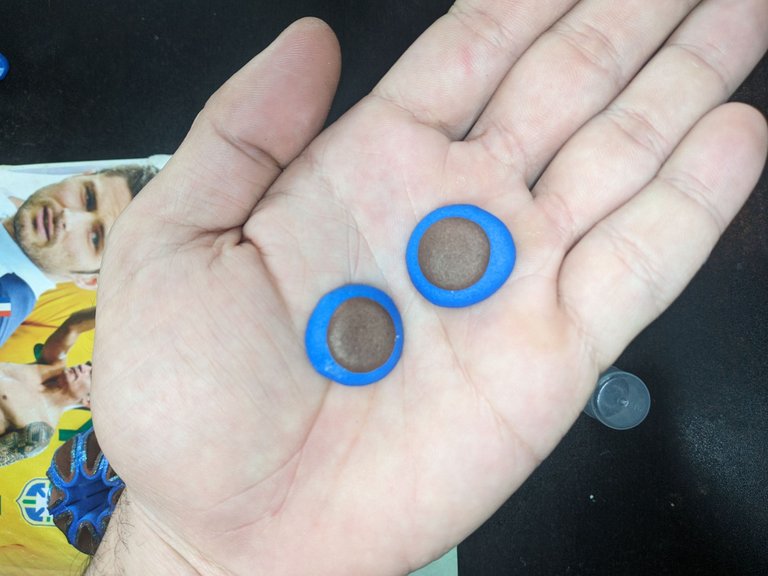
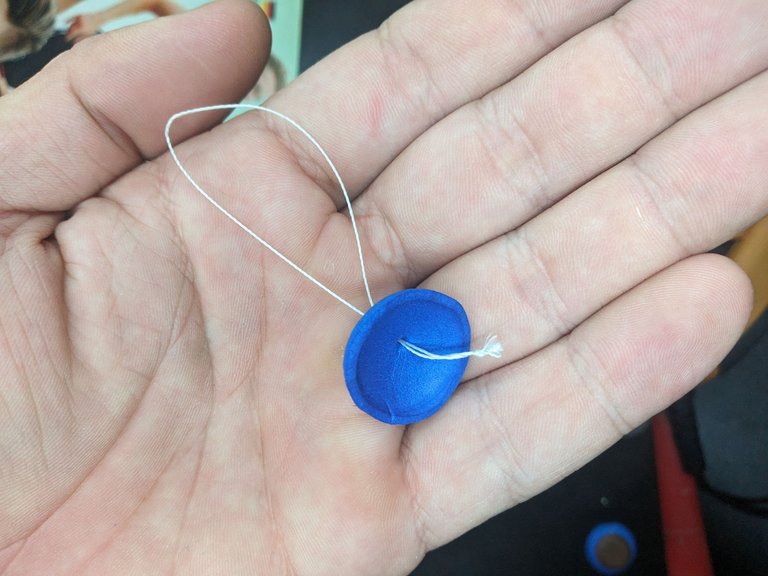
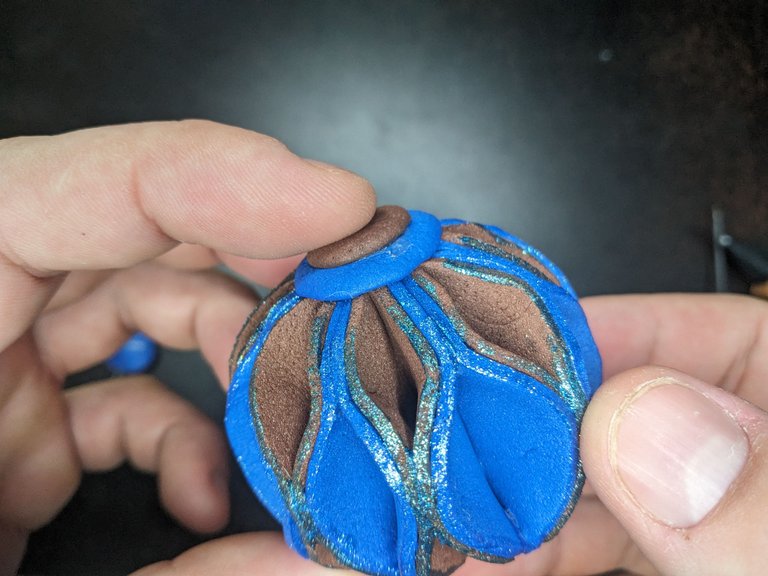
5- Next we cut out 4 small circles, 2 large ones of different colors and 2 smaller ones of different colors. These circles we glue them forming pairs of odd colors and to one of them we will add a string or ribbon and then glue them on the top and bottom of the sphere that we formed previously.
A continuación recortamos 4 pequeños círculos, 2 grandes de colores diferentes y 2 más pequeños de colores diferente. Estos círculos los pegamos formando parejas de colores impares y a uno de ellos le añadiremos un cordel o cinta para luego pegarlos en la parte superior e inferior de la esfera que formamos anteriormente.
 |  |
 |  |
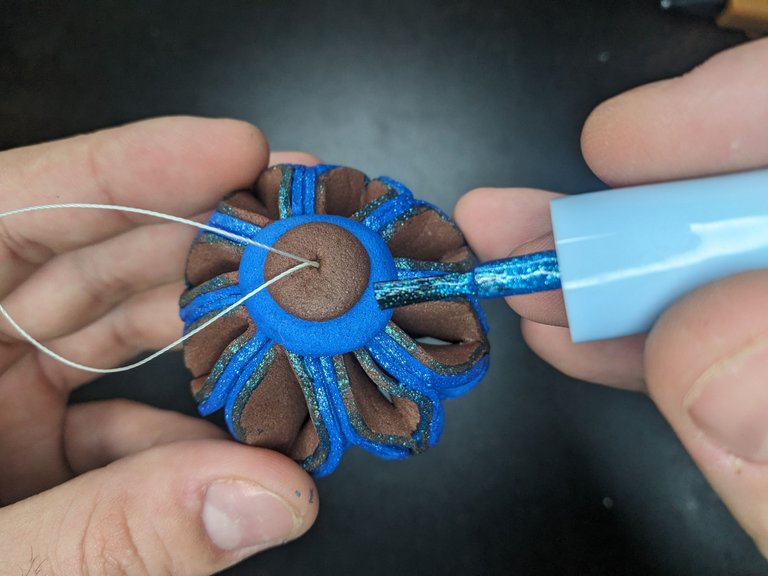
6- (Optional) In case the fomi sheets are not shiny, you can choose to apply some glitter paint to the edges of the sphere.
(Opcional) En caso de que las hojas de fomi no sean brillantes, pueden optar por aplicarle un poco de pintura con brillo a los bordes la esfera.
 |  |
And so we would have the spherical ornament ready. Now let's move on to the floral or star-shaped ornament.
Y así ya tendríamos listo el adorno esférico. Ahora pasemos al adorno floral o estrellado.

Floral Ornament // Adorno Floral
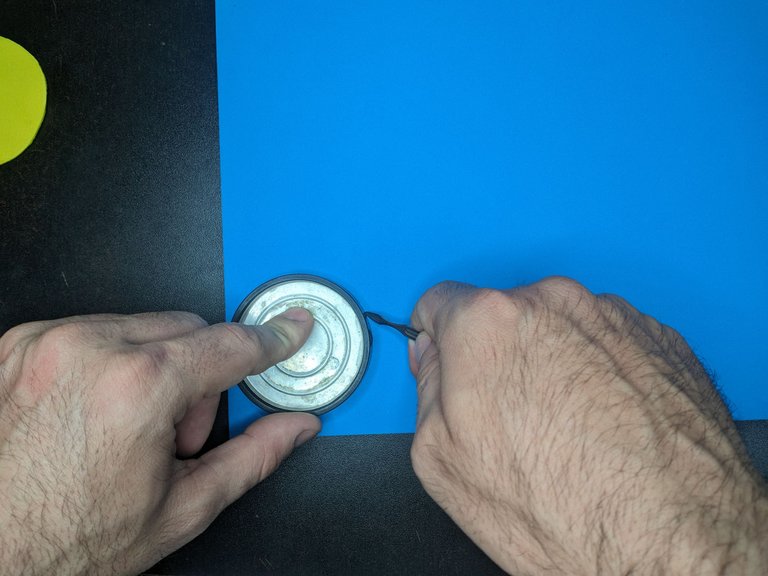
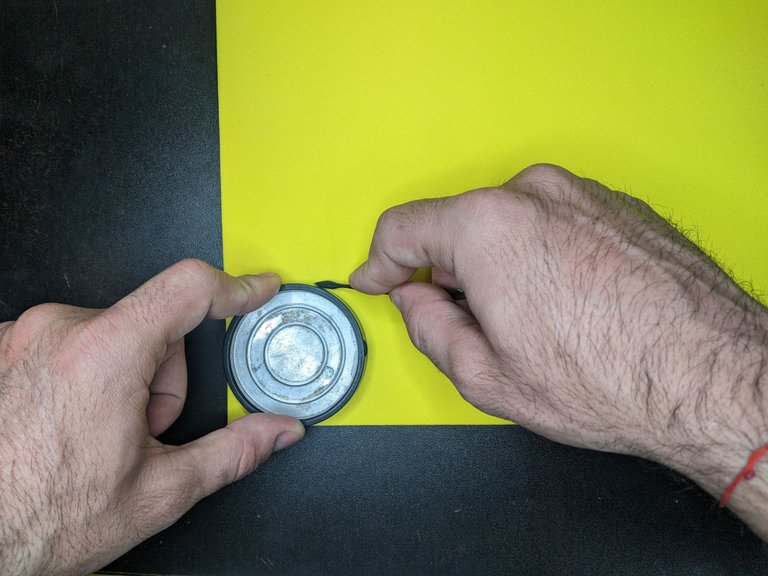
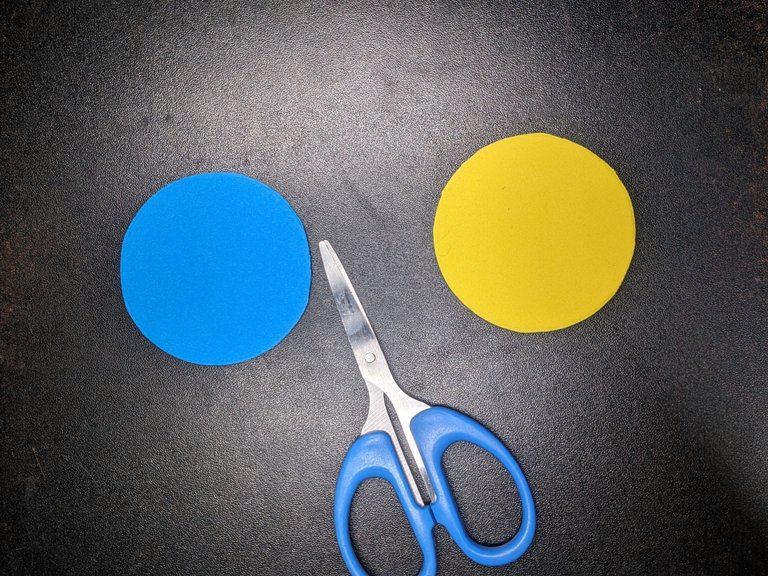
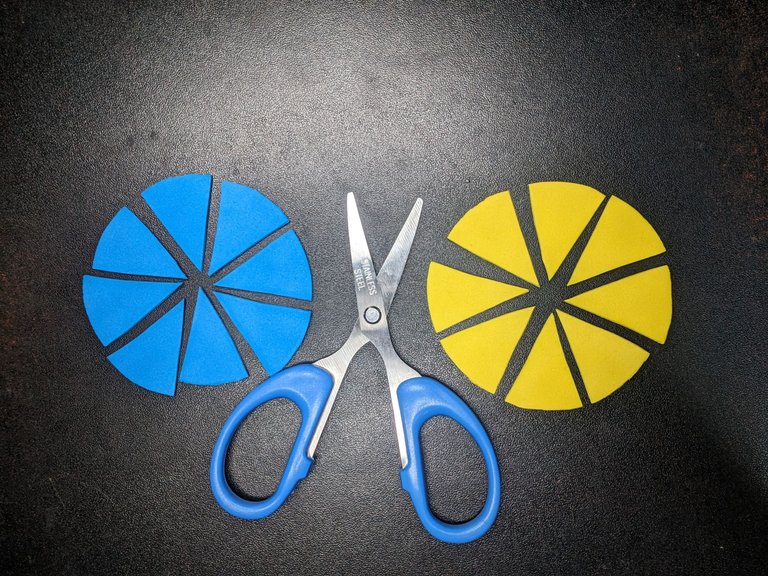
1- To begin with, we mark and cut out two medium-sized circles on two different colored fomi sheets. Then divide each circle into 8 triangular pieces exactly the same.
Para empezar marcamos y recortamos dos círculos medianos en dos hojas de fomi de distinto color. Para luego dividir cada círculo en 8 piezas triangulares exactamente iguales.
 |  |
 |  |
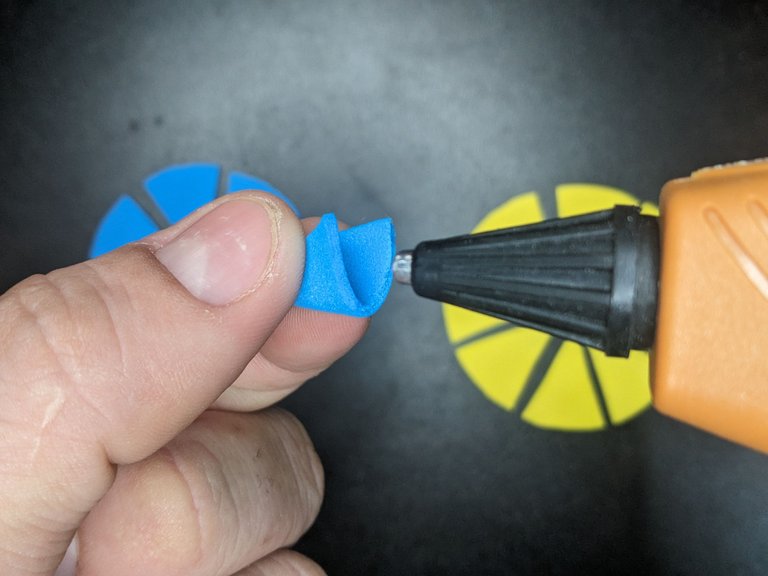
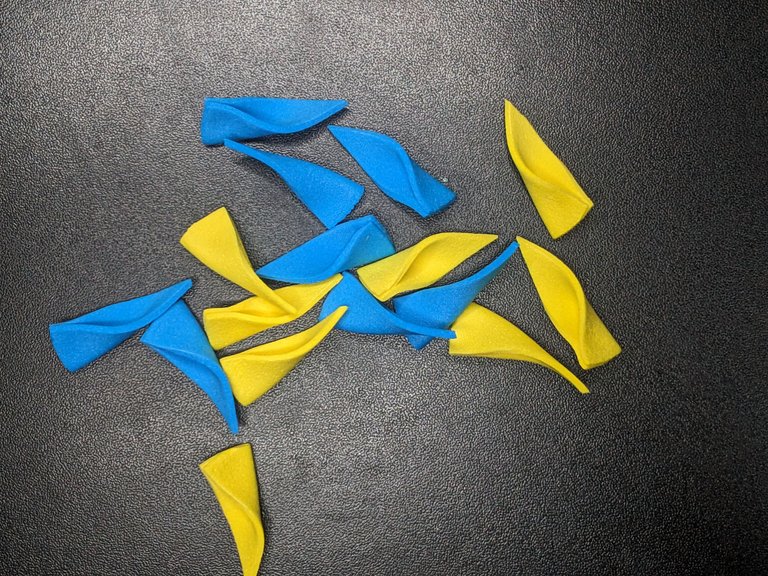
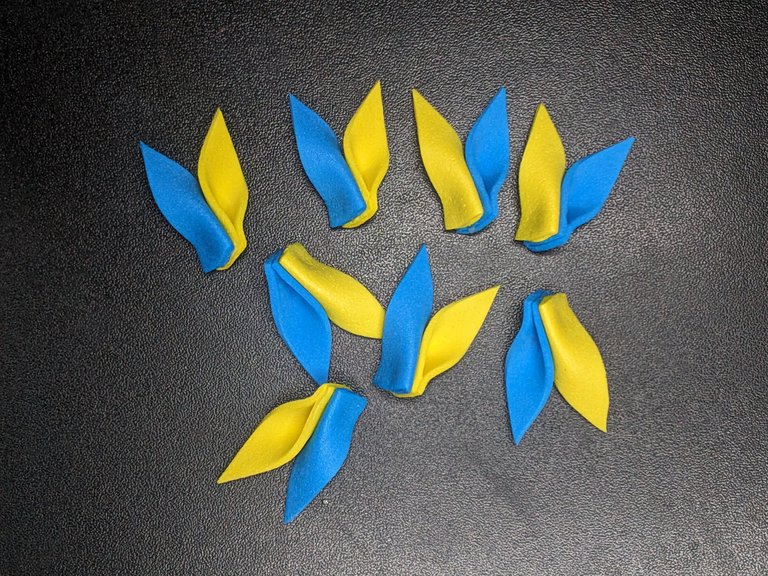
2- The 16 triangular pieces are folded at the wide part and glued to keep the petal shape.
A las 16 piezas triangulares las plegamos por la parte ancha y pegamos para que conserven esa forma de pétalo.
 |  |
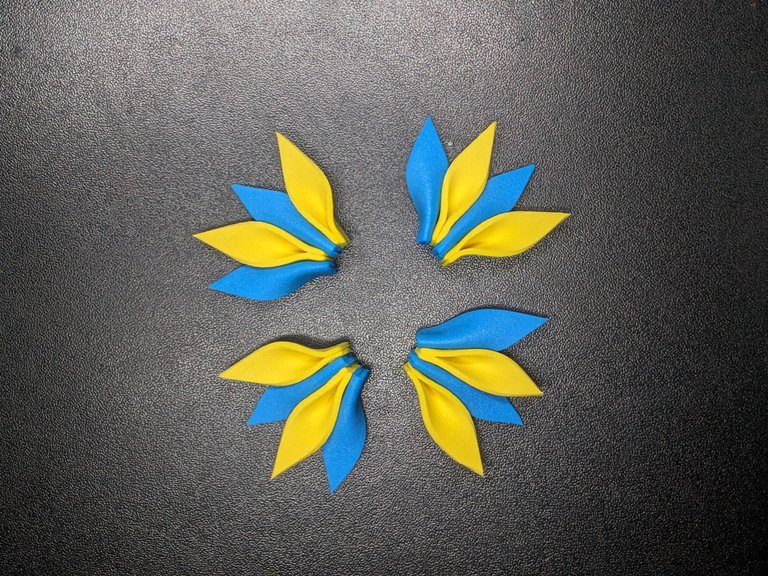
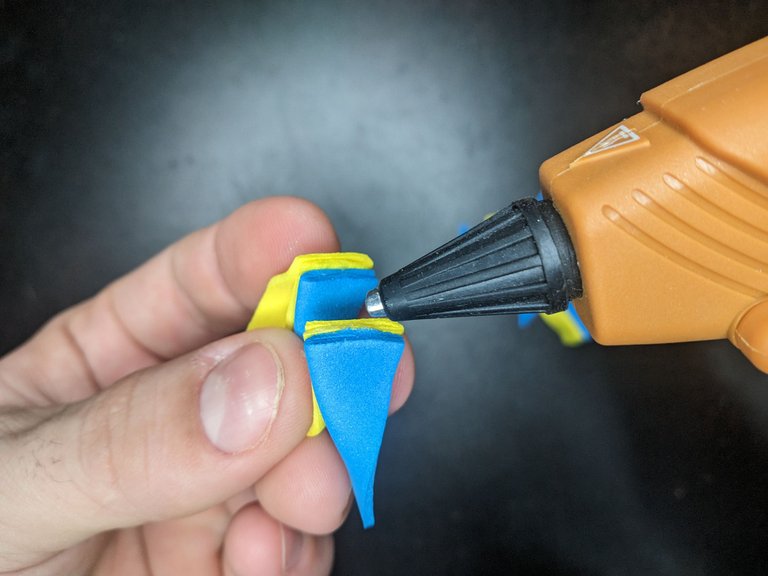
3- Next, we will form pairs of different colors by gluing each petal along the edge, but placing one face up and the other face down. Respecting this order, we will glue the 16 petals, one next to the other.
A continuación formaremos parejas de colores distintos pegando cada pétalo por el borde, pero situando uno boca arriba y el otro boca abajo. Respetando este orden, pegaremos los 16 pétalos, uno al lado del otro.
 |  |
 |  |
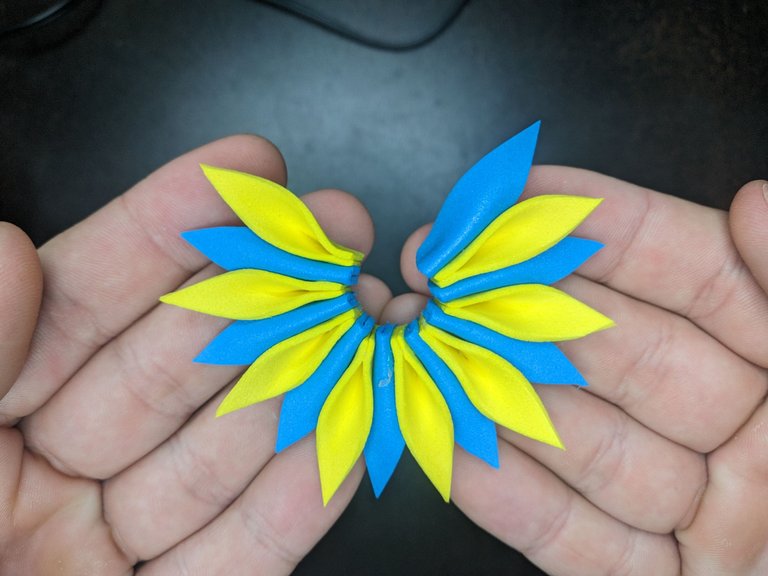
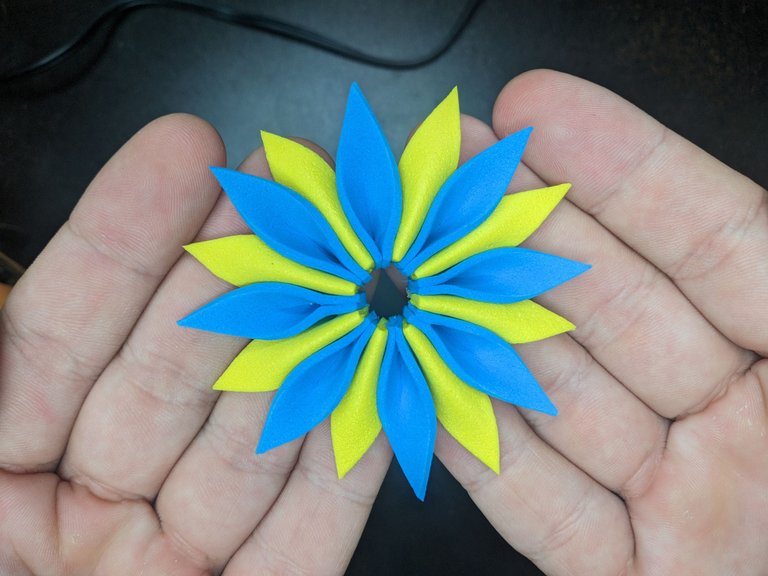
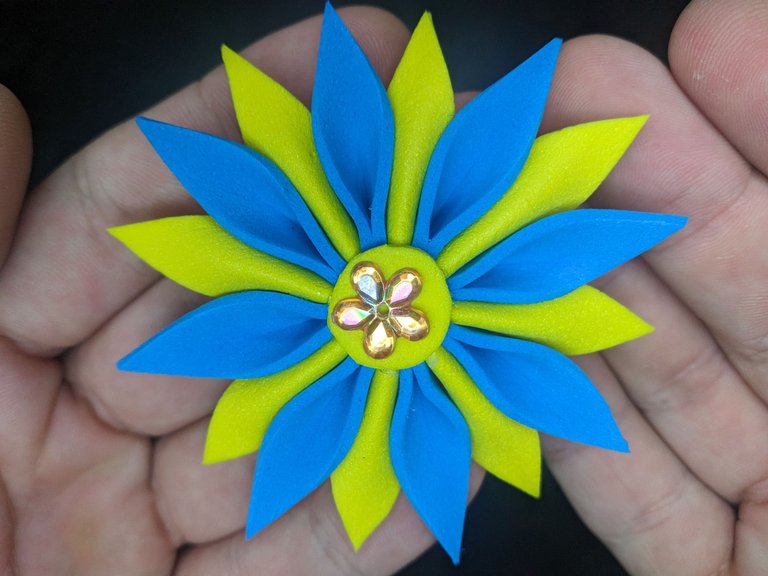
4- Then we glue the outer edges to join the petals at the ends to create the shape of the flower or star.
Seguidamente pegamos los bordes exteriores para unir los pétalos de los extremos y así crear la figura de la flor o estrella.
 |  |
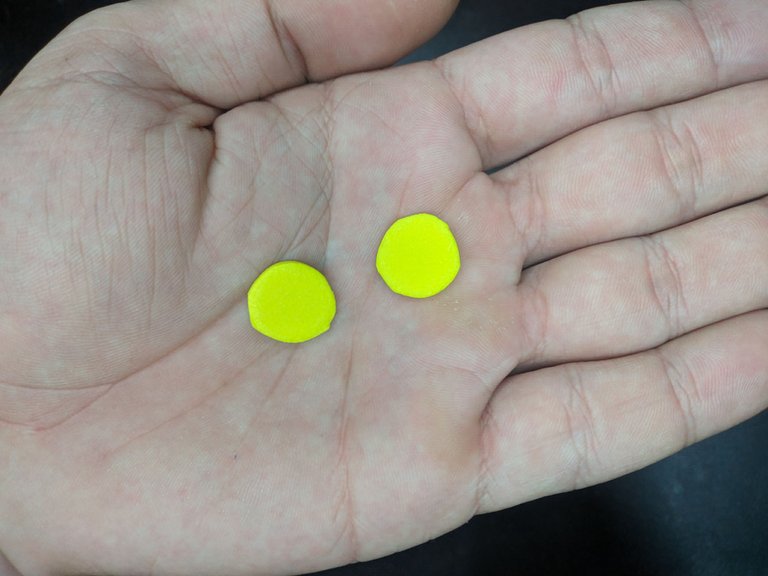
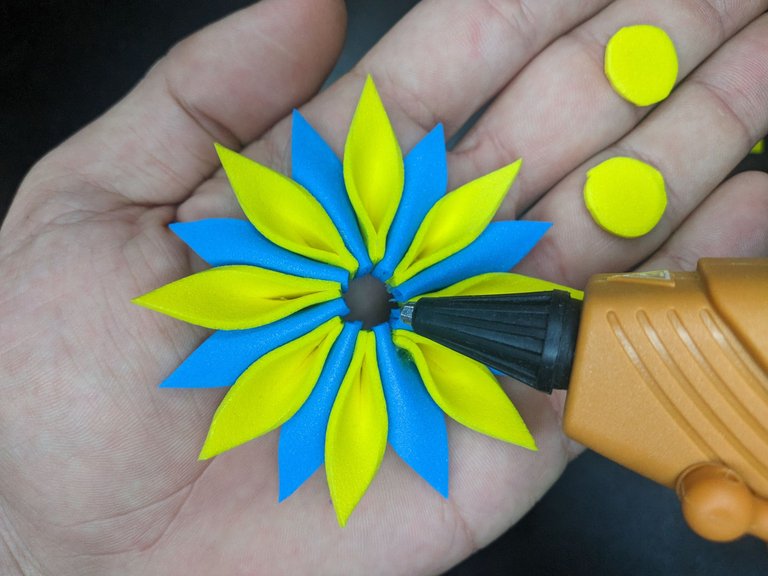
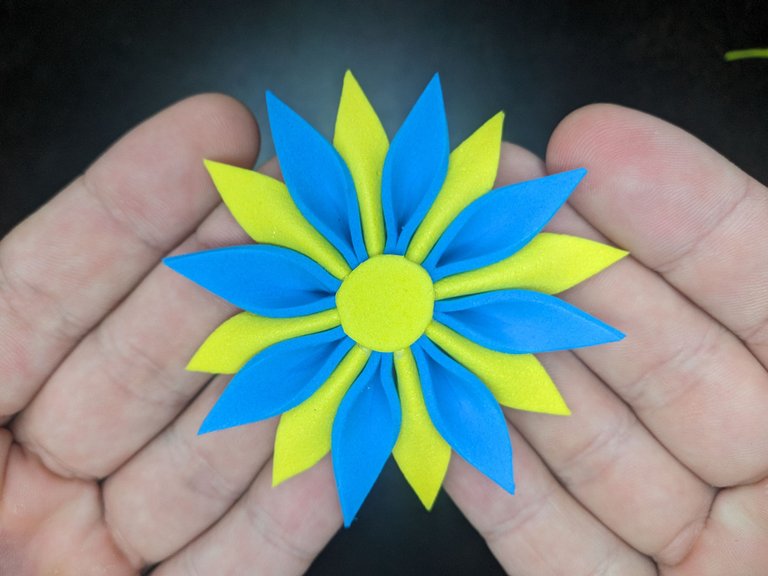
5- Finally, we cut out two small circles that we will glue in the center of the ornament and if possible we will add an ornament to make it eye-catching. Do not forget to add a string to one of the petals to hang it.
Para finalizar recortamos dos círculos pequeños que pegaremos en el centro del adorno y de ser posible agregaremos un adorno para hacerlo llamativo. No olvidemos agregar un cordel a uno de los pétalos para poder colgarla.
 |  |
 |  |
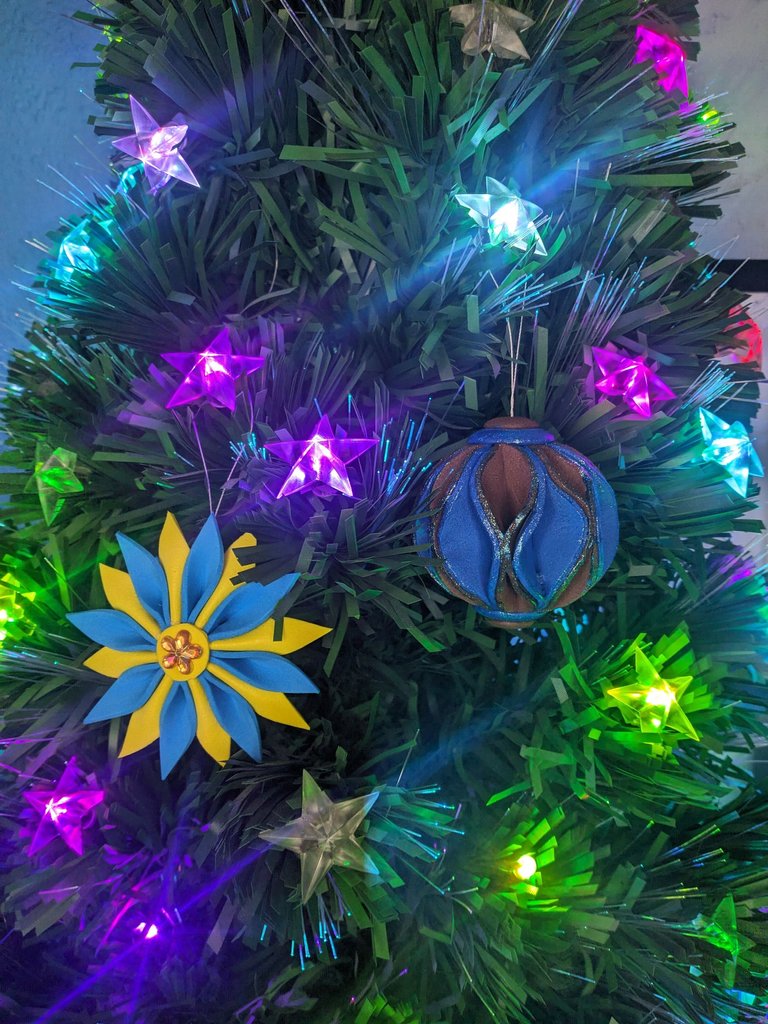
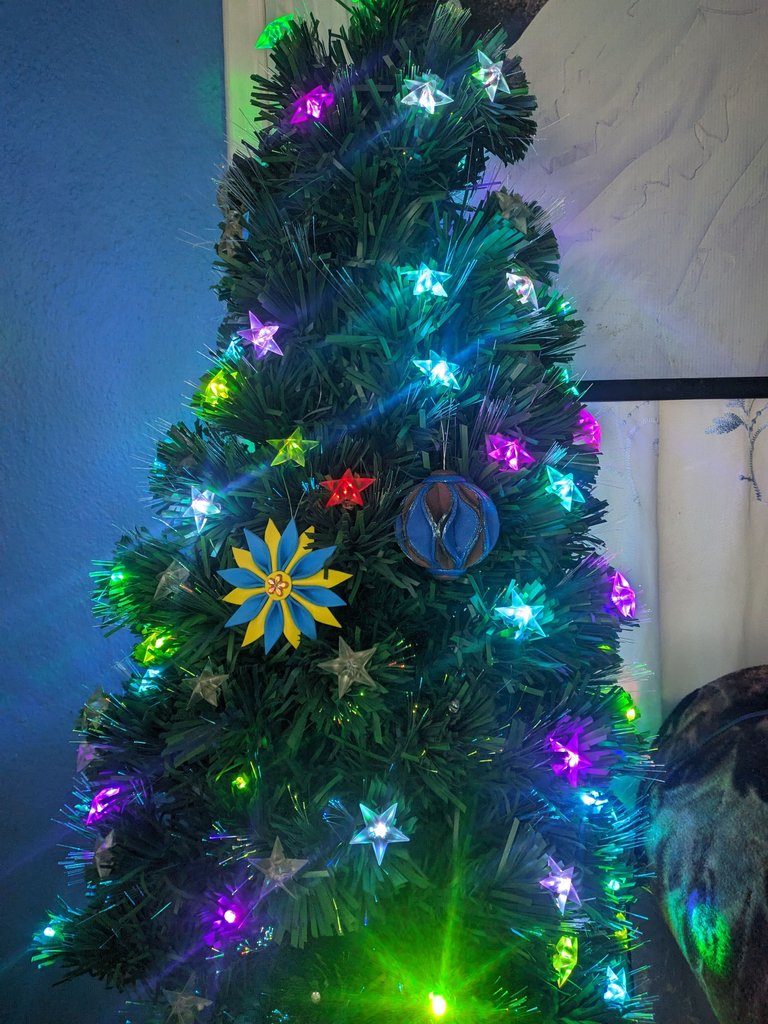
So I just have to show you how my Christmas tree looks with these two new ornaments that I added at the last minute.
Y pues solo me queda enseñarles como se ve mi arbolito de navidad con estos dos nuevos adornos que le agregue en último momento.
|
|



Thank you very much for reading my post. If you liked it, please leave a comment and consider following me so you don't miss my next posts. I'd love to know your opinion and your thoughts about the topic I discussed in this post, see you in the next one!
Muchas gracias por leer mi post. Si te gustó, por favor deja un comentario y considera seguirme para no perderte mis próximas publicaciones. Me encantaría saber tu opinión y tus ideas sobre el tema que traté en este post. ¡Nos vemos en el próximo!

Cover page created in Canva
Logo and separator property @diyhub of and DIYHUB Community
Translated by DeepL


