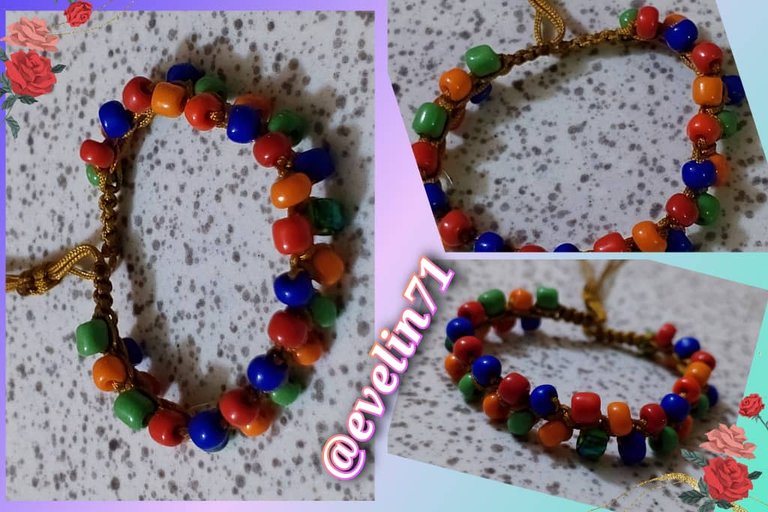
Greetings #hivediy community, wishing you a happy and blessed Saturday to this wonderful community of creative artisans. Today I am happy to share with you my new creative project. It is a beautiful, delicate, attractive and very eye catching bracelet with beautiful beads.
It is a fan art inspired by the variety of colors of the splinterlands game card known as Medusa. This character has a beautiful combination of colors like green, red and gold.
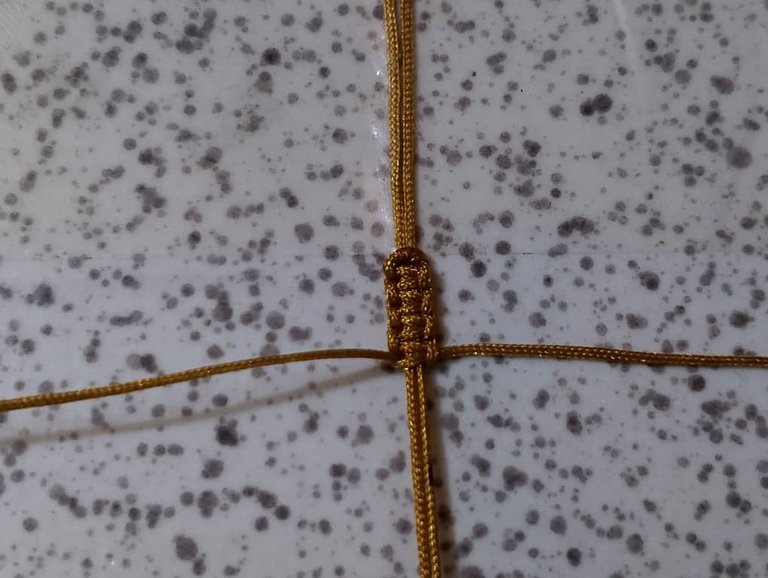
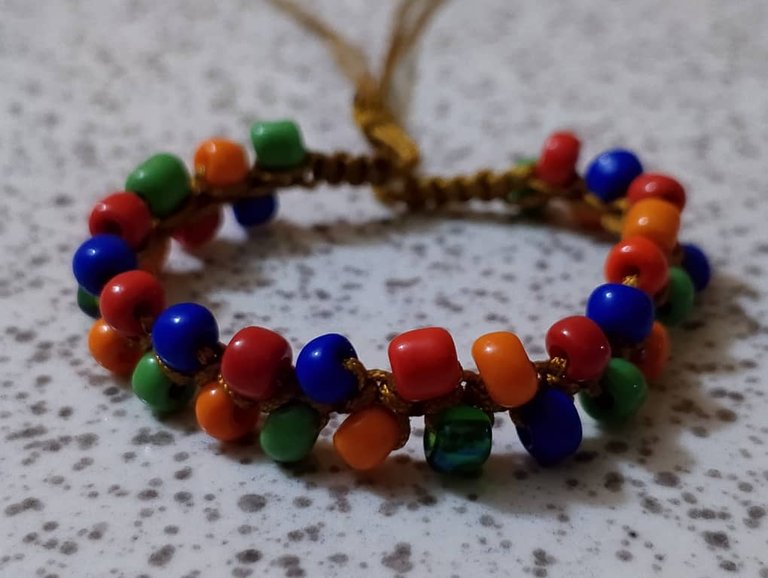
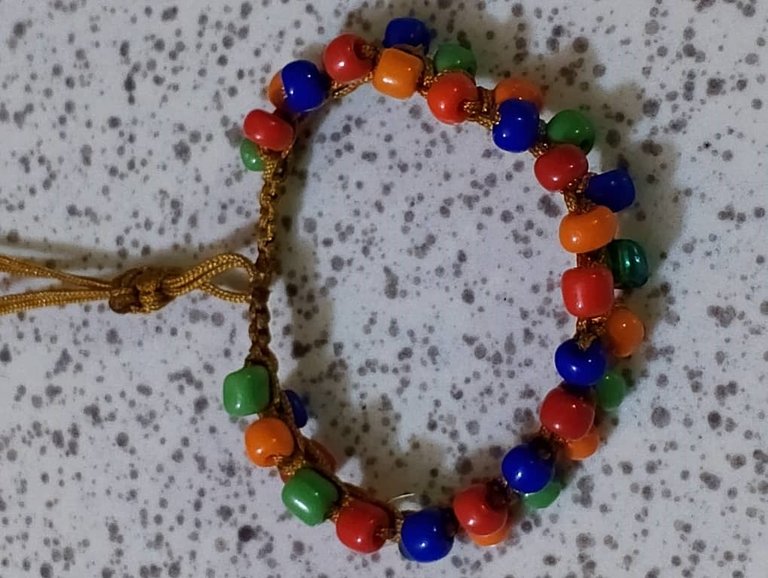
It is a zig zag style jewelry very simple to make but the final result is amazing, very beautiful and feminine. This bracelet is very easy to make and in just a few minutes we have it done. It is very attractive and I loved the final result.
God bless you and I hope you like my creation.
Saludos comunidad #hivediy, deseándoles feliz y bendecido sábado a esta maravillosa comunidad de artesanos creativos. El día de hoy me siento feliz de compartir con ustedes mi nuevo proyecto creativo. Se trata de una hermosa, delicada, atractiva y muy llamativa pulsera con hermosas mostacillas.
Es un fan art inspirado en la variedad de los colores de la carta del juego de splinterlands conocido como Medusa. Éste personaje Posee una hermosa combinación de colores como el verde, rojo y dorado.
Es una joya estilo zig zag muy sencilla de elaborar pero el resultado final es increíble, muy hermosa y femenina. Ésta pulsera es muy fácil de hacer y en tan solo pocos minutos ya la tenemos hecha. Es muy atractiva y me encantó el resultado final.
Que Dios les bendiga y espero les guste mi creación.

MATERIALS
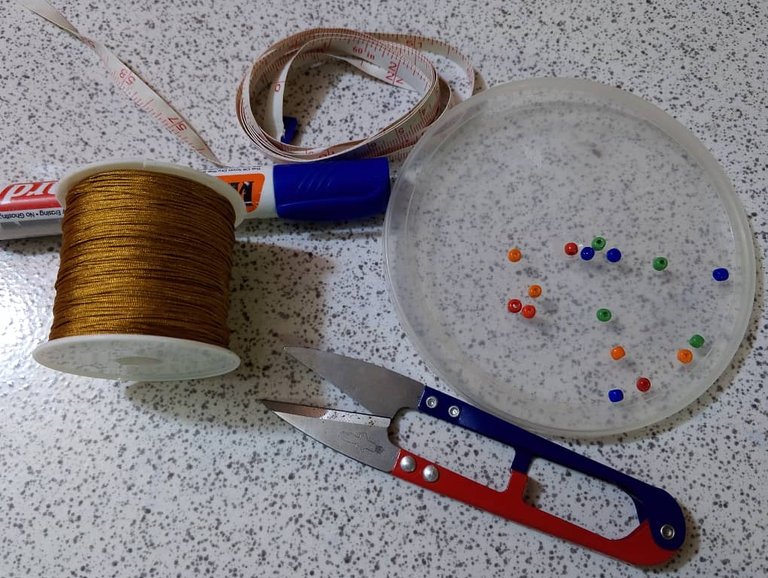
The materials we will use to make this beautiful bracelet are:
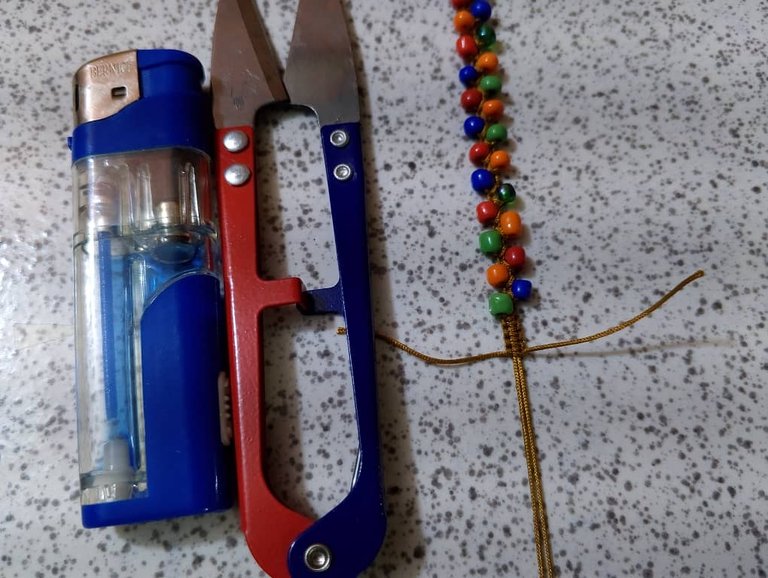
Chinese thread
Scissors
Tinder
Measuring tape
Adhesive tape
Beads
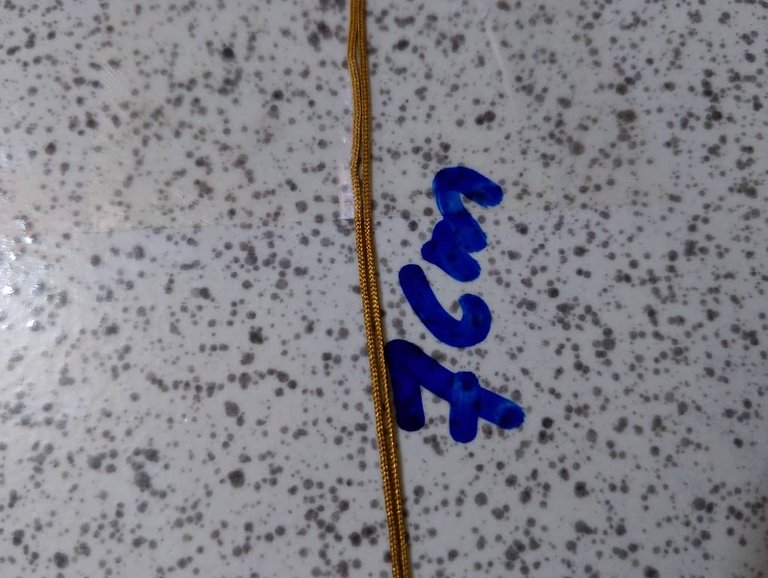
Slate marker
MATERIALES
Los materiales que utilizaremos para realizar esta hermosa pulsera son:
Hilo chino
Tijera
Yesquero
Cinta métrica
Cinta Adhesiva
Mostacillas
Marcador de pizarra
PREPARATION
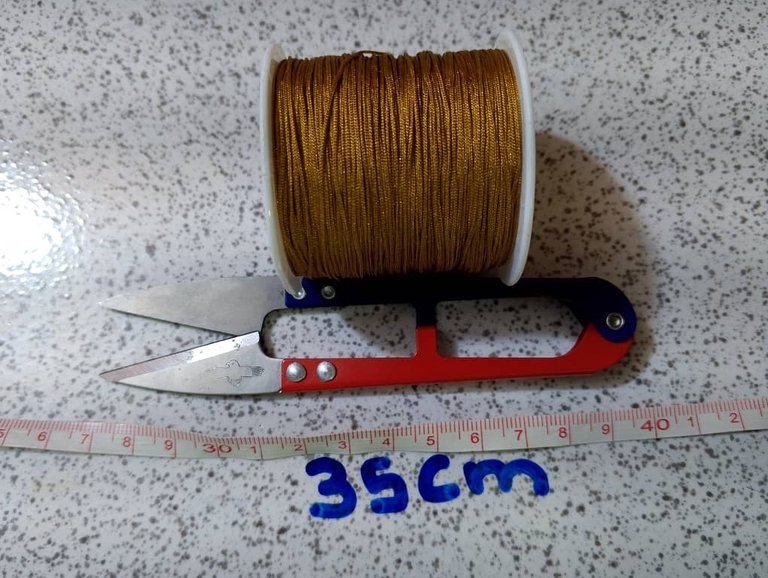
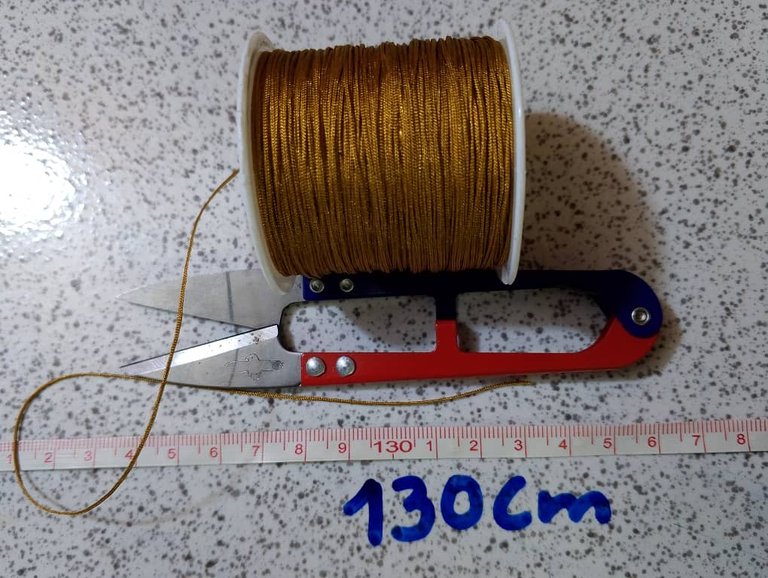
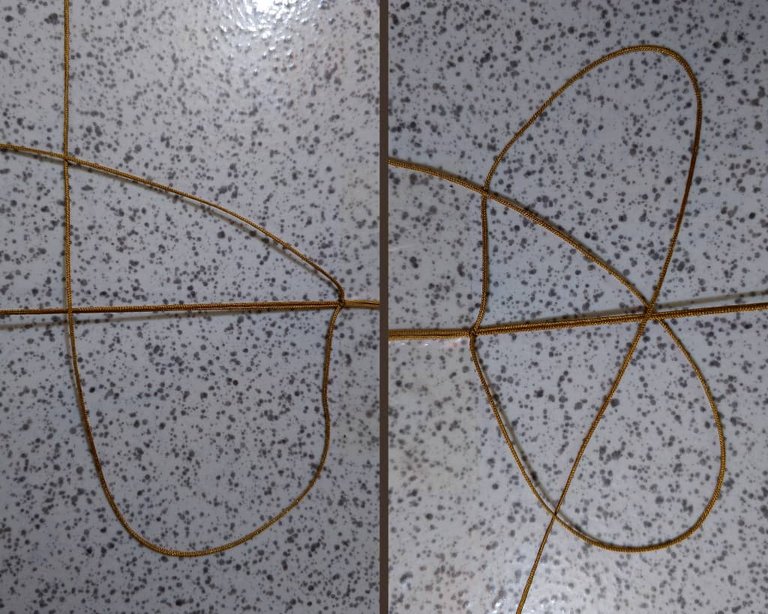
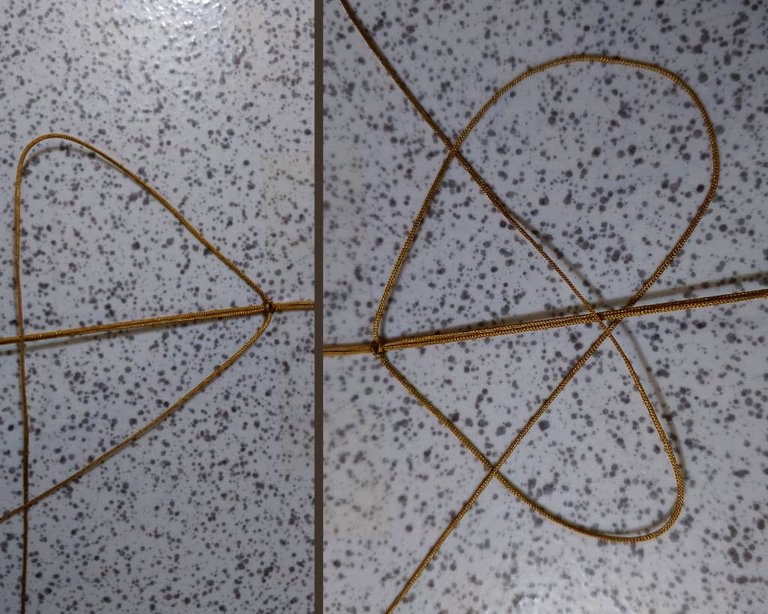
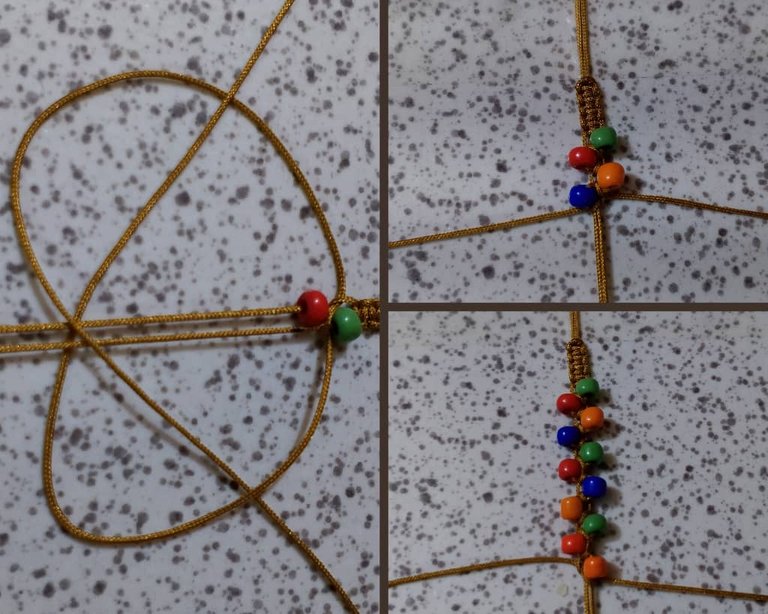
To begin this delicate bracelet we will cut two 35cm strands that we will use as a base to insert the beads.
PREPARACIÓN
Para comenzar esta delicada pulsera vamos a cortar dos hebras de 35cm que usaremos como base para introducir las las mostacillas.
Then we pass the thread on the right side over the base threads in the form of a P. Then we pass the thread on the left side over the right thread that is on the left side and pass it under the base threads and pull it through the inside or ring of the thread as shown in the image

Así quedó ésta hermosa pulsera estilo zig zag inspirada en Medusa.


Translated with https://www.deepl.com/translator
     Todas las imágenes son de mi autoría

      All the images are of my authorship