Hello, dearest gentle Hivers; 😊 Today, we continue our little adventure of creating beaded alphabets for my son. If you missed my previous post on it, don't worry, as you can simply check it out here. Today we will be making A. A is a special letter to my son; both his name and surname start with A, and white is his favorite color, so we are making A with white color beads. You can already tell how close this letter is to my heart ❣️
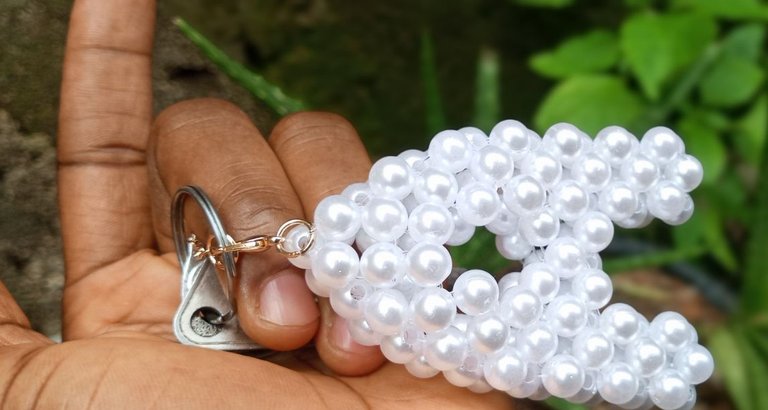
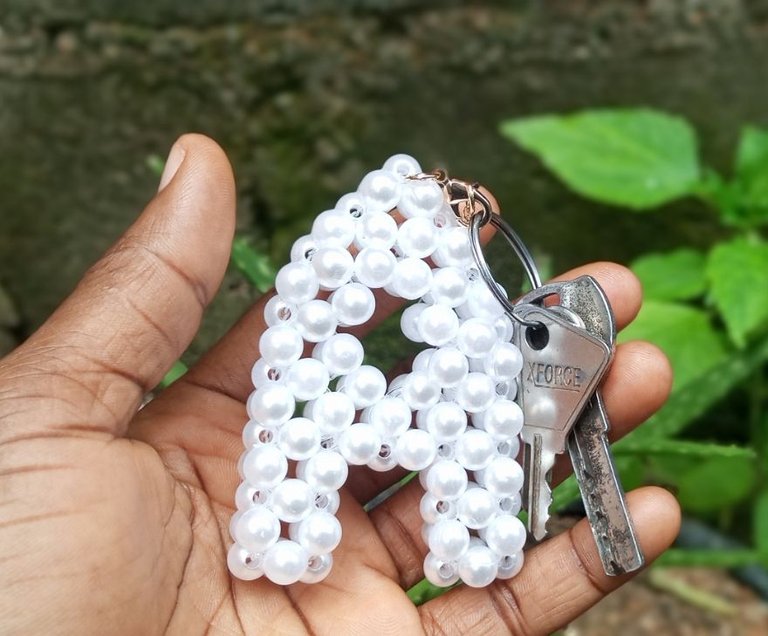
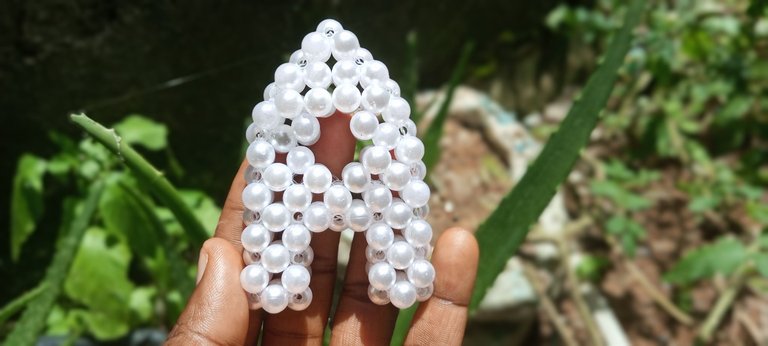 Also, these beaded alphabets can as well serve as a beautiful fancy keychain.
But before I proceed, thank you all so much for your encouragement and suggestions in my previous letter. You rock. And inspired me to continue to share this project with us. So, without much digression, come along and let our creative energy flow together.
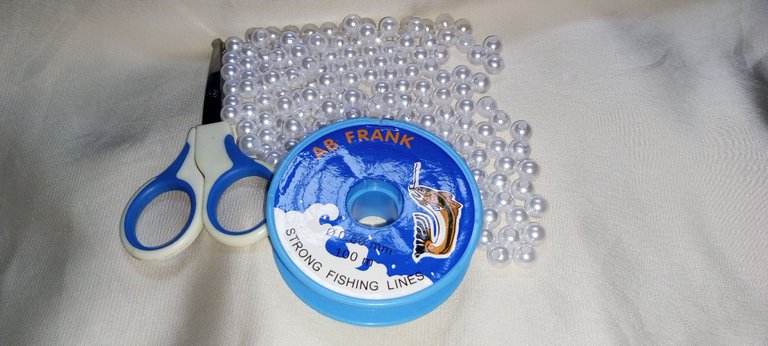
Material used:
✓ Pearl beads 6mm, 106 piece
√ Fishline 0.5mm
✓scissors
First thing we are going to make are two 7 rings of beads joining each other at the top.
Step-by-step process:
I make sure to simplify the process as much as I can, and I hope that it will be very helpful if you decide to make your beaded A.
Step 1:
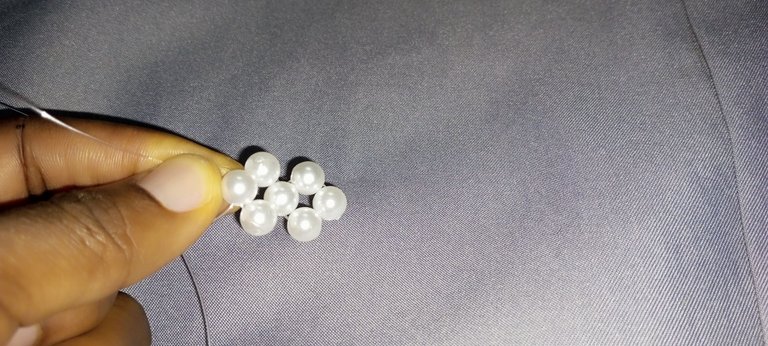
I cut a 50 cm long fishline and put 4 pearl beads in it, then crossed one of the lines with the 4th bead.

Step 2:
I put 1 bead to the left.
1 bead to the right
1 bead to cross both lines
Step 3:
I put 1 bead to the left.
1 bead to the right
1 bead to cross both lines
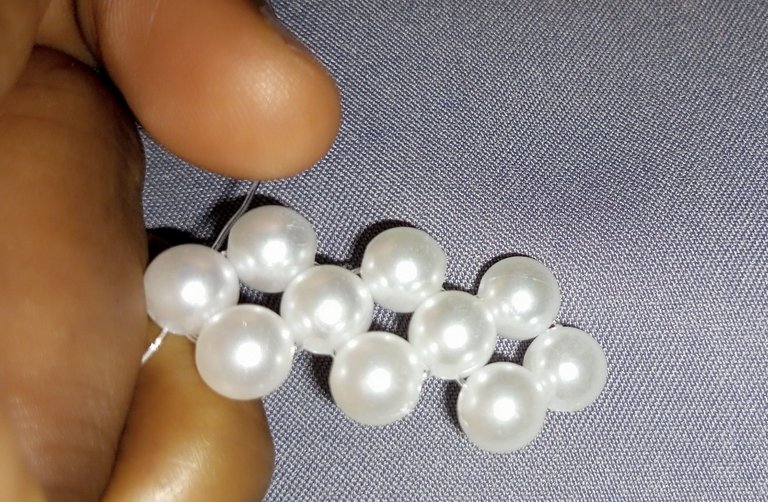
Step 4:
I put 1 bead to the left.
1 bead to the right.
1 bead to cross both lines.
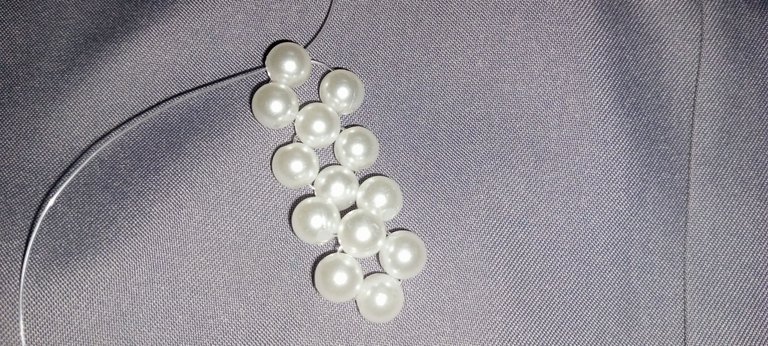
Step 5:
I put 1 bead to the left.
1 bead to the right.
1 bead to cross both lines.
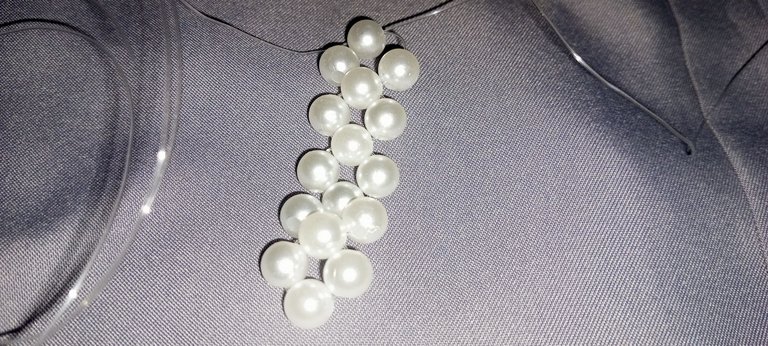
Step 6:
I put 2 beads to the left.
1 bead crosses both lines.
This makes the beads turn as shown below.
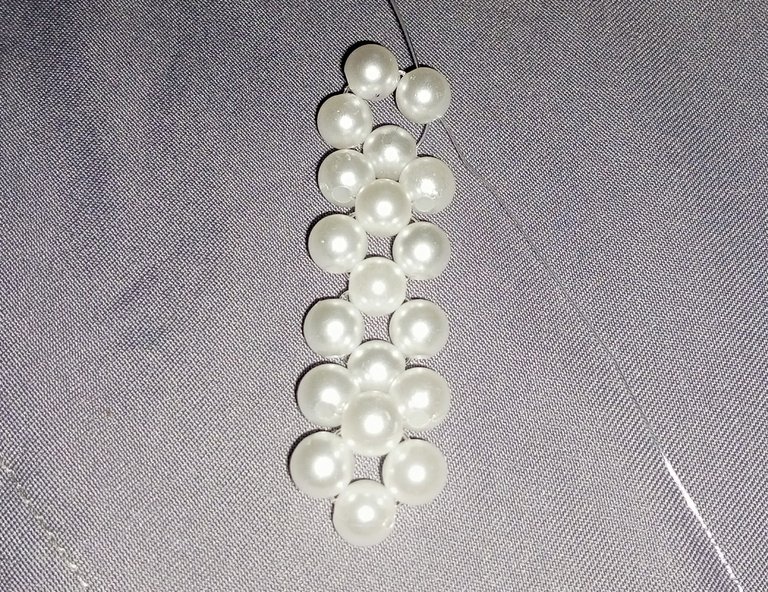
Step 7:
I put 1 bead to the left
1 bead to the right
1 bead to cross both lines
This will make the beads completely turn, and then we continue to build on a downward
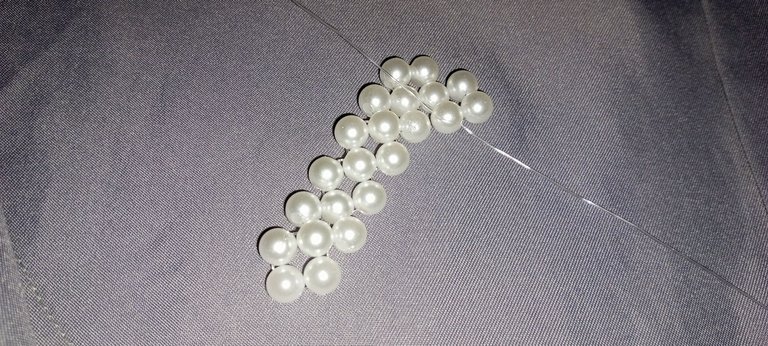
Step 8:
I put 1 bead to the left
1 bead to the right
1 bead to cross both lines
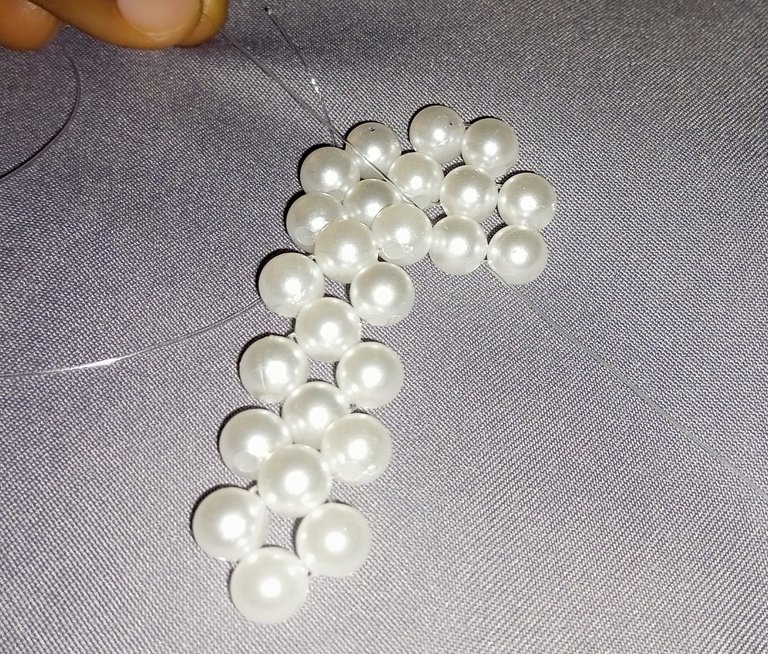
Step 9:
I put 1 bead to the left.
1 bead to the right
1 bead to cross both lines
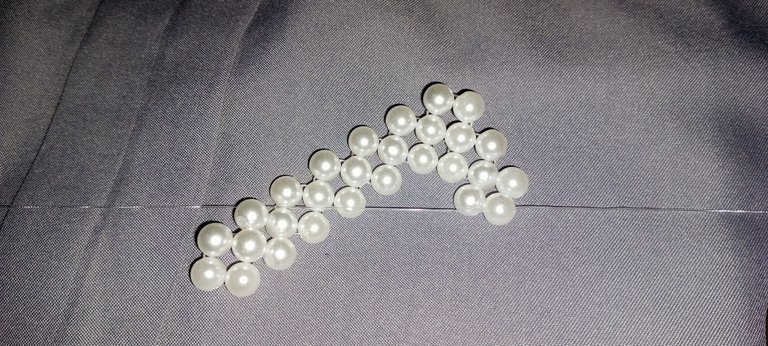
Step 10:
I put 1 bead to the left.
1 bead to the right
1 bead to cross both lines
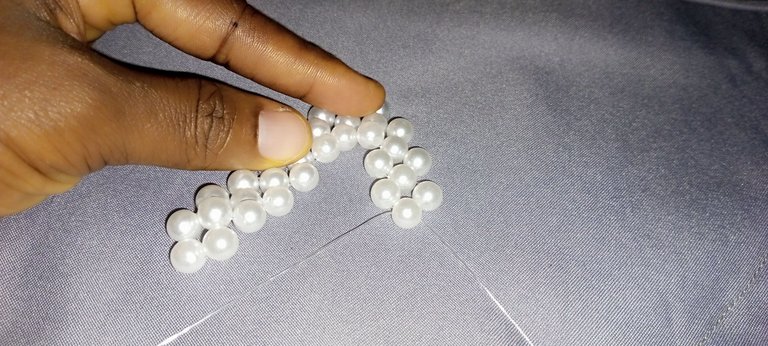
Step 11:
I put 1 bead to the left.
1 bead to the right
1 bead to cross both lines
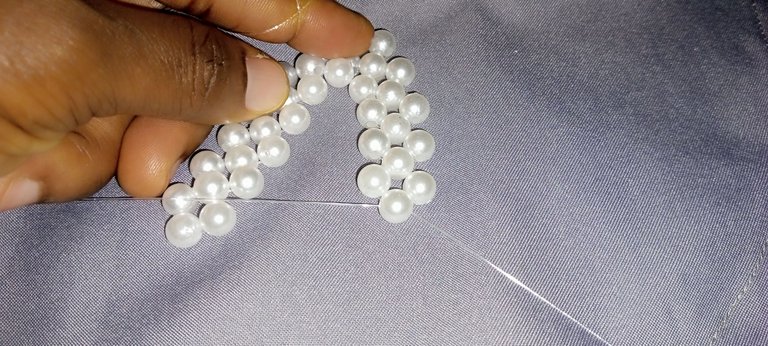
Step 12:
I put 1 bead to the left.
1 bead to the right
1 bead to cross both lines
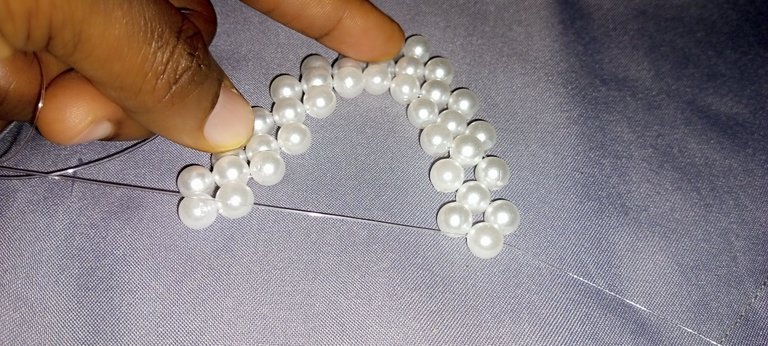
Step 13:
Put 1 bead to the left.
1 bead to the right
1 bead to cross both lines
This gives us the desired length as shown below.
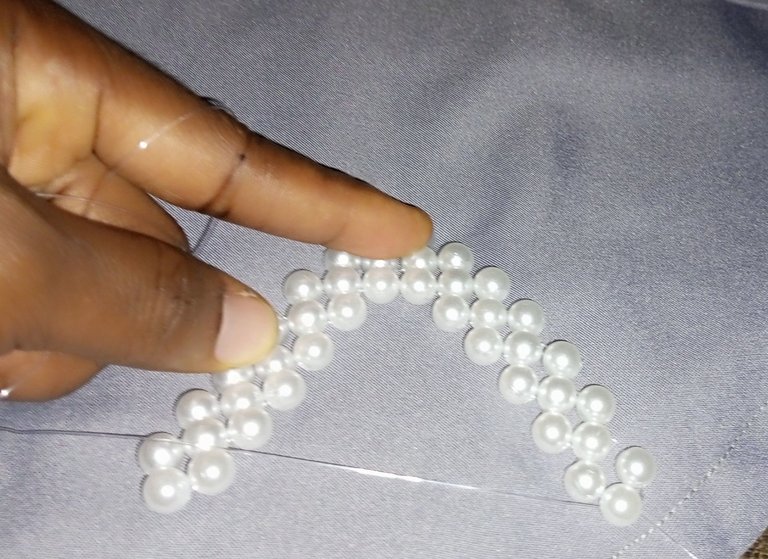
Step 14:
I pass the two threads and let it out on the third bead, as marked below.
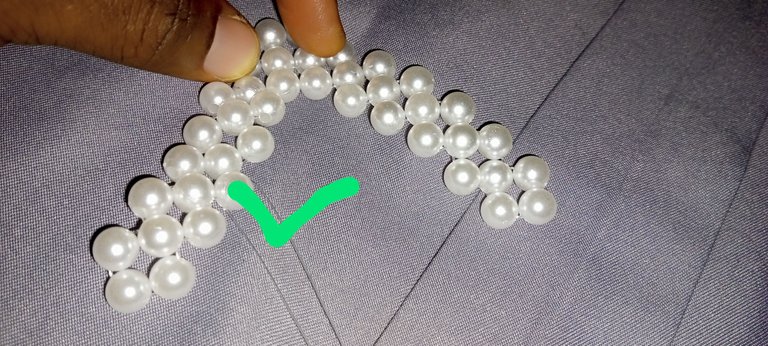
Step 15:
I Put 1 bead to the left
1 bead to the right
1 bead to cross both lines
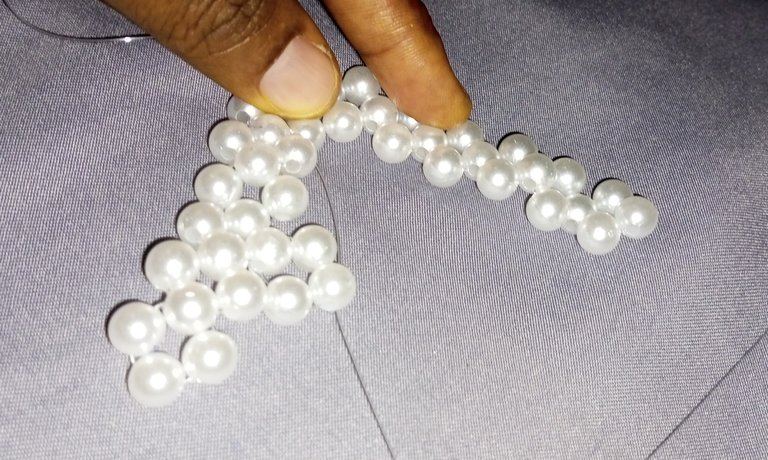
Step 16:
I put 1 bead to the right
1 bead to the left
Then pass the thread through the third bead as marked with yellow below
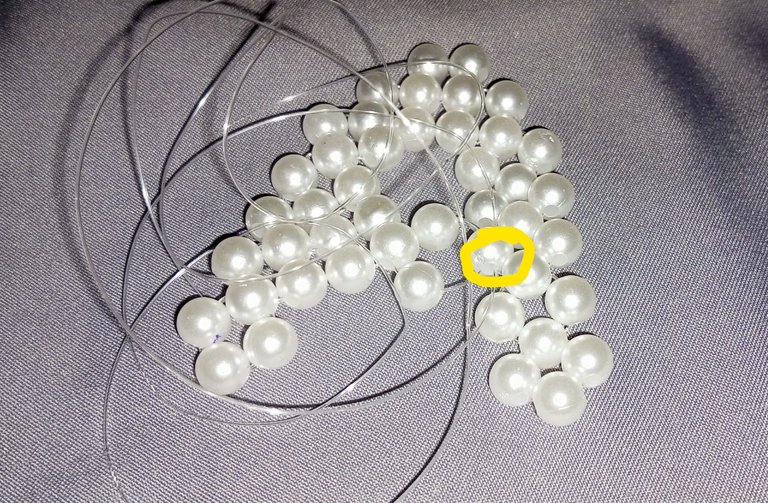
Tied the knot, passed the two threads among the beads, and trimmed the excess thread. Our half part of the A is ready.
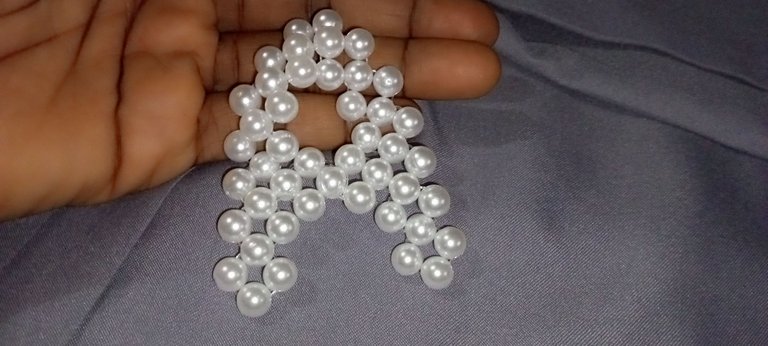
Step 17:
I Repeated steps 1-16 to make the other half of the A.
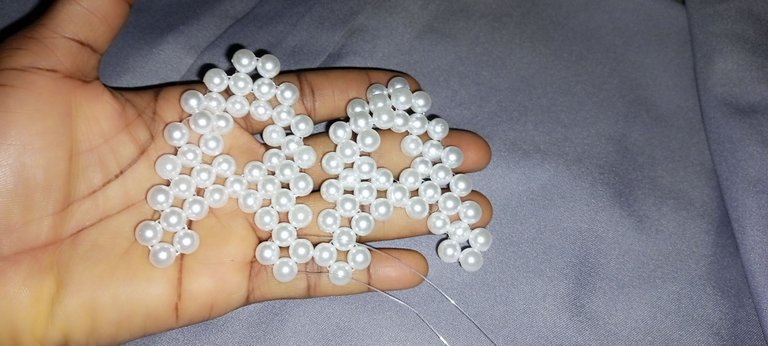
Step 18:
Bring the two A's together, cut a few new lines of 25 cm, and pass it through the first beads of both A's Then, Cross one bead with both fishlines.
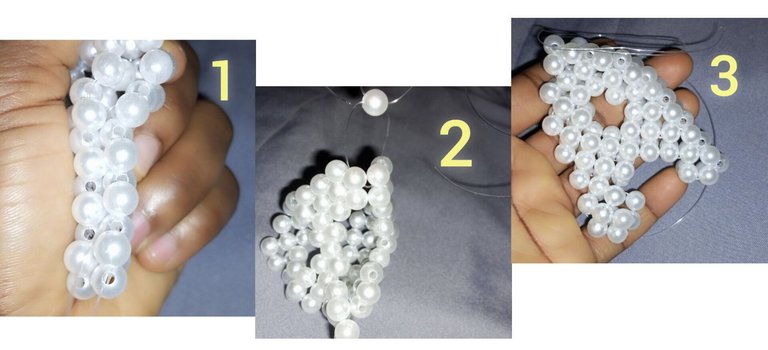
Step 19
I Continue to use 1 bead to join the two A's until it goes round
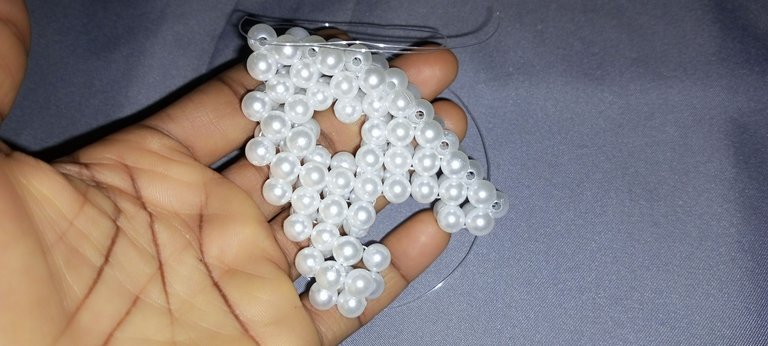
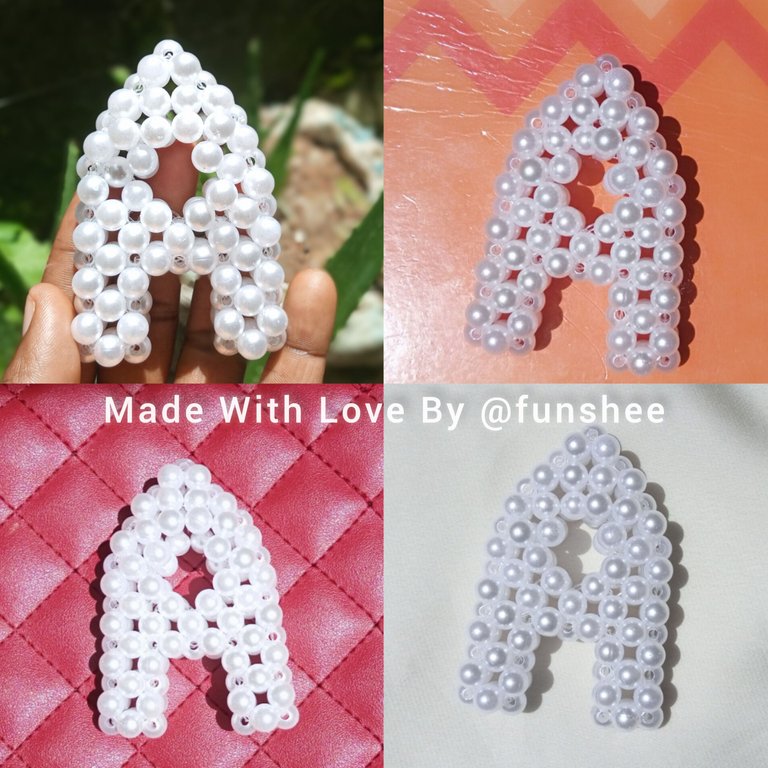
That is all friends 😊we have our neatly made A ready. So I will leave you with some photos in different backgrounds for your pleasure view 🥰
 what do you say to this keychain, is it a yes or nay? I look forward to your answer at the comment section.
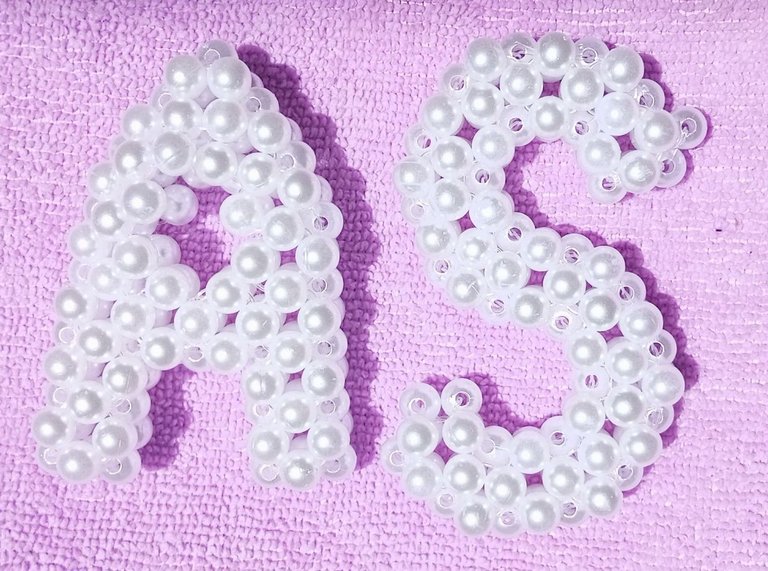
And look at that, our beautiful two-letter words.
The end
All Images are mine, taken with my Tecno Spark 8 plus
Thank you so much for coming along in this little adventure, do have a productive new month.
@funshee✍️😊🙏


