Hello there, welcome back to our little adventure of creating beaded alphabets. If you missed the beaded letter 'S and A', you can simply check them here and here. In this adventure, who says we can't explore different sizes of beads? If that is so, unlike in the previous beaded letters, I chose seed beads this time around to create the letter B, and oh my gosh! I love the outcome. It happens to give me a perfect size that my son would be able to hold very easily, and aside from that, it won't take up much space in the storage.
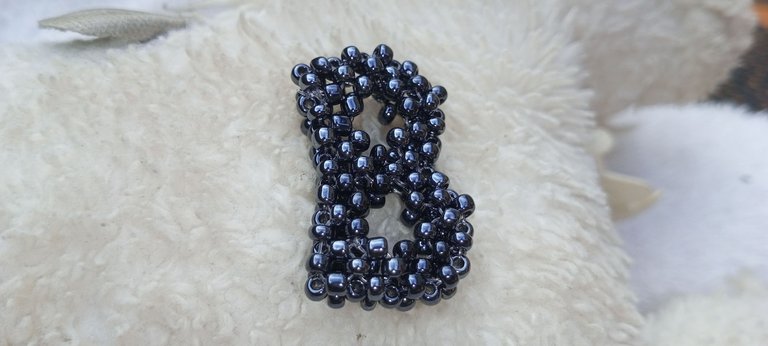
So, come along while I walk you through the step-by-step process. 😊
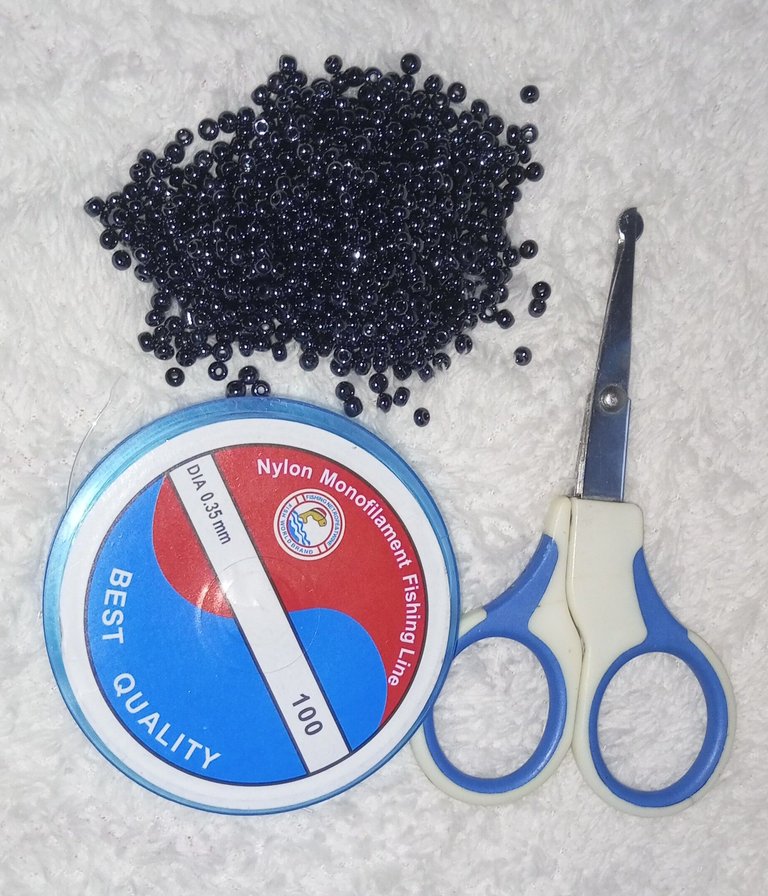
Material used
Seed beads, shiny black
fishline, size 0.35 mm and
scissors
Step by step process
Step 1:
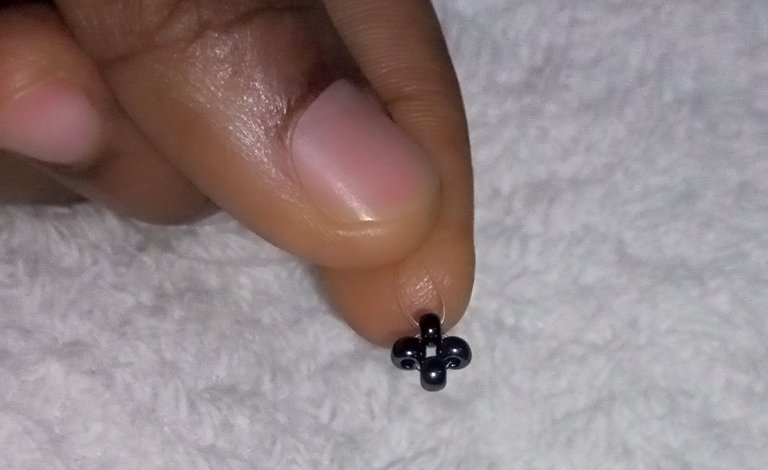
I cut a fishline of 10 cm, put 4 beads on the line, and then crossed both sides with the fourth bead.
Step 2:
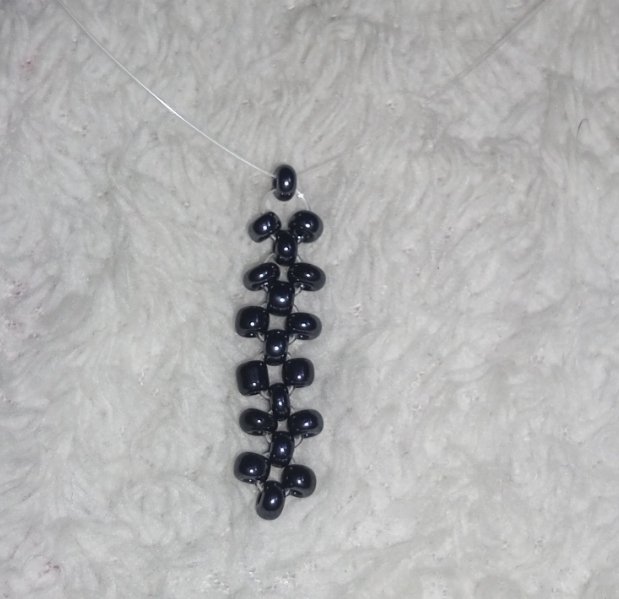
I put 1 bead to the left, 1 bead to the right, and 1 bead to cross both lines. I continued this process until I got 6 rings of beads, as shown below.
Step 3:
I put 2 beads to the left and 1 bead to cross both lines. This made the bead turn, as shown below.
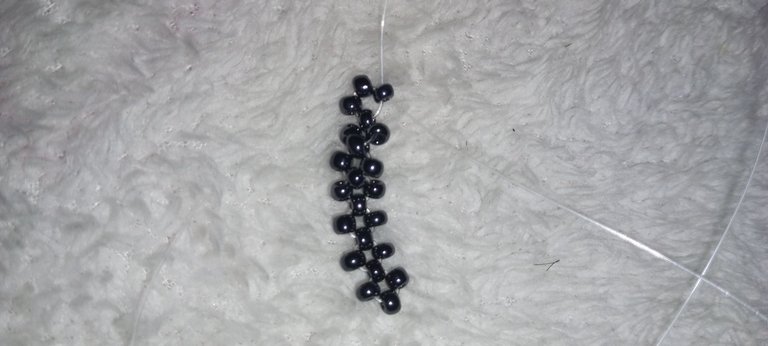
Step 4:
I put 1 bead to the left and 1 bead to the right. And 1 bead to cross both lines
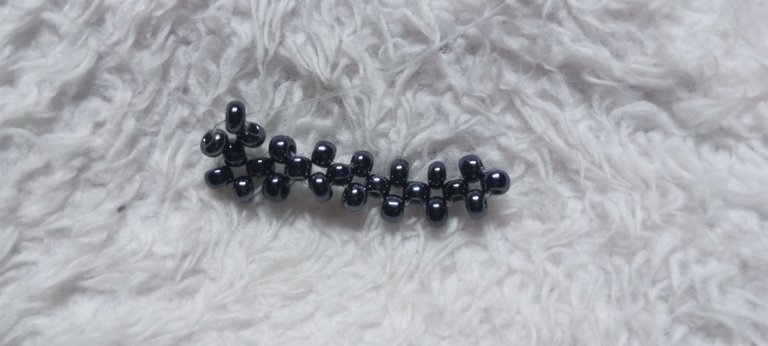
Step 5:
I put 1 bead to the left, 1 bead to the right, and 1 bead to cross both lines.
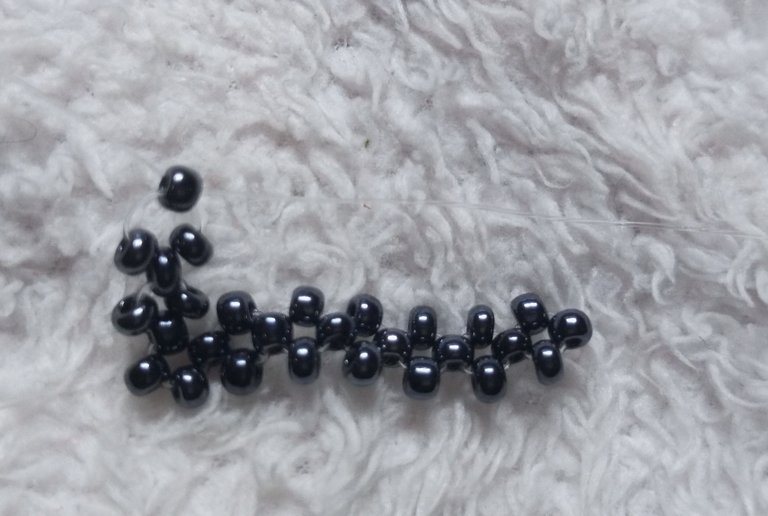
Step 6: to
I put 2 beads to the left and 1 bead to cross both lines.
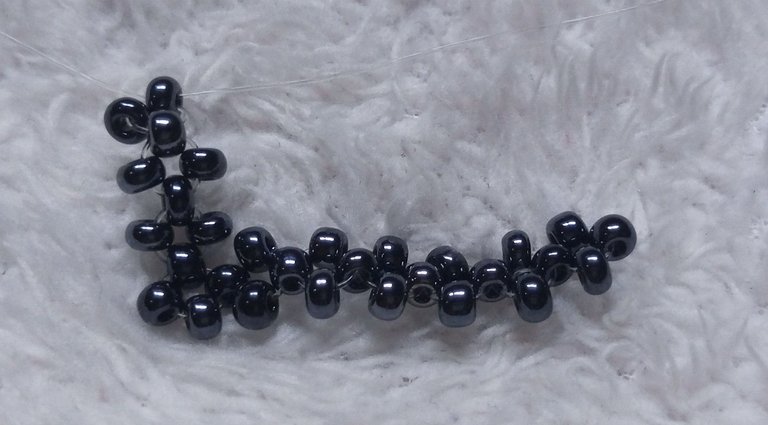
Step 7:
I put 1 bead to the left, 1 bead to the right, and 1 bead to cross both lines.
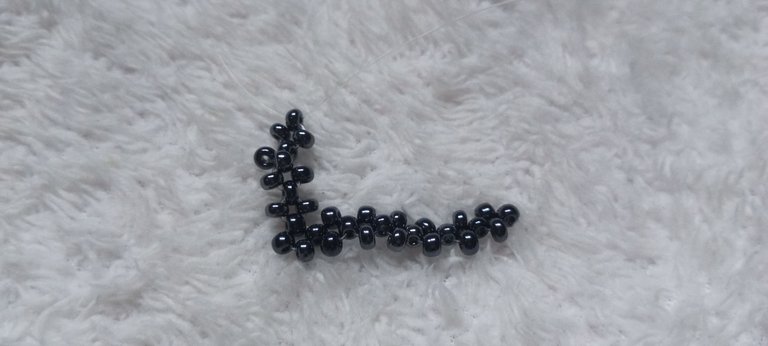
Step 8:
I put 1 bead to the left, 1 bead to the right, and 1 bead to cross both lines.
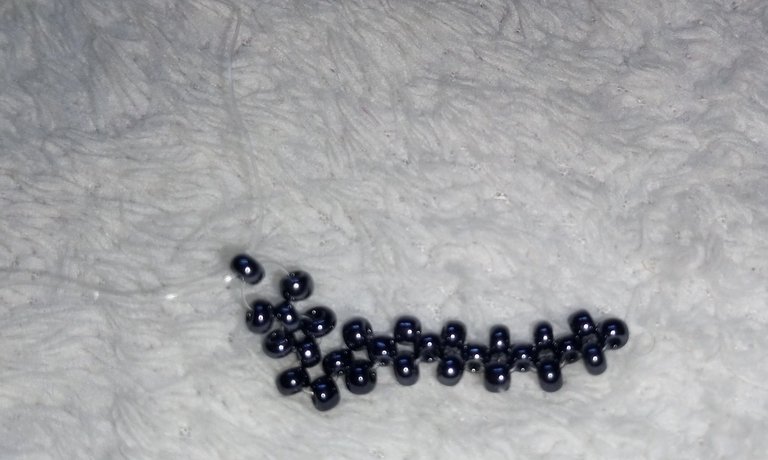
Step 9:
I put 1 bead to the left and 1 bead to cross both lines.
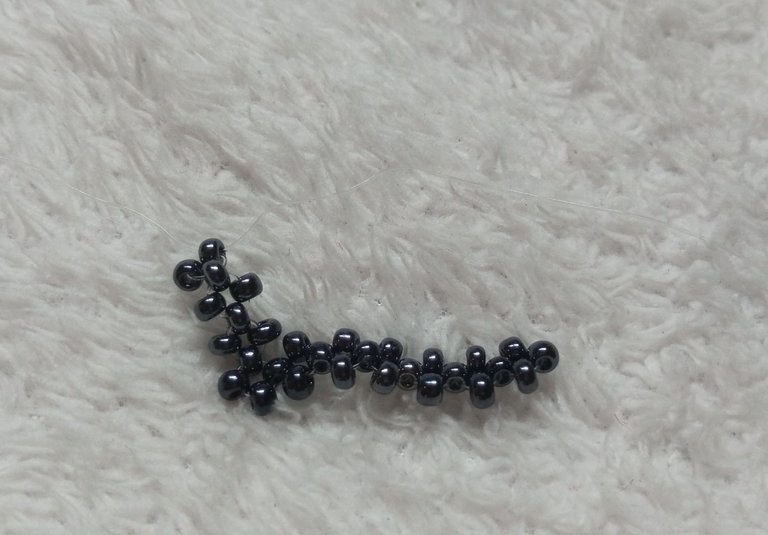
Step 10:
I put 1 bead to the left, 1 bead to the right, and 1 bead to cross both lines.
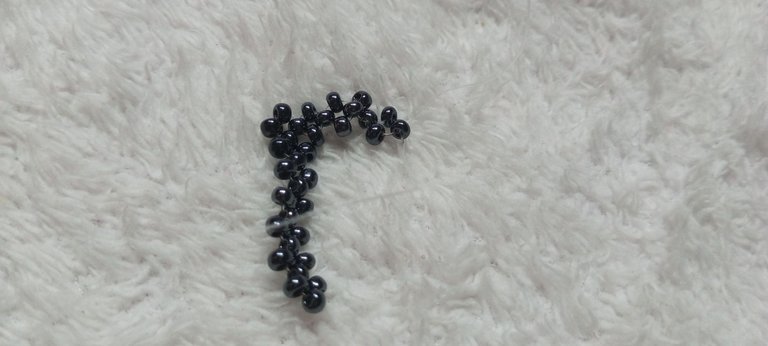
Step 11:
I put 1 bead to the left and 1 bead to cross both lines.
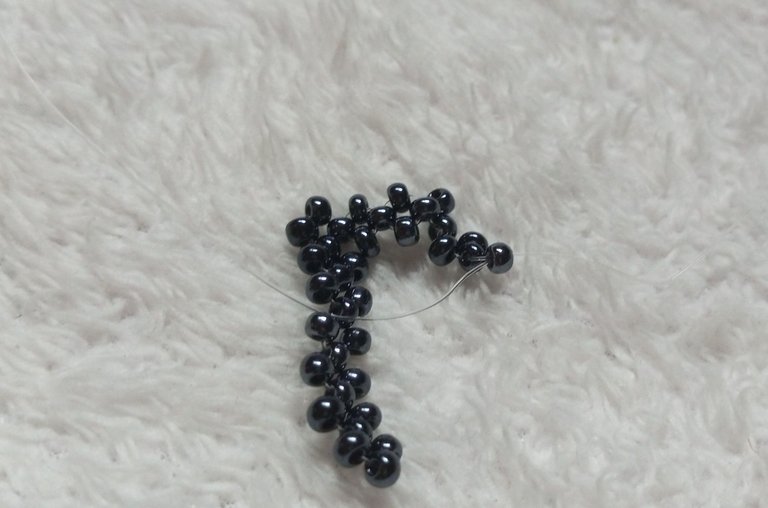
Step 12:
I put 1 bead to the left, 1 bead to the right, and 1 bead to cross both lines.
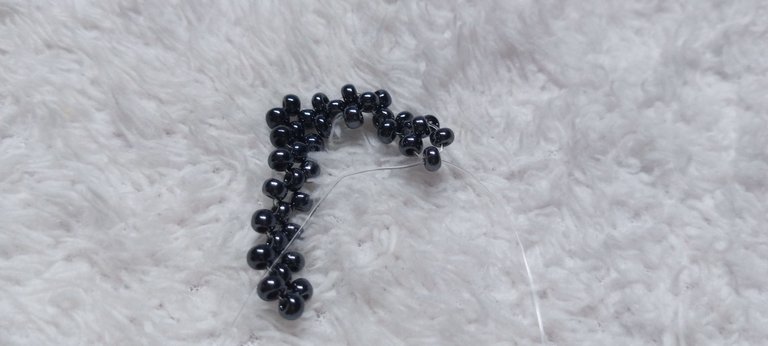
Step 13:
I put 1 bead to the left and 1 bead to cross both lines.
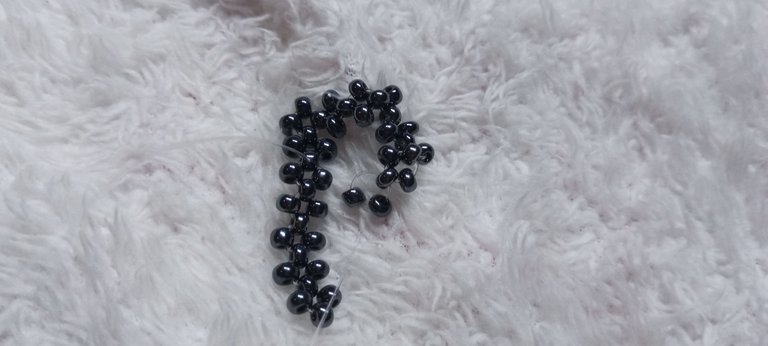
Step 14:
I put 1 bead to the left, 1 bead to the right, and then crisscross both lines with the fourth bead when you count from down upwards.
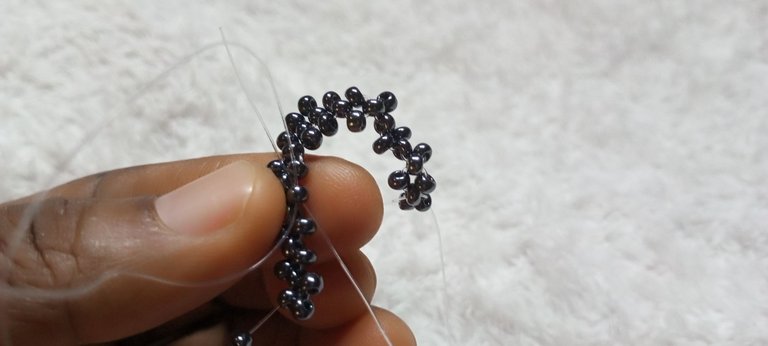
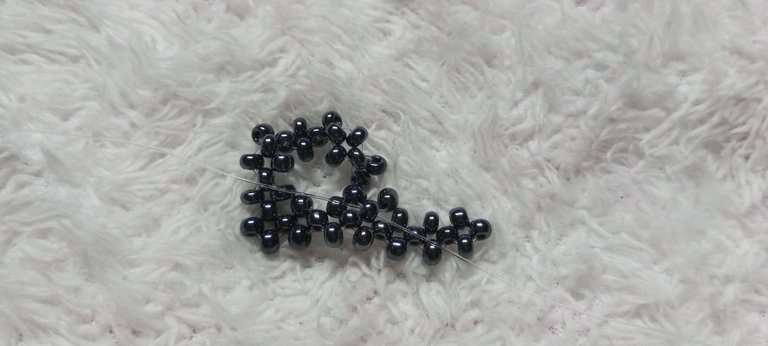
Step 15:
I passed both lines to come out at the particular bead as marked below.
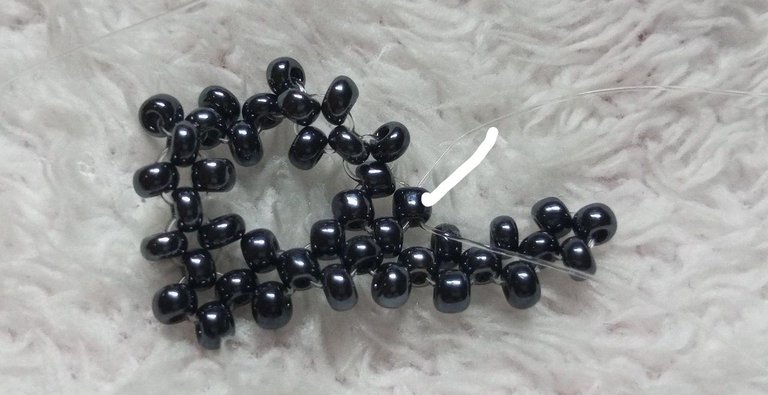
Step 16:
I put 1 bead to the left, 1 bead to the right, and crossed both lines with 1 bead.
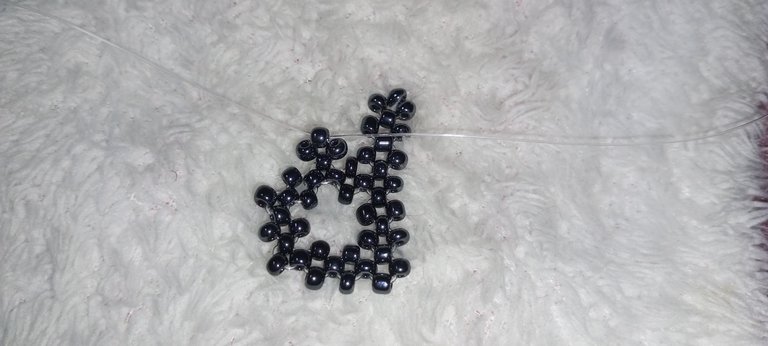
Step 17:
I put 1 bead to the left, 1 bead to the right, and 1 bead to cross both lines.
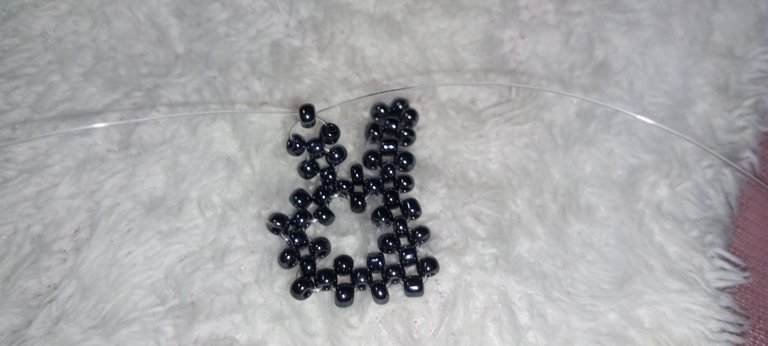
Step 18:
I put 1 bead to the left and 1 bead to cross both lines.
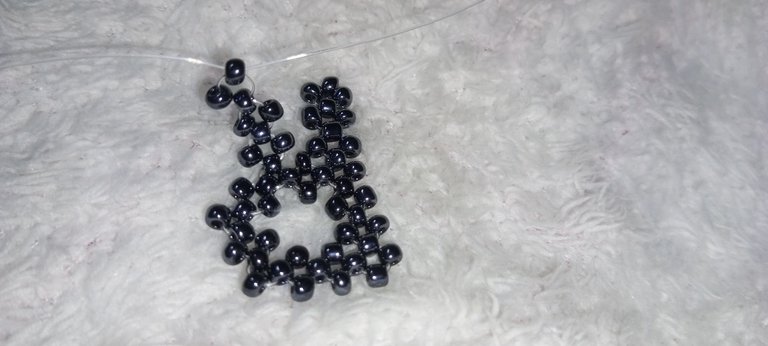
Step 19:
I put 1 bead to the left, 1 bead to the right, and 1 bead to cross both lines.
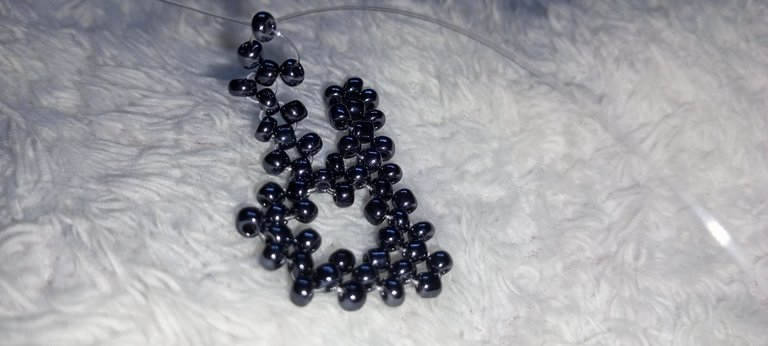
Step 20:
I put 1 bead to the left and 1 bead to cross both lines.
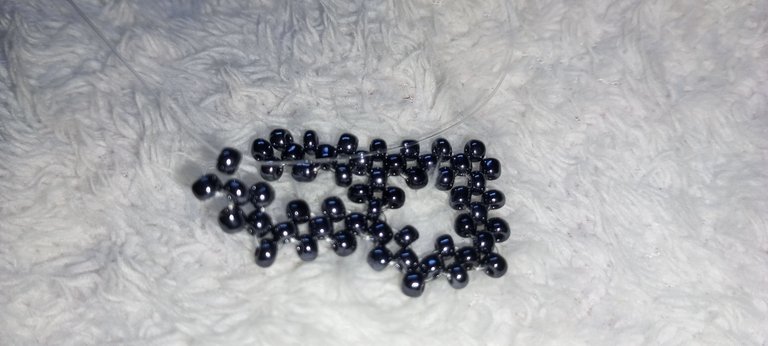
Step 21:
I put 1 bead to the left and 1 bead to the right, then crossed both lines with the first bead when you count from downwards, as marked in the image below. I proceeded to tie the knots and trim off the excess fishline, and we had our half part of the B.
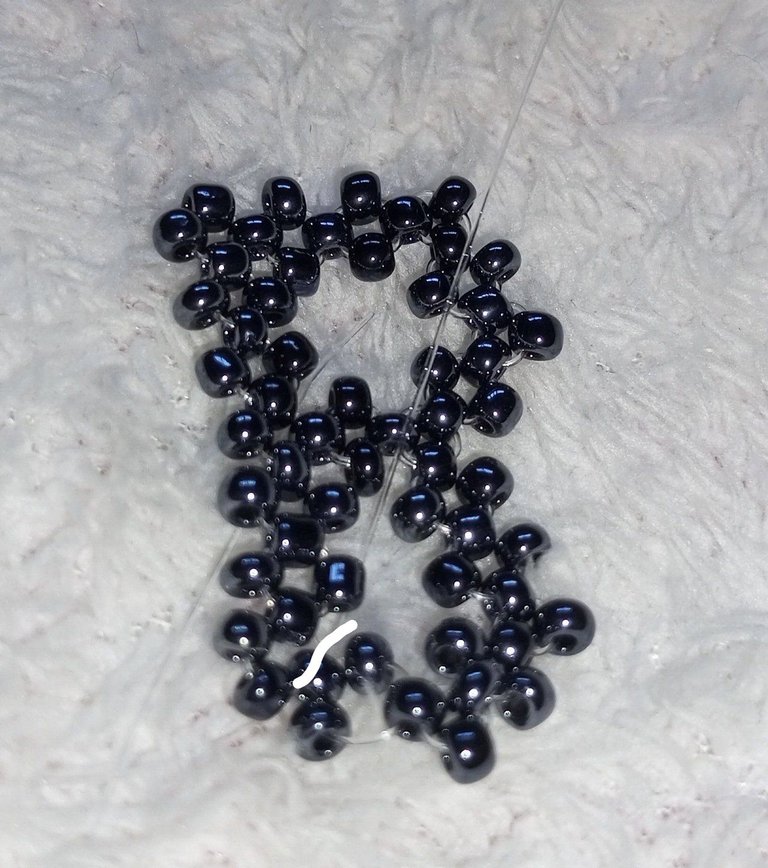
Step 22: Repeat steps 1-21 to make the other half of the B.
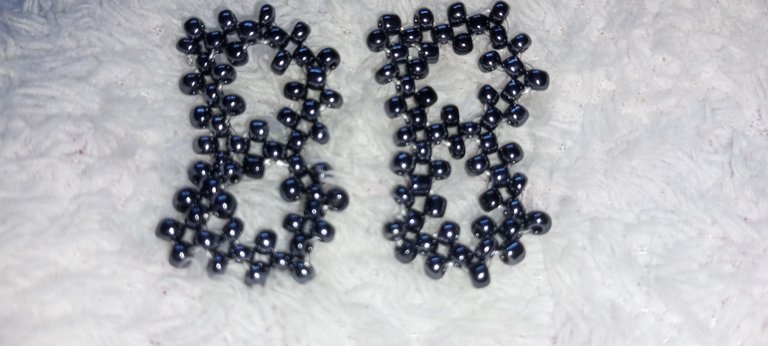
Step 23:
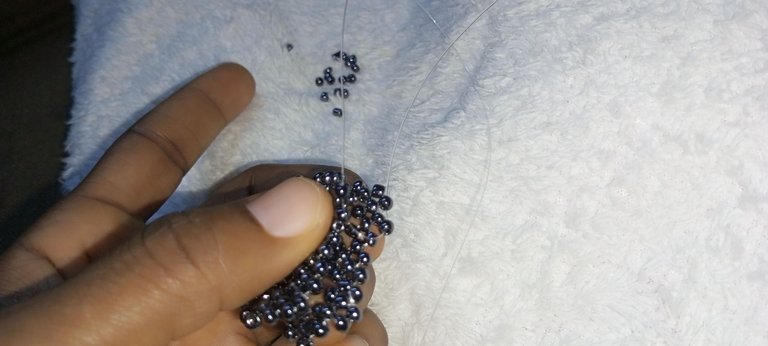
I brought the two halves of the B together, cut a new fishline, put 1 bead, and used it to join the two half parts. I continued the process until it went around, and we had our B.
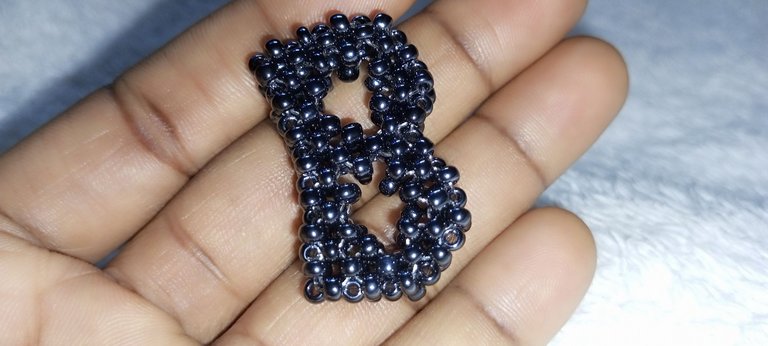
Whenever I finish my work, I like to take some photos of it outside for clearer pictures, but it has been raining over here since yesterday, which made the outside very dull; below are some of my outside photos, regardless of the rain and I hope that you enjoy them.😊
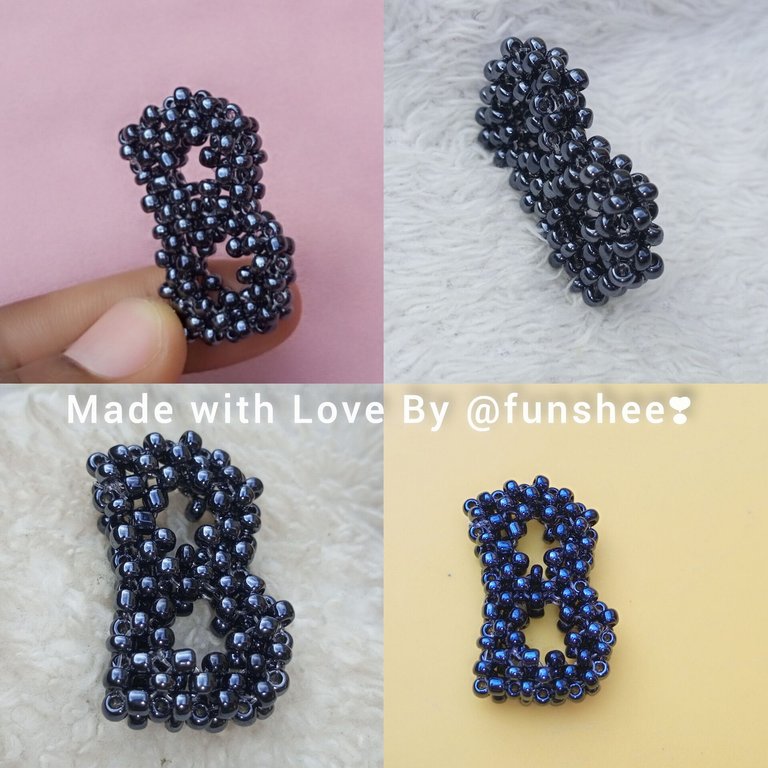
Thank you so much for your time; what do you think about the new size of the beads? Like always I will love to read and respond to your comments.
@funshee ✍️❣️🥰
All Images are mine, taken with my Tecno Spark 8 plus
