Happy holidays! 😊 everyone, I hope you are enjoying your time, my wishes for you is that may the season brings lots of joy and happiness to you and your loved.
As the year is coming to an end, I felt nothing in my heart but gratitude and gratefulness and since It's a ramps for my beaded alphabet for the year. I'm delighted to show you something special I have made for this wonderful community that has redefined my Hive journey in such a beautiful way. And to be dedicated to Hive in general for giving me an amazing year, 2024.

I have always been a DIY person; I made my own bathing soap, dishwashing soap, hair oil, and a bunch of other stuff. I learned beadwork a long time ago. But not until a few months ago did I start being active in this community and sharing my beadwork. The love and encouragement I have been receiving so far from you all have been a great source of inspiration for me to keep unleashing this creative side of me, and I'm grateful from the depth of my heart.
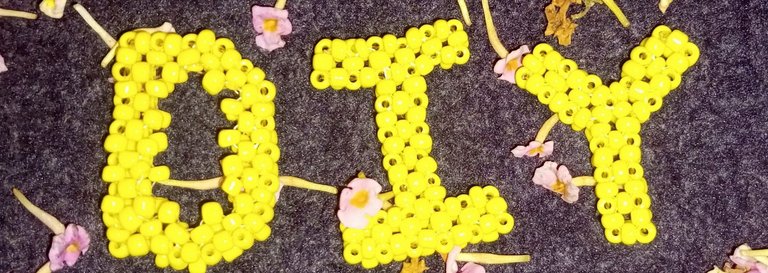
I decided to bead this DIY as a little sign of my appreciation and to salute all my DIY pals, to keep their creative light and vibes on, and to keep on showing us their beautiful creations in the community. To our curators and community moderator, who have kept this space welcoming and lovely, I say a big thank you.
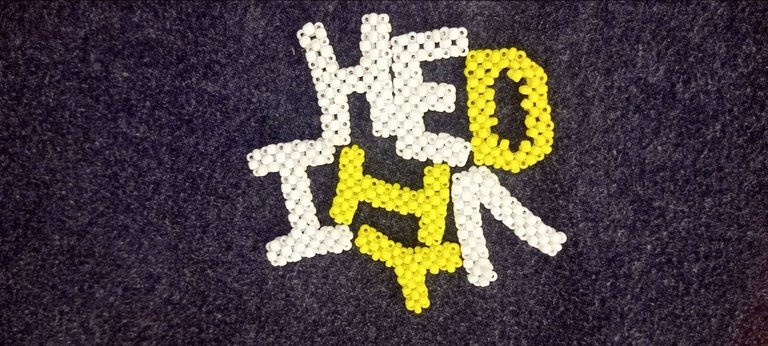
In this tutorial I will be showing you how I beaded the initial D only, as I have beaded the letter H and I in my previous post, and I might be beading V, E, and Y in the future.
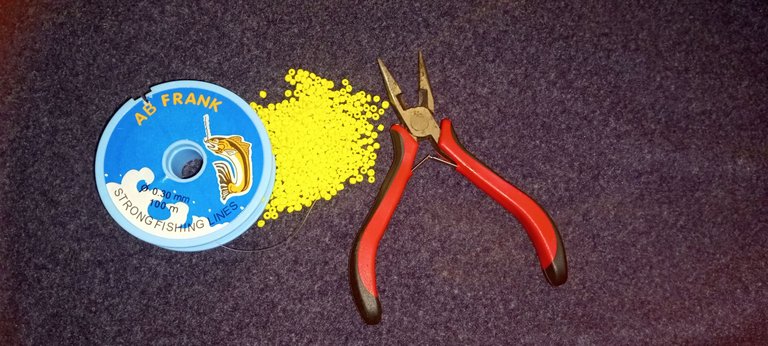
Materials used:
To make the letters I used:
✓ seed beads,
✓ 0.3 fishline,
✓ scissors. I misplaced my lovely scissors. I'm making do with my cute three in one pliers for now.
Step-by-step process:
Step 1:
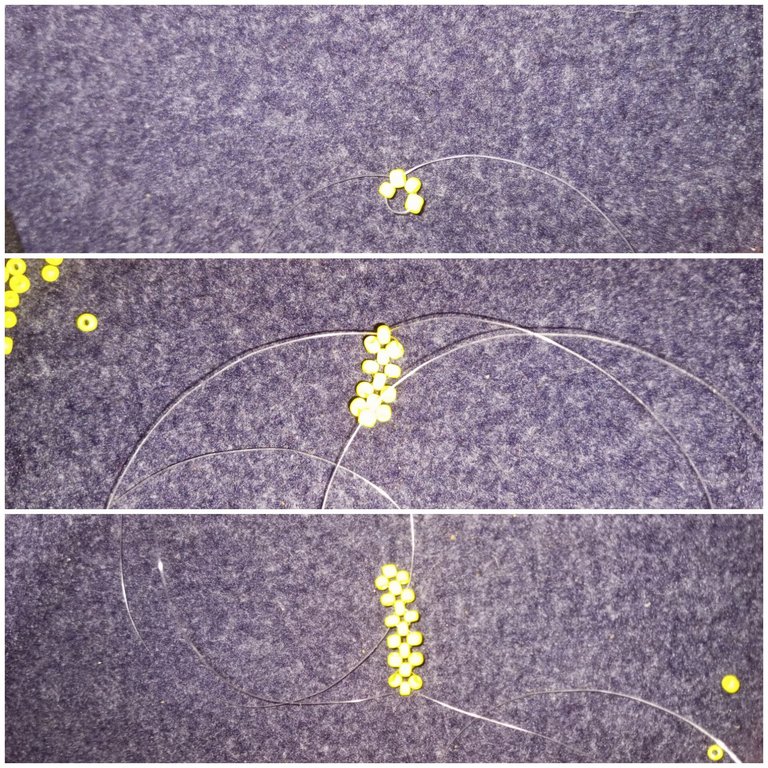
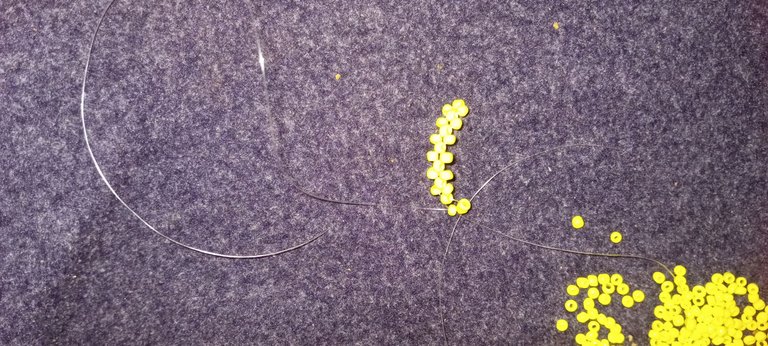
I started by making six rings of beads.
Step 2:
To turn the line of the bead, I put two beads on my left fishline and then crossed both lines with one bead.
Step 3:
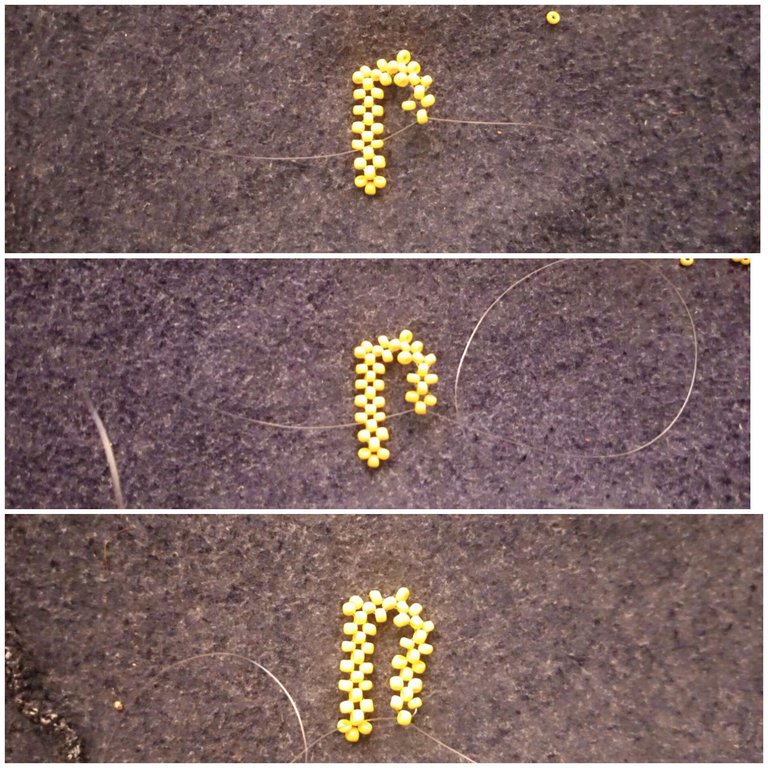
Here I added one bead to my left fishline and one bead to my right fishline and then crossed both lines with one bead. Another one bead to my left fishline and then crossed both lines with one bead; from here I added another four rings of beads.
Step 4:
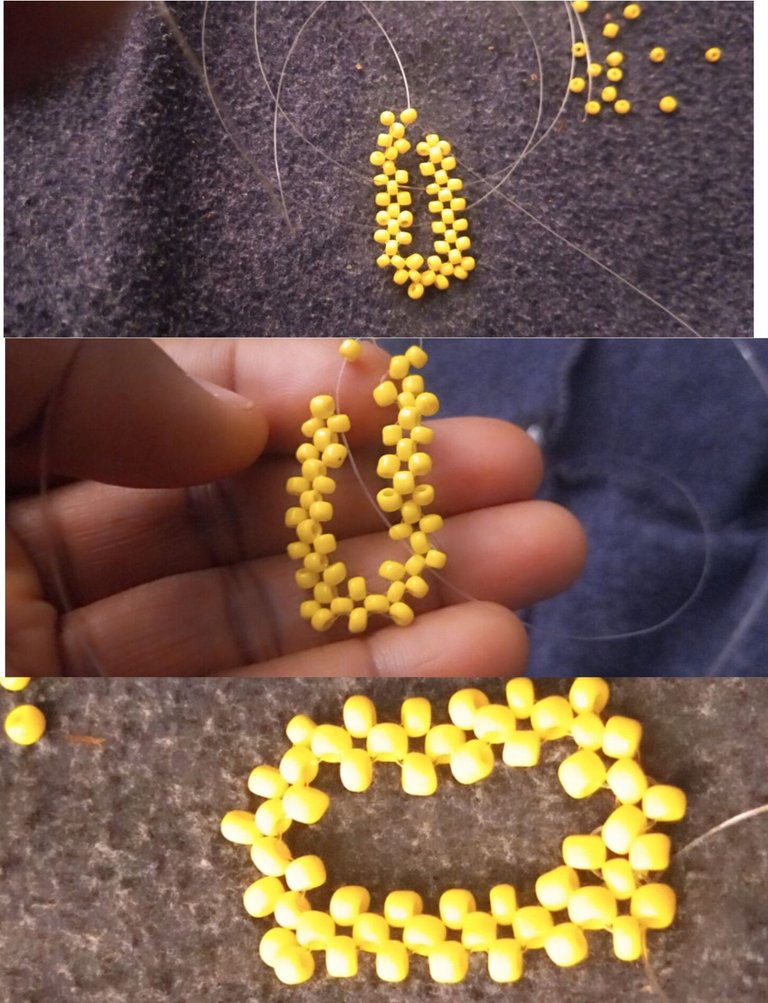
I put one bead on the left fishline and one bead to cross both lines, another one bead on the left fishline, one bead on the right fishline, and then crossed both lines with one bead. I continue by adding one bead to the left fishline and then crossing both lines with one bead, and lastly one bead to the left fishline and one bead to the right fishline and using both lines to cross the first bead on the main work. That completed the first half of the D.
Step 5:
I simply repeated steps one to four above to make the other half of the D. I then brought them together and joined it round with a single bead until we have our D ready.
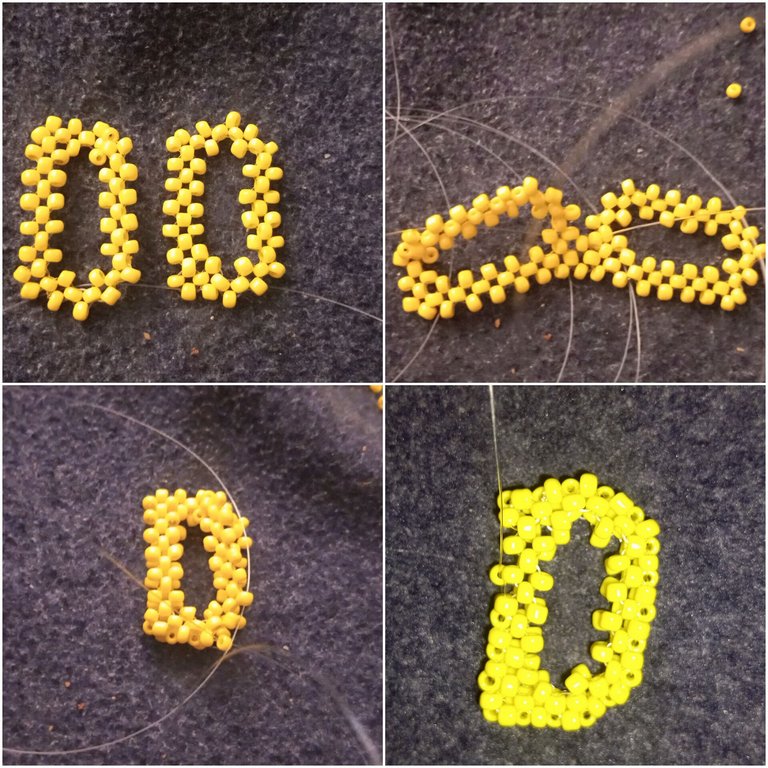
And here is the final look.
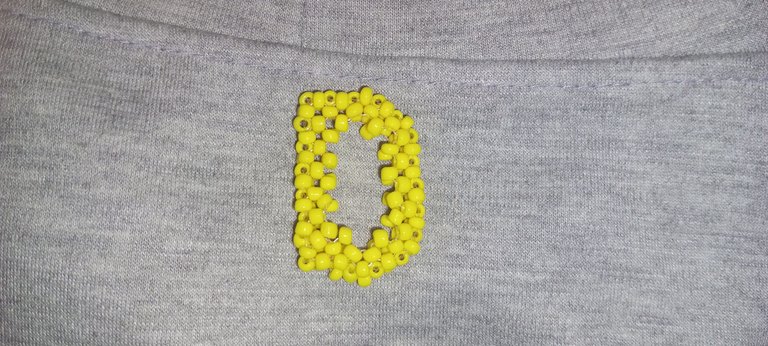
It did not end there, I have got HIVE and DIY spelled in beads. For all the awesome things that the HIVE community have brought into my life this year, I say a big thank you and a happy new year in advance.
And please stay tuned because I have got some beautiful stuff up my sleeves I can't wait to share with us in 2025.
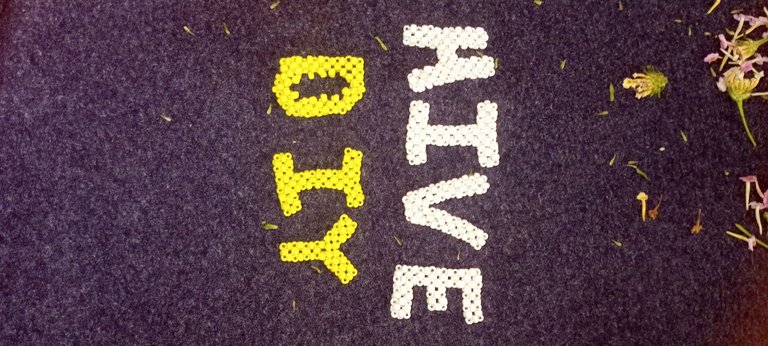

More pictures below for your pleasure view.

I think these two in particular will make a cool text divider for my #DIY content, or what do you think? 😊 And if you want, feel free to use it in your posts; no credit is required.


Thank you so much for your time and support, have are lovely season 🎄
All images are taken with my Tecno Spark 8 plus. Image calloge made with Inshot App and gift images made with GIPHY App, in case you want to tweak your images a bit😊
@funshee❣️✍️


