Looking for something new or fun to create? Take a chill pill as I have something amazing you can try your hands on.
Today I will be walking you all through the process of how I made a mini cap.
You know when you see those beautiful DIY projects on Pinterest and you are surprised at how they made it and you always feel it's impossible for you to ever do something so amazing and creative like them. The truth is that you can as long as you set your mind towards it.
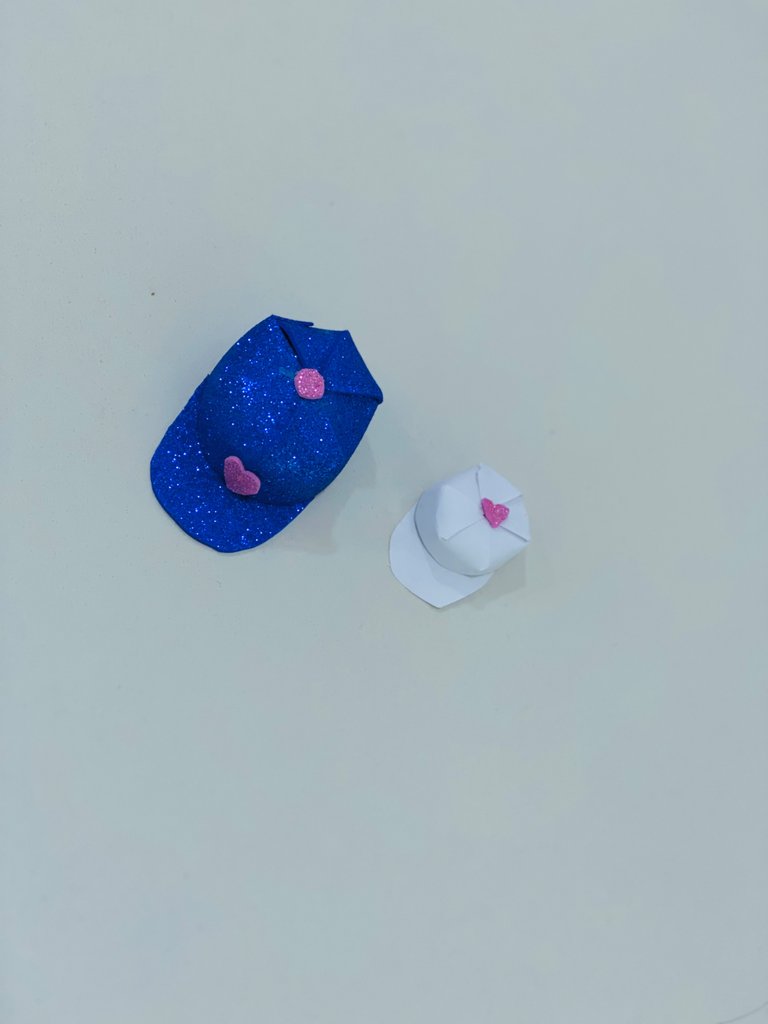
Before I was able to make this mini cap I did a few practice and I am glad that I finally got a hang of it.
To make this beautiful cap I followed the below steps.
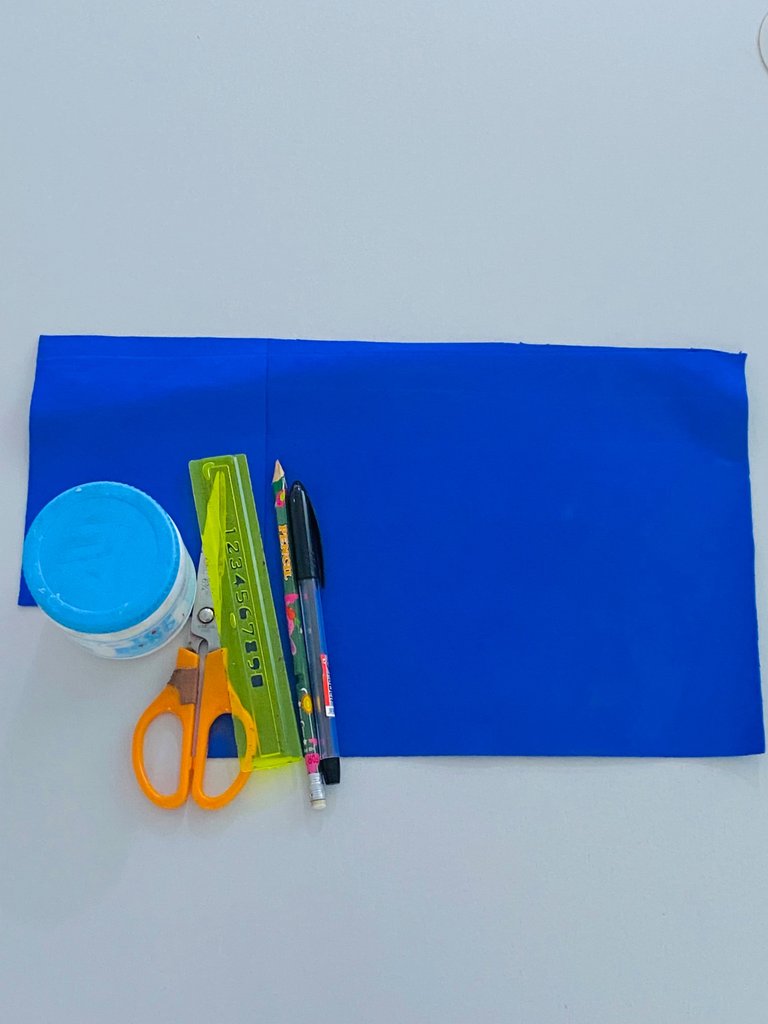
Materials
Foam Sheet
Ruler
A Pair of Scissors
Pencil
Pen
Gum
Procedure
Step 1:
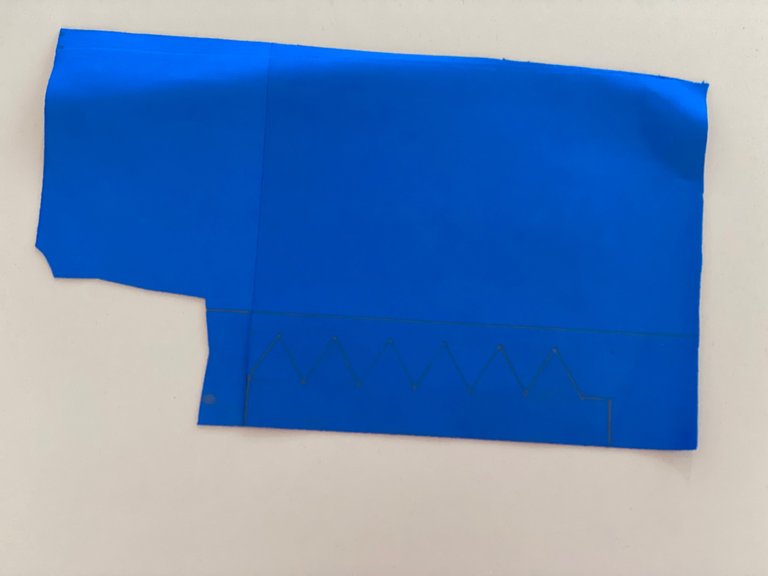
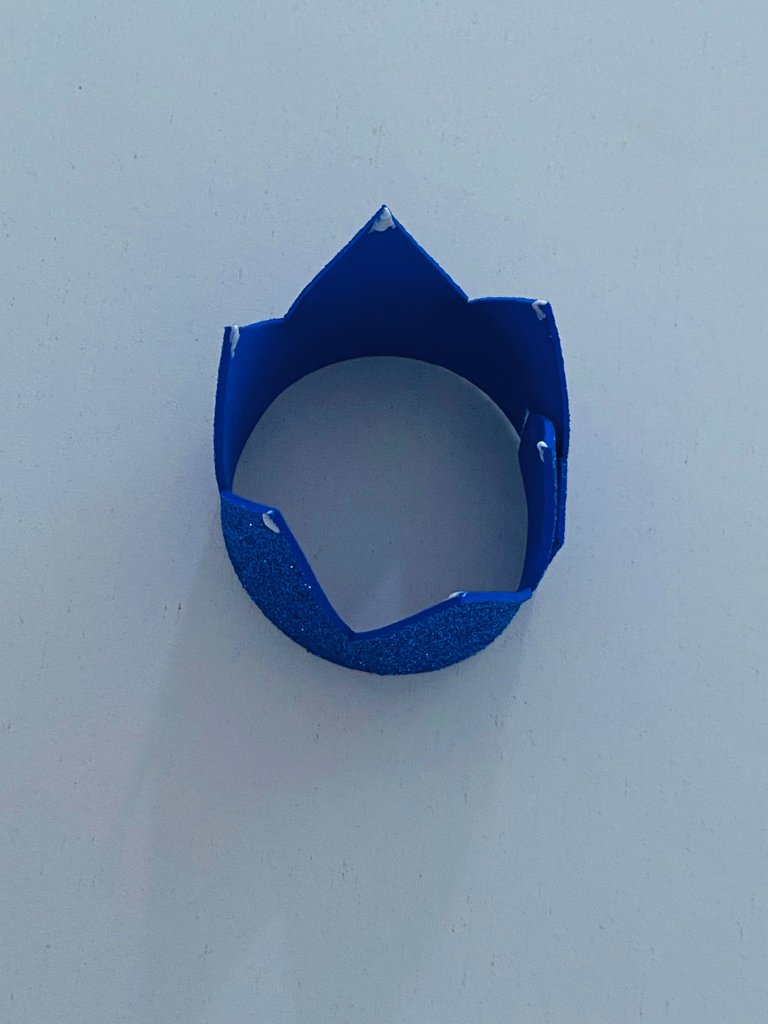
You start by drawing a crown on your foam sheet this will enable you to get the shape of your cap. Your crown must be drawn well with every side accurate and neat.
Step 2:
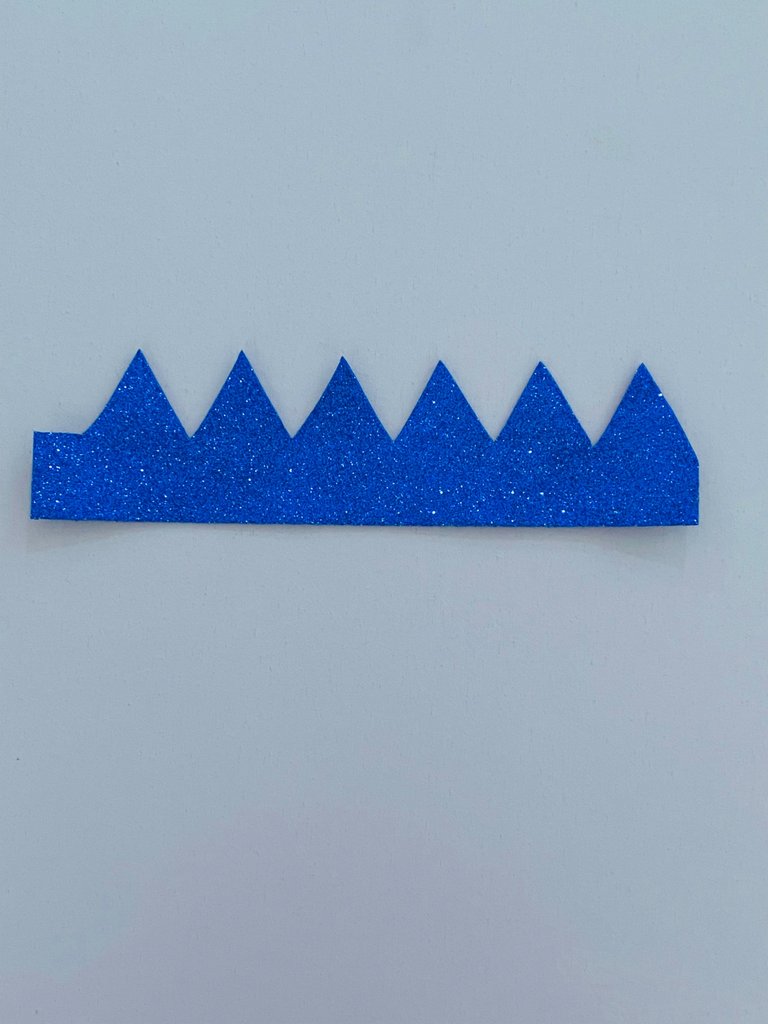
Neatly carve out the crown from your foam sheet but ensure to keep an extra space at one end of your crown as this space will aid in the attaching of both ends of your crown.
Step 3:
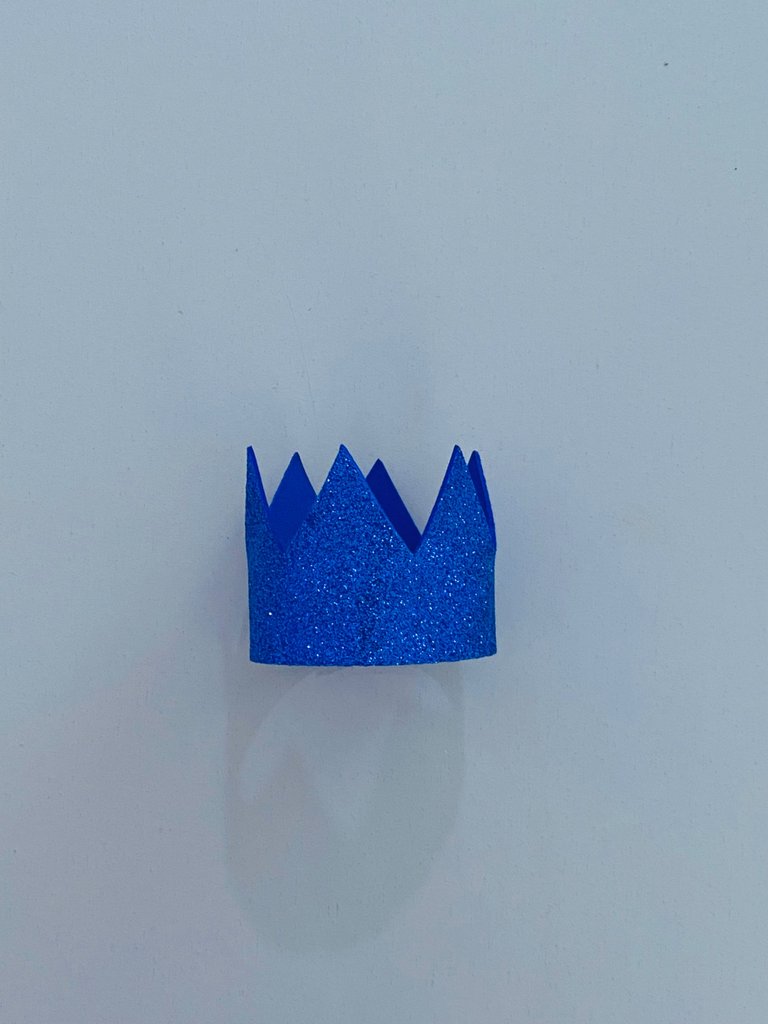
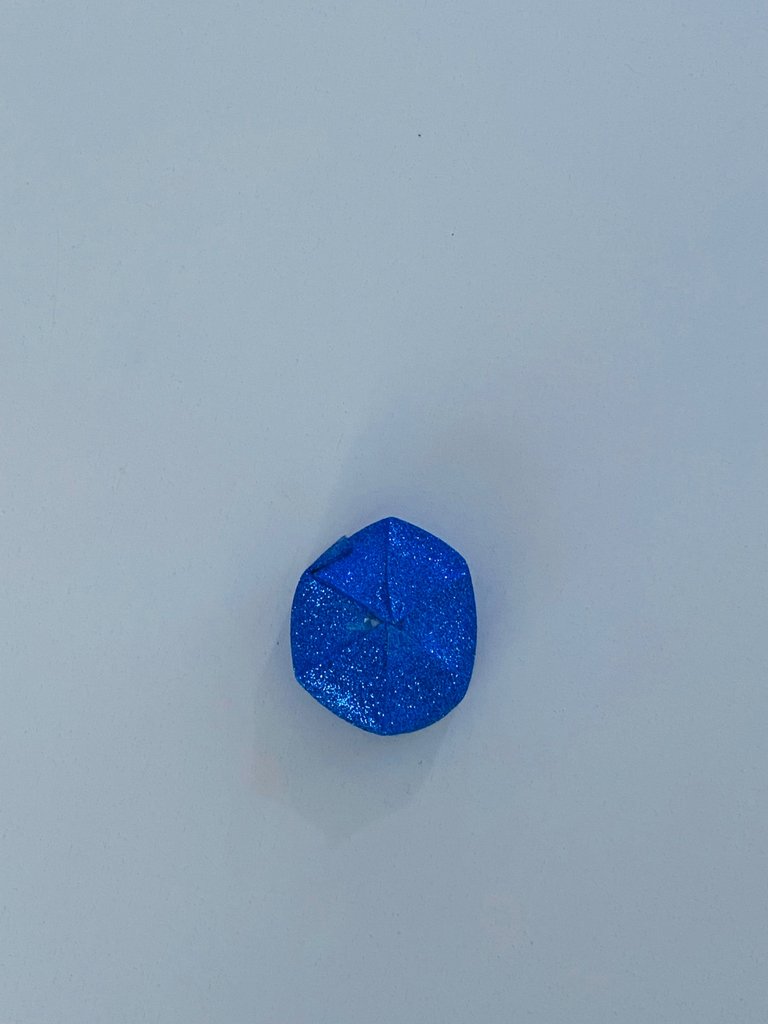
After attaching both ends of your crown, proceed to apply your gum to the tip of each crown.
Step 4:
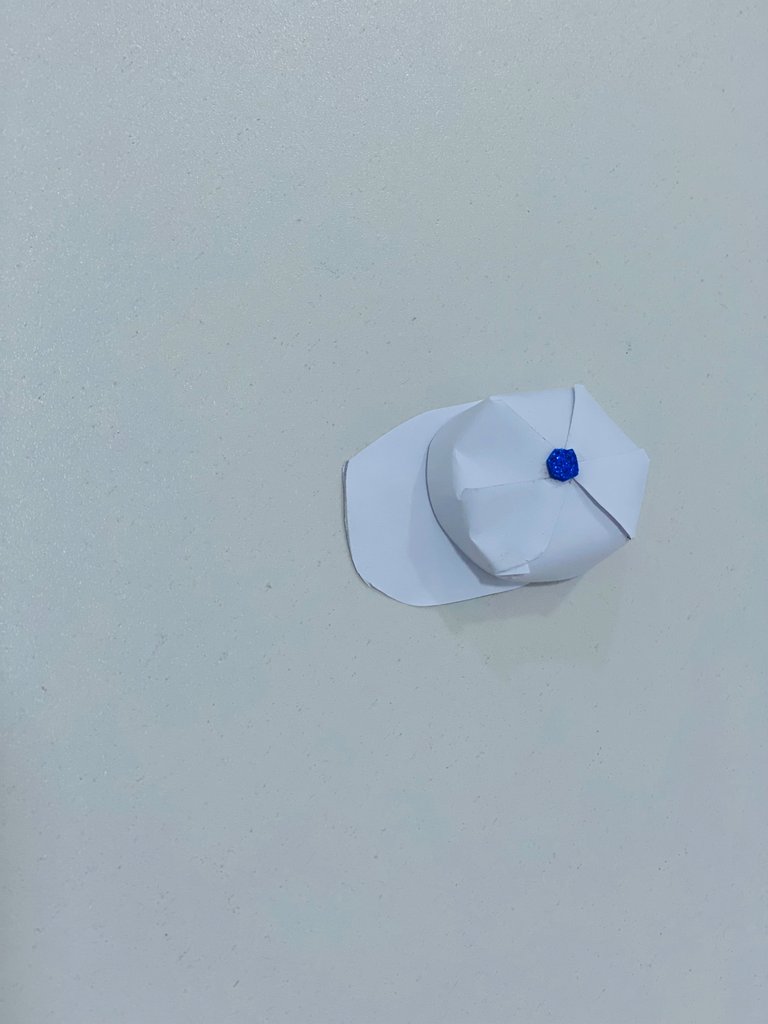
Fold each tip neatly together and make sure they are sealed properly, you don't want your cap to have a hole in the middle.
Step 5:
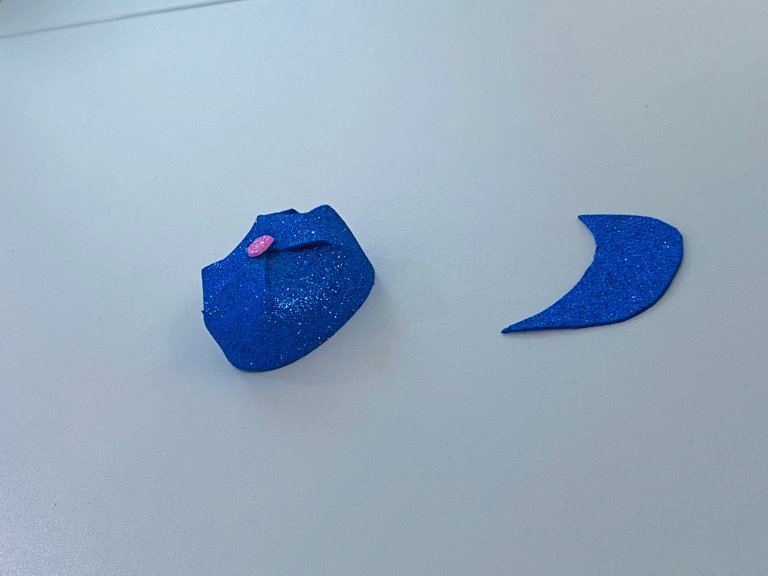
To make your visor, cut out a semi-circle on your foam sheet and carve it out. Do this neatly and also measure the base of your crown and your visor, so they fit properly.
Step 6:
Satisfied with your measurement and the shape of your visor, apply your gum on the front part of your crown and to the visor as well. Afterward, join them together.
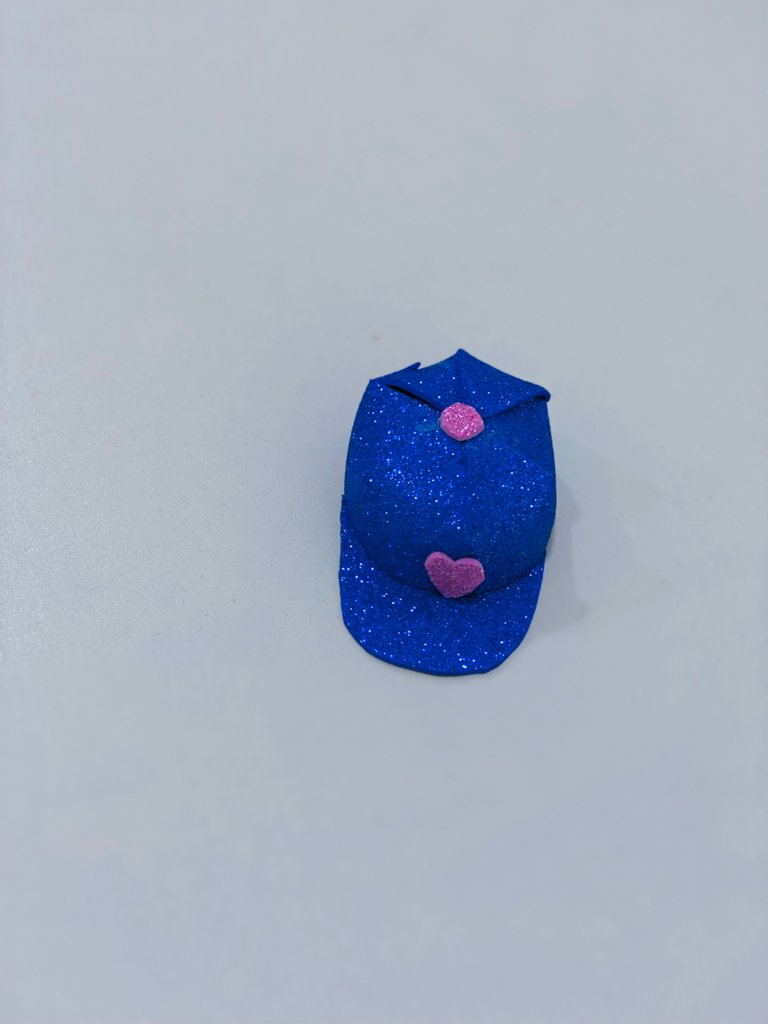
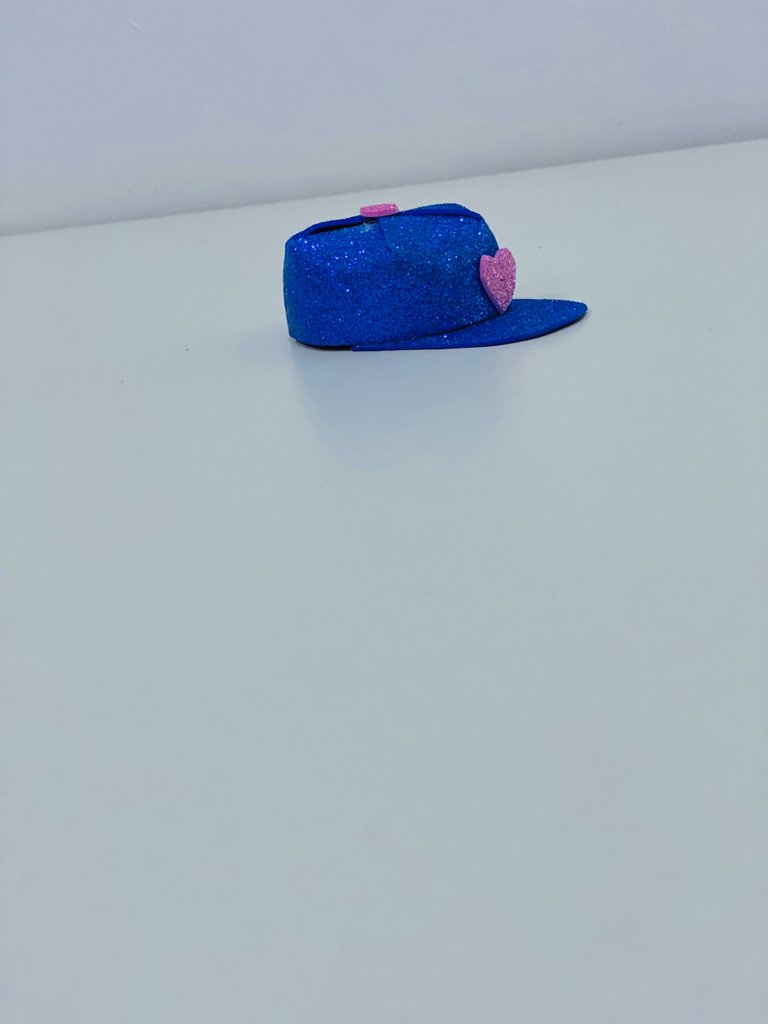
Put in some finishing touches and Viola! Your mini cap is ready!
Do you like my mini cap? Is it something you’d love to try out? Let me know your thoughts in the comment section😃
All images are mine except otherwise stated.
Thanks for stopping by
Loads of Love🥰🥰
XOXO