One interesting thing about embarking on a DIY project is the brainstorming phase, those few minutes or hours you spend brainstorming what or how you want your project to be.
It’s not as easy as you think because it’s the brainstorming phase that births the project itself so technically it is the bedrock of the project.
It’s one thing to have it all in your head or watch tons of YouTube videos but it’s another thing to create them. Honestly, in my head, I can literally create a tractor and so many other things with paper😂 but in real life I do not even know where to begin.
If there’s one thing I’ve learnt about embarking on creative projects is to never give up. Even when what you’re trying to create looks nothing like what you had in mind just be patient because your project is undergoing some creative process, with every step, you get closer to achieving your goal.
So today I made a princess cake topper and I was glad that it came out just fine against all odds.
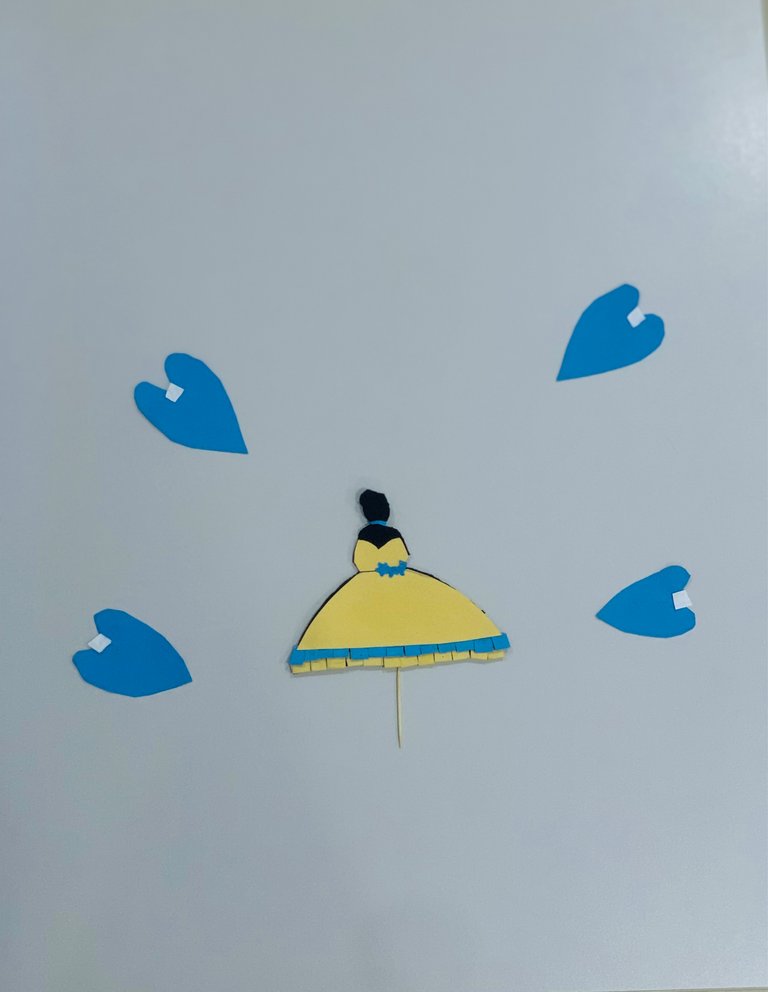
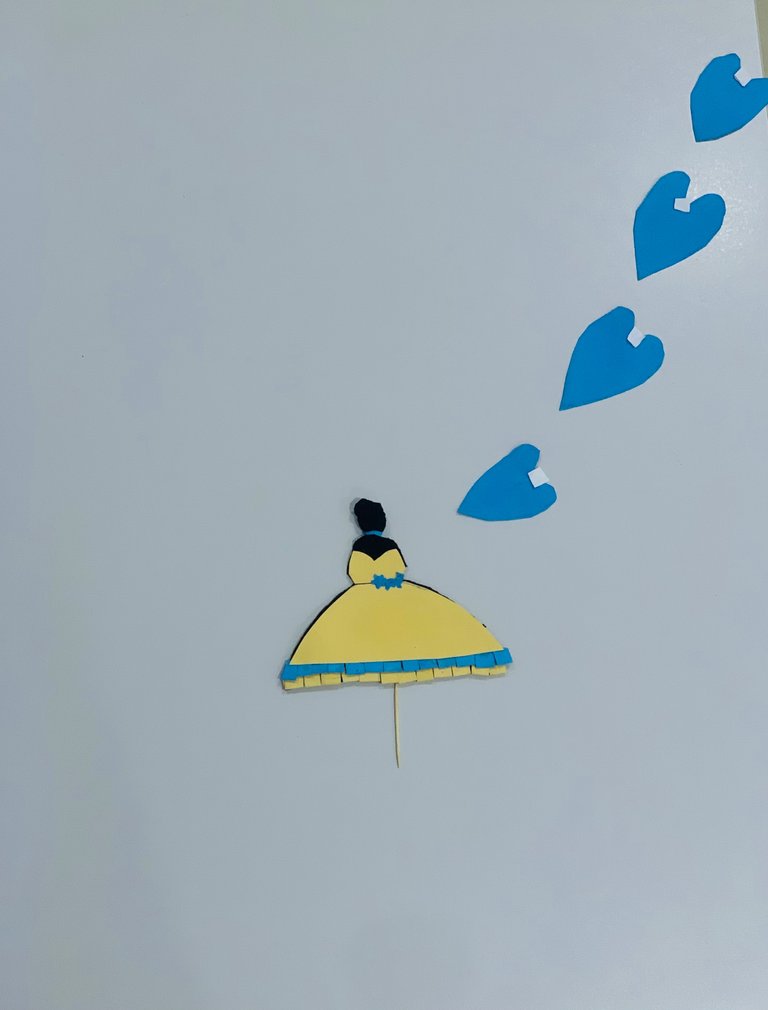
To achieve this I used the following materials:
Paper
Scissors
Razor blade
Gum
Leather
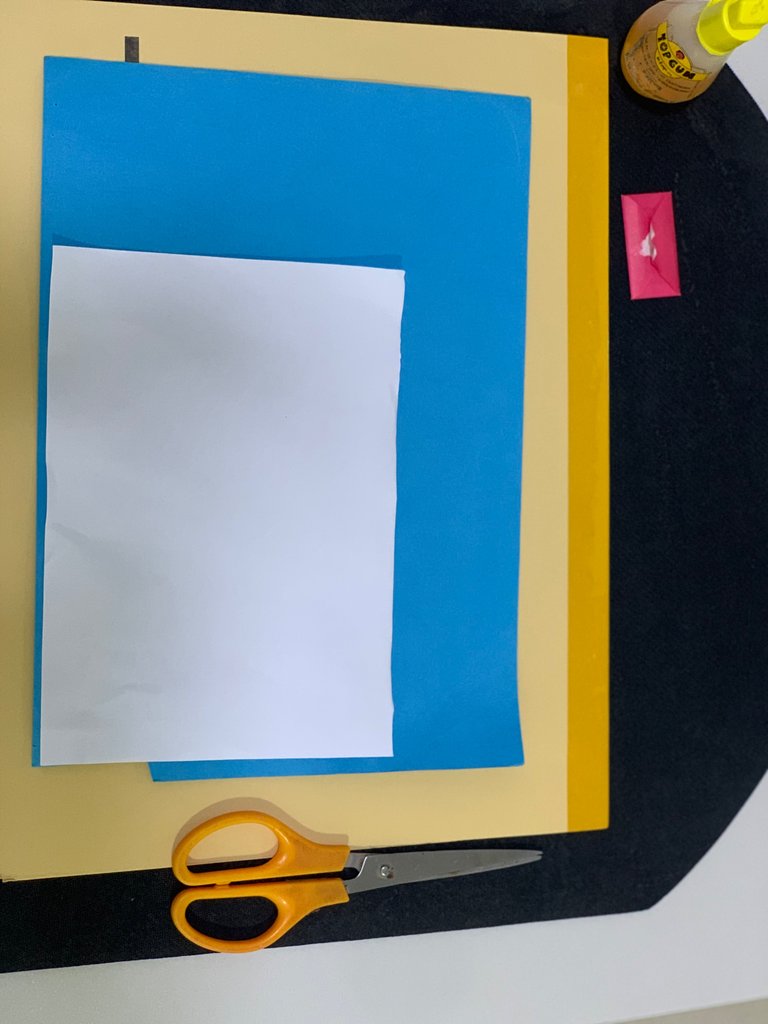
These are the few steps I took to create my princess cake topper.
Step 1:
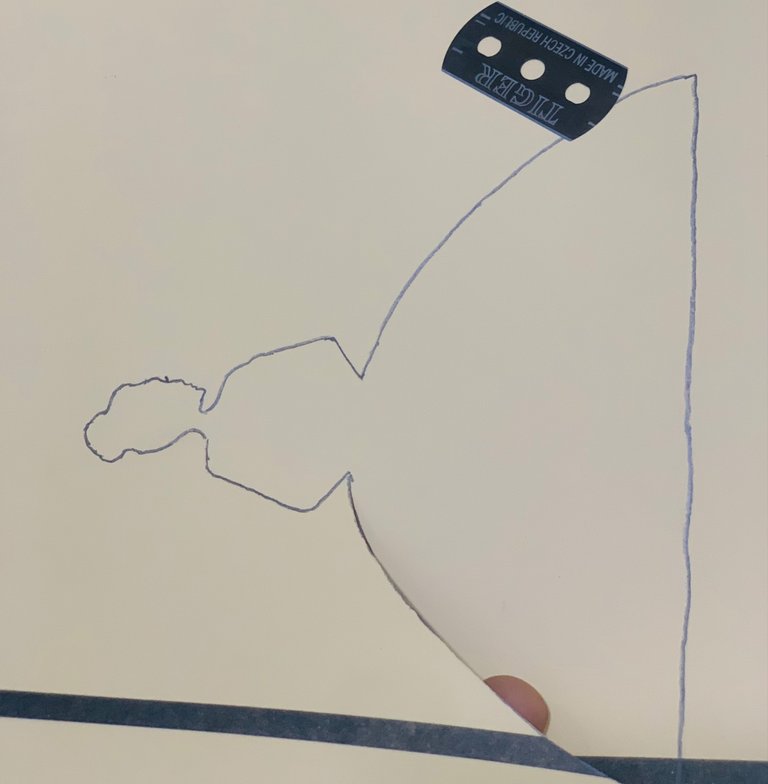
Draw the silhouette of your ballerina on cardboard paper.
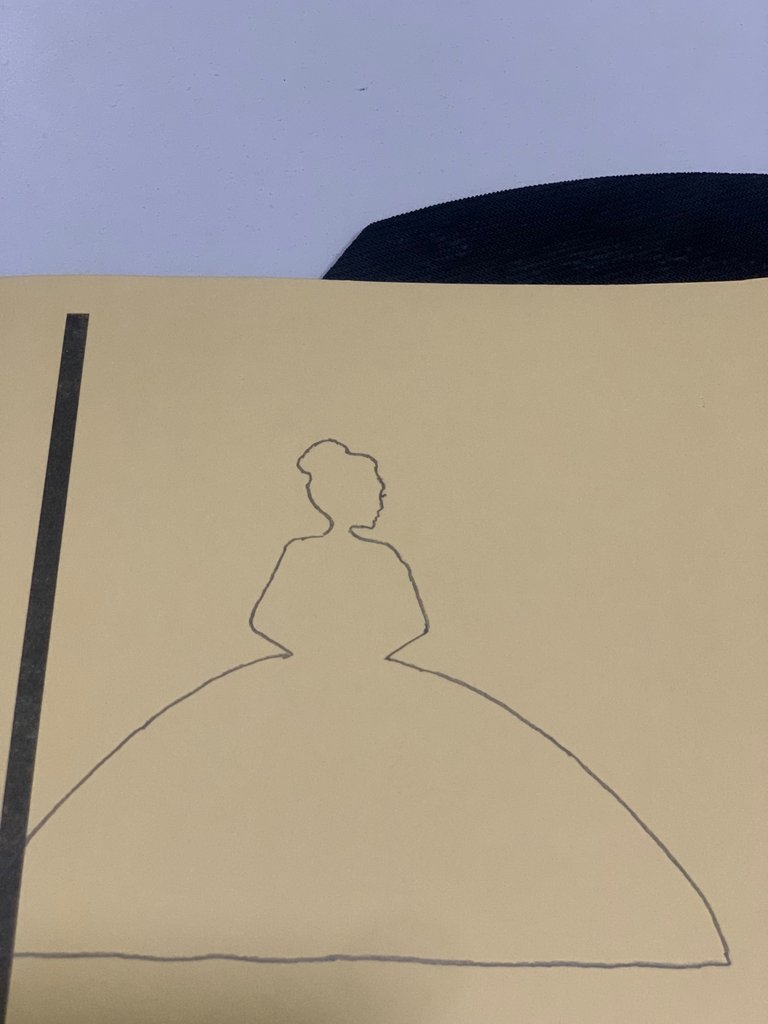
Step 2:
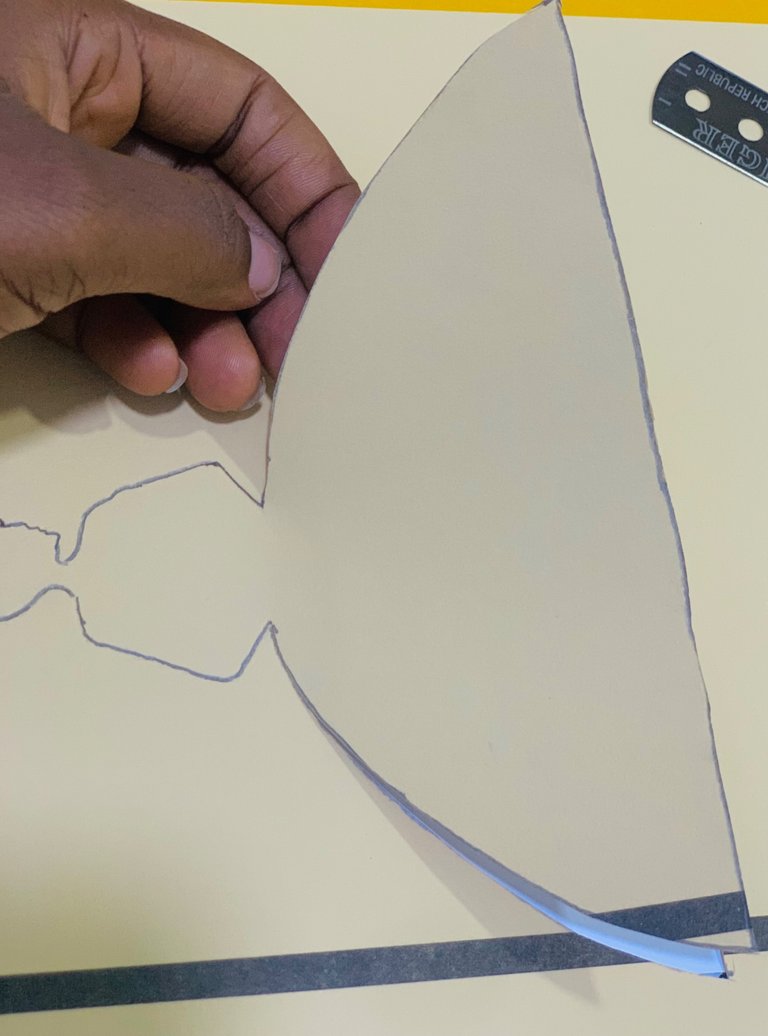
Use your blade to carefully carve out the silhouette as this carved-out shape would aid in carving out the silhouette on the leather.
Step 3:
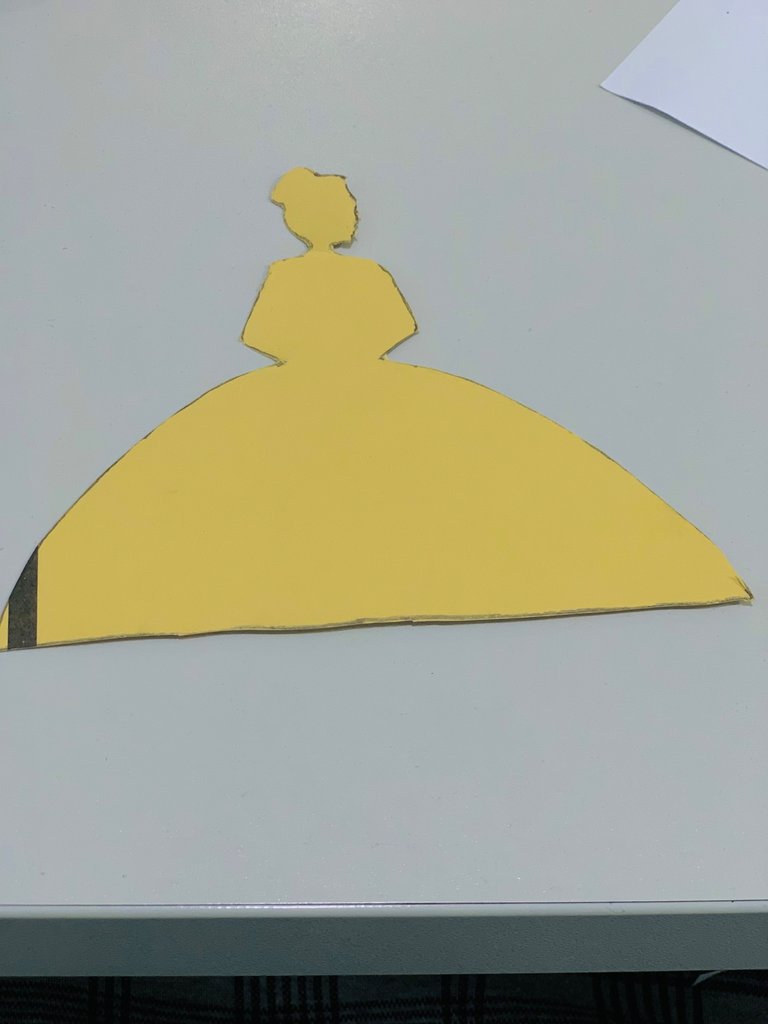
After carving, use your scissors to neatly trim the edges of your silhouette, this is to prevent you from carving out the wrong shape on the leather.
Step 4:
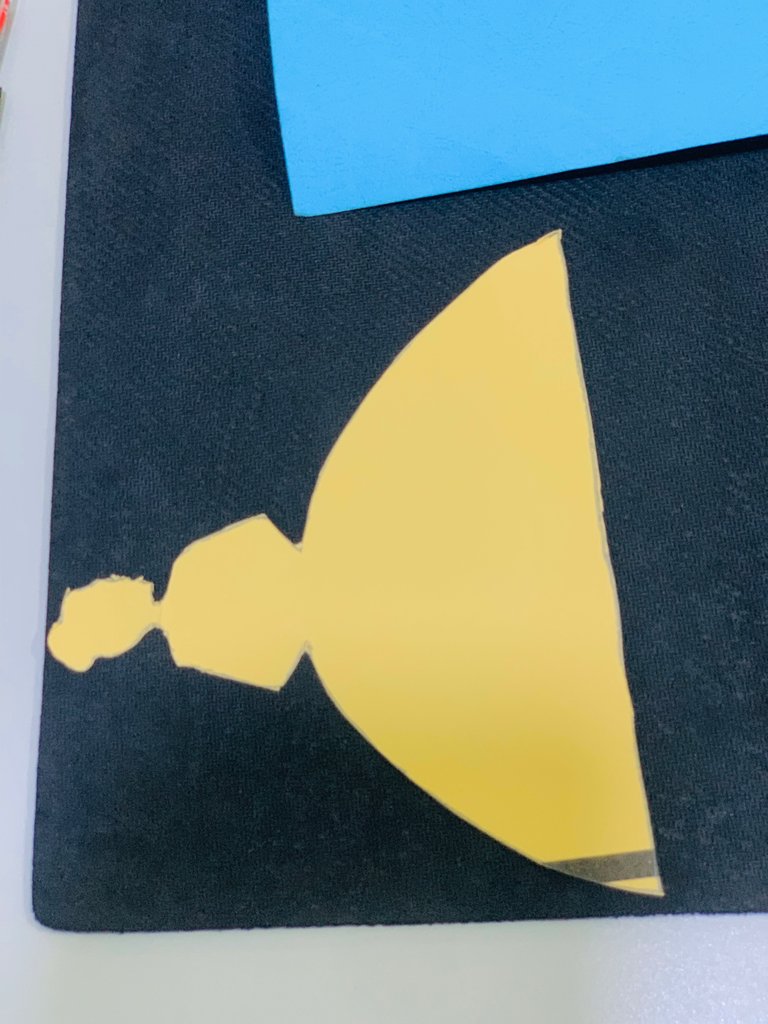
Use your paper silhouette to carve the actual silhouette from the leather. Do this carefully so you don’t alter the figure of your silhouette.
Step 5:
After successfully carving out your silhouette from the leather you move to the dressmaking stage and this is the most technical part of them all.
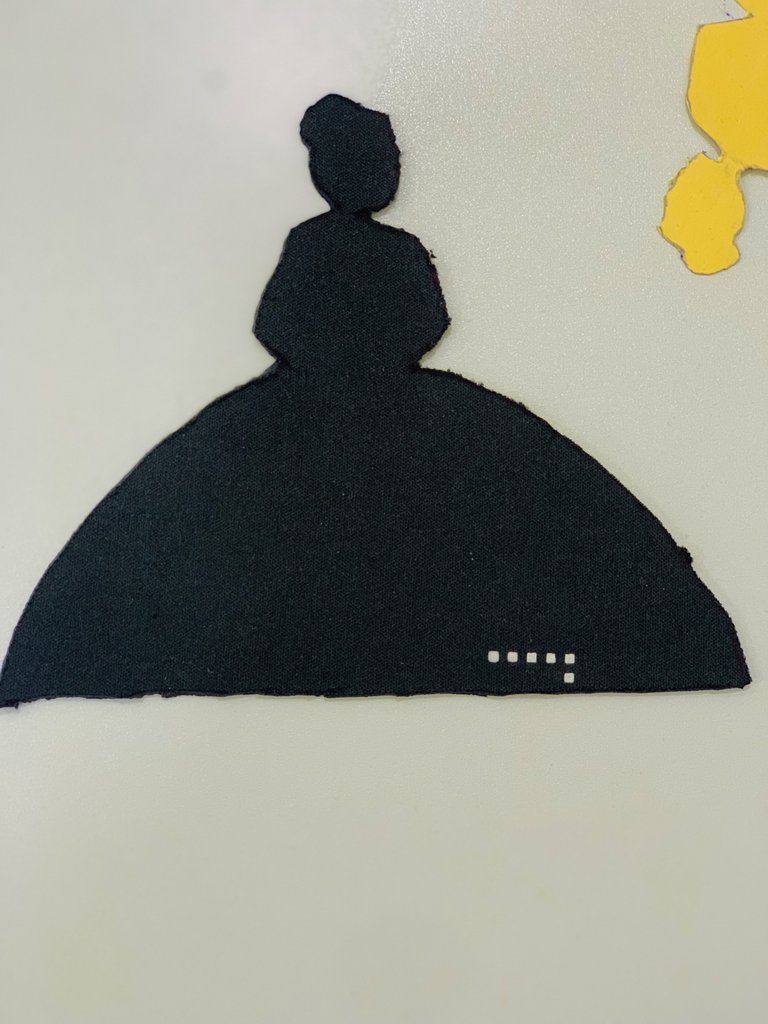
Step 6:
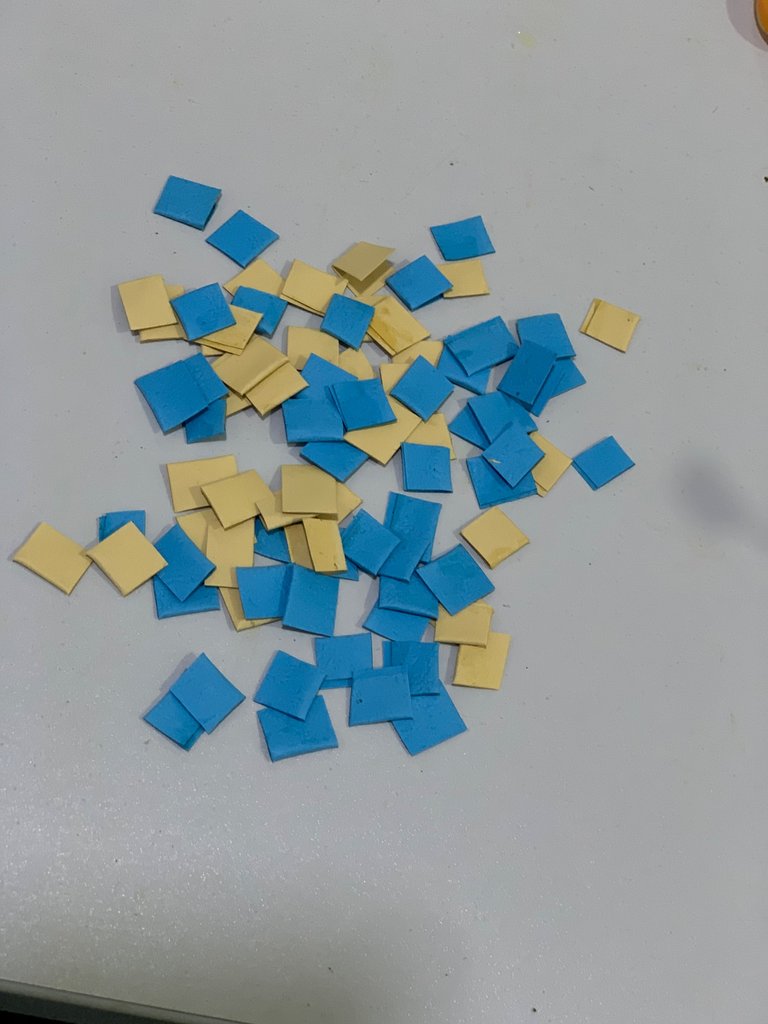
Cut out some strips from two different cardboard papers. Mixing two colors would help elevate the look of your dress.
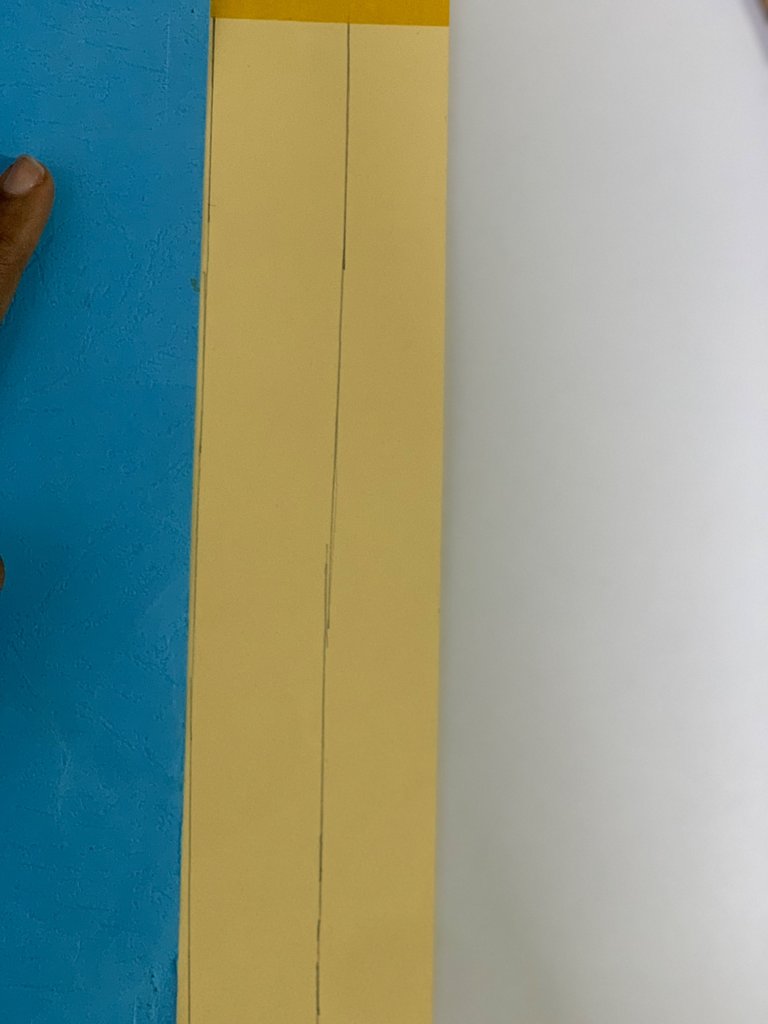
Apply gum to both sides of the strips.
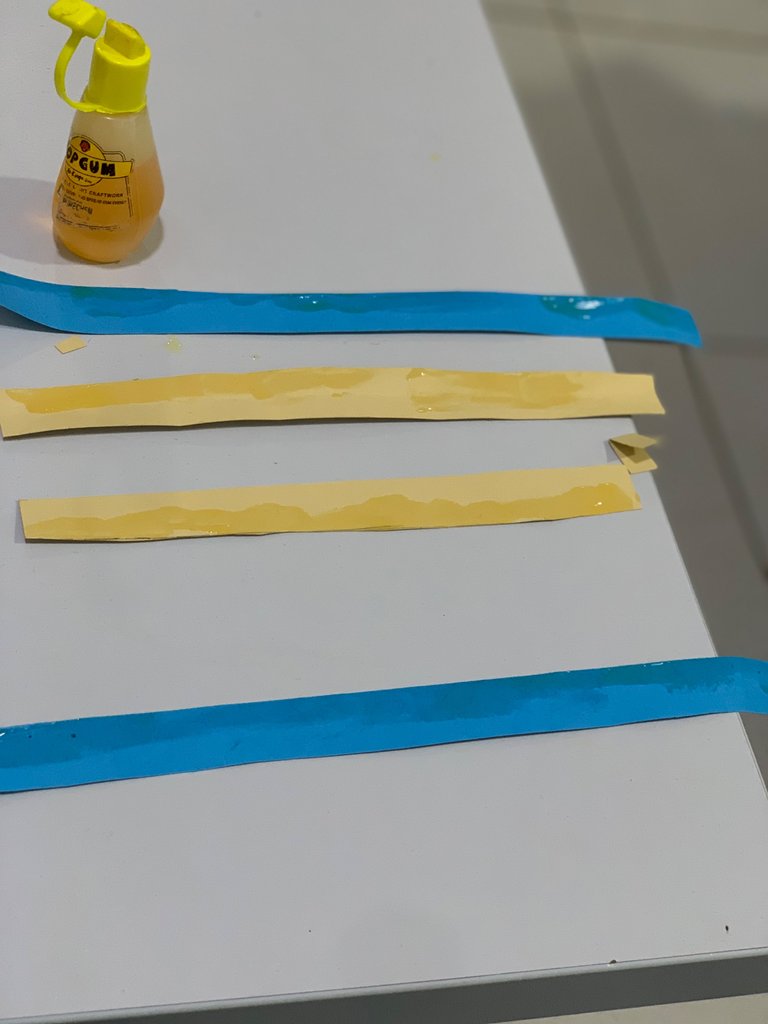
After applying gum on both sides of the strips join them together and cut them into smaller sizes, depending on the size you want.
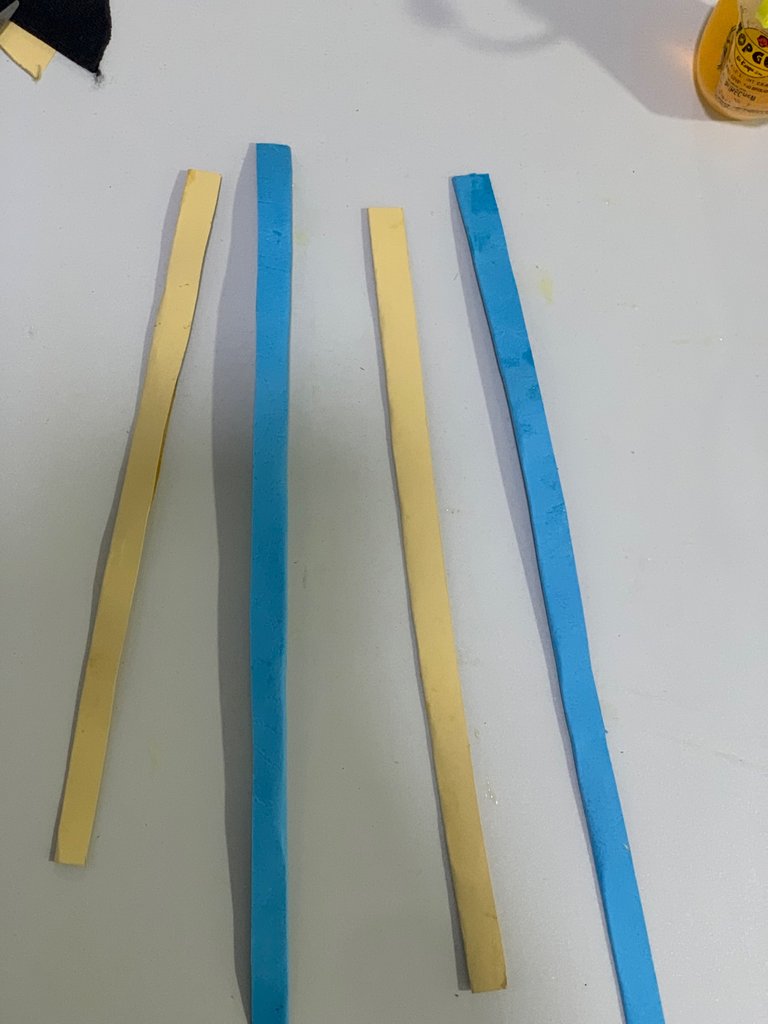
Step 7:
Apply your gum to your leather silhouette and start the process of placing the strips at the bottom of the silhouette to form the ruffled part of the dress.
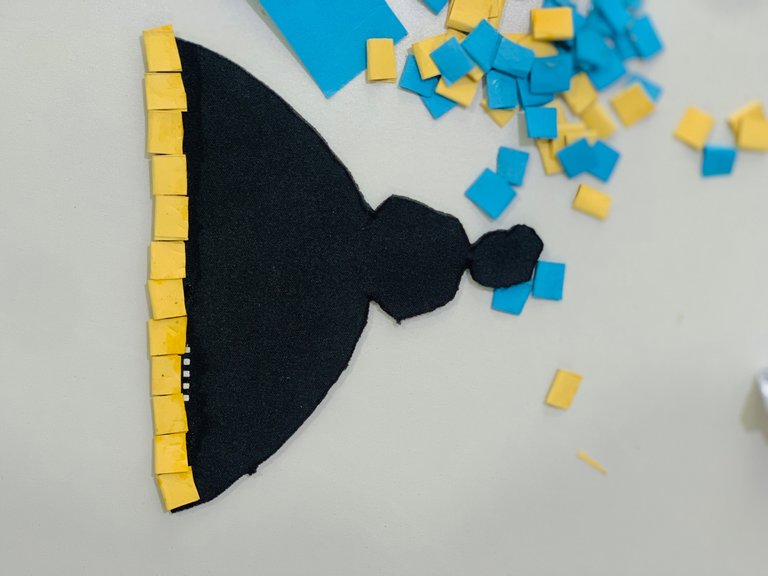
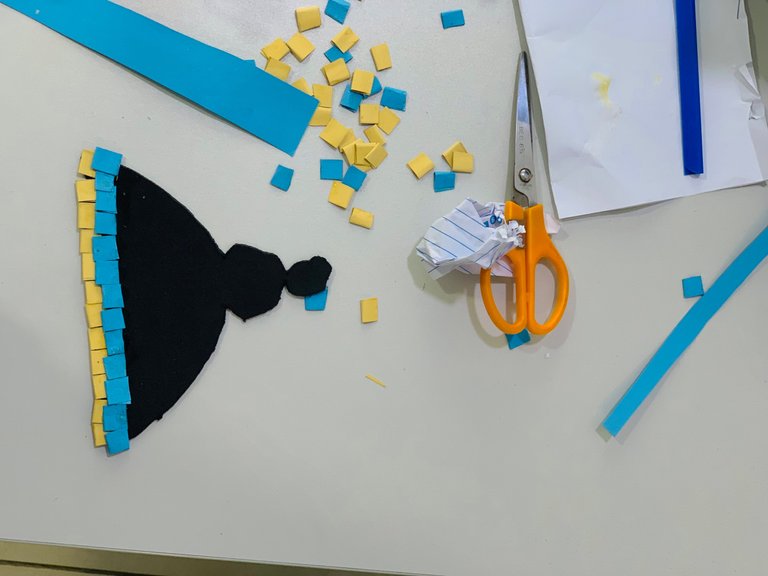
The design process is a lot of work but was worth it in the end.
.Step 8:
Cut out your design for your dress
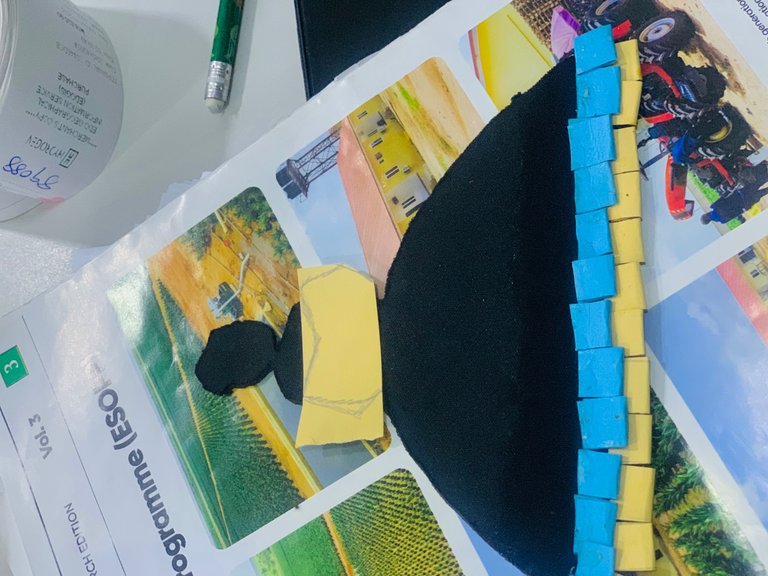
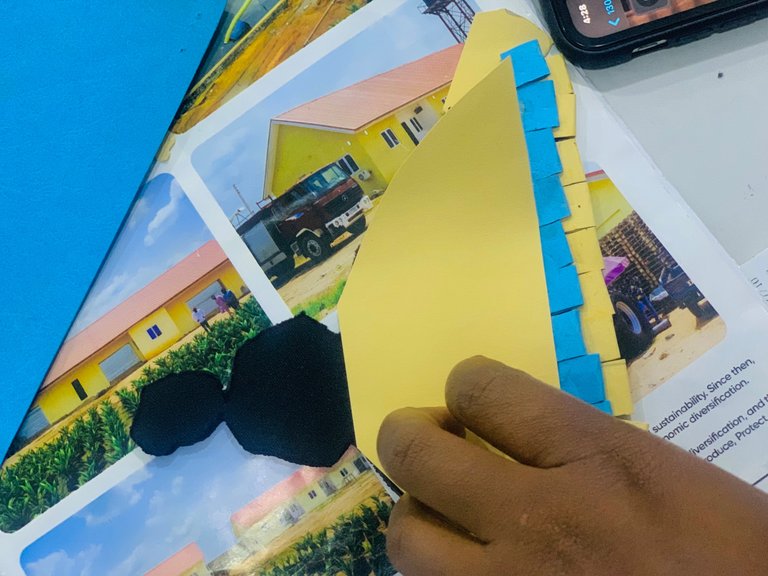
After getting your perfect design, gum it to your silhouette.
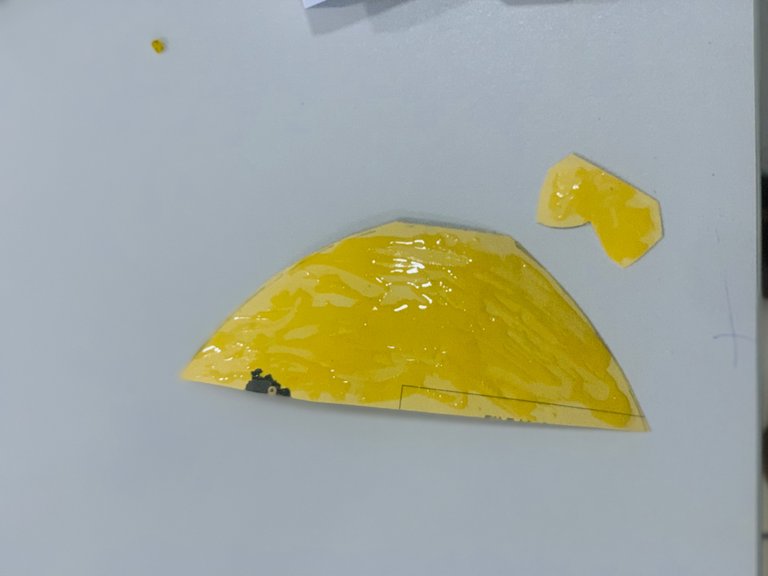
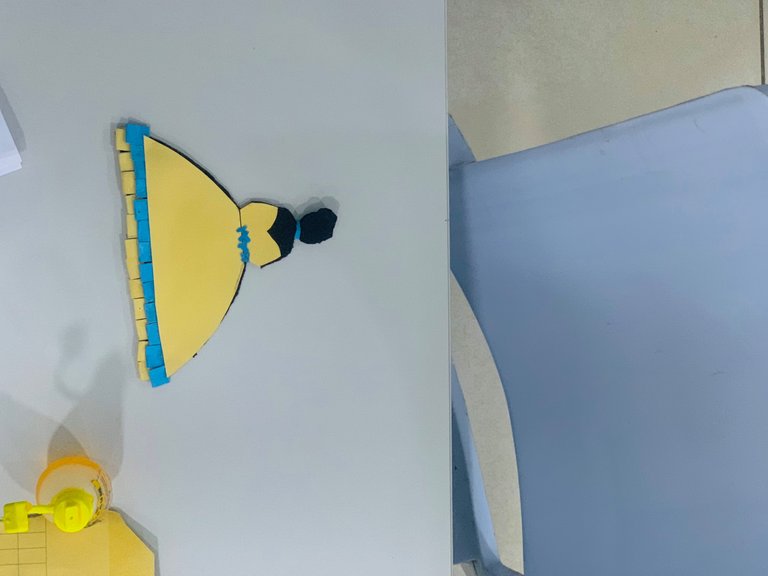
Put all the finishing touches and voila! Your princess cake topper is ready!😃
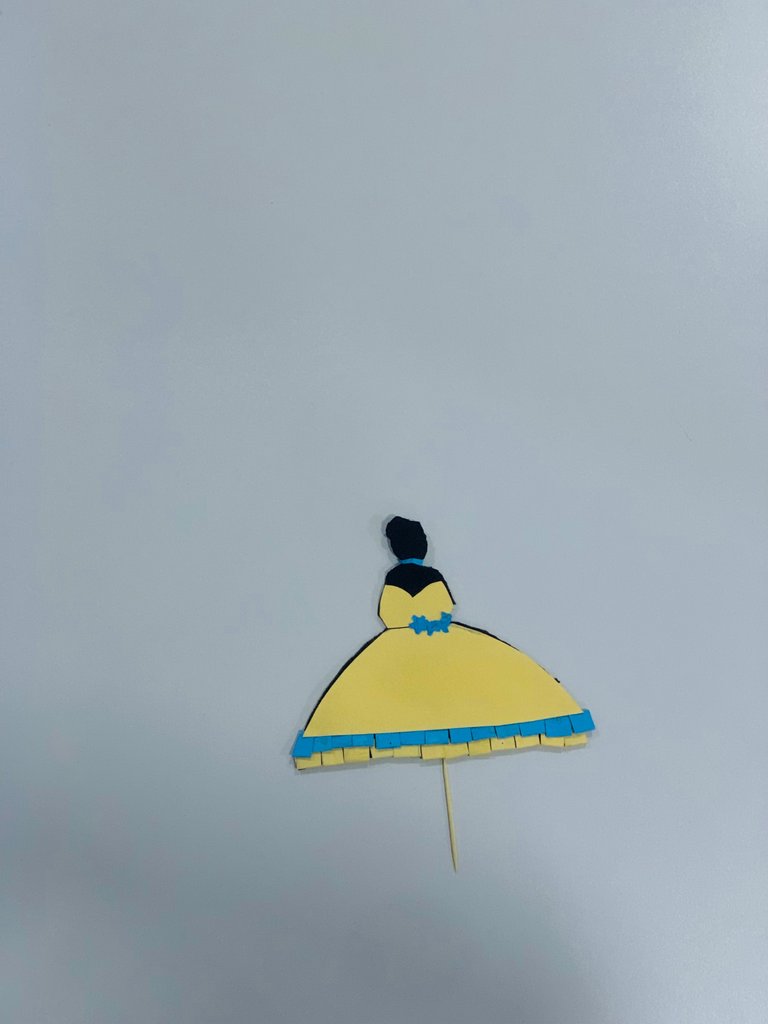

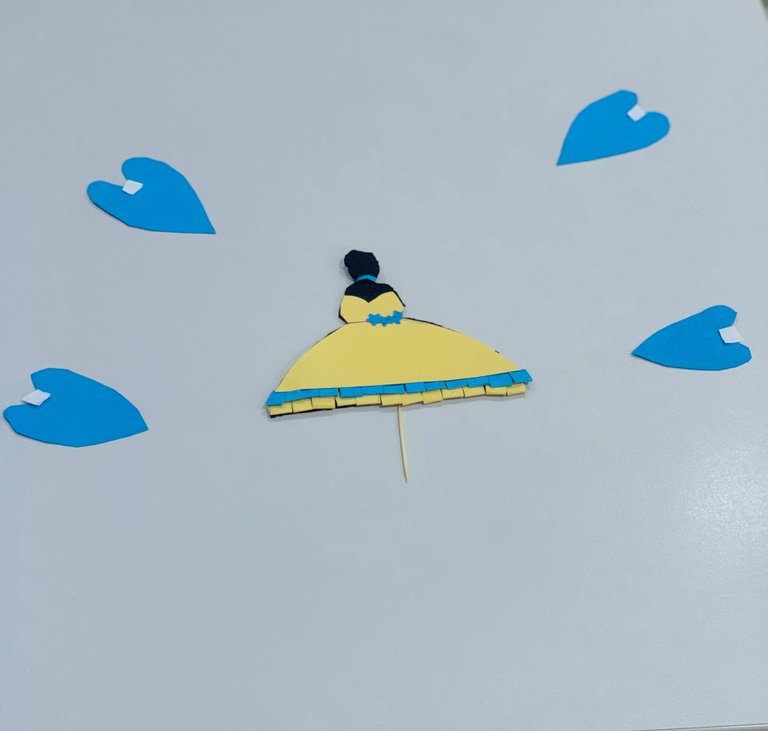
I’d love to know what you all think about my princess cake topper in the comment section.

All images are mine except otherwise stated.
Thanks for stopping by
Loads of Love🥰🥰
XOXO
Posted Using InLeo Alpha
 )
)
