Hi, DIY community second time here😃 I might not post regularly here but I keep up with all the creative juices that come out of this community.
In celebration of World Origami Day which was on the 11th of November, we were asked to have fun making our Origami creations.
When I saw the contest I was like “easy peasy” because I had like four ideas in my head only for me to come to the community and see my “creative idea” in full display and I was so discouraged and decided not to bother joining the contest again until today! I was going through my feed and I saw someone's Origami creations and I saw how the Hivean enjoyed making it and I told myself “Go for it IB” and guess what? “ Home girl went for it!”.
Ladies and gentlemen, boys and girls this is what this Hivean could come up with😃
This is my Origami gift box which was wrapped and designed by yours truly with so much love.😃😃
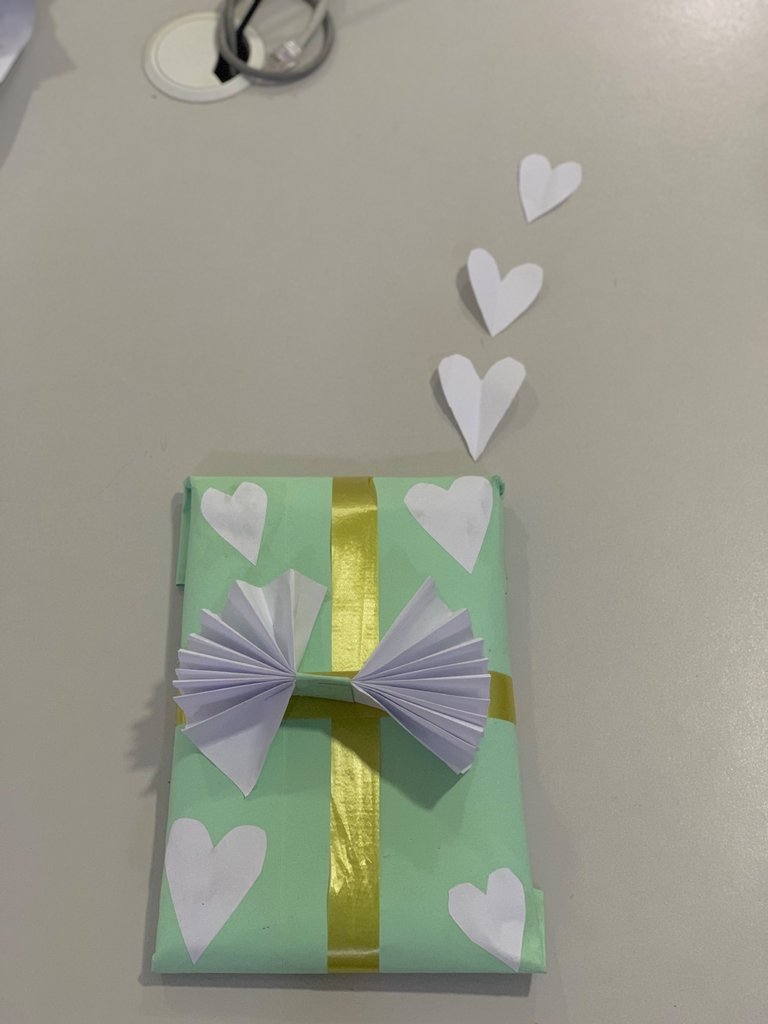
Since it’s almost Christmas I thought to make this gift box and just maybe it might land underneath someone’s Christmas tree🥰🥰 as per the Santa clause that I am😃
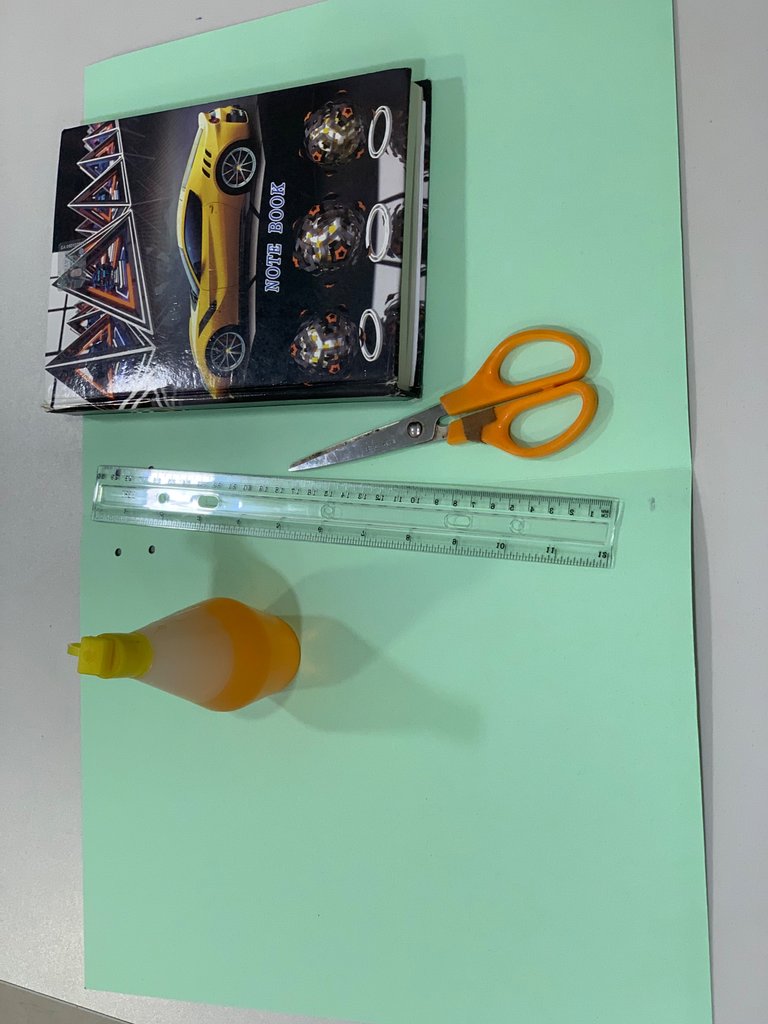
Here are the materials needed:
Green paper
White paper
A pair of scissors
Gum
Pen
Ruler and notepad
Picture
Ribbon
Of course, this gift box did not just pop out of nowhere it was made following some simple steps.
Here are the steps I took in creating this gift box of mine.
I started by wrapping my notepad with the green paper to cover the notepad.
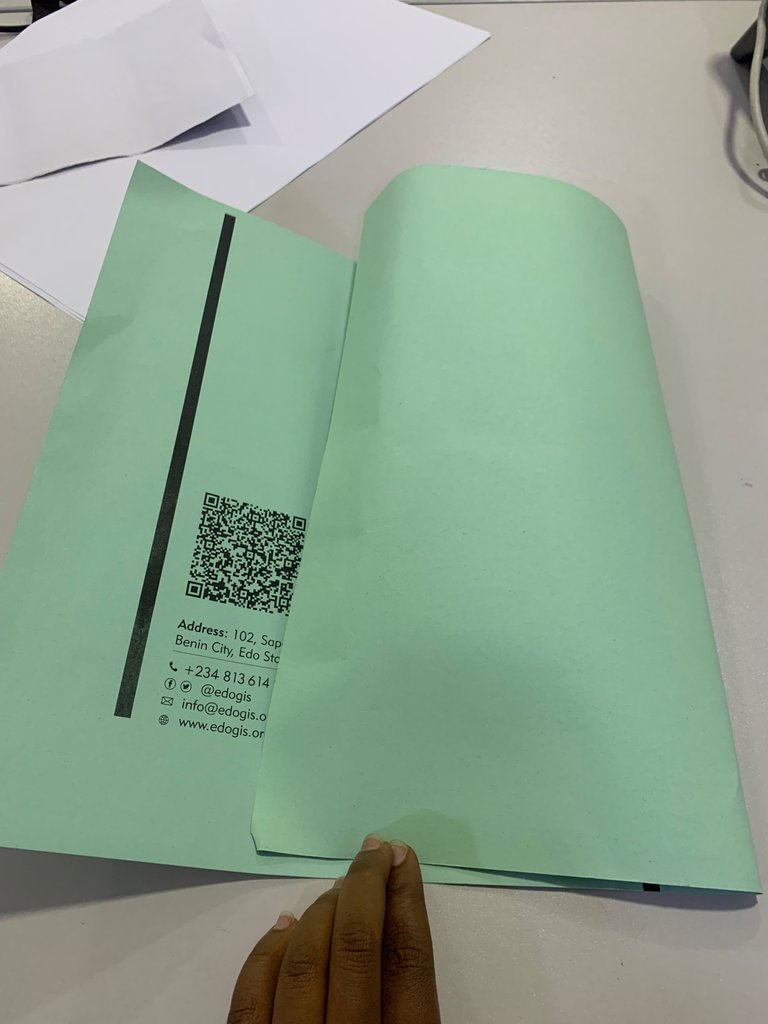
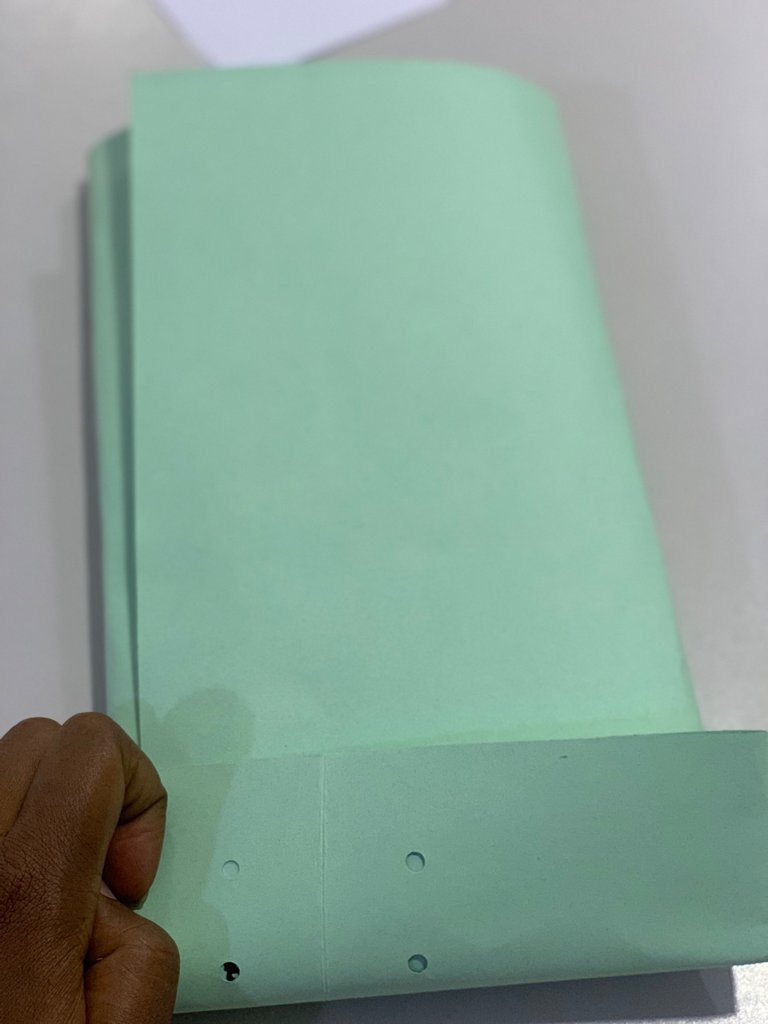
I closed the opening on both sides and used my gum to hold both sides to the body of the gift box.
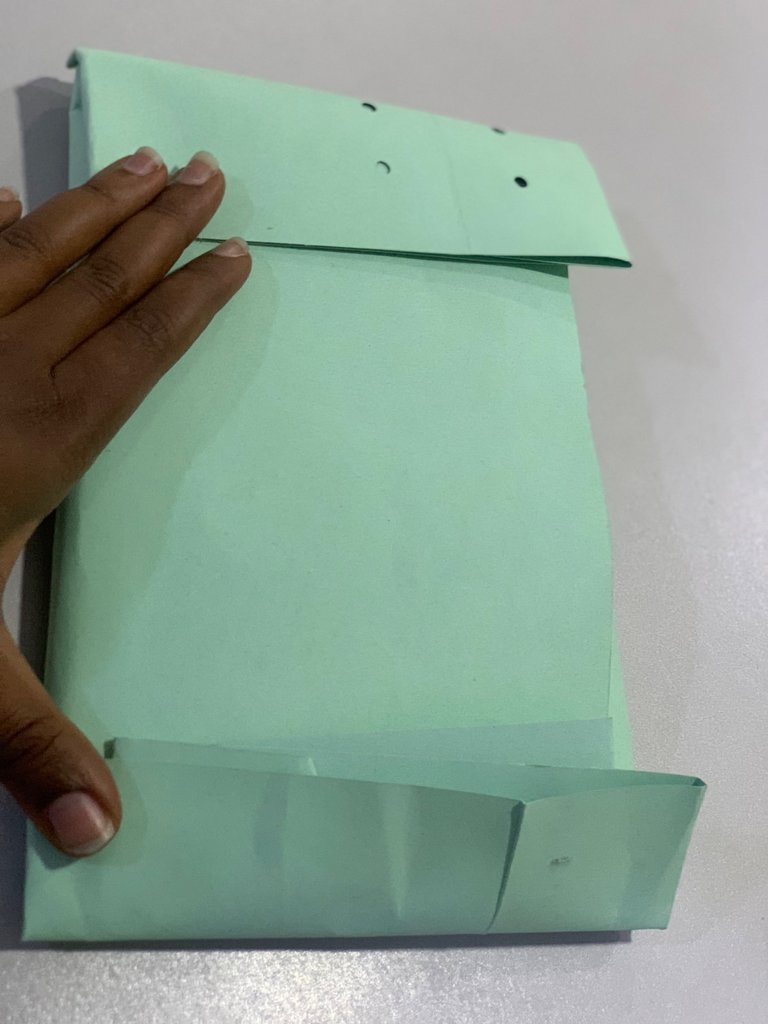
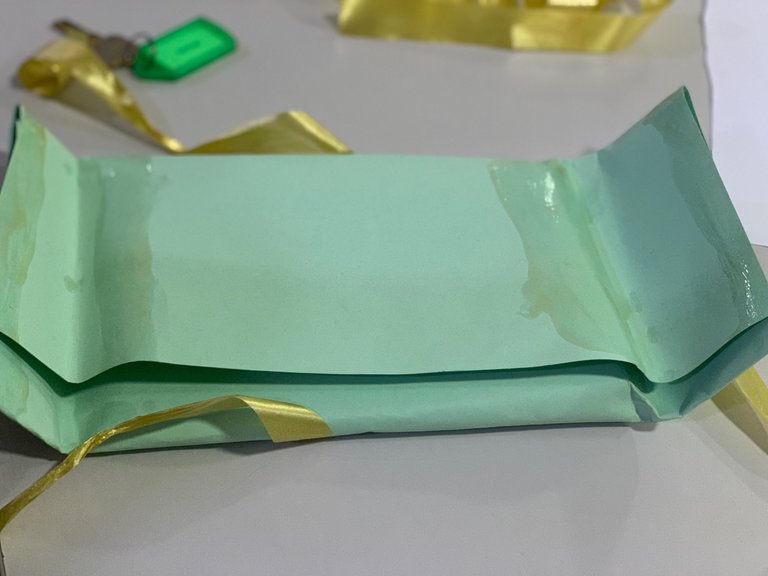
After waiting for both sides to be properly sealed to the body of the gift box I went ahead to make my bow with my white paper, what’s a gift box without a bow in front of it?🥰🥰
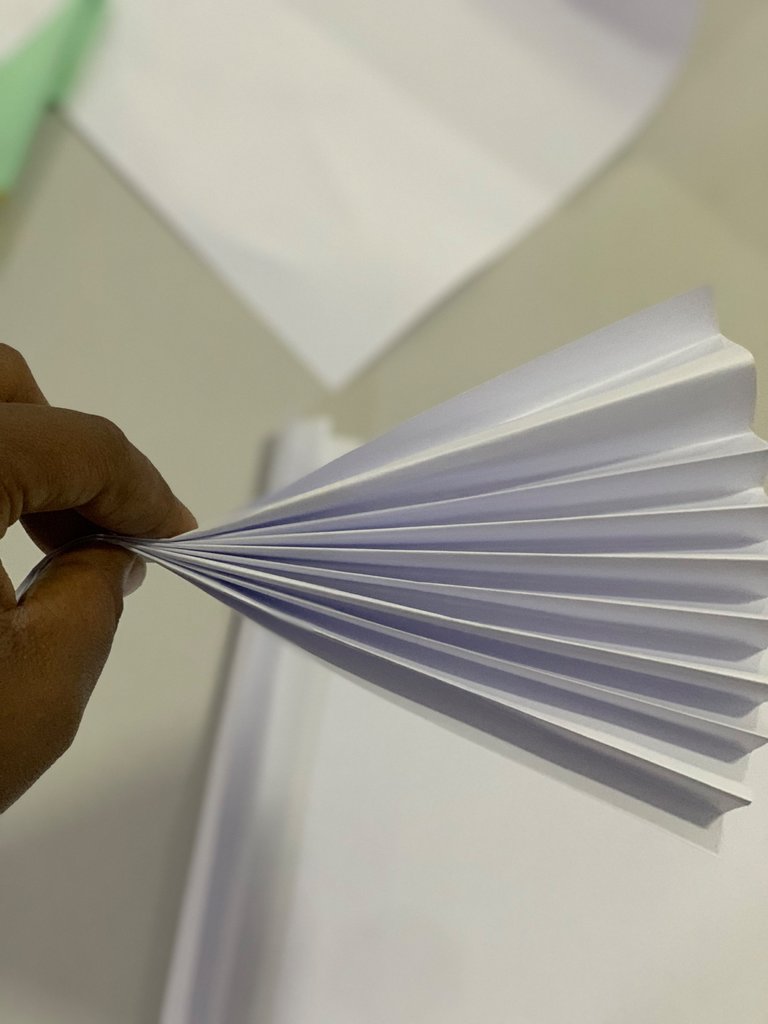
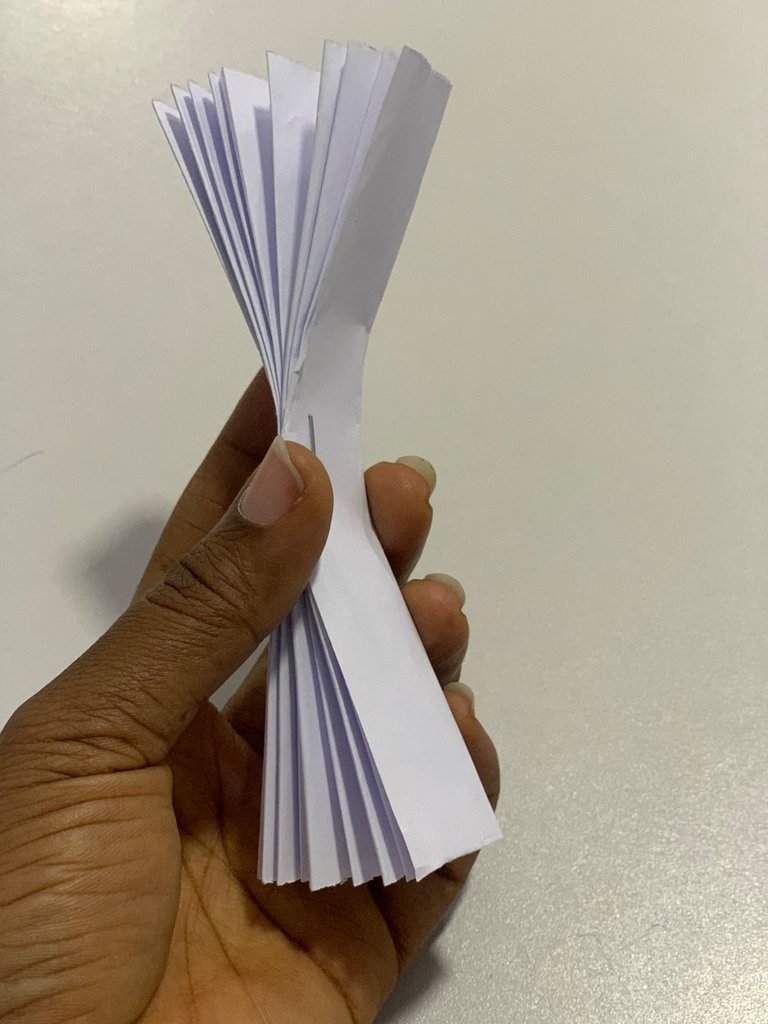
Picking up my white paper I went ahead to make an origami bow. I started by folding my white paper in and out making sure each parttern was the same in order to give my desired result.
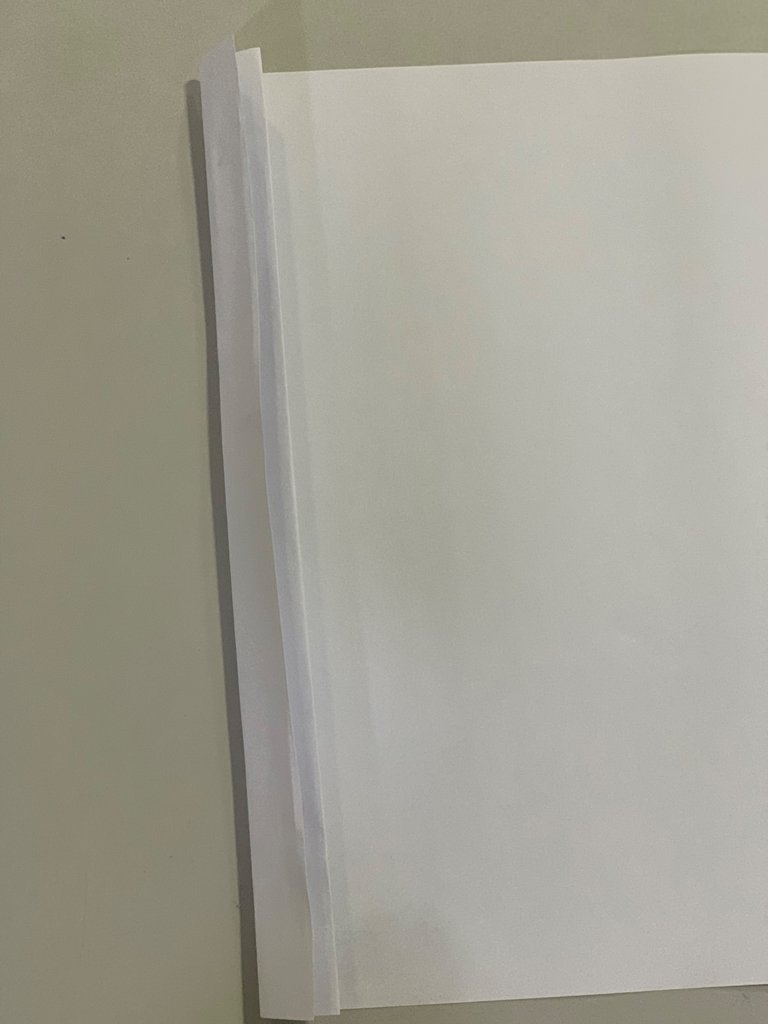
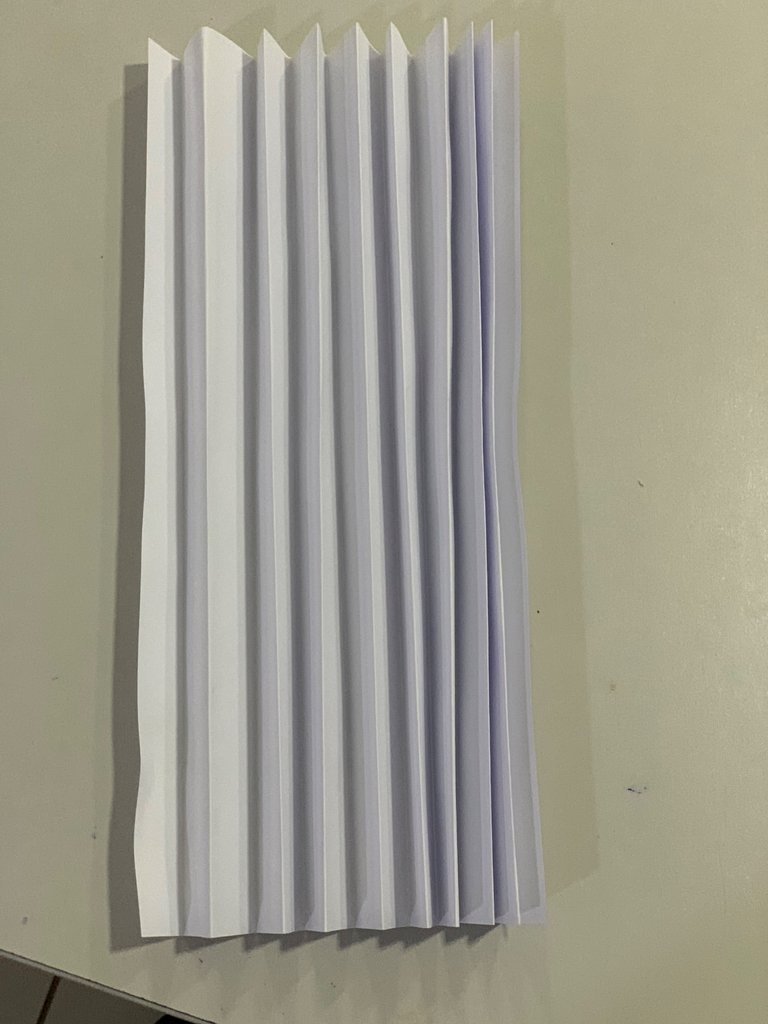
After getting the design pattern I wanted I went ahead to staple it together so it doesn’t scatter.
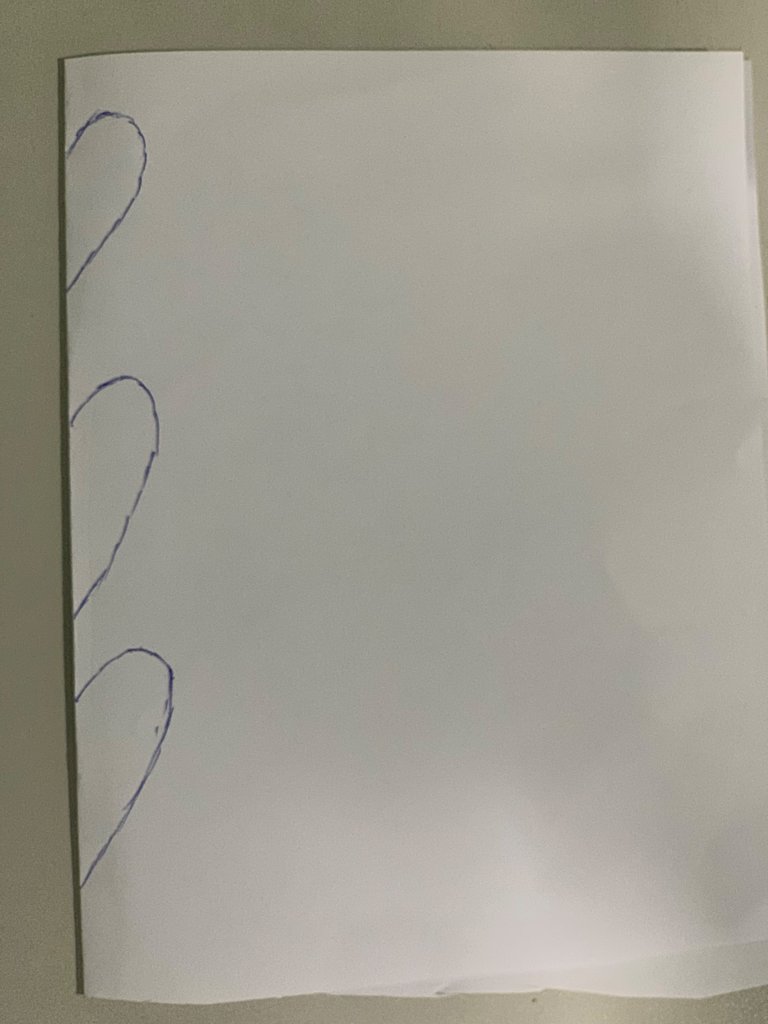
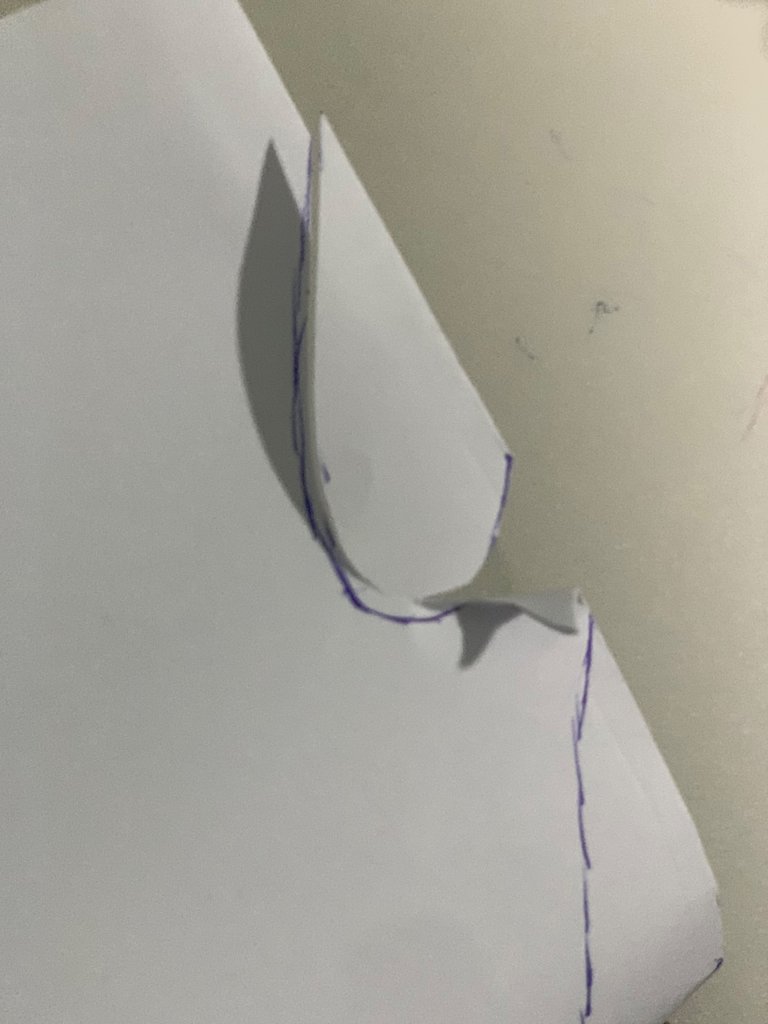
Since my bow and wrapped gift were ready I needed to make my love shapes. To achieve my desired love shape I folded my white paper into two and drew a half-shaped love which I was able to cut out using my trusty scissors.
Since everything was ready it was time to assemble everything together.
I started by tying my gift box with a gold ribbon as ribbons look excellent on gift boxes.
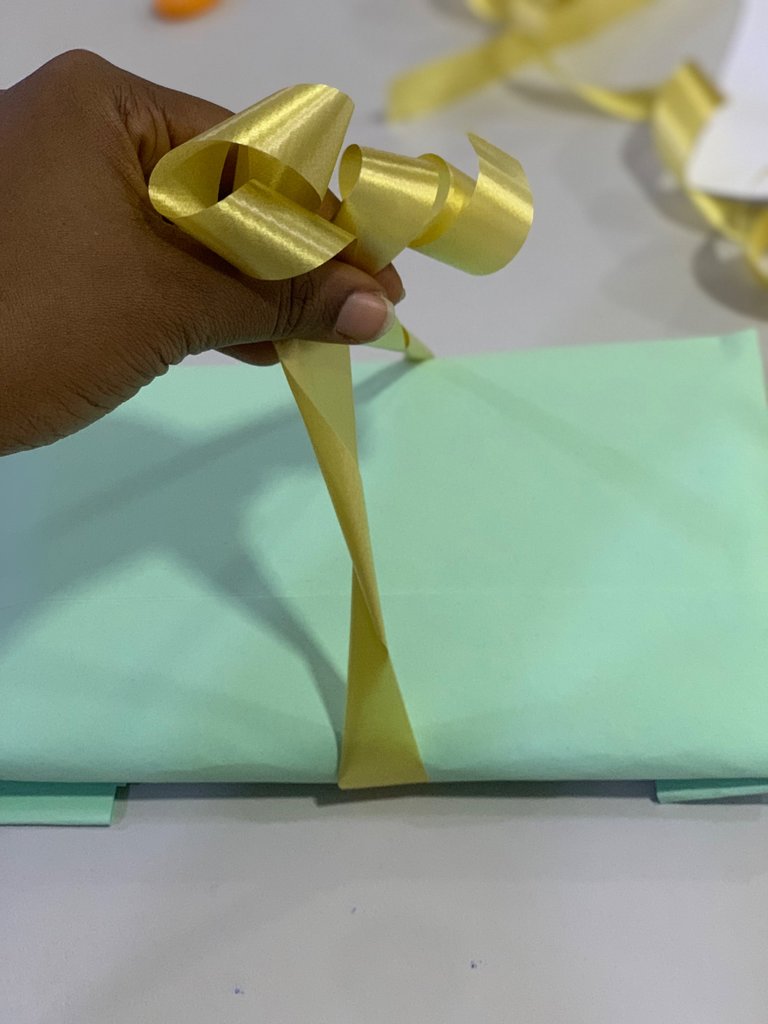
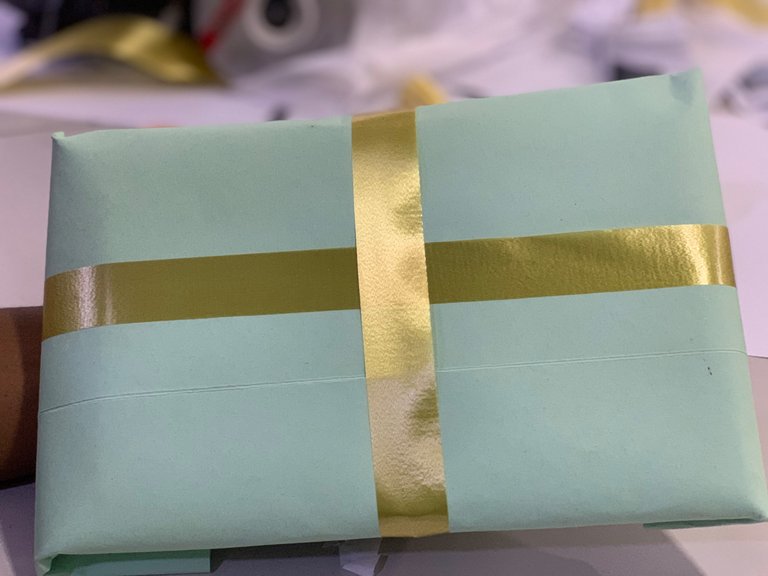
After neatly tying my gold ribbon to my gift box, I applied gum on my already carved-out love shapes and pasted them on my gift box.
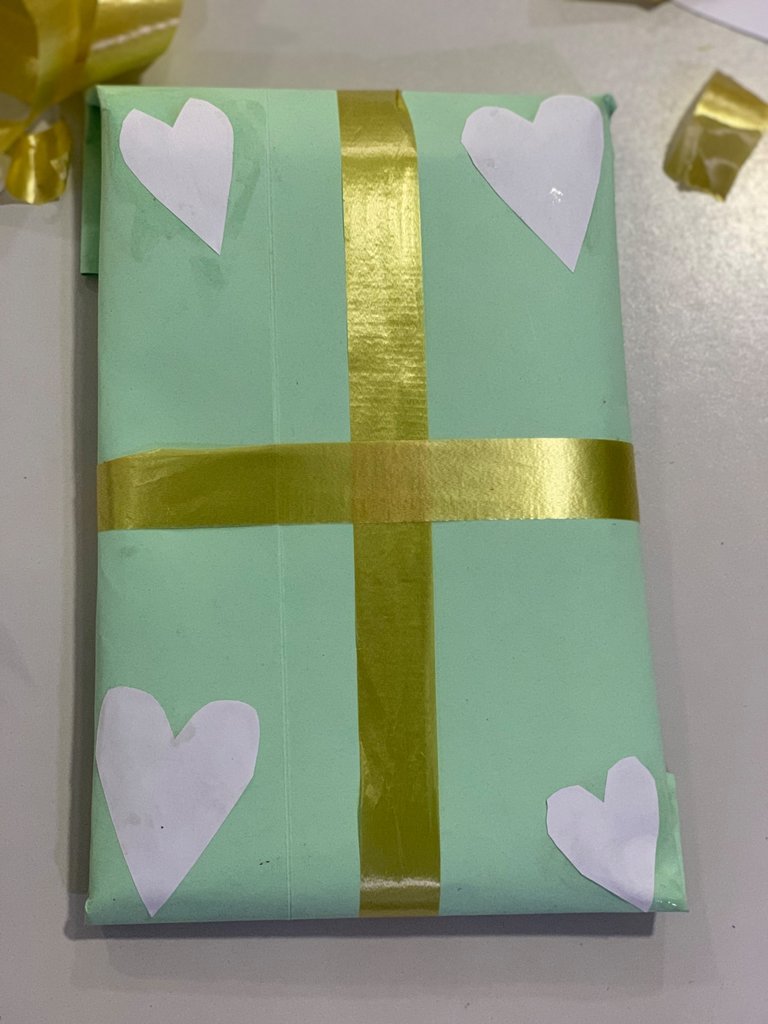
After waiting for a while for the gum to dry off I proceeded to attaching my bow to the gift box and Tada! We arrived at this!😃
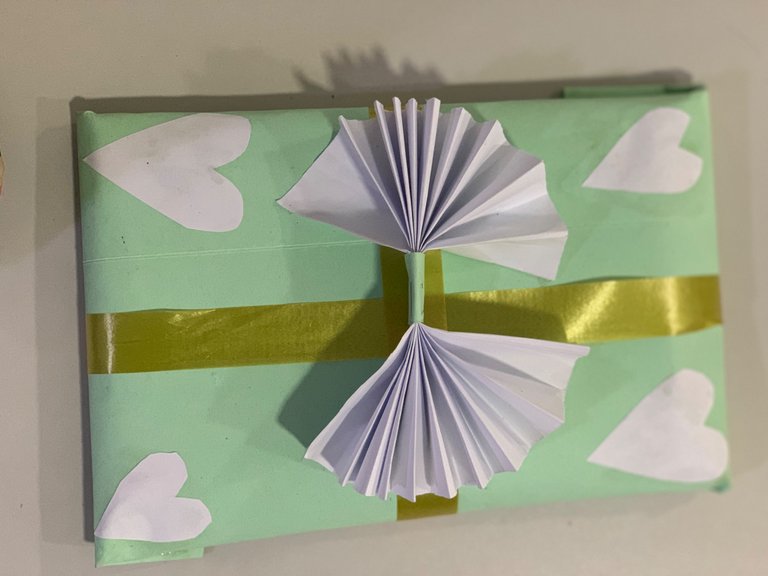
I finally took a picture of my lovely box🥰🥰

All images are mine except otherwise stated.
Thanks for stopping by
Loads of Love🥰🥰
+XOXO*
