Hoy quiero mostrarle cómo hacer un lindo y sencillo muñeco de Navidad con platos desechables qué lindo es por el reutilizar , siempre me ha gustado hacer manualidades, bisutería y un poquito de cada cosa me gusta emprender y desarrollar nuevas ideas para así poder obtener más experiencia e ir aprendiendo de estas comunidades que nos permiten desarrollar nuevas cosas , y de igual manera saber un poco mas sobre manualidades increíbles.
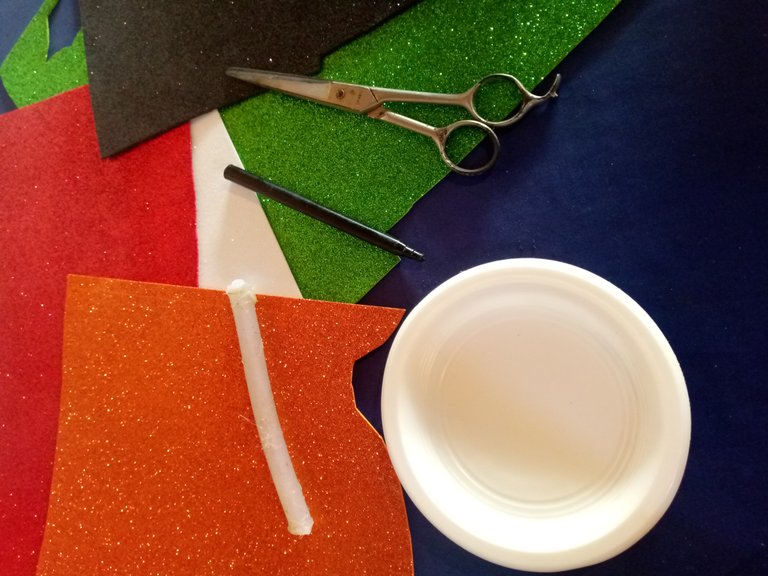
Los materiales que utilice en la elaboración de de mi lindo muñeco de nieve de Navidad fueron los siguientes:
⛄ Foami escarchado rojo
⛄ Fomi escarchado verde
⛄ Foami escarchado naranja
⛄ Foami escarchado negro
⛄ Silicón
⛄ Tijera
⛄ Dos platos desechables pequeños
⛄ Dos marcadores negros
Empecemos☃️
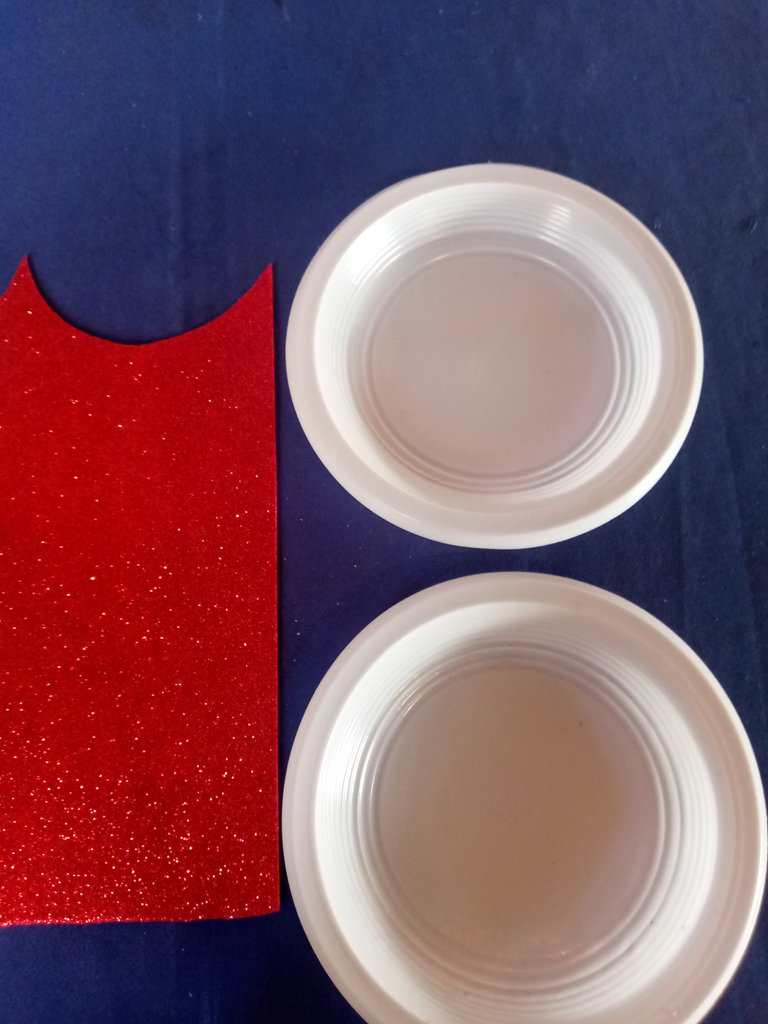
Paso 1
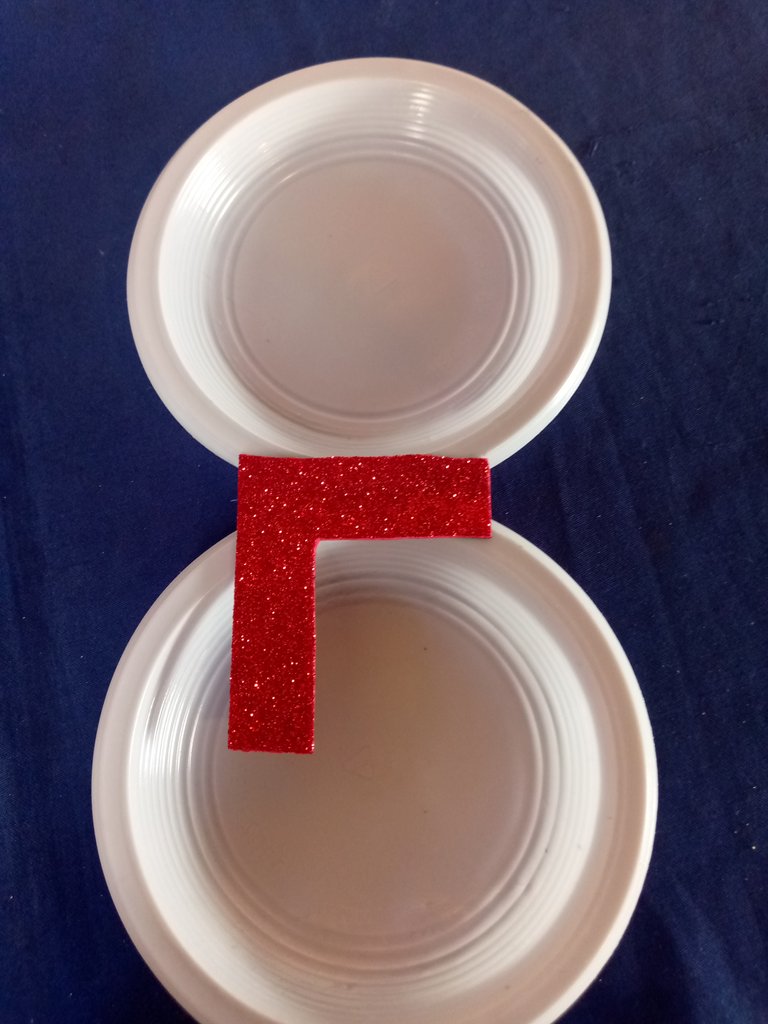
Lo primero que vamos a hacer es tomar dos platitos y el fomi rojo de esta forma para así prepararlos
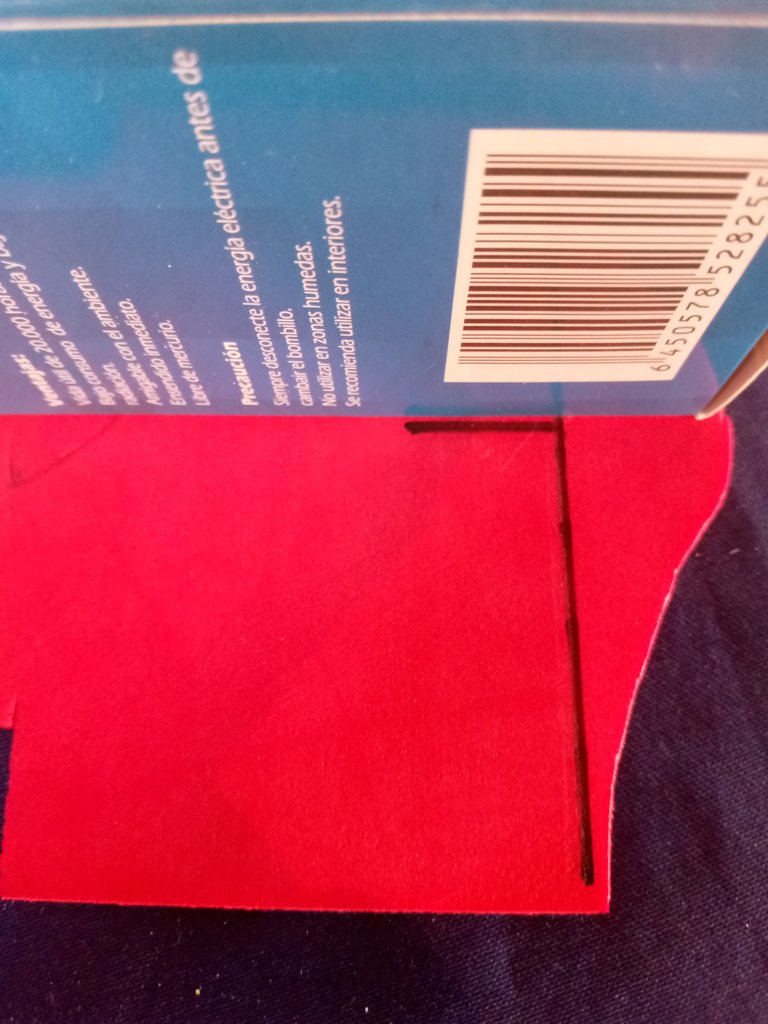
Paso 2
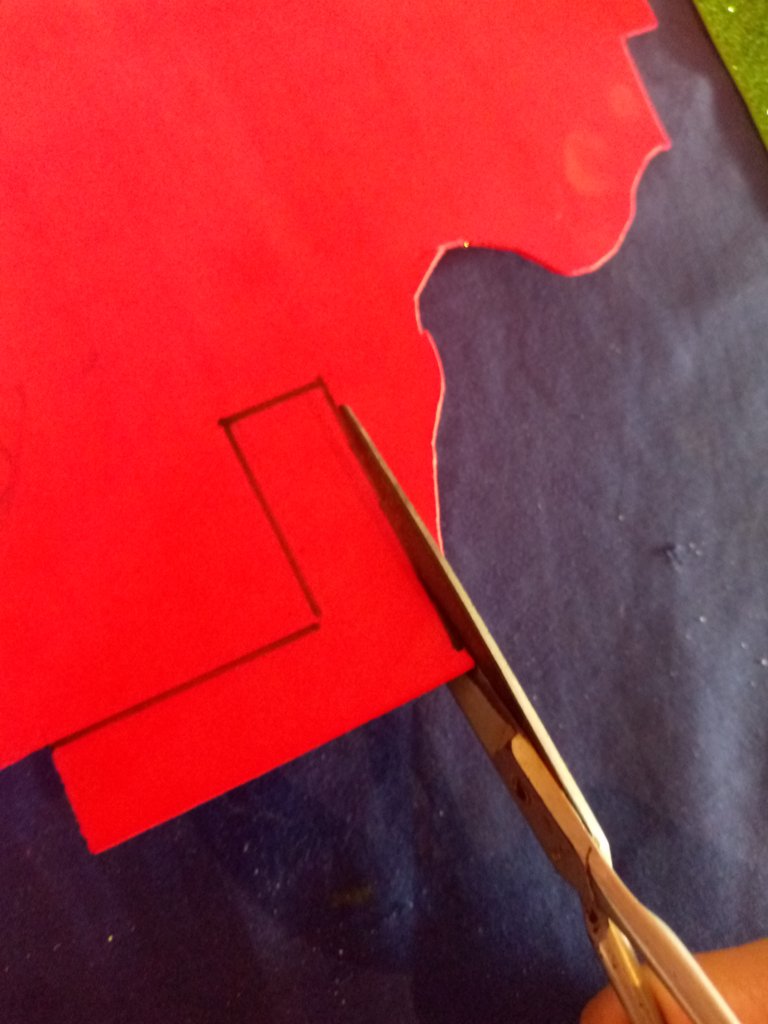
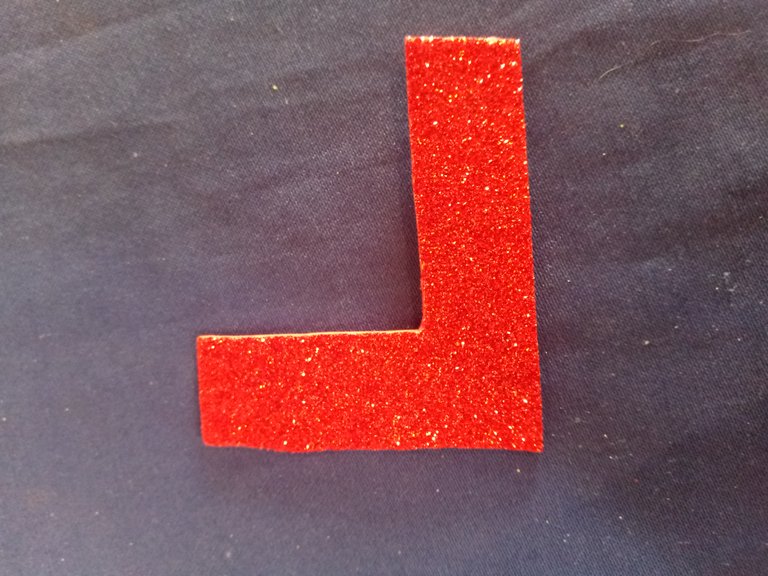
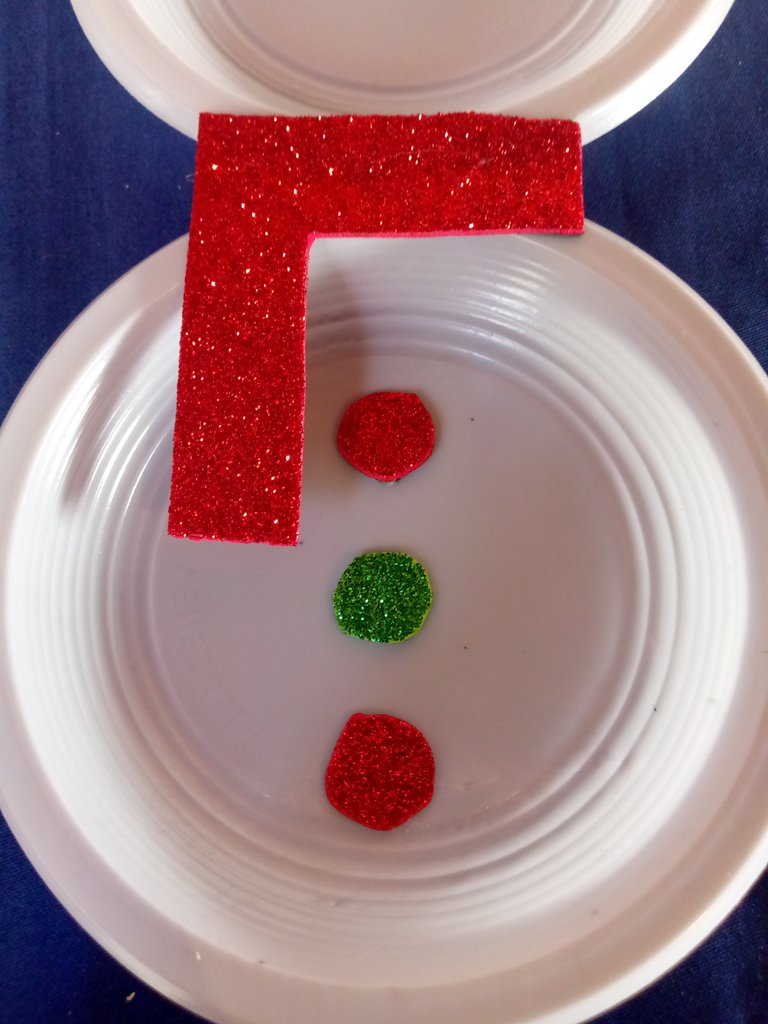
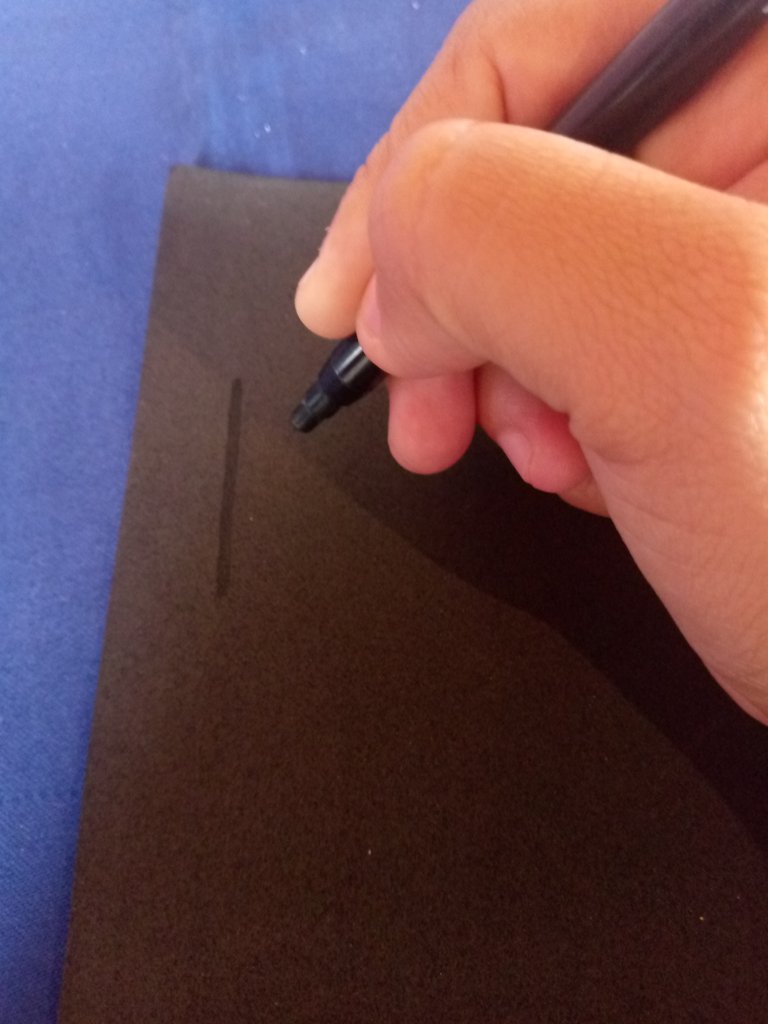
Luego con el fomi rojo vamos a tomar el marcador y vamos a trazar líneas en forma después lo vamos a recortar y este será la bufanda para el muñeco de Navidad, una vez ya lista la bufanda y pegada en los dos platos que esto va a ser una Unión para que sea así quede estable luego vamos a remarcar varios acuarelas de esta manera.
Paso 3
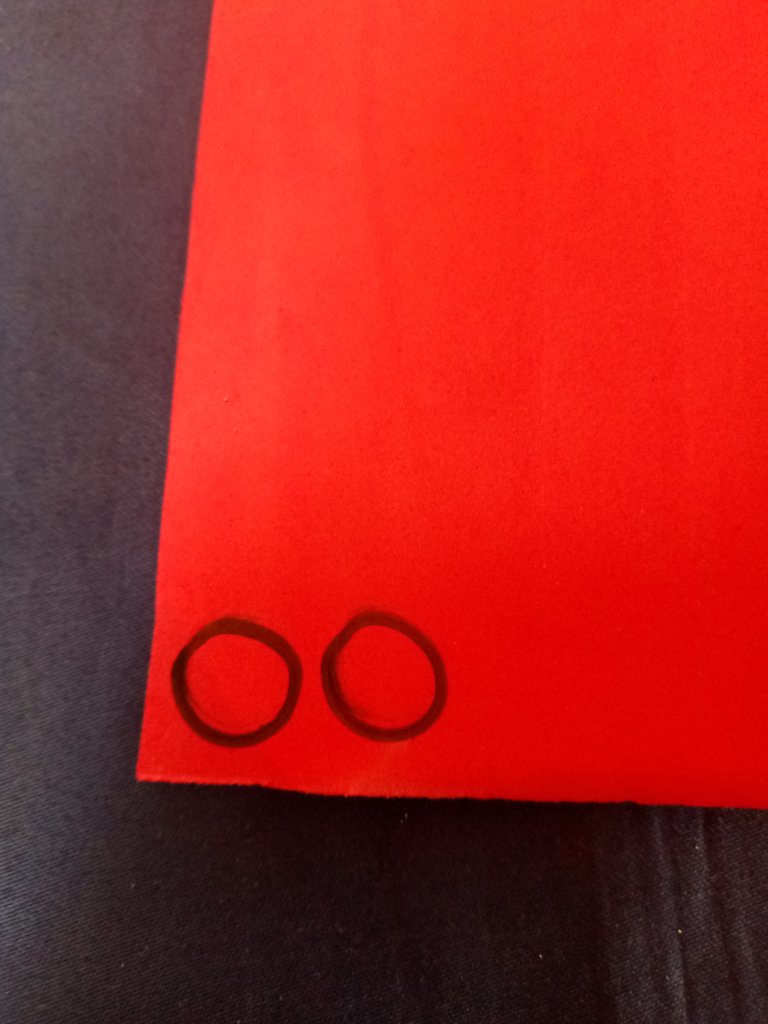
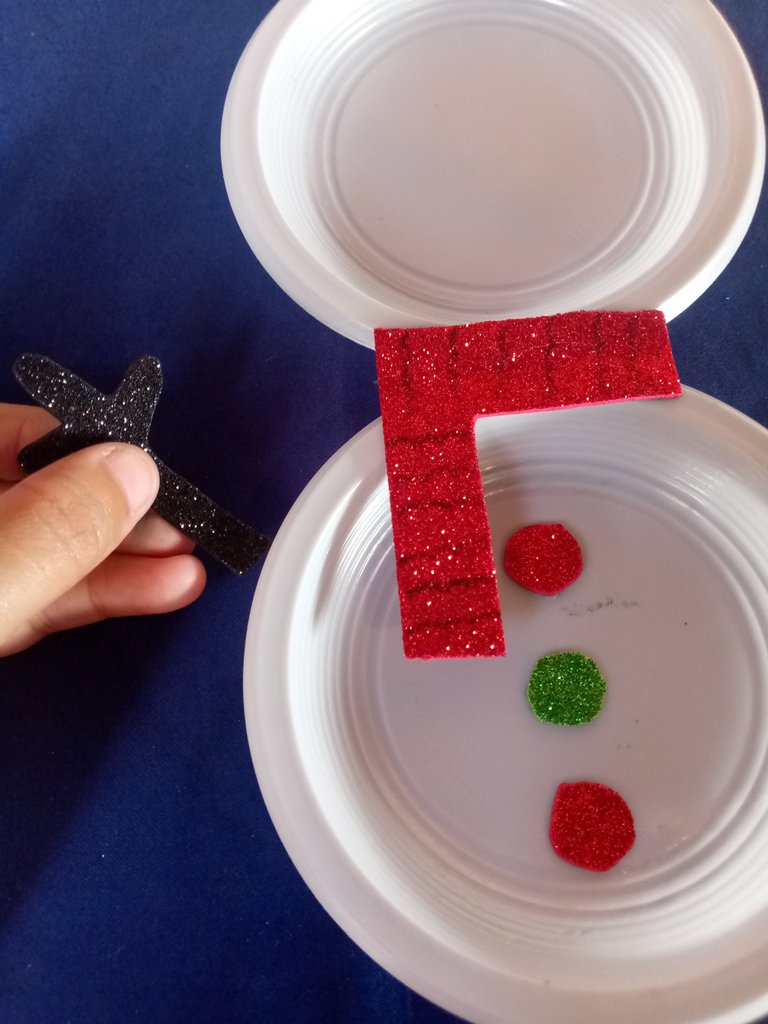
Con el fomi rojo vamos a marcar dos círculos pequeños y después lo vamos a recortar también con el foami verde vamos a recortar un pequeño círculo y estos van a ser los que vamos a pegar en la parte de abajo de la barriguita de el muñeco de nieve.
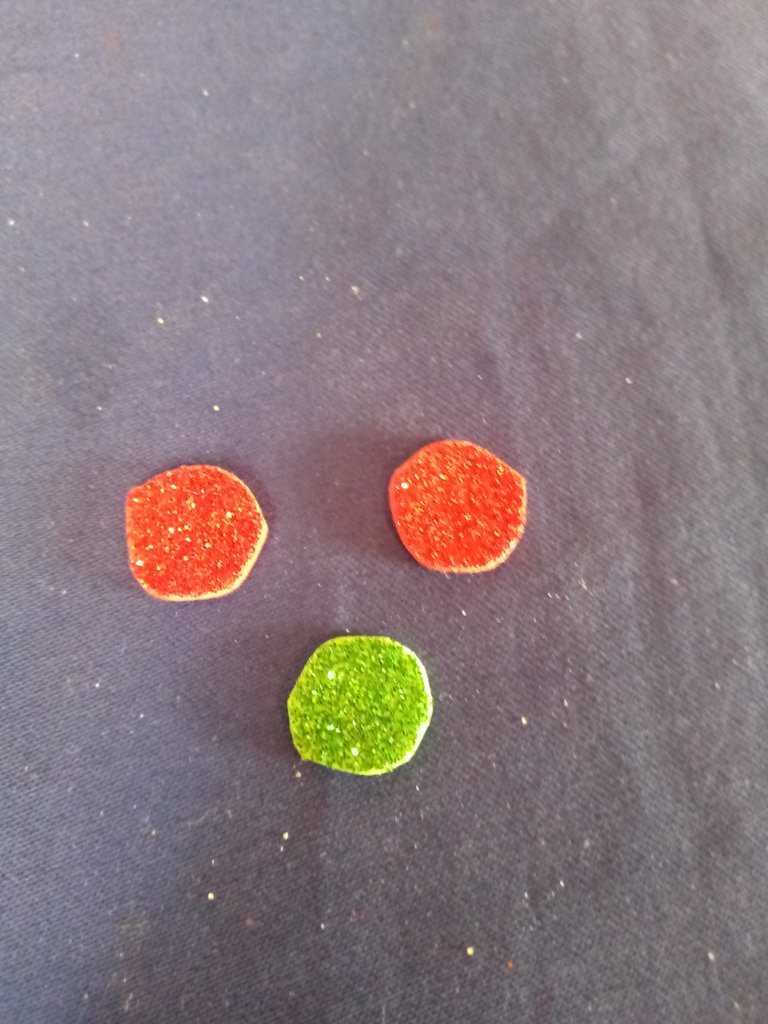
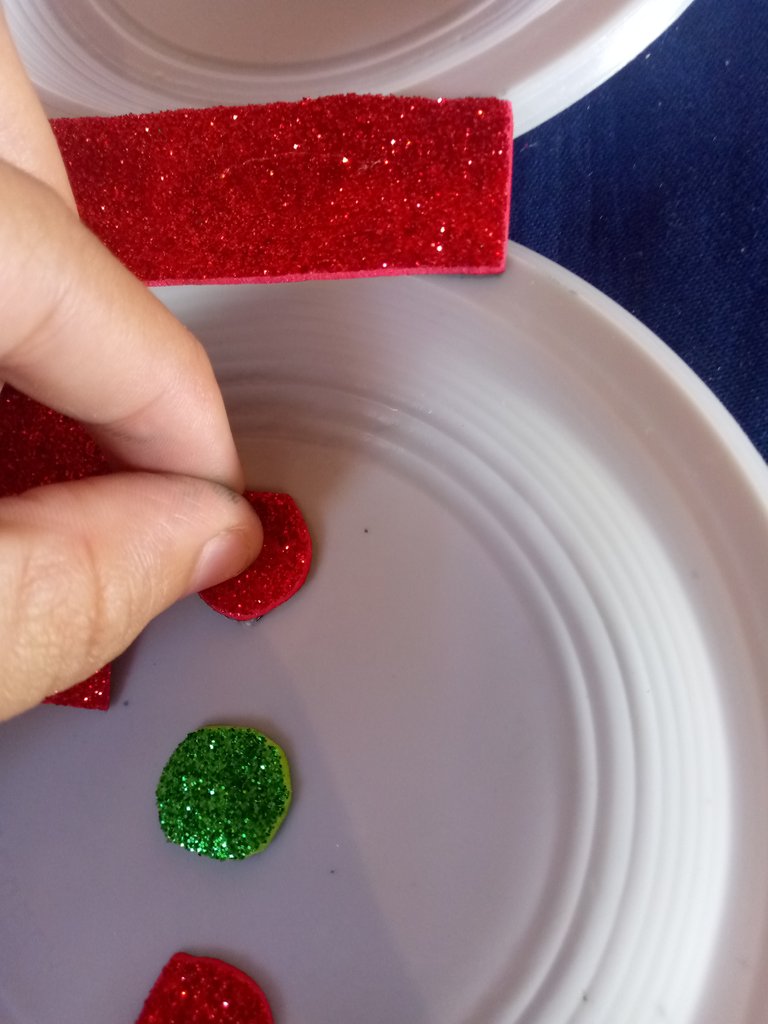
Estos tres círculos van a ir pegados los dos rojos uno arriba y uno abajo y el verde en el medio.
Paso 4
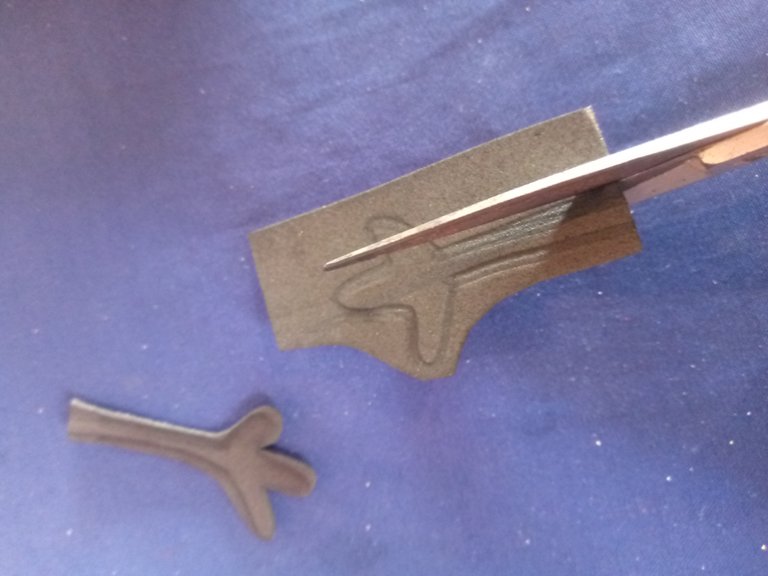
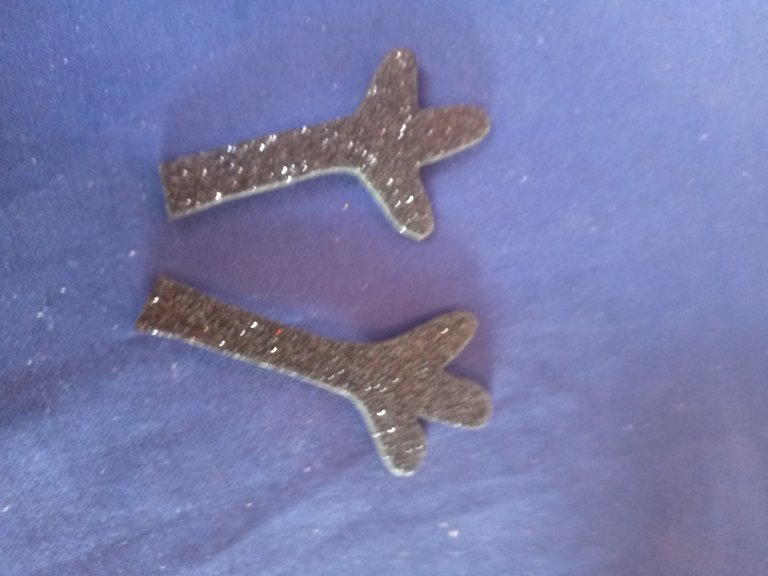
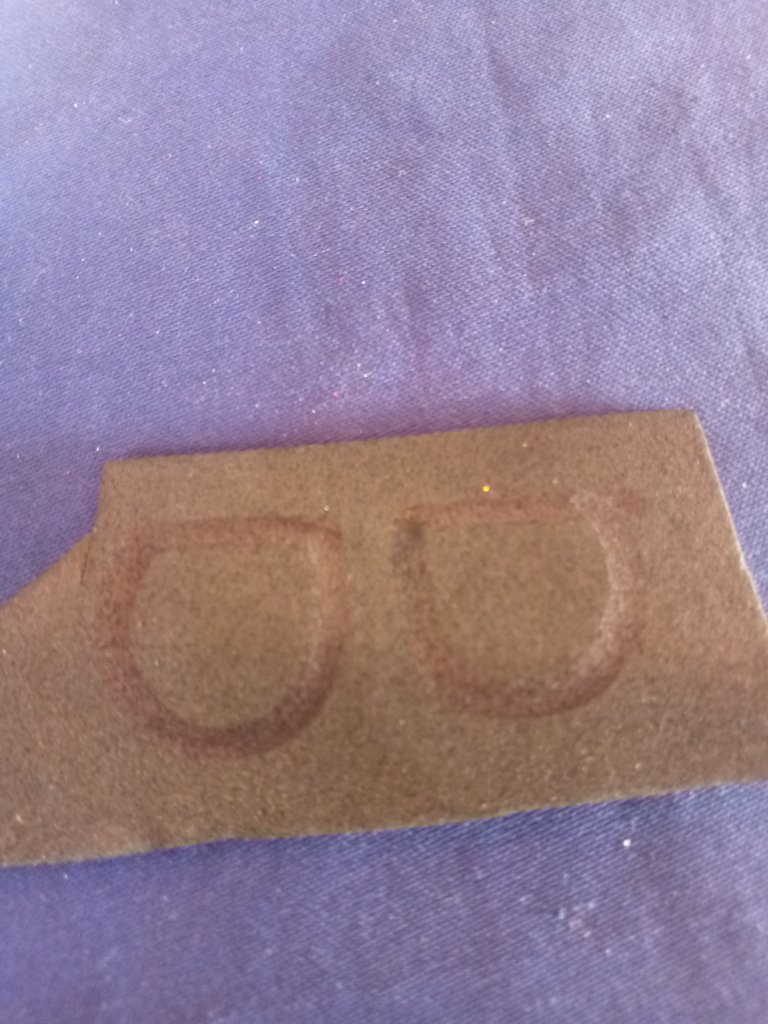
Luego con el fomi negro solamente vamos a dibujar los bracitos y los vamos a recortar después con silicón vamos a pegarlo en las partes laterales de los plásticos debajo de esta forma.
Paso 5
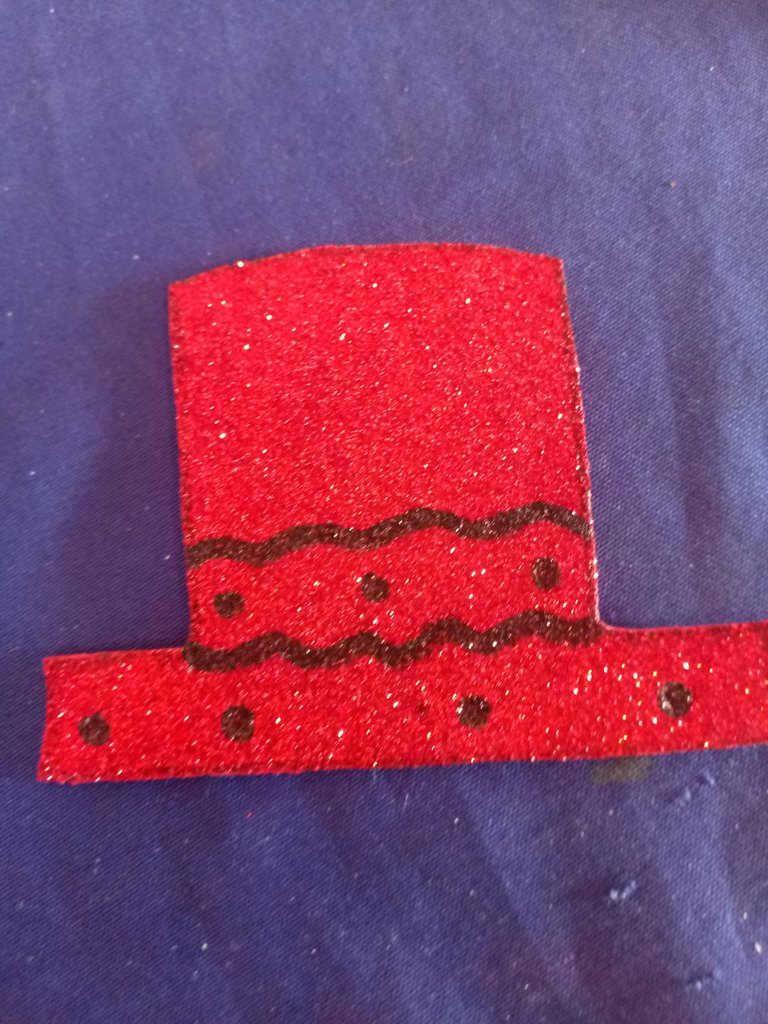
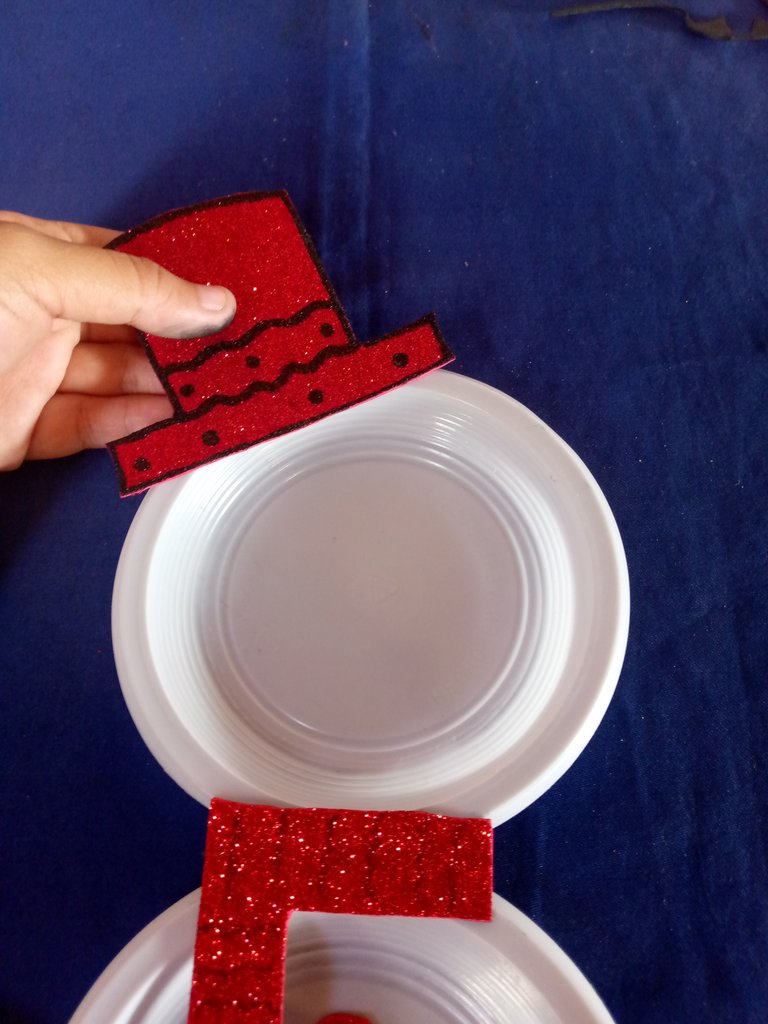
Luego de eso vamos con el fomi rojo hacer el sombrerito vamos a dibujarlo con el marcador y después lo recortamos.
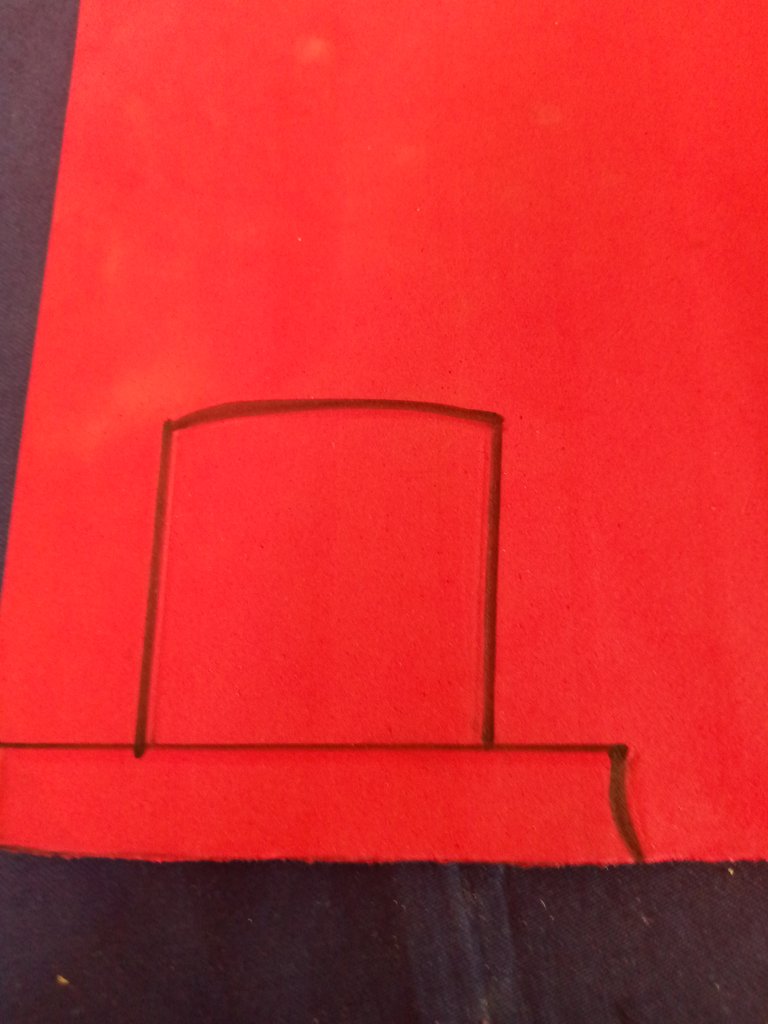

una vez ya listo nos vamos a encargar de difuminar la parte de alrededor del sombrerito y por último le vamos a dibujar unos círculos y unos puntos en el medio después con silicón solamente vamos a pegar de un lado que no quede en el medio sino como que quede inclinado de esta manera.
Paso 6
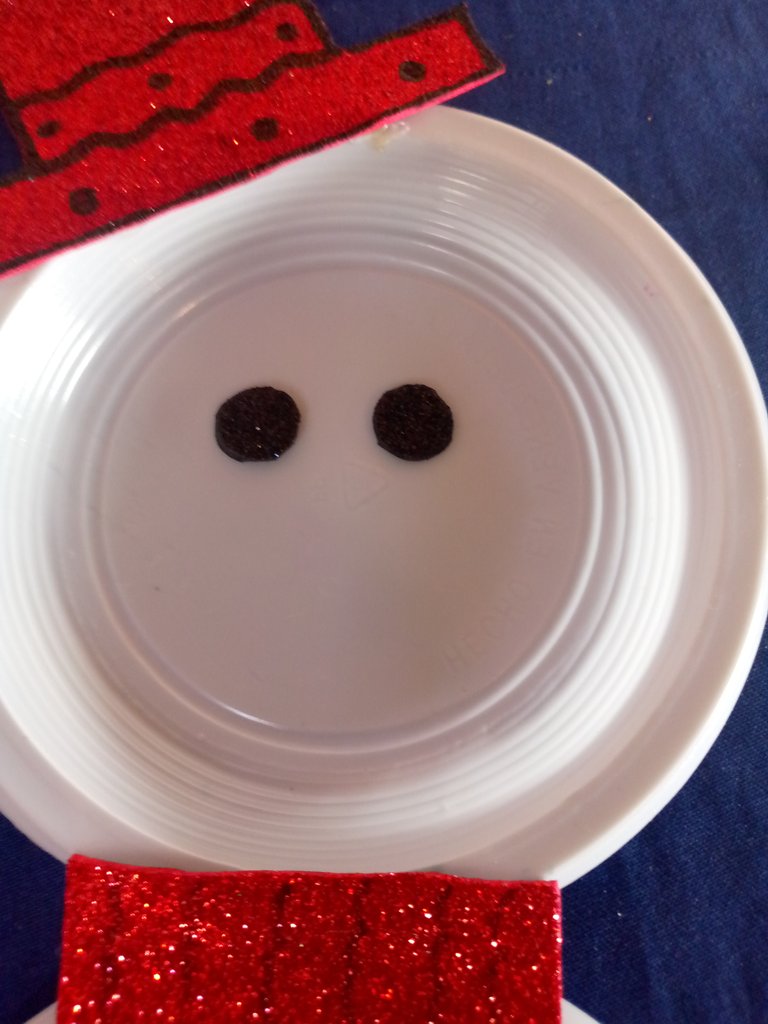
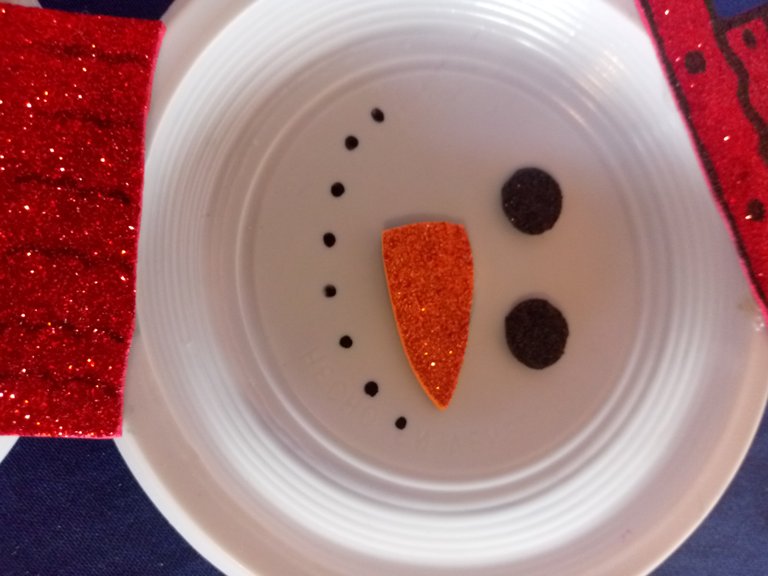
Ahora con el fomi negro vamos a remarcar dos círculos que estos serán los ojitos lo recortamos y lo pegamos con silicón asegurándonos de que quede los ojos bien centrados y así pueda permitir poner la nariz de una manera inclinada.

Paso 7
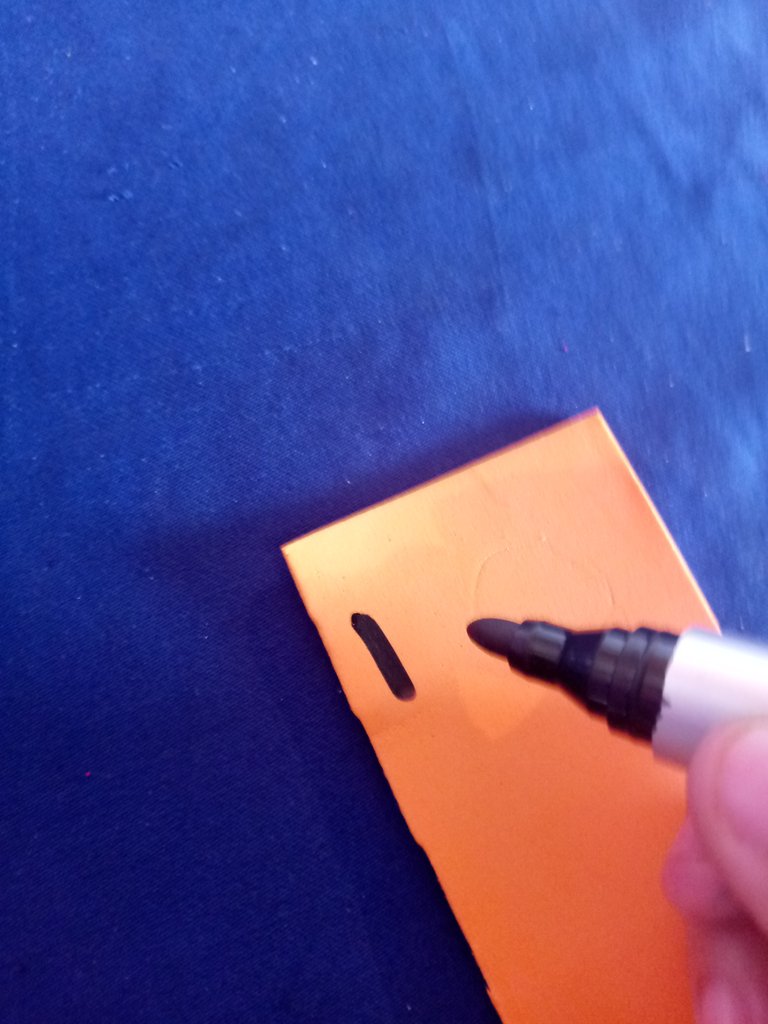
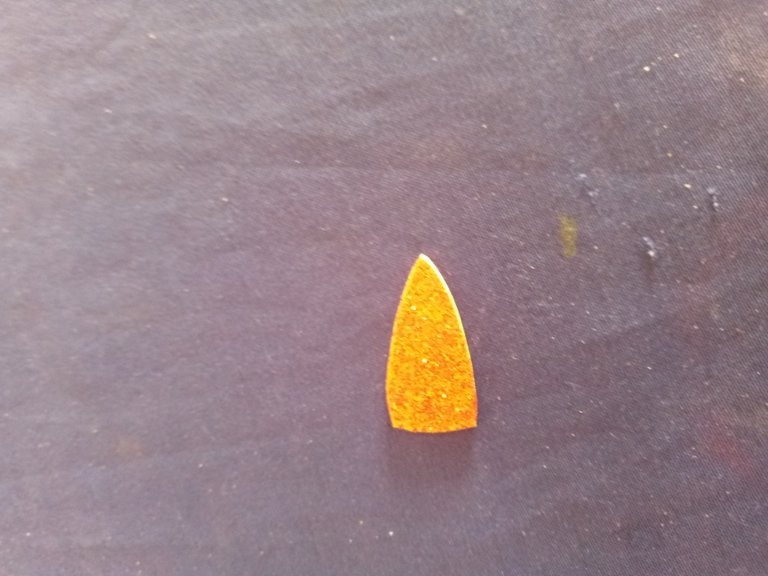
Después de todo tomamos el foami color naranja y vamos a dibujar la nariz del muñeco que viene siendo una forma de zanahoria esto lo vamos a dibujar y lo vamos a recortar luego después con silicón se pega debajo de los ojitos y así quedará.
Paso 8
Con el marcador negro punta gruesa vamos a hacerle varios puntos que esto servirán para hacer la boca del muñeco solamente vamos a hacerlo en forma de luna y así quedará el muñequito de nieve completo.
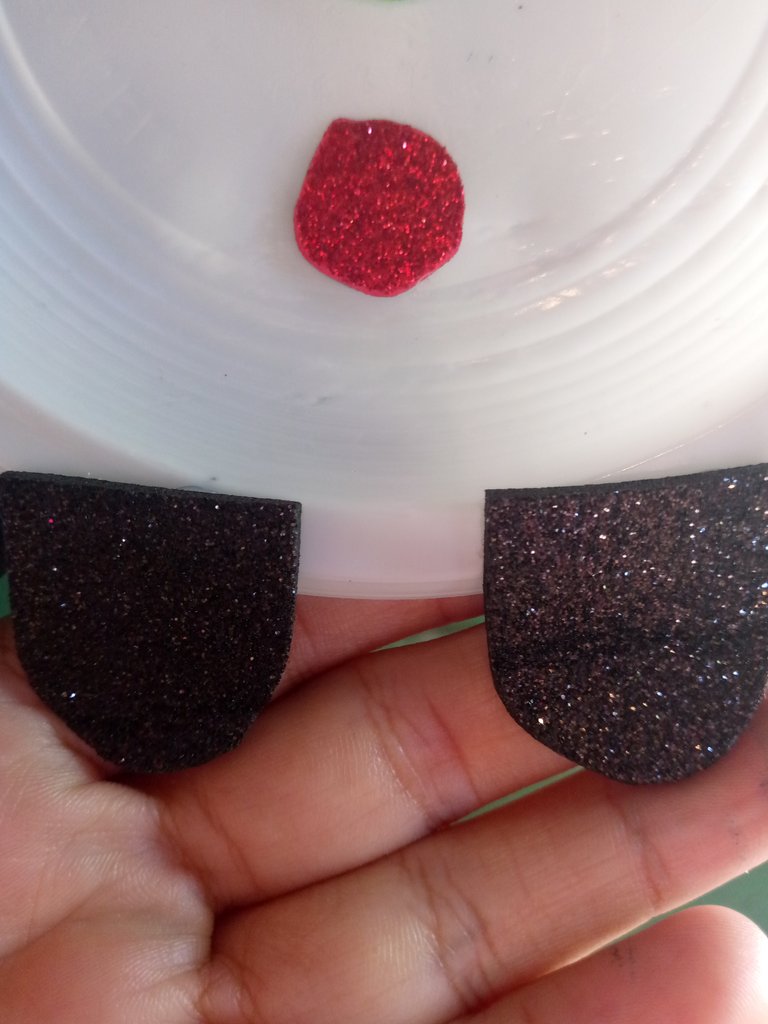
Paso 9
Después con el foami negro vamos a recortar unos círculos pequeños de esta forma y lo vamos a pegar en la parte de abajo para que sean los piecitos del muñeco de Navidad.
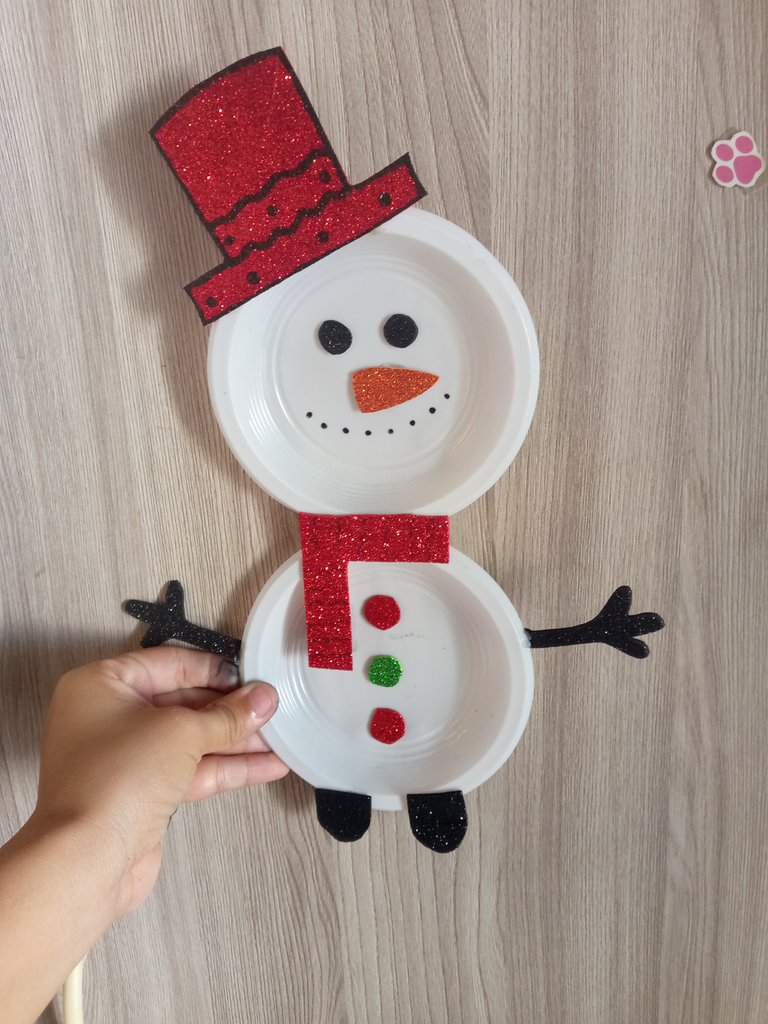
RESULTADO FINAL
Bueno queridos amigos así ha terminado nuestro muñeco de nieve navideño lindo para lucir en nuestras casas y también para obsequiar en estas navidades como un regalito especial
Espero que les haya gustado esta idea gracias por leer y apoyar les mando muchas bendiciones y les deseo un feliz día besitos y abrazos!
Las imágenes son de mi autoría y las tomé desde mi teléfono tecno spark
Traductor utilizado Deepl
Las imágenes son editadas mediante la aplicación editor canva.
Today I want to show you how to make a nice and simple Christmas doll with disposable plates how nice it is to reuse, I have always liked to make crafts, jewelry and a little bit of everything I like to undertake and develop new ideas so I can get more experience and go learning from these communities that allow us to develop new things, and likewise know a little more about amazing crafts.
The materials that I used in the elaboration of my cute Christmas snowman were the following:
⛄ Red frosted foami
⛄ Green frosted fomi
⛄ Orange frosted foami
⛄ Black frosted foami
⛄ Silicone
⛄ Scissors
⛄ Two small disposable plates
⛄ Two black markers
Let's start☃️
Step 1
The first thing we are going to do is to take two small plates and the red fomi in this way in order to prepare them.
Step 2
Then with the red fomi we are going to take the marker and we are going to draw lines in shape then we are going to cut it out and this will be the scarf for the Christmas doll, once the scarf is ready and glued on the two plates that this is going to be a union so that it is stable then we are going to mark several watercolors in this way.
Step 3
With the red fomi we are going to mark two small circles and then we are going to cut them out. With the green foami we are going to cut out a small circle and these are going to be the ones that we are going to glue on the bottom of the snowman's belly.
These three circles will be glued together, the two red circles, one at the top and one at the bottom, and the green circle in the middle.
Step 4
Then with the black fomi we are only going to draw the little arms and we are going to cut them out and then with silicone we are going to glue them on the lateral parts of the plastics underneath this shape.
Step 5
After that we are going to make the little hat with the red fomi, we are going to draw it with the marker and then cut it out.
once it is ready we are going to blur the part around the hat and finally we are going to draw some circles and some dots in the middle and then with silicone we are only going to glue on one side so that it is not in the middle but as if it was inclined in this way.
Step 6
Now with the black fomi we are going to mark two circles that will be the eyes. We cut them out and glue them with silicone making sure that the eyes are well centered so that the nose can be placed at a slant.
Step 7
After everything we take the orange foami and we are going to draw the nose of the doll which is a carrot shape. We are going to draw it and cut it out and then with silicone we glue it under the eyes and this is how it will look like.
Step 8
With the thick black marker we are going to make several dots that will be used to make the mouth of the snowman. We are only going to do it in the shape of a moon and this way the snowman will be complete.
Step 9
Then with the black foami we are going to cut out some small circles of this shape and we are going to glue them on the bottom to be the little feet of the Christmas doll.
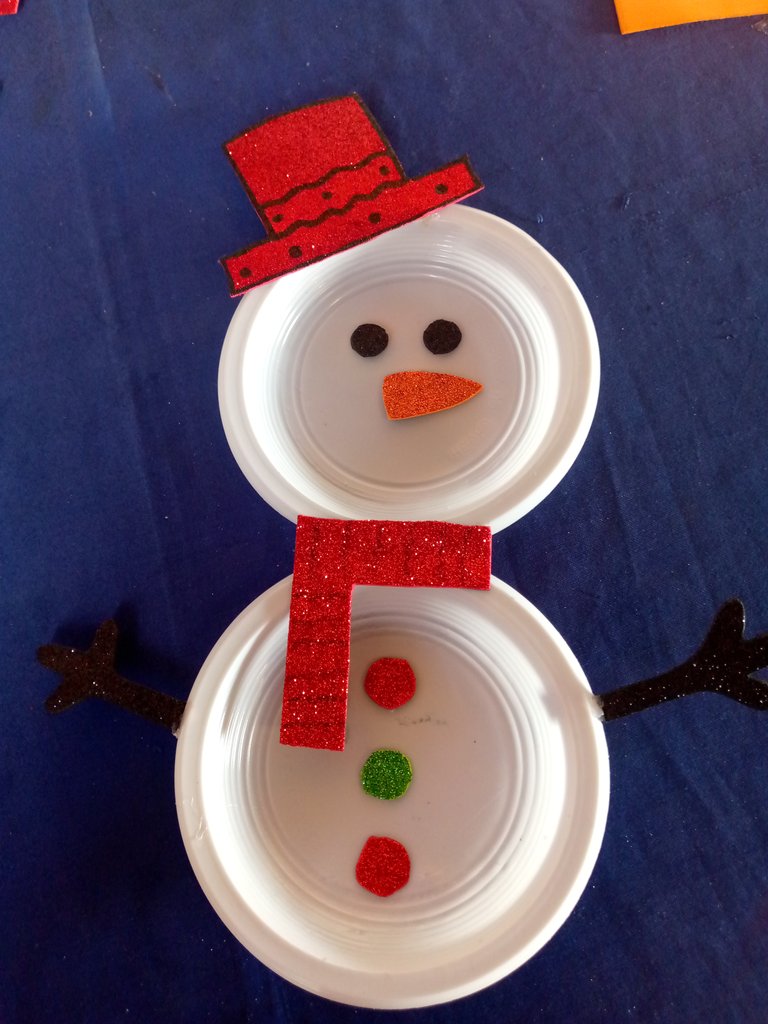
FINAL RESULT
Well, dear friends, this is the end of our Christmas snowman, nice to show off in our homes and also to give as a special Christmas present
I hope you liked this idea, thank you for reading and supporting me, I send you many blessings and I wish you a happy day, kisses and hugs!*
The images are of my authorship and I took them from my tecno spark phone.
Translator used Deepl
The images are edited using the canva editor application.
