My Golden Collage Teapot 🫖 Made with Sawdust & Glue

in #hive-1896412 years ago

Polish_20230306_130308658.jpg

Hello @diyhub, supporters of Discovery-It and all participants of March Teapot contest, I bring you my warmest greetings from Ghana. February prompt was amazing looking at the turn out and beautiful and creativity that many Hivians employed. I hope this March prompt is gonna be supper trending. So for those who haven't seen this amazing contest, you can join from here


It is 5 days now, even though we have 23 days I ahead to make our multiple creative post around Teapot 🫖. But I feel like making my first post on this 66th independence days we are celebrating 🥳🎉 today. What to make was what matter most. Well, I thought it wise making something new with our rich mineral Gold while celebrating this august occasion ( 66th Independence days). Even though I didn't have the original Lol 😂! I had to be smart and get something that can resemble similar colour. I think my choice was perfect for choosing simple Sawdust. This will perfectly match the occasion. It was left with the method of my creativity. I hope you can guess...haha 😂, that was a simple collage with gluing.

So, without much I do let's go straight to the materials and my processes of Golden Teapot 🫖 collage with gluing!....


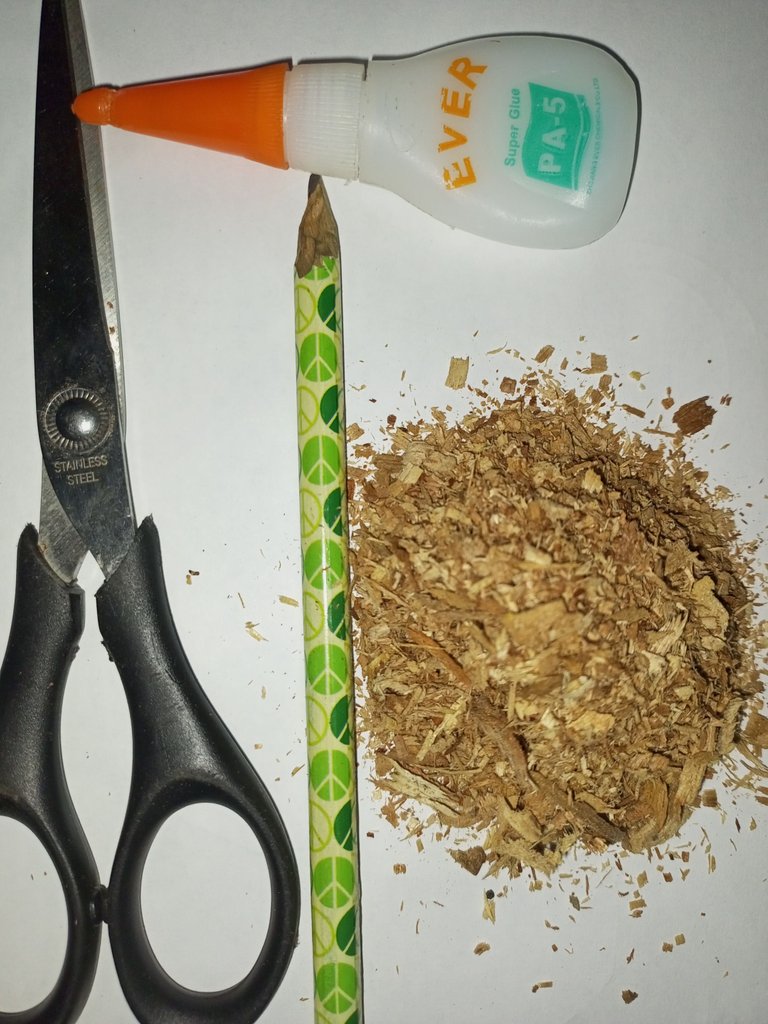
Materials used for the collage

1• White/plain sheet

2• HB pencil ✏️

3• Sawdust

4• Small sand

5• Glue

6• A pair of scissors

Below is the picture of materials I assembled for my collage work:
IMG_20230306_061950_733.jpg


Processes for the collage work

Step 1:
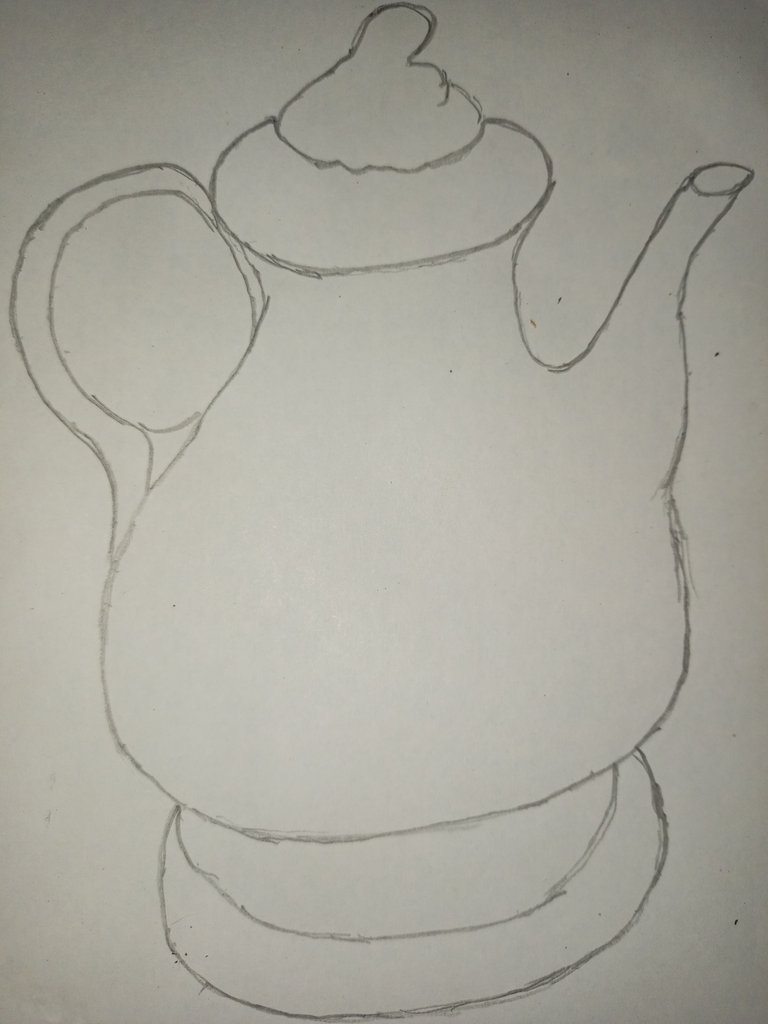
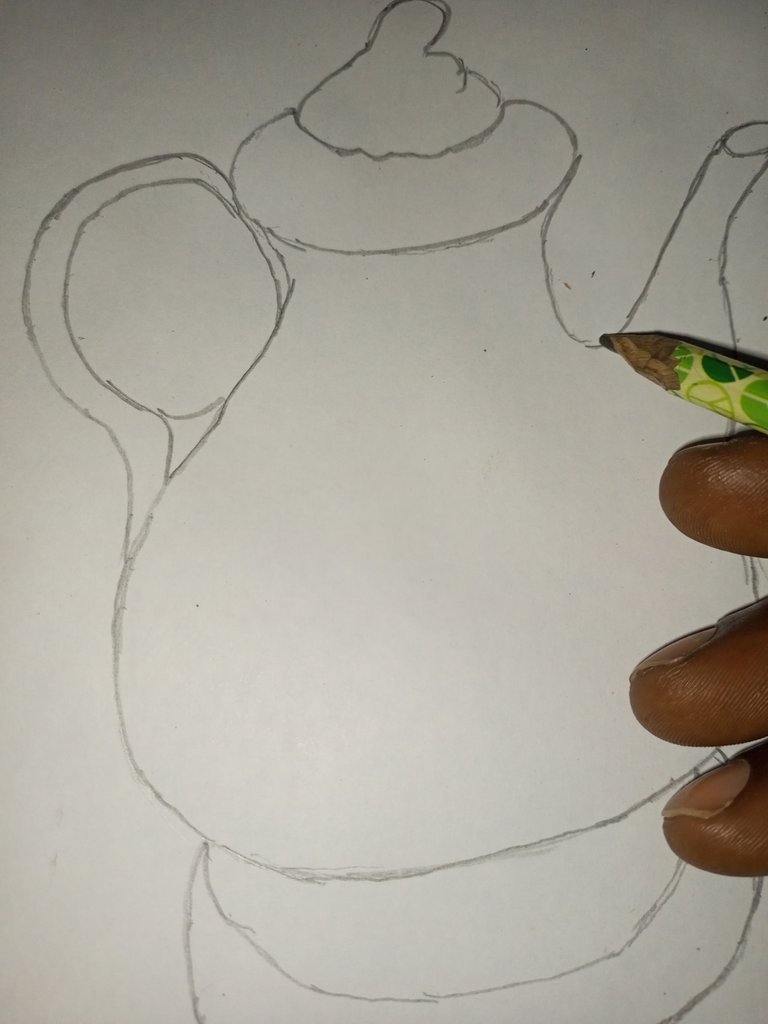
I drew the layout of the teapot on the white sheep using the HB pencil. The drawing of this layout was to help me locate where to apply the glue and the sawdust. This took me only some few minutes as shown:

Step 2

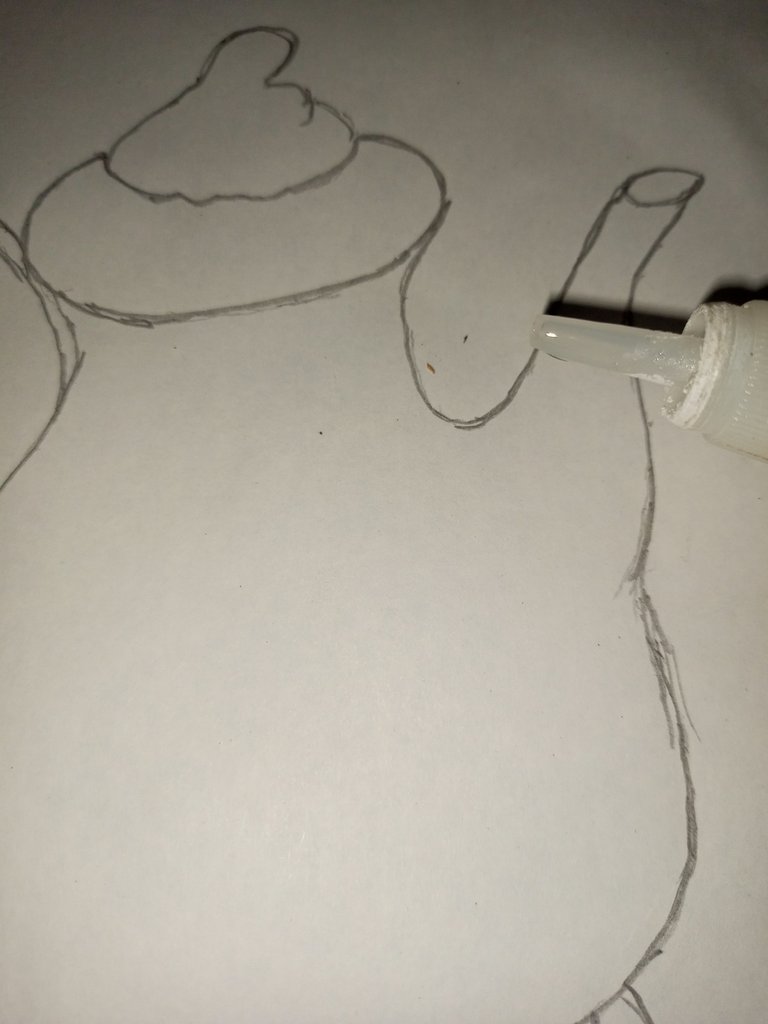
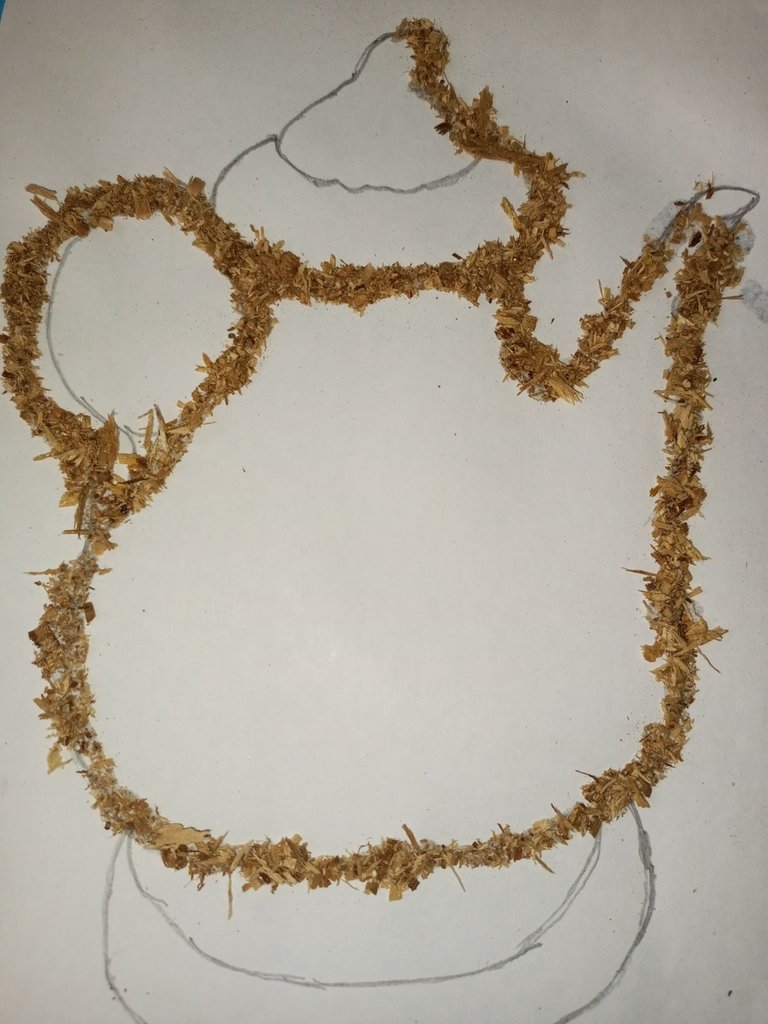
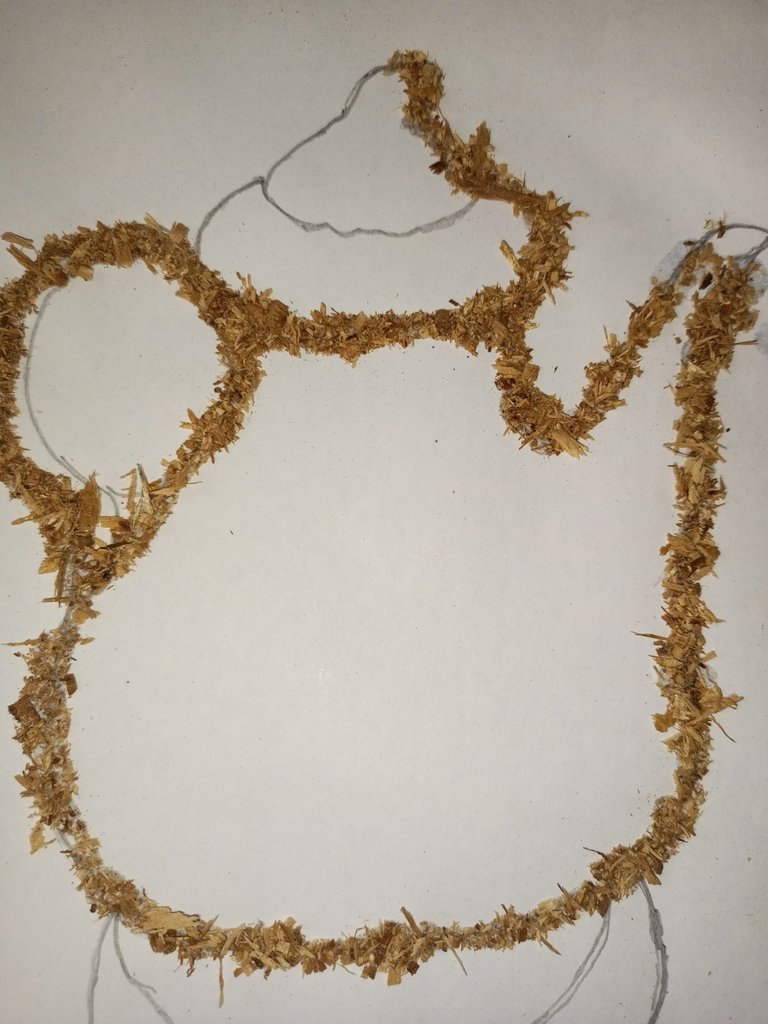
I began to apply the glue through the sketch of the teapot drawn on the white sheet. But I had to fix the sawdust gradually while gluing ( collaging). I had to do this because the glue easily dry up and there was no time to be waste.

IMG_20230306_062508_698.jpg


Step

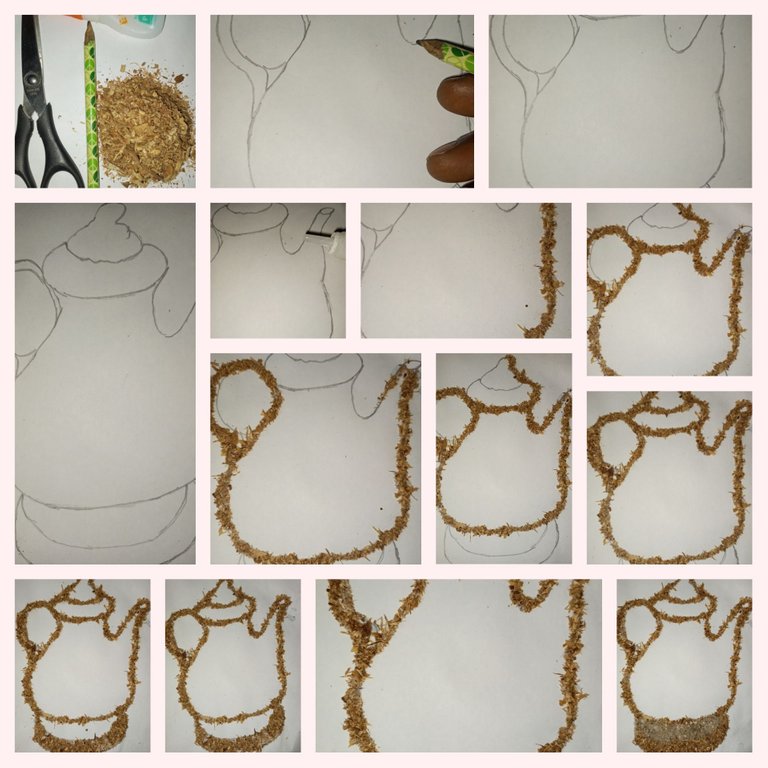
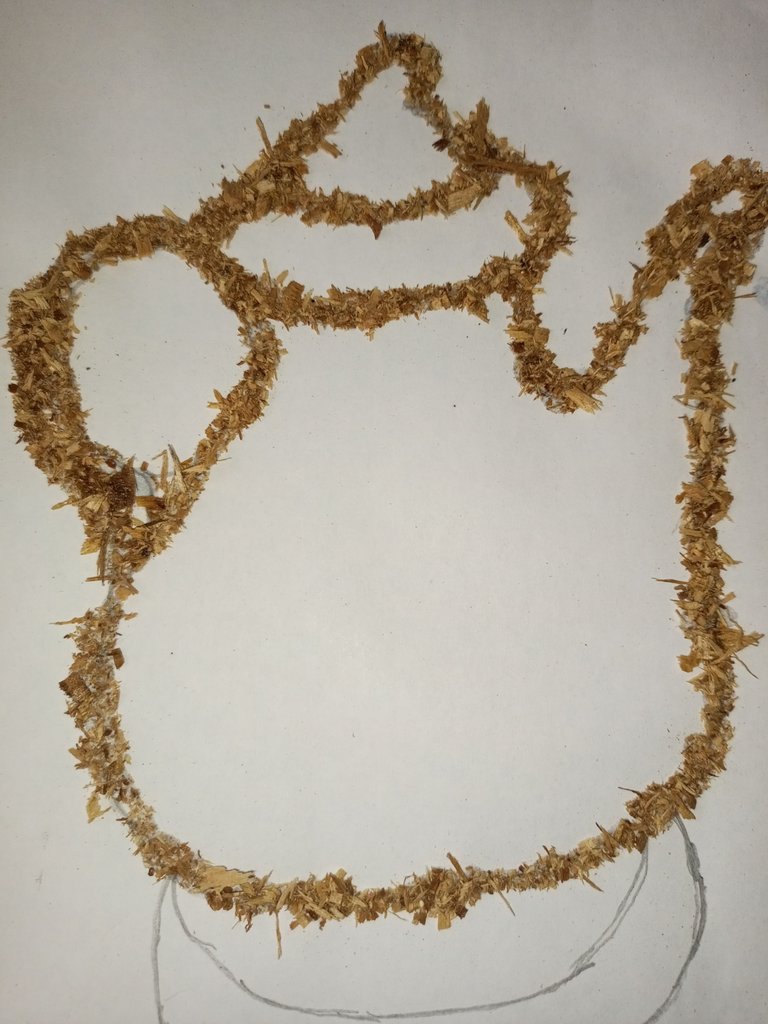
My collage with my sawdust and glueing began. As I had mentioned already, this process had to be done gradually because of quickness dry nature of my glue. Below were the step by step process I took for my collage of Golden teapot:
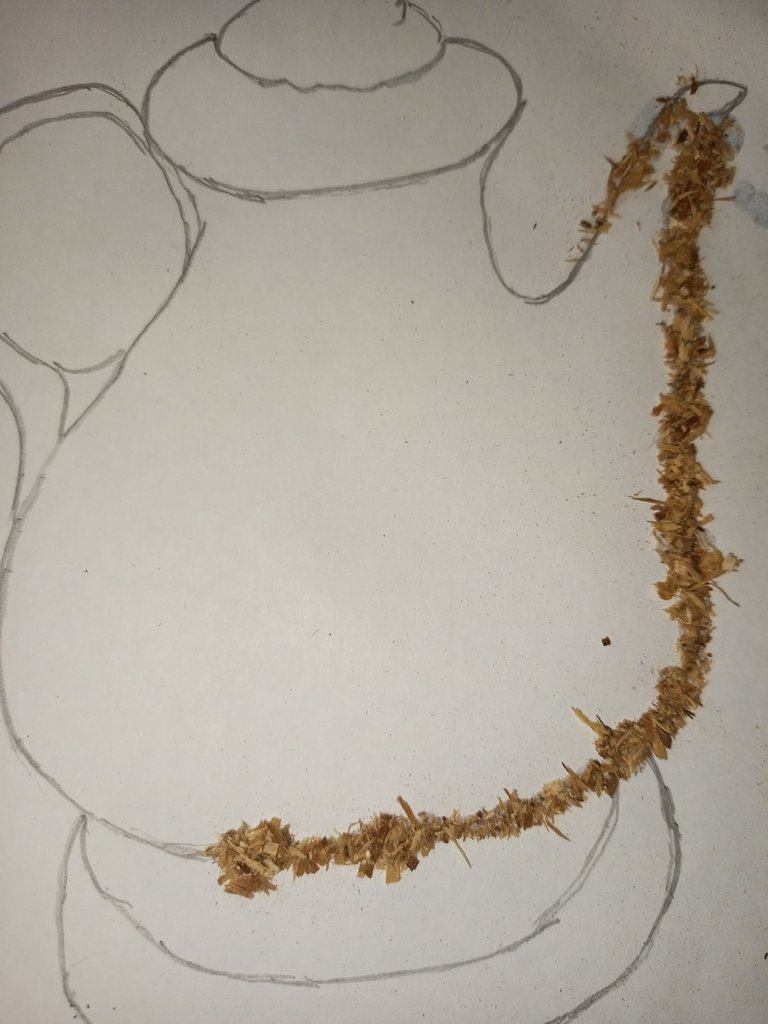
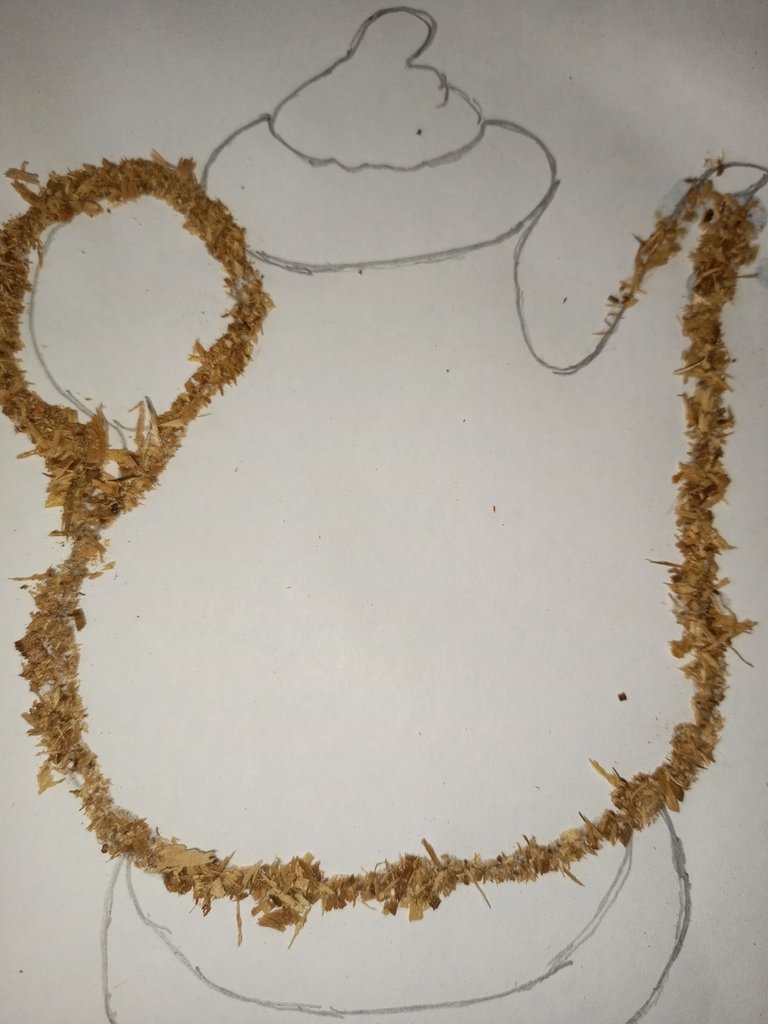
The spout and hand were first made using the glue with the sawdust
IMG_20230306_105044_237.jpg

I proceeded to collage the hole and lid with the glue and sawdust to furnish the top part.
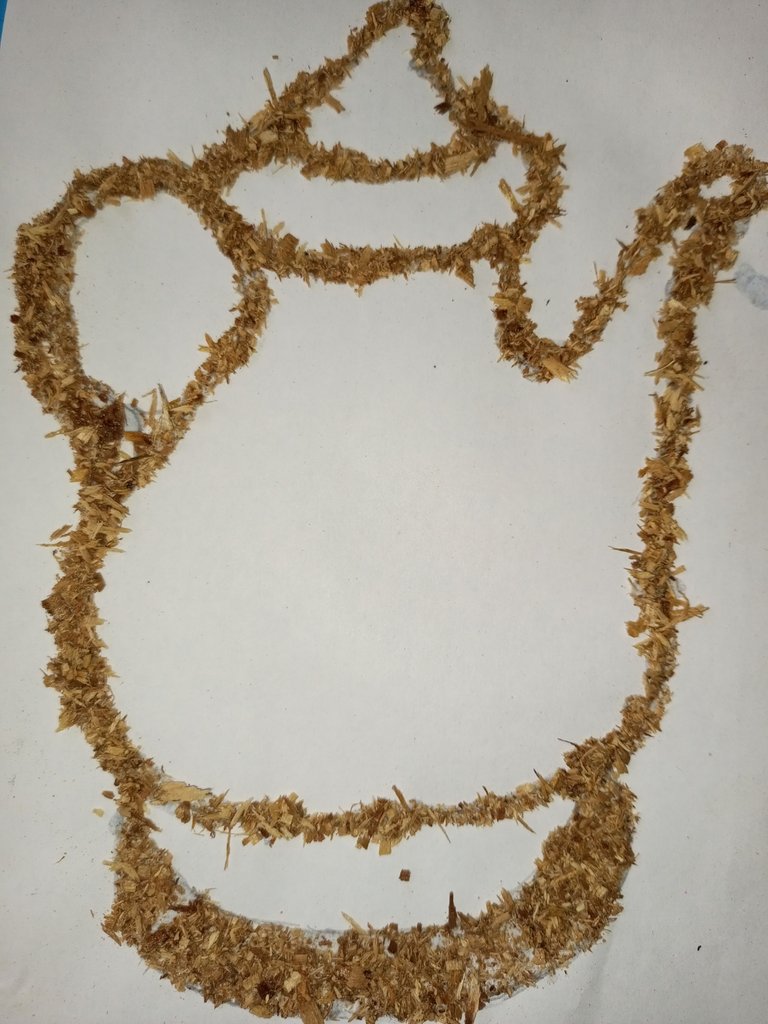

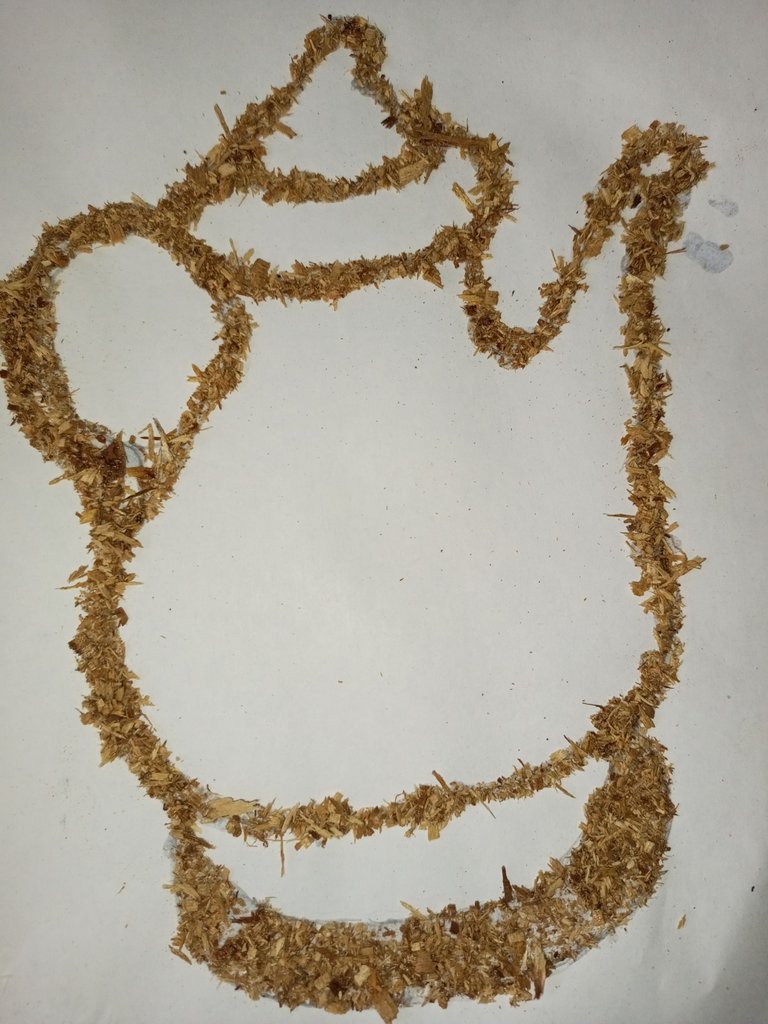
I completed the hollow body to make the teapot 🫖 look very nice. It's kinda liking something at the base other than that I would left it at this stage.
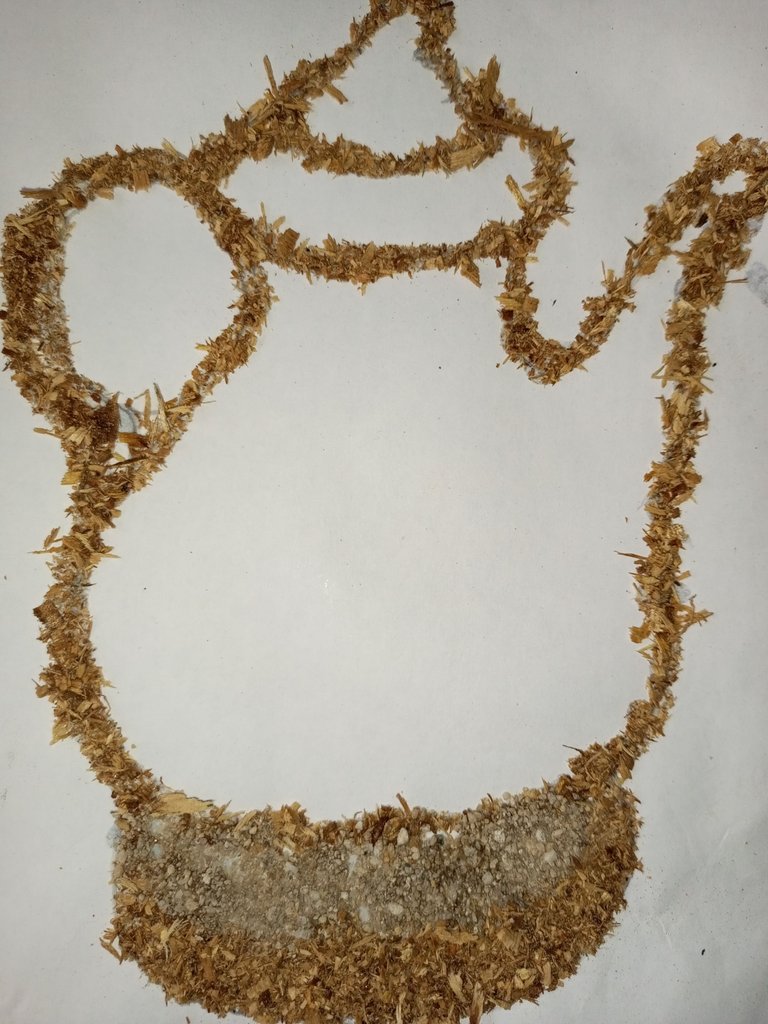
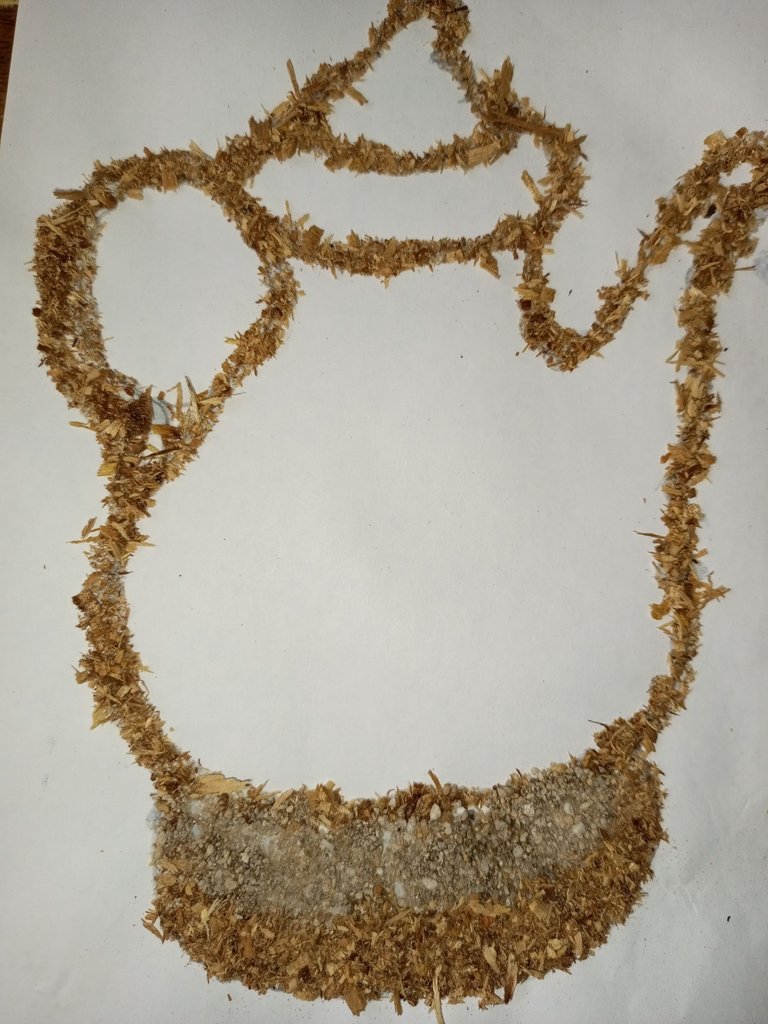
This made me fine some white sand to collage the base space left there. I think this give some blend colour to the golden colour of the teapot.


So, I left the collage work the teapot with glue and sawdust mixed at this stage. But, I was thinking about painting. This might make the teapot multicoloured which may make it ugly. Maybe fixing the white space with different collage mood would do rather than colouring it. I believe you can leave your comment of what you think I can do to furnish it with some colour. Till then see me in my next update of Teapot creativity and design. It's my pleasure participating with you!
Sort:  


The rewards earned on this comment will go directly to the people( @samuell12 ) sharing the post on Twitter as long as they are registered with @poshtoken. Sign up at https://hiveposh.com.

Congratulations @jude9! You have completed the following achievement on the Hive blockchain And have been rewarded with New badge(s)

You received more than 8000 upvotes.
Your next target is to reach 9000 upvotes.

You can view your badges on your board and compare yourself to others in the Ranking
If you no longer want to receive notifications, reply to this comment with the word STOP

Check out our last posts:

Our Hive Power Delegations to the February PUM Winners
Feedback from the March Hive Power Up Day
Hive Power Up Month Challenge - February 2023 Winners List
The Hive Gamification Proposal