Hola comunidad de DiyHub en esta oportunidad estoy realizando un bolso, con fondo tipo bandolero con tres cierres, uno posterior , uno grande y uno delantero. Es la primera vez que publico en su comunidad he visto cosas interesantes que han publicado otros usuarios. Me gustaria poder participar en sus actividades mas regularmente, me gustaria poder participar en alguno de sus concursos cuando se presente la oportunidad.
Hello DiyHub community in this opportunity I am making a bag, with bandolier type bottom with three closures, one rear, one large and one front. It is the first time I post in your community I have seen interesting things that other users have posted. I would like to participate in your activities more regularly, I would like to participate in one of your contests when the opportunity arises.
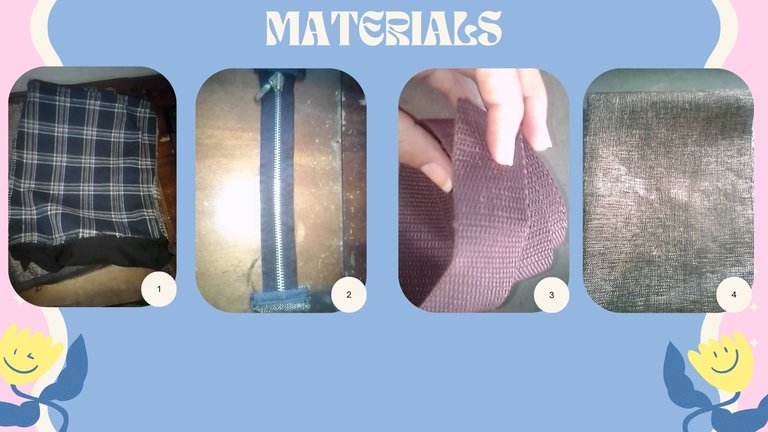
Materiales
- Tela para fondo 21x25 cms.
- Tela externa marron 23x29 cms.
- 3 cierres marrones o negros.
- Cintas de polipropileno.
- 5 Retazos de tela:
- 2 5x29 cms. (laterales)
- 1 4x19 cms. (abajo)
- 2 10x21.5 cms (bolsillo de en frente)
Materials
- Fabric for background 21x25 cms.
- Outer fabric brown 23x29 cms.
- 3 brown or black zippers.
- Polypropylene ribbons.
- 5 pieces of fabric:
- 2 5x29 cms. (sides).
- 1 4x19 cms. (bottom)
- 2 10x21.5 cms. (front pocket)
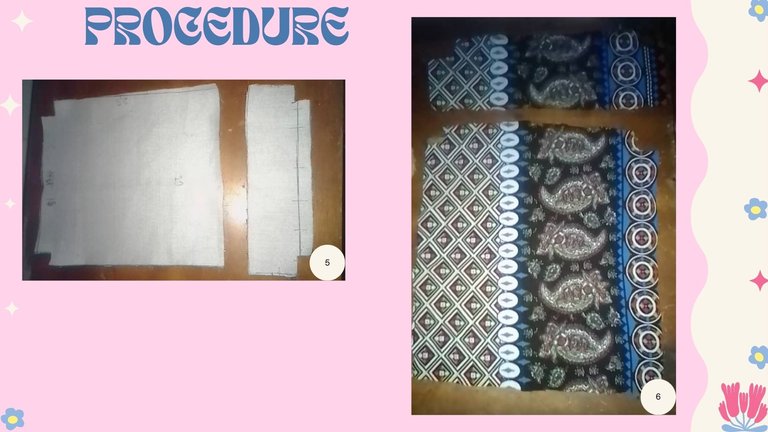
Procedimiento
Paso 1
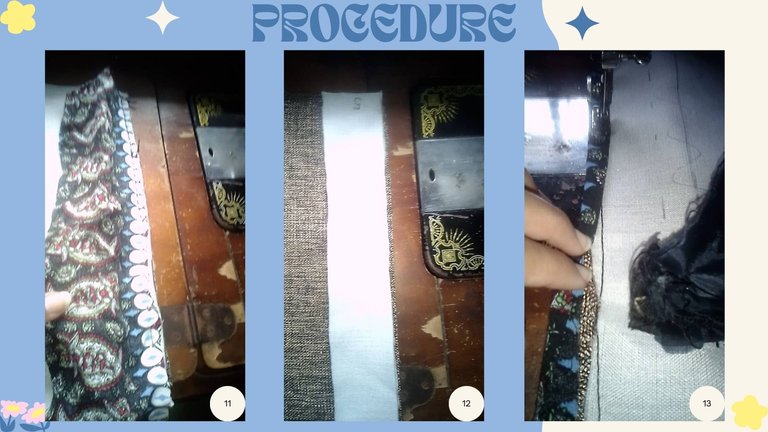
Primero realicé el bolsillo del frente , para eso recorte 4 retazos de tela, dos para el fondo y dos para la cara externa del bolsillo, (ver imagen 5 y 6).
Step 1
First I made the front pocket, for that I cut out 4 pieces of fabric, two for the bottom and two for the outside of the pocket, (see image 5 and 6).
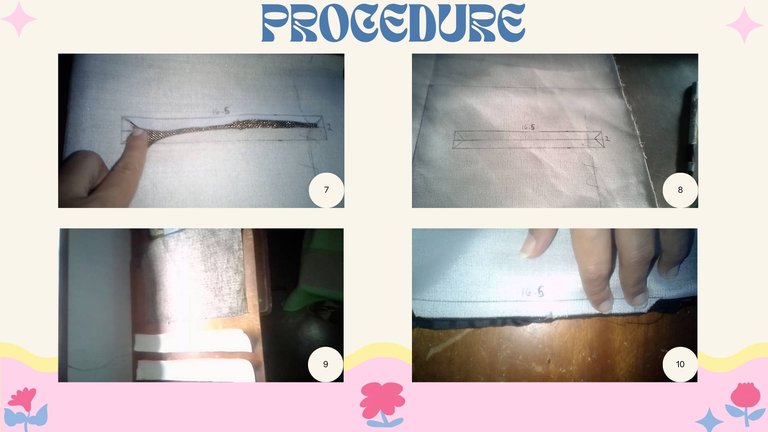
Paso 2
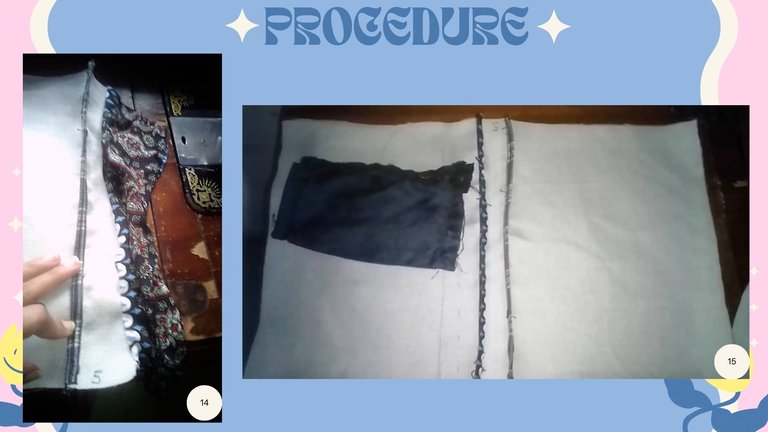
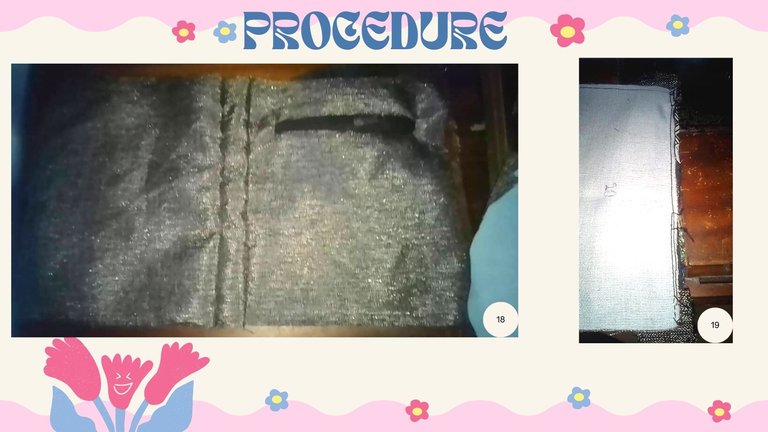
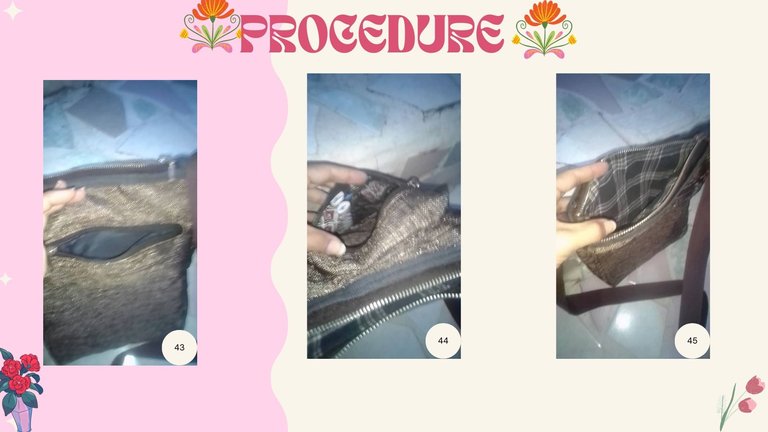
Luego preparé la abertura para el cierre 16.5x2cms, le pase costura recta al reverso por las esquinas de la parte mas grande del bolso (esto es para que no se deshilache la tela marrón) ver imagen 15.
Step 2
Then I prepared the opening for the zipper 16.5x2cms, I stitched the back of the bag straight across the corners of the largest part of the bag (this is so that the brown fabric does not fray) see image 15.
Paso 3
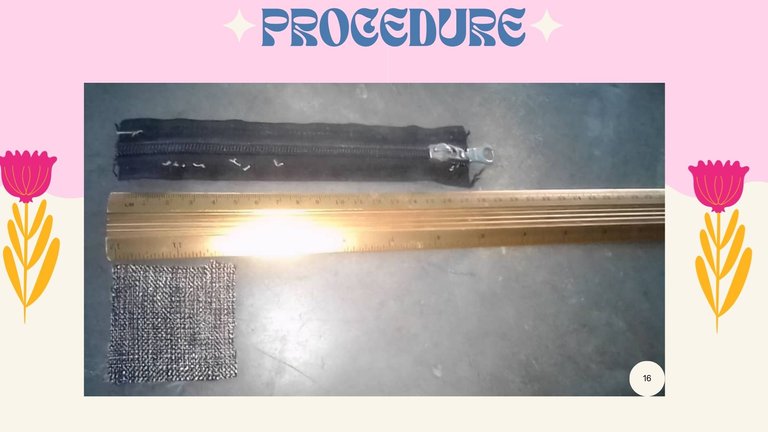
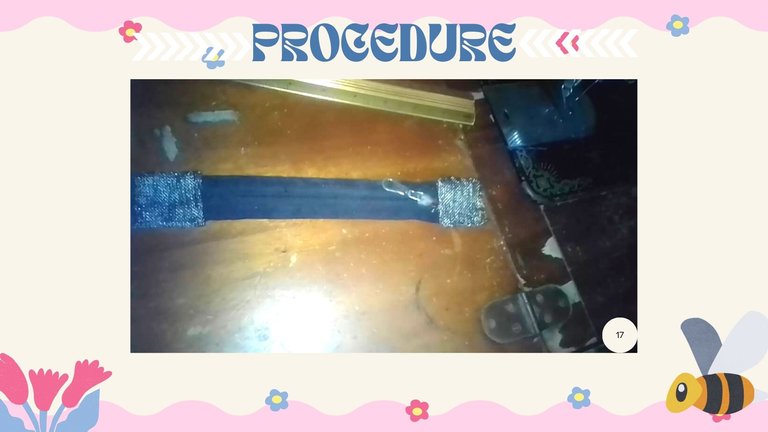
Para este paso usé dos pequeños cuadros de tela marron de 5x5 cms y los coloqué en cada extremo y luego los cosí con tela recta. Ver imagen 16 y 17.
Step 3
For this step I used two small squares of brown fabric of 5x5 cms and placed them at each end and then sewed them with straight fabric. See image 16 and 17.
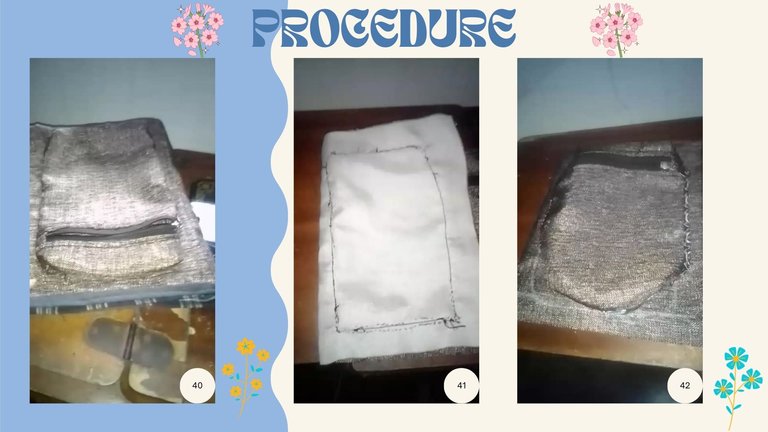
Paso 4
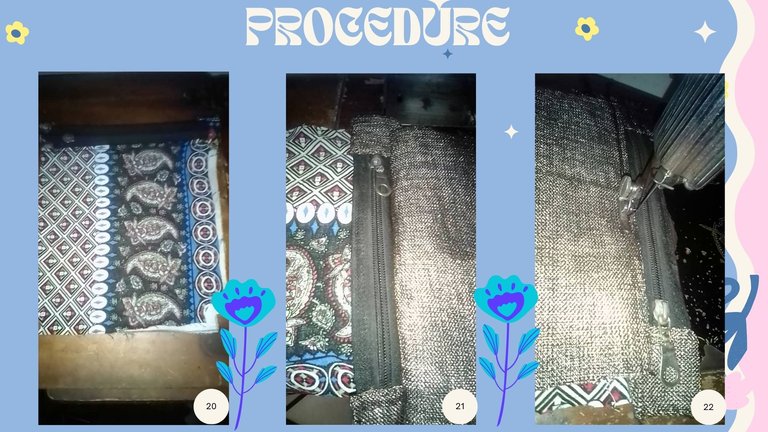
Ya en la imagen 21 y 22 estuve pegando el cierre del bolsillo del frente.
Step 4
Already in image 21 and 22 I was gluing the zipper of the front pocket.
Paso 5
Uni los dos retazos de tela
Paso 5
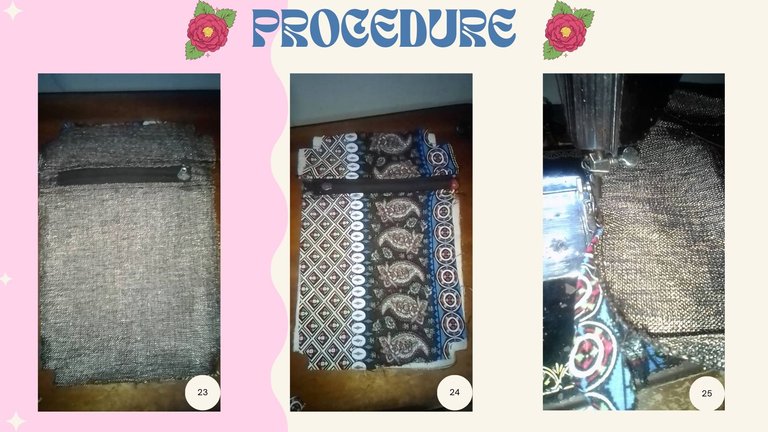
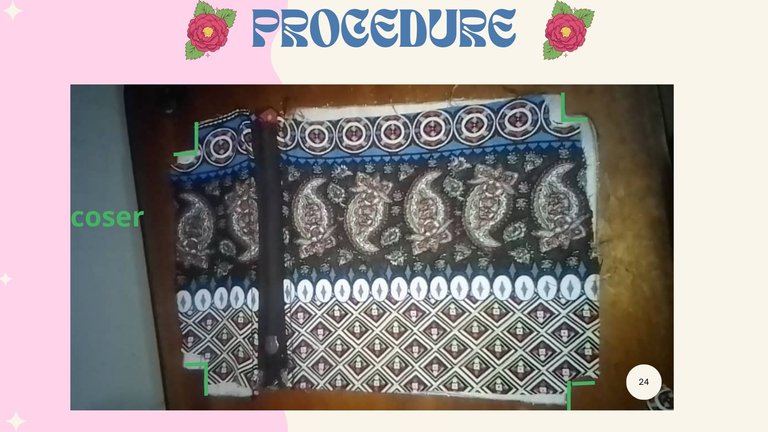
Luego segui consiendo las esquinas del fondo con la cara externa del bolsillo. Ver imagen 24.
Step 5
Then follow by joining the bottom corners with the outside face of the pocket. See image 24.
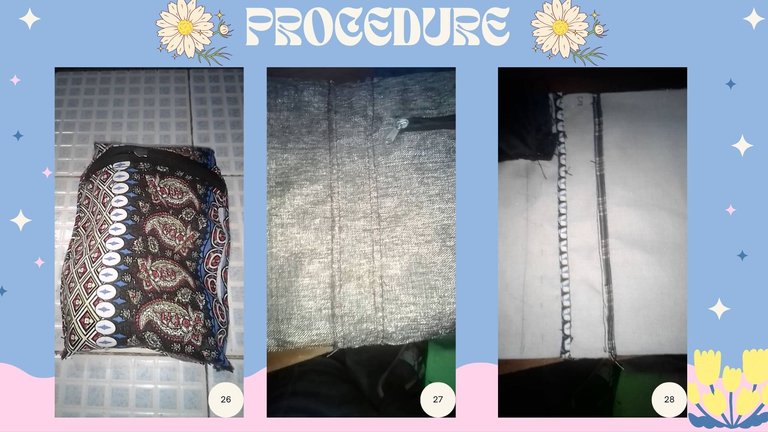
Paso 6
Luego como se ve en las imagenes 27 y 28, se cosen los bordes de la tela externa con otra tela (sesgo) para que no se deshilache, luego se le pasa otra costura para dejar el sesgo unido a la tela externa.
Step 6
Then, as shown in images 27 and 28, the edges of the outer fabric are sewn with another fabric (bias) so that it does not fray, then another seam is stitched to leave the bias attached to the outer fabric.

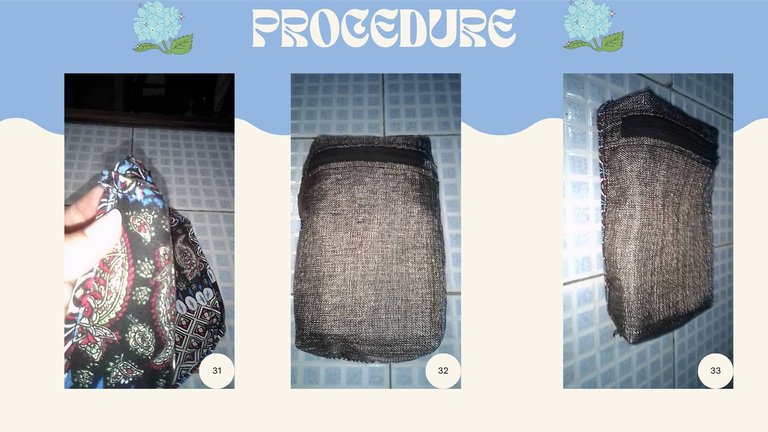
Paso 7
En las imagenes 29 y 30 se ve el resultado. En la imagen 31 se ve la union de las puntas para poder crear el efecto de profundidad.
Step 7
In the images 29 and 30 you can see the result. In image 31 you can see the union of the tips to create the depth effect.
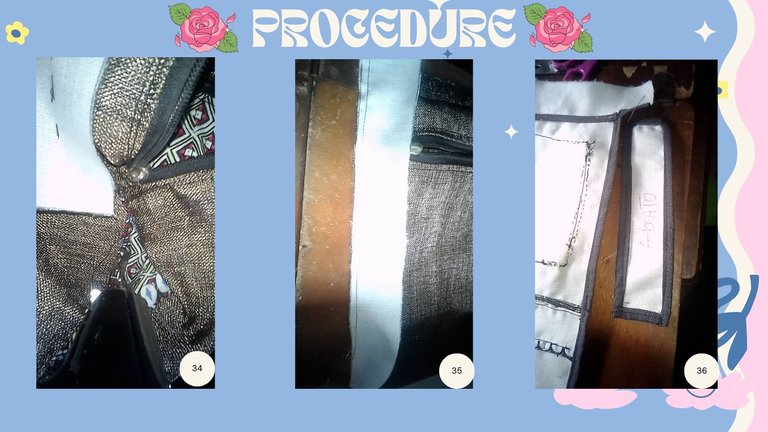
Paso 8
En las imagenes 35 y 36 se ven la unión del bolsillo delantero con el resto de la tela, luego se sigue colocando el sesgo en los bordes de la tela y también en el retazo de abajo.
Step 8
In images 35 and 36 you can see the union of the front pocket with the rest of the fabric, then continue placing the bias binding on the edges of the fabric and also on the bottom piece.
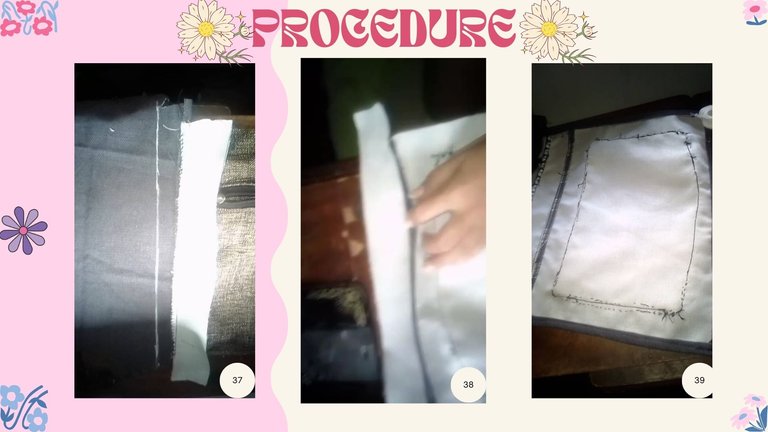
Paso 9
Se coloca el cierre interno y se cierra la tela externa, se cose la cinta a los dos lados del bolso y se cose el fondo con la tela externa marrón. El sesgo tambien se colocó en la parte superior de la tela, luego de colocar el fondo y finalmente se agrega el cierre superior. Ver imagenes siguientes
Step 9
The internal zipper is placed and the external fabric is closed, the ribbon is sewn on both sides of the bag and the bottom is sewn with the brown external fabric. The bias is also placed on the top of the fabric, after placing the bottom and finally the top zipper is added. See images below
Resultado
Estoy muy contenta con el resultado quedó todo muy uniforme , espero les haya gustado.
Result
I am very happy with the result and I hope you liked it.
Créditos | Credits
Utilicé Canva para editar imágenes y personalicé un poco una plantilla de Canva.
I used Canva to edit images and customize a Canva template a bit.
Utilicé para la traducción deepl.com
I used to traduction deepl.com
Todas las imagenes del paso a paso son mías, tomadas con mi telefono Yezz Liv1.
All the step by step images are mine, taken with my Yezz Liv1 phone.
 |
 |
 |