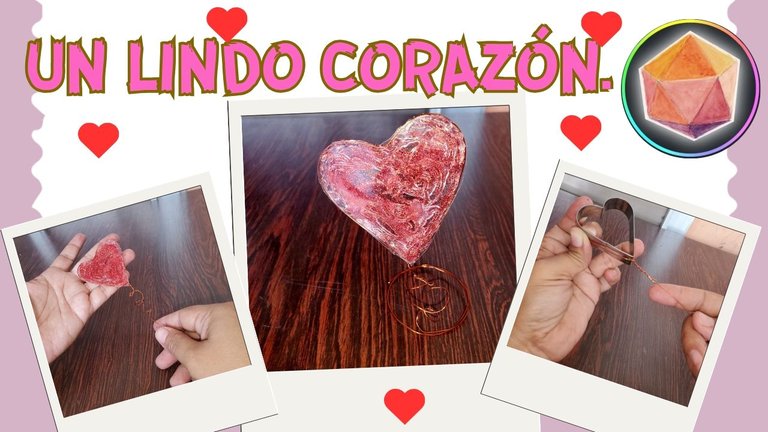
Greetings community, love is celebrated every day, I wish that the love that you profess to your loved ones is never extinguished. An indispensable value to establish the most genuine connections with people, and to remain united in time.
Love can be manifested in different ways through a word, a gesture, a gift ..., for that loved one, friend, family member. Today I bring an ornament to make in the simplest way and the one who does not have skills for crafts will not be a problem for him or her to elaborate it.
If you continue reading this tutorial, you will love it.
Materiales:
- Copper wire.
- Jewelry pliers.
- Acetate sheet.
- Red frosting.
- Silicone gun.
- Scissors.
- Silicone stick.
- Pencil.
- Heart-shaped cookie cutter.
Procedimiento:
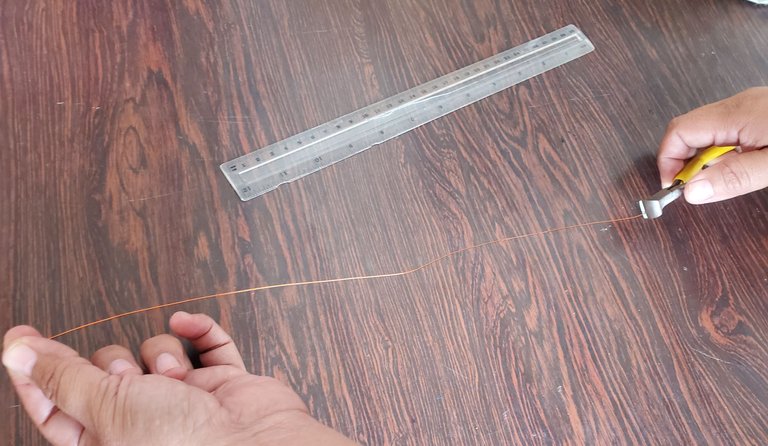
Cut approximately 35 cm of copper wire with the jeweler's pliers, pass it along the contour of the cookie cutter and get the shape of the heart, leaving 1.5 cm as shown in the picture.
 |  |
|---|
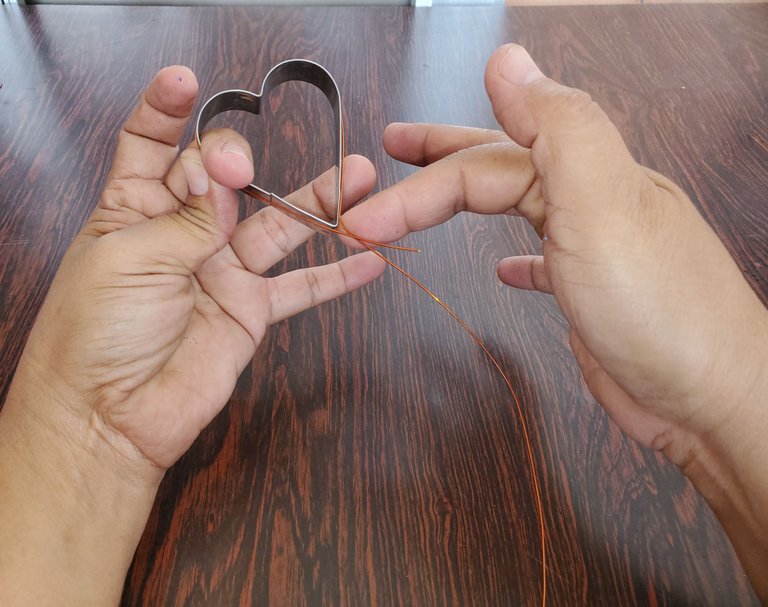
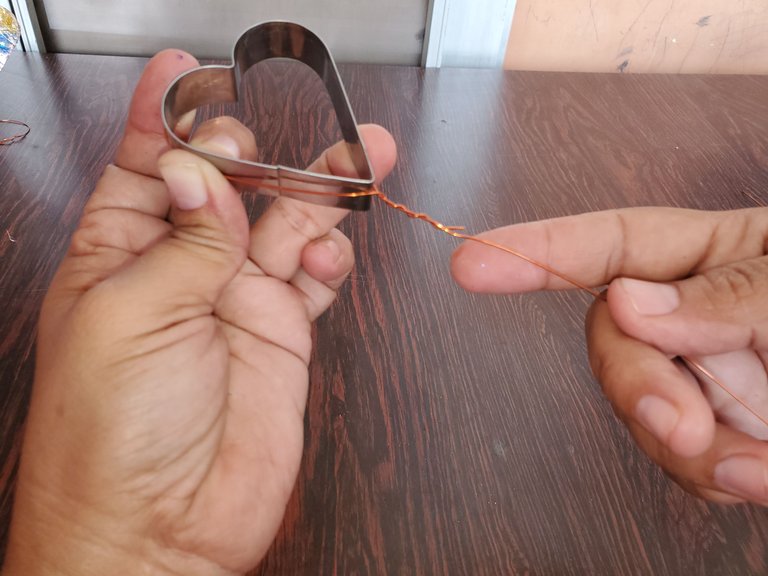
The wire is bent at the bottom, holding the cookie cutter at the same time so that the heart shape is defined.
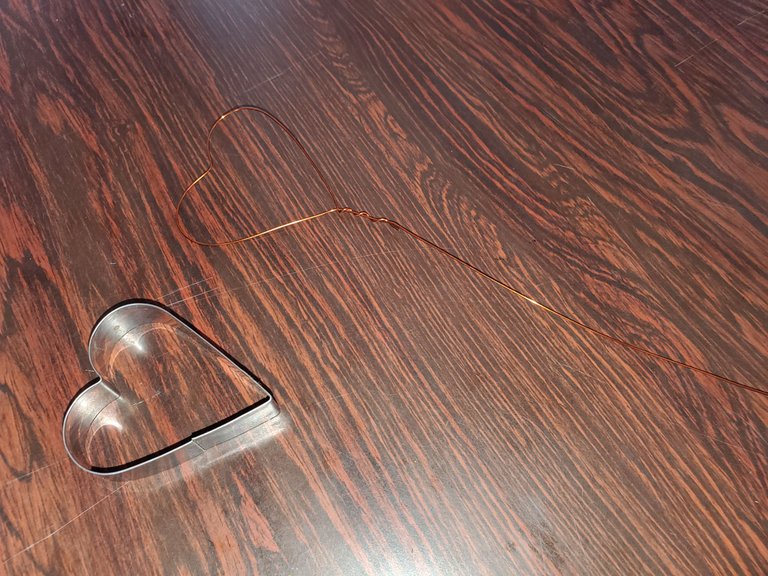
The heart-shaped cookie cutter is removed from the wire and the heart shape can be seen on the wire.
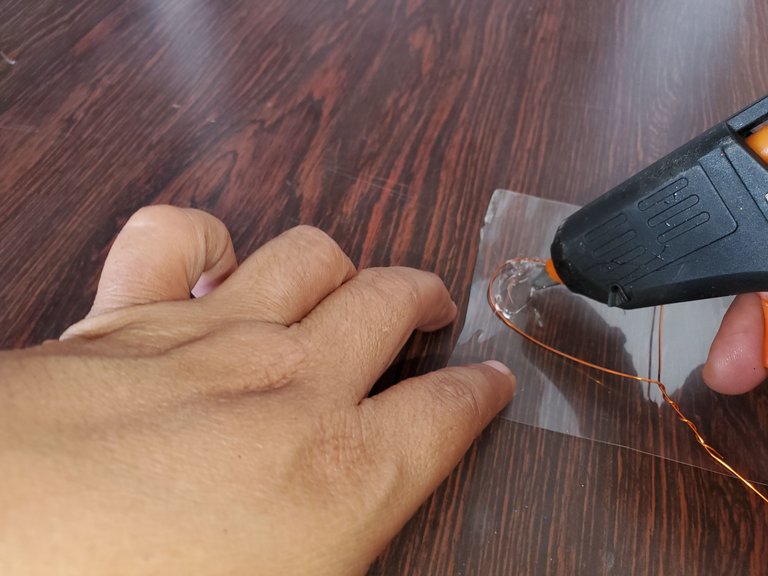
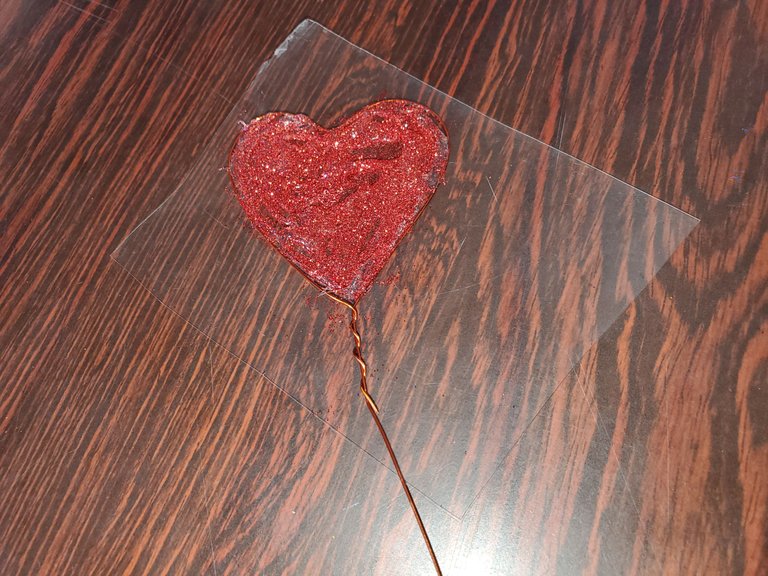
The heart-shaped wire is placed on top of the acetate and with the hot silicone is added inside the heart, and the red frosting is added.

 |  |
|---|
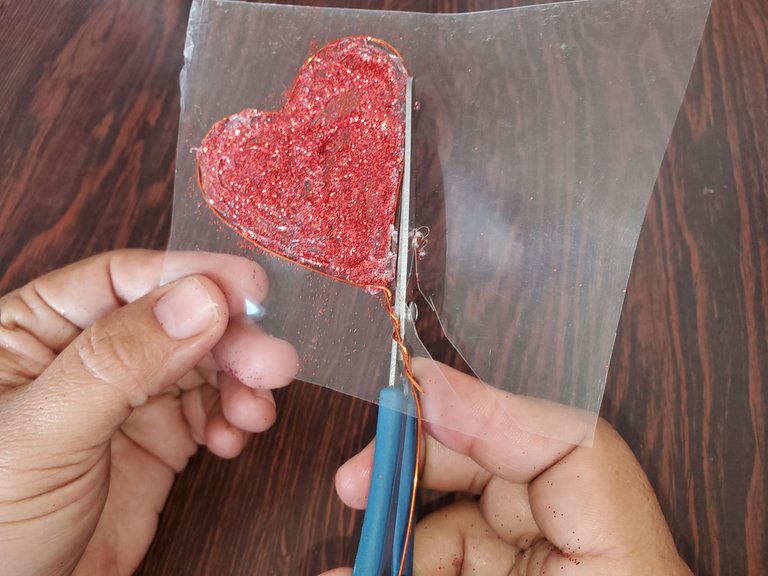
With the scissors cut the transparent acetate, leaving the heart free.
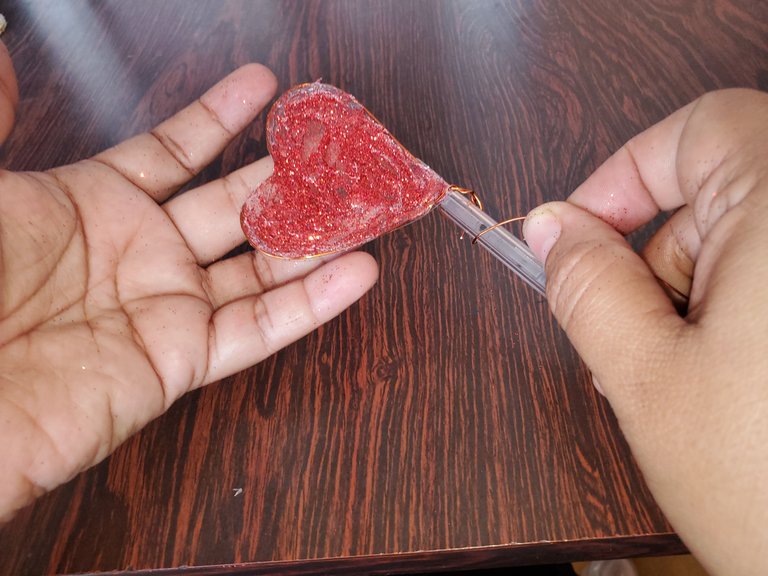
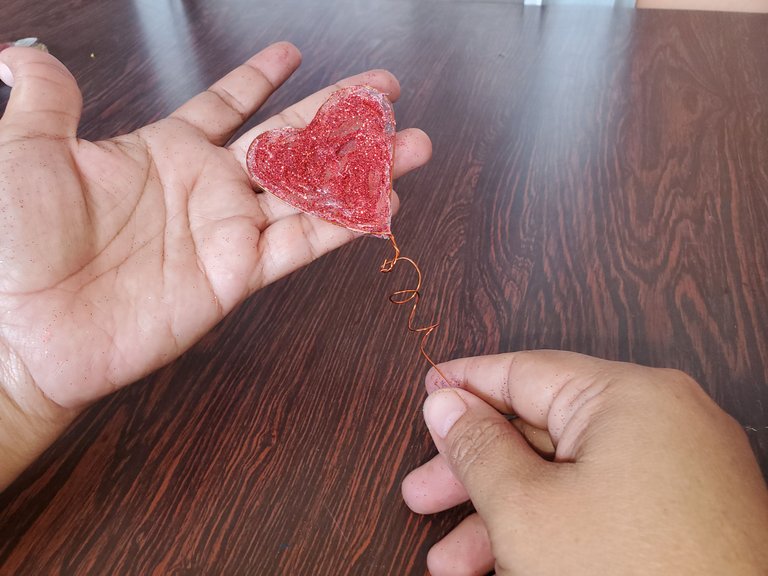
Grasp the heart and the excess wire with a pencil. The wire is given two or three turns to create the spring form, and the pencil is then removed.
 |  |
|---|
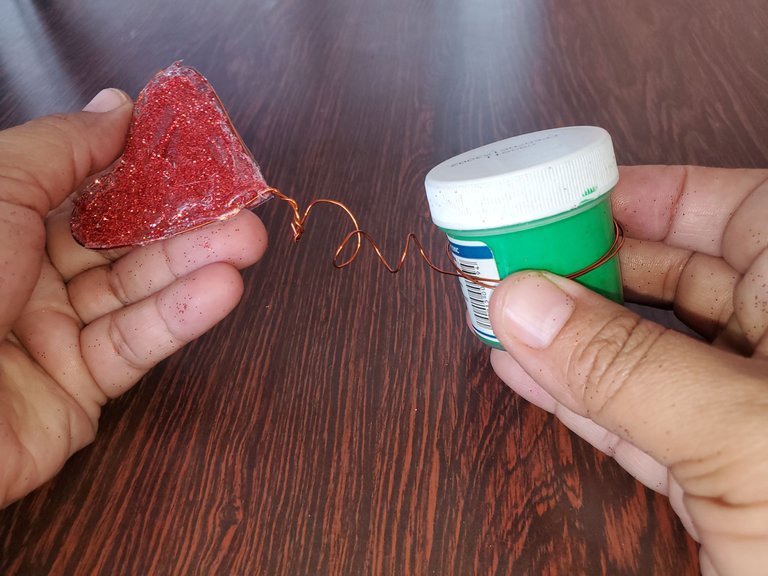
With what was left of the wire in the heart, the base is made so that it can stand on its own, and this is done by wrapping the wire around the small cylindrical plastic container, as shown in the image.
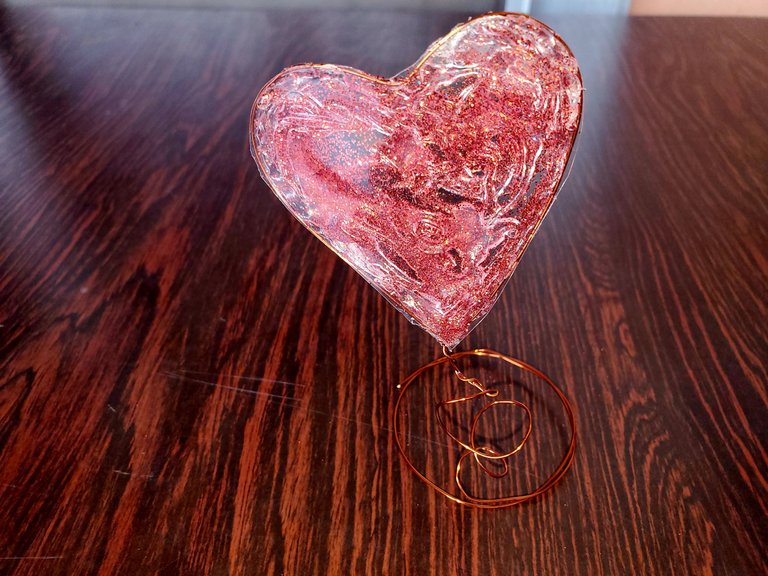
This being the final result, it will look beautiful on a table and it is also an ornament to give as a gift. It can be made in different colors; creativity gives it that special touch.

Photos are taken with my Samsung Galaxy S10+.
Editing, banner and divider made with Canva.
Logo of the DiyHub community.
Translation with DeepL.com (free version).

Adorno con forma de corazón.
Saludos comunidad, el amor se celebra todos los días, deseo que nunca se apague el amor que le profesan a sus seres queridos. Valor indispensable para establecer las más genuinas conexiones con las personas, y que se mantengan unidos en el tiempo.
El amor se puede manifestar de diferentes maneras a través de una palabra, un gesto, un regalo..., para ese ser amado, amigo, familiar. Hoy traigo un adorno para realizar de la forma más sencilla y el que no tenga habilidades para las manualidades no va a ser problema para él o ella elaborarlo.
Si siguen leyendo este tutorial, les encantará.
Materials:
- Alambre de cobre.
- Alicate para bisutería.
- Hoja de acetato.
- Escarcha roja.
- Pistola de silicón.
- Tijera.
- Barra de silicón.
- Lapicero.
- Cortador de galletas con forma de corazón.
Procedure:
Corta aproximadamente 35 cm de alambre de cobre con el alicate de bisutería, pasarlo por el contorno del cortador de galletas y obtén la forma del corazón, dejando 1,5 cm como se muestra en la imagen.
| |
|---|
Se dobla el alambre en la parte inferior, sosteniendo al mismo tiempo el cortador de galletas para que quede la forma de corazón definida.
Se le quita el cortador de galletas con forma de corazón al alambre y en este se puede observar la forma del corazón.
Encima del acetato se coloca el alambre con forma de corazón y con el silicón caliente se le agrega por dentro al corazón, y se le incorpora la escarcha roja.
| |
|---|
Con la tijera se corta el acetato transparente , quedando el corazón libre.
Se agarra el corazón y lo que sobra de alambre con un lapicero. Se le da al alambre dos o tres vueltas para crear la forma de resorte, siendo el lapicero retirado después.
| |
|---|
Con lo que quedó de alambre en el corazón, se le hace la base para que se pueda parar solo, y esta se hace enrollando el alambre al envase cilíndrico de plástico pequeño, como se ve en la imagen.
Siendo este el resultado final, quedará hermoso en una mesa y es un adorno para regalar también. Se puede realizar de diferentes colores; la creatividad le da ese toque especial.
Las fotos son tomadas con mi celular Samsung Galaxy S10+.
Edición, banner y separador hechos con Canva.
Logo de la comunidad de DiyHub.
Traducción con DeepL.com (versión gratuita).