💓 Hello fellow Hive members! 💓
As my first post in the DIY community and participating in the cat-themed DIYHUB contest I bring you a simple idea to make a little bed for your furry ones with recycled materials!
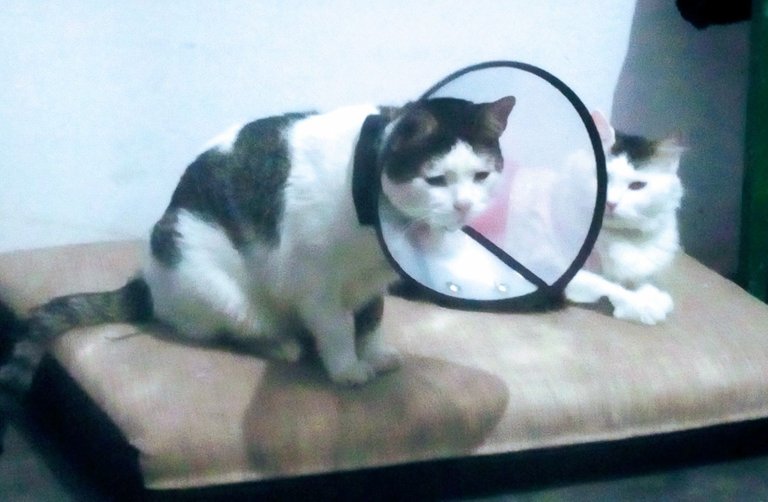
Those who have kitties will know that they are very sleepy, a cat can sleep between 13 and 16 hours a day, depending on their age, season, or climate. Mine are no exception.
Agatha and Moon Cat usually have beds that they usually share, but right now Moon Cat is under recovery and that has made him very spoiled, much more than he already is 😅 And Agatha, or Pelos as we call her, sleeps anywhere else.
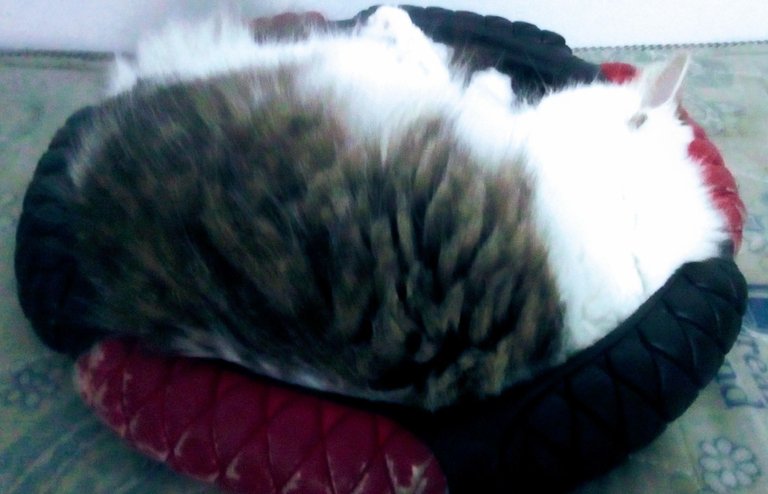
I found this flyer liner lying at a stoplight where I was going to work(I'm a juggler), and it occurred to me that it might be useful for some cat toy. Later the Pelos showed me the use she wanted to give it 😂 haha So let's start with the step by step!
💙 The materials we will occupy will be: 💙
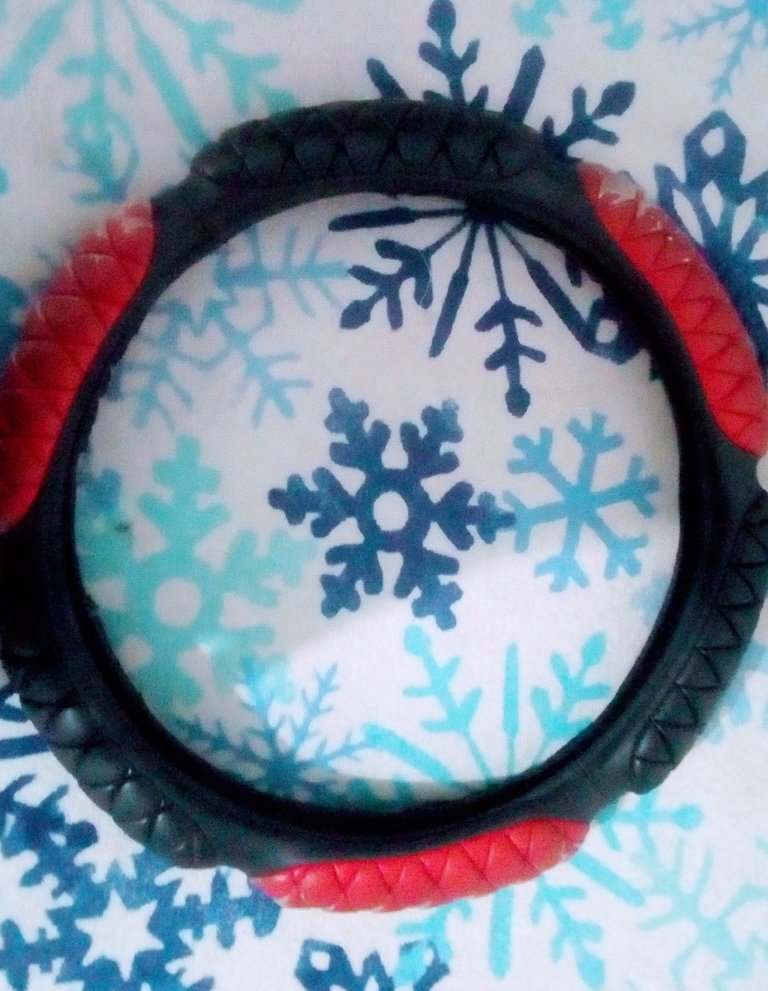
A base for our bed, in my case I used the ruffle liner but anything could work.
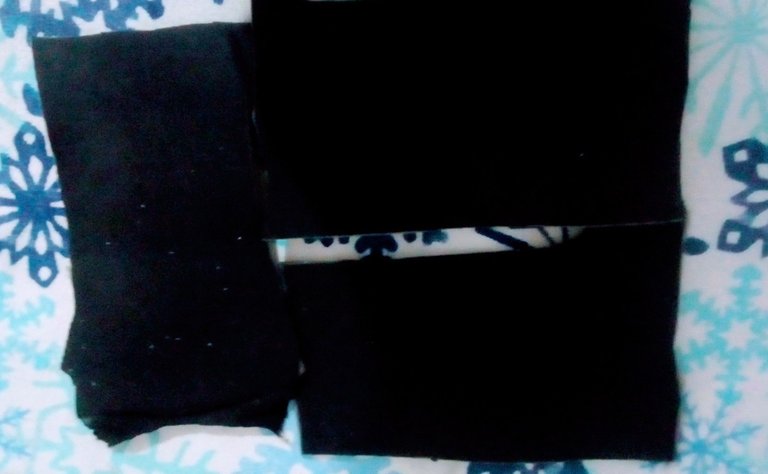
Fabric or different stuffing to make the bed padded.
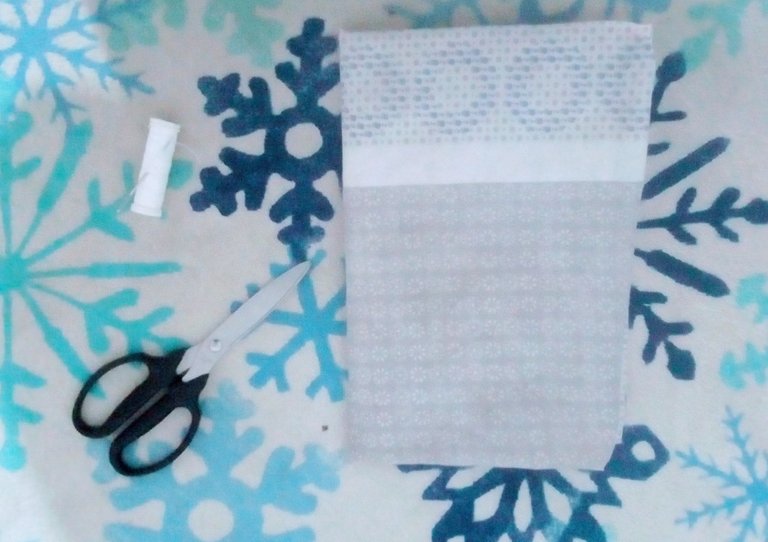
Some cover, flannel that we no longer want, or fabric. The idea is to make it minimalist, and that we have to sew to a minimum, so the wisest thing to do is something to intervene.
Scissors, thread and needle.
💙 Step by step: 💙
- First of all we will wash the fabrics or stuffing we are going to occupy, wait for them to dry and gather all our materials in the area where we are going to work.
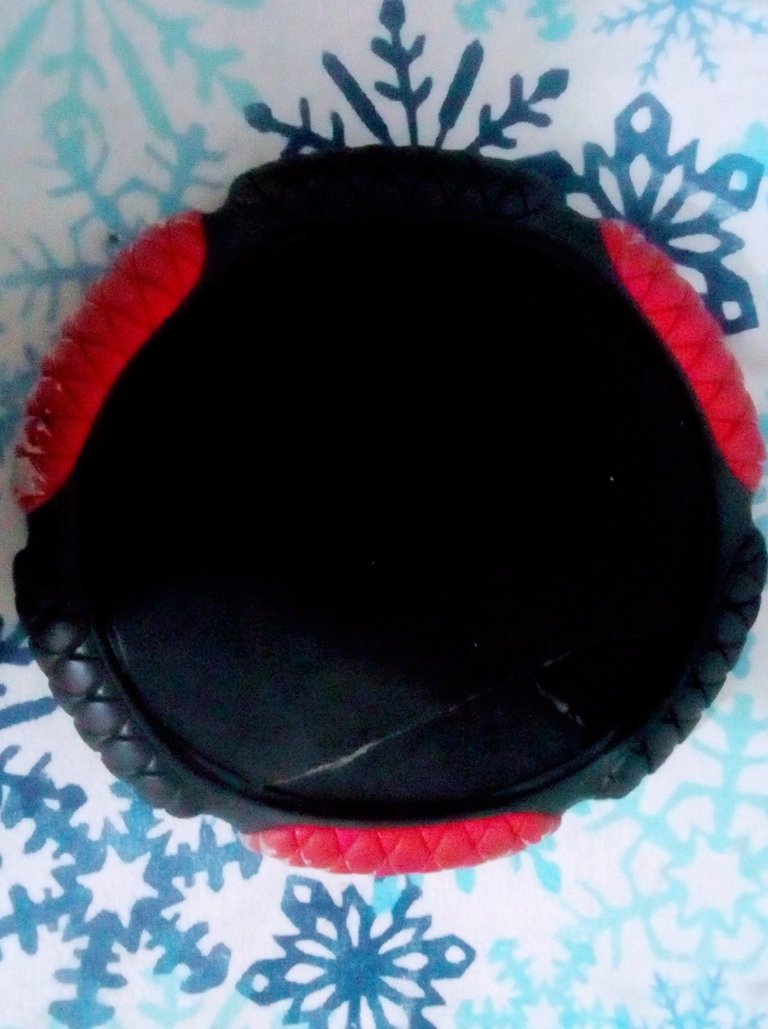
We will start by stuffing our base.
Introducing it in what will be the cover of our bed.
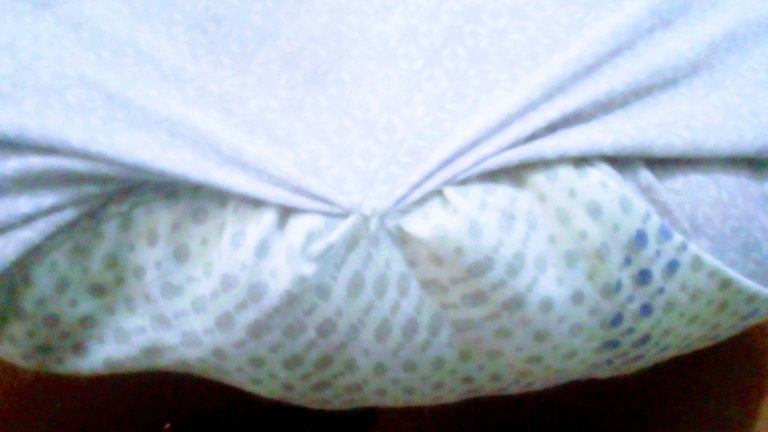
- Stitching it with thread and needle in precise places so that it has a nice shape.

And that's it!
That's how simple it is to make a bed that our favorite sleepyheads will surely enjoy a lot! In this as in any DIY project, creativity is very important and in this case I worked with materials I had on hand, but you can vary it as much as you want, sewing or gluing a zipper or Velcro to the lining for washing, making it as a pillow without any base, or directly taking as a base something else.
I hope you liked the idea and if you put it into practice please share the result with me. 💞 Hugs, kisses, drink water and brush your teeth! 💞
~ 💓 See you next post! 💓 ~
💓 ¡Hola compañeros de Hive! 💓
¡Como mi primer post en la comunidad DIY y participando en el concurso DIYHUB con temática de gatos les traigo una idea sencilla para hacer una camita para sus peludos con materiales reciclados!
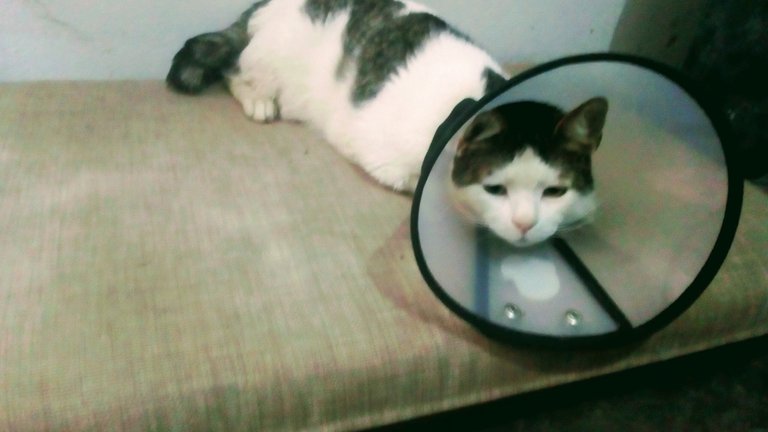
Quienes tienen gatitos sabrán que son muy dormilones, un gato puede llegar a dormir entre 13 y 16 horas al día, dependiendo de su edad, estación, o clima. Los míos no son la excepción. Agatha y Gato Luna suelen tener camas que usualmente comparten, pero en este momento el Gato Luna está bajo recuperación y eso lo ha puesto muy mimado, mucho más de lo que ya es haha Y Agatha o Pelos como la llamamos duerme en cualquier otro lugar.
Encontré este forro para volante tirado en un semáforo en el que iba a trabajar(soy malabarista), y se me ocurrió que podía ser útil para algún juguete de gato. Más tarde la Pelos me mostró el uso que quería darle haha Así que comencemos con el paso a paso!
💜 Los materiales que ocuparemos serán: 💜

Una base para nuestra cama, en mi caso usé el forro de volante pero podría servir cualquier cosa.

Tela o diferentes rellenos para que la cama quede acolchadita.

Alguna funda, franela que ya no queramos, o tela para recubrirlo. La idea es hacerlo minimalista, y que tengamos que coser al mínimo, por eso lo más prudente es algo para intervenir.
Tijera, hilo y aguja.
💜 Paso a paso: 💜
- Primero que nada lavaremos las telas o rellenos que vayamos a ocupar, esperaremos a que sequen y juntaremos todos nuestros materiales en la zona donde vayamos a trabajar.

Comenzaremos rellenando nuestra base.
Introduciéndola en lo que será la funda de nuestra cama.

- Dándole puntadas con hilo y aguja en lugares precisos para que quede con una linda forma.

¡Y listo!
Así de sencillo es hacer una camita que nuestros dormilones favoritos que seguro disfrutaran mucho! En este como cualquier proyecto de DIY es muy importante la creatividad y en este caso trabaje con materiales que tenía a la mano, pero ustedes pueden variarlo tanto como deseen, cosiendo o pegando un cierre o velcro al forro para el momento de lavarlo, haciéndolo tipo almohada sin ninguna base, o directamente tomando de base otra cosa.
Espero que les haya gustado la idea y si la ponen en práctica por favor me comparten el resultado. 💞 Abrazos, besitos, tomen agüita y cepillense los dientes! 💞
~ 💓 ¡Hasta el próximo post! 💓 ~
Las imágenes fueron tomadas por mi.


