💓 Hello fellow creators! 💓
I hope you are excellent and starting the week with lots of ideas ♡.
In today's post, as you read in the title I bring you the step by step of 2 chokers, the base is the same, what changes is the decoration. You can make them with materials that you probably have at home, and maybe even recycle things that you have lying around waiting to give them a new use :)
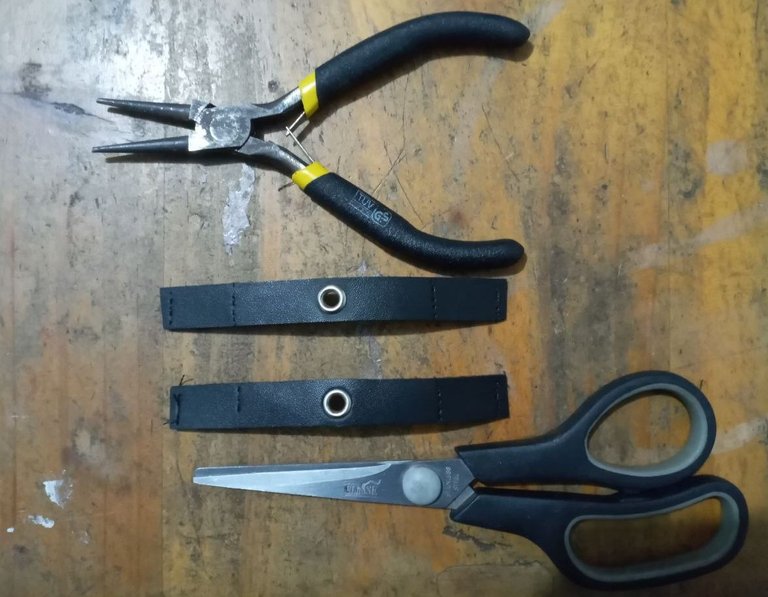
For the first model we will need the following materials:
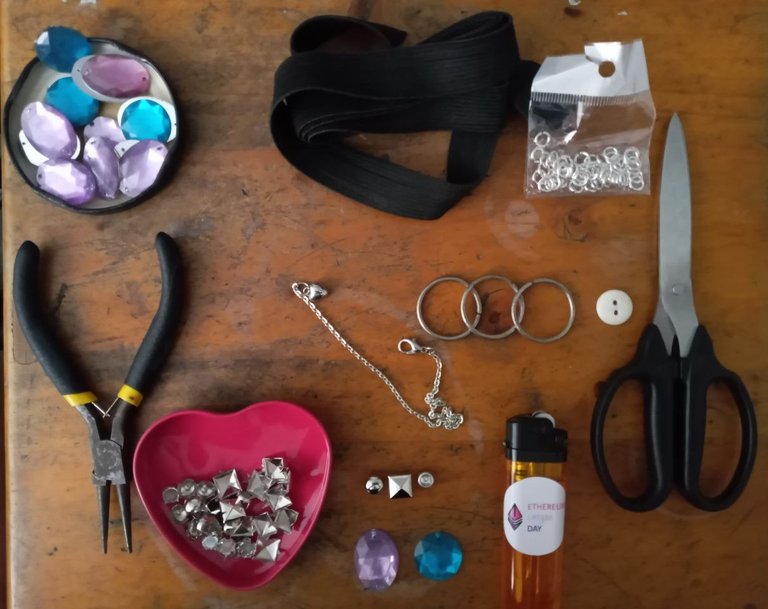
The first step will be to take the measure of our neck with a tape measure or directly with the elastic if you wish, after that cut to the measure adding an extra 3 cm, burn a little the ends to avoid fraying.
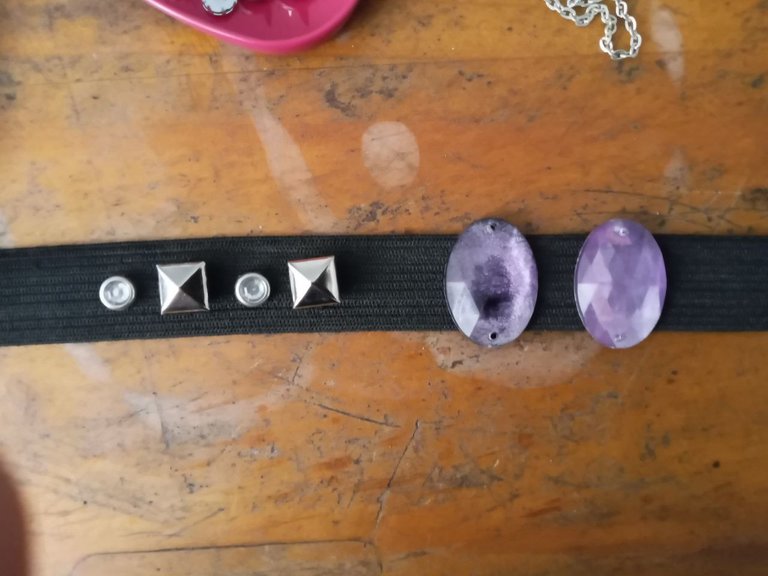
Next we will start with the decoration, we can try it on the elastic as we would like and then sew or close it to fix it.
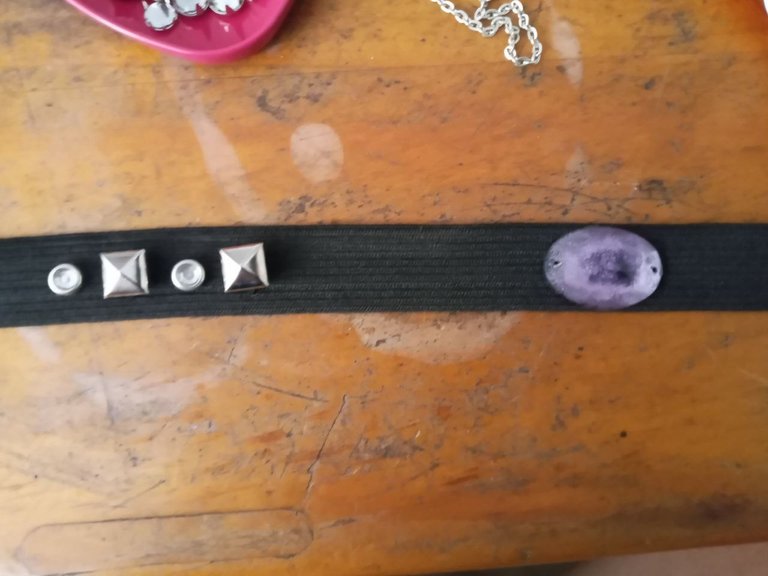
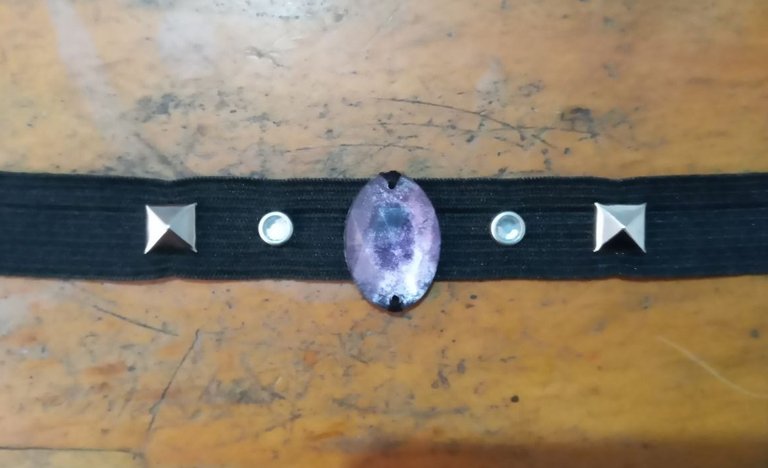
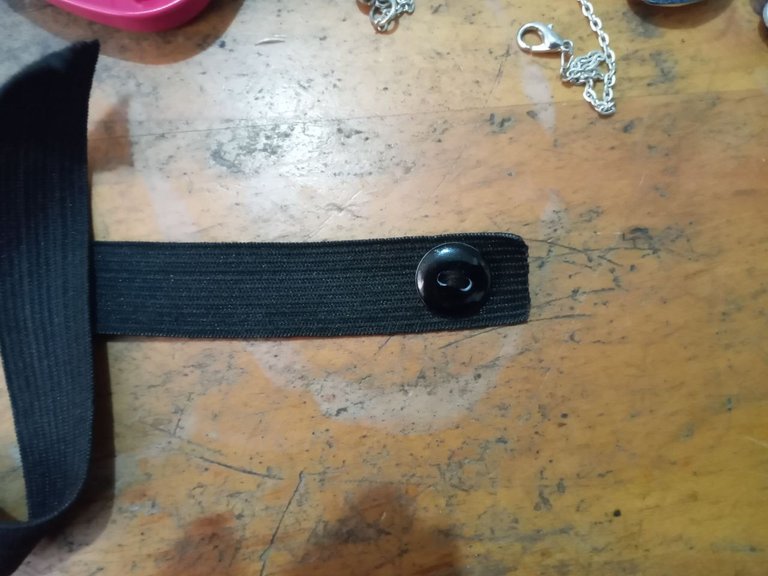
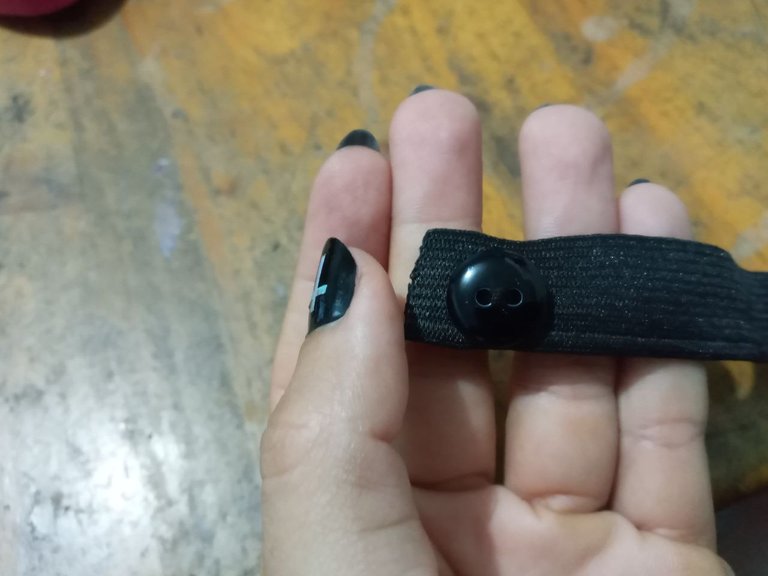
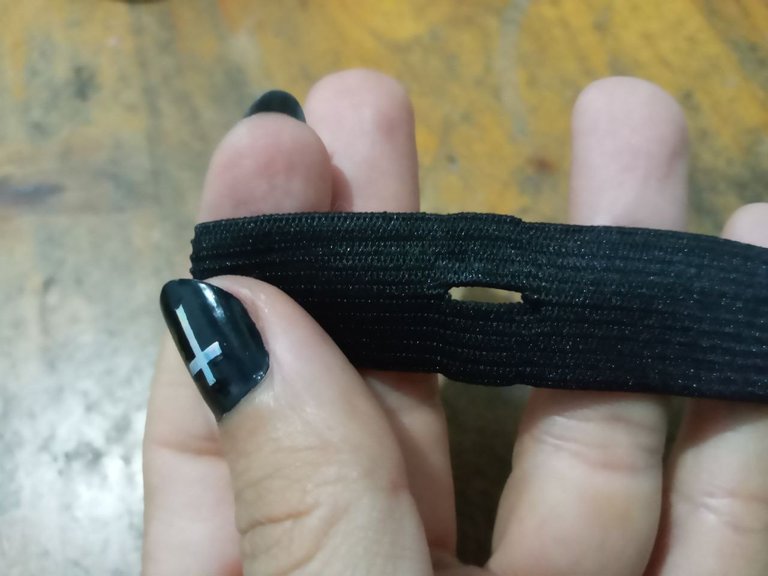
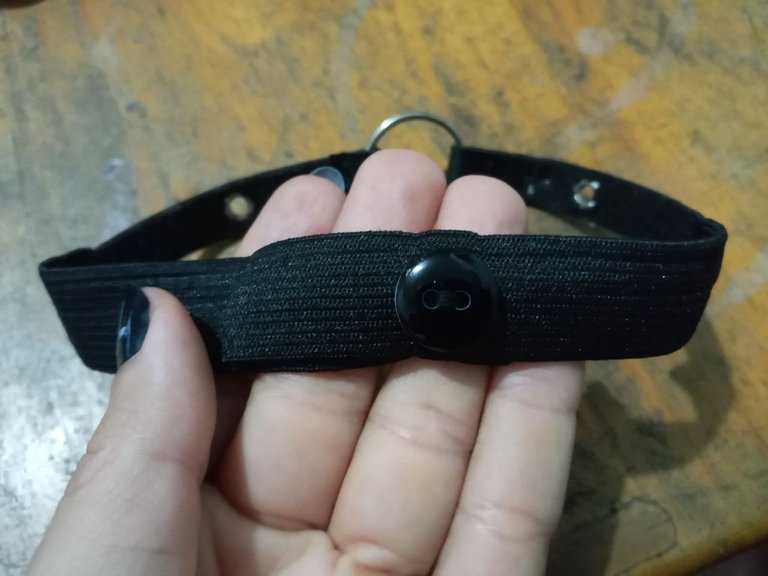
Now we will do what makes these chokers so special, towards one end we will sew the button, and taking the measurement of our neck we will make the eyelets for the button, this allows the choker to be adjustable and very easy to make and use.
Now let's go with the second model:
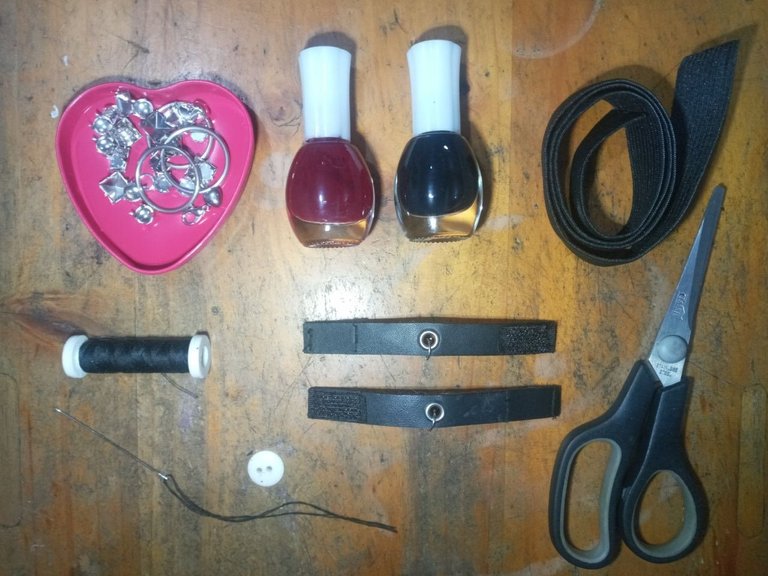
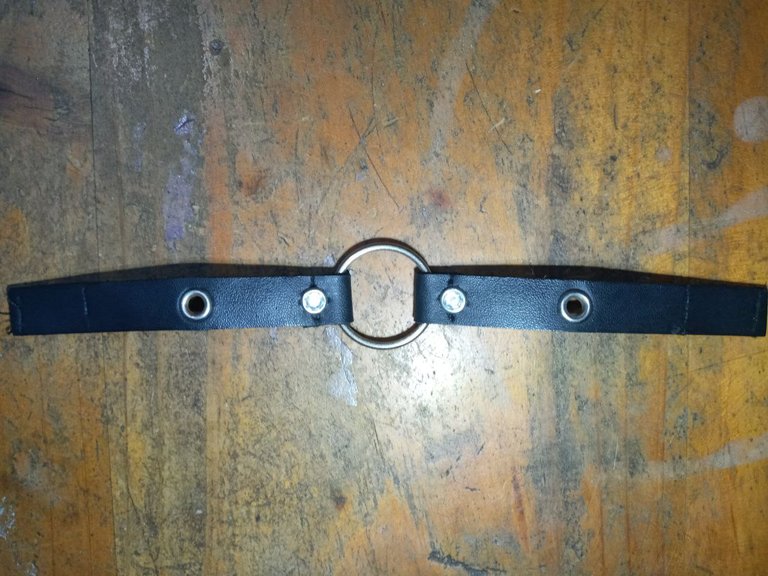
For this one I recycled a bracelet that a friend gave me, I started by removing the rings, chains and velcro that I wasn't going to use, these things I kept for future crafts.
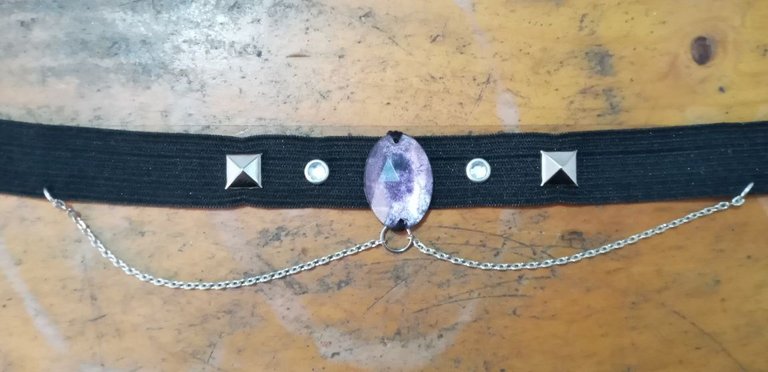
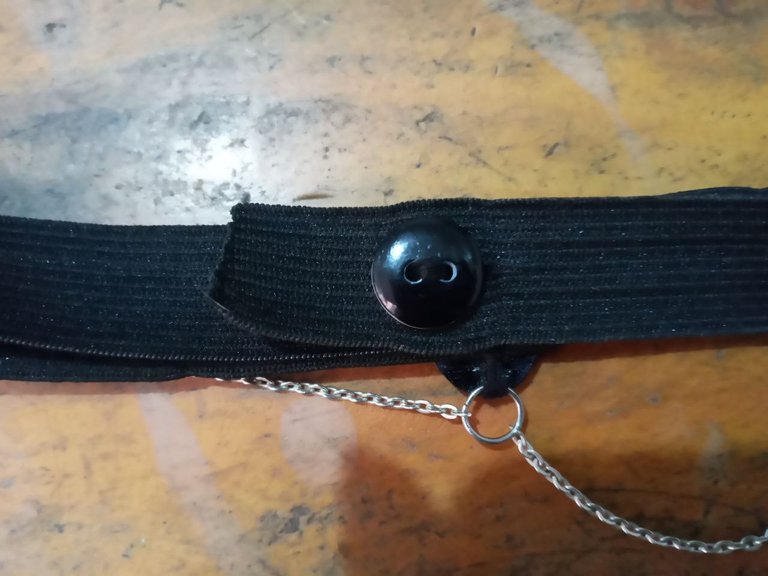
I took advantage of the fact that it was in 2 parts to sew the metal ring between them and join the 2 pieces.
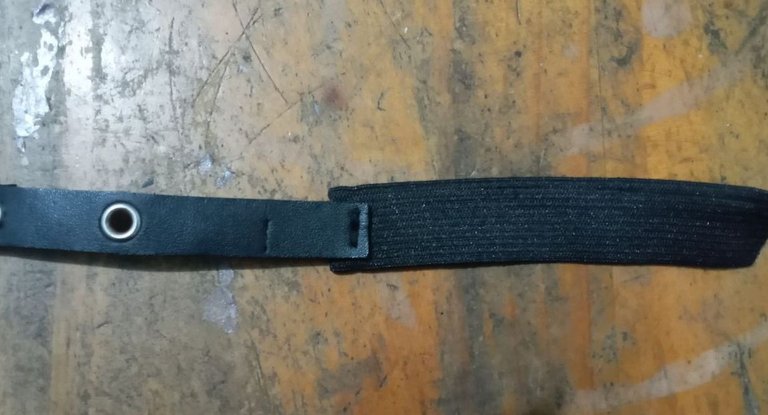
Then with the elastic complete what I am missing for my neck measurement.
I proceeded to decorate, just as in the previous one I first tested which mixture I liked best.
And I finished sewing the button and cutting the buttonholes.
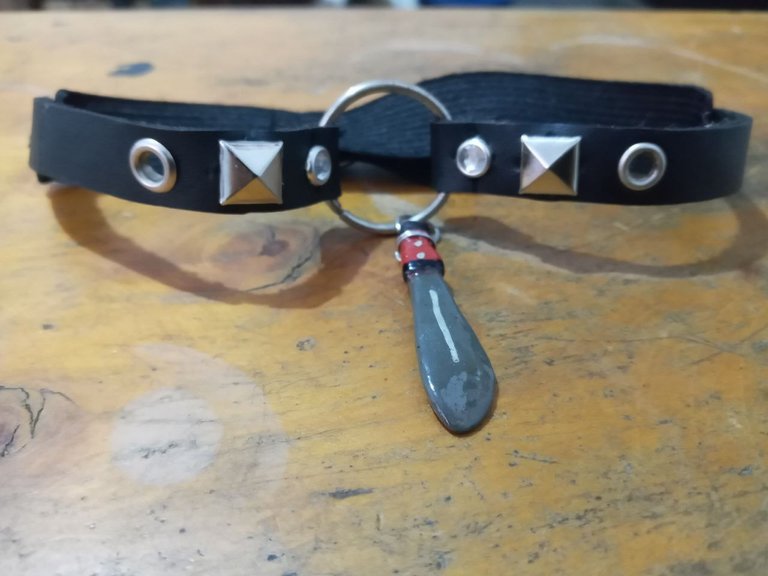
This second one I will use daily so I put my machetito charm ♡ and the first one I used it for a gothic party, it will be for special occasions.
The great thing about these chokers is that you can make them in any color you want, decorate them as you like and they are adjustable and comfortable, avoiding any allergies because of the base material, the elastic. Thank you very much for reading and I hope you tell me if you like it and if you would like to make them ♡ 💞 Hugs, kisses, drink water and brush your teeth! 💞
~ 💓 See you! 💓 ~
💓 ¡Hola amigos creadores! 💓
Espero estén excelente y comenzando la semana con muchas ideas ♡
En el post de hoy, como leyeron en el título les traigo el paso a paso de 2 chokers, la base es igual, lo que cambia es la decoración. Podran hacerlos con materiales que seguramente tendrán en casa, y quizá hasta reciclar cositas que tengan por allí esperando para darles un nuevo uso :)
Para el primer modelo necesitaremos los siguientes materiales:
El primer paso será tomar la medida de nuestro cuello con una cinta métrica o directamente con la elástica si desean, luego de eso cortar a la medida añadiendo un extra de unos 3 cm, quemar un poco las puntas para evitar que se deshilache.
A continuación comenzaremos con la decoración, podemos ir probando sobre la elástica como nos gustaría y luego coser o cerrar para que quede fijo.
Ahora haremos lo que hace estos chokers tan especiales, hacia una punta coseremos el botón, y tomando la medida de nuestro cuello haremos los ojales para el botón, esto permite que el choker sea regulable y muy sencillo de hacer y usar.
Ahora vayamos con el segundo modelo:
Para este recicle un brazalete que me regalo una amiga, comenze quitándole las argollas, cadenitas y velcro que no iba a usar, estas cosas las guarde para futuras manualidades.
Aproveche que estaba en 2 partes para coser el aro de metal entre ellas y así unir los 2 pedazos.
Luego con la elástica complete lo que me falta para la medida de mi cuello.
Procedí a decorar, igual que en el anterior primero probé que mezcla me gustaba más.
Y finalice cosiendo el botón y cortando los ojales.
Este segundo lo usaré diario así que le coloque mi dije de machetito ♡ y el primero lo use para una fiesta gótica, quedara para ocasiones especiales.
Lo genial de estos chokers es que pueden hacerlos de los colores que deseen, decorarlos como quieran y son regulables y cómodos, evitando cualquier alergia por el material base, la elástica. Muchas gracias por leer y espero me comenten si les gusto y si se animarían a hacerlos ♡ 💞 Abrazos, besitos, tomen agüita y cepillense los dientes! 💞
~ 💓 ¡Nos vemos! 💓 ~
Las imágenes fueron tomadas por mi.
La edición la hice en pc portatil, utilizando el editor BeFunky.
IMAGENDEFONDO