English
Greetings to all the beautiful people who give life to the #DIYHub community. It's been a while since I've shared with you here. Today I bring you my first video tutorial of the year, to make an Origami Rose. I hope you like it.
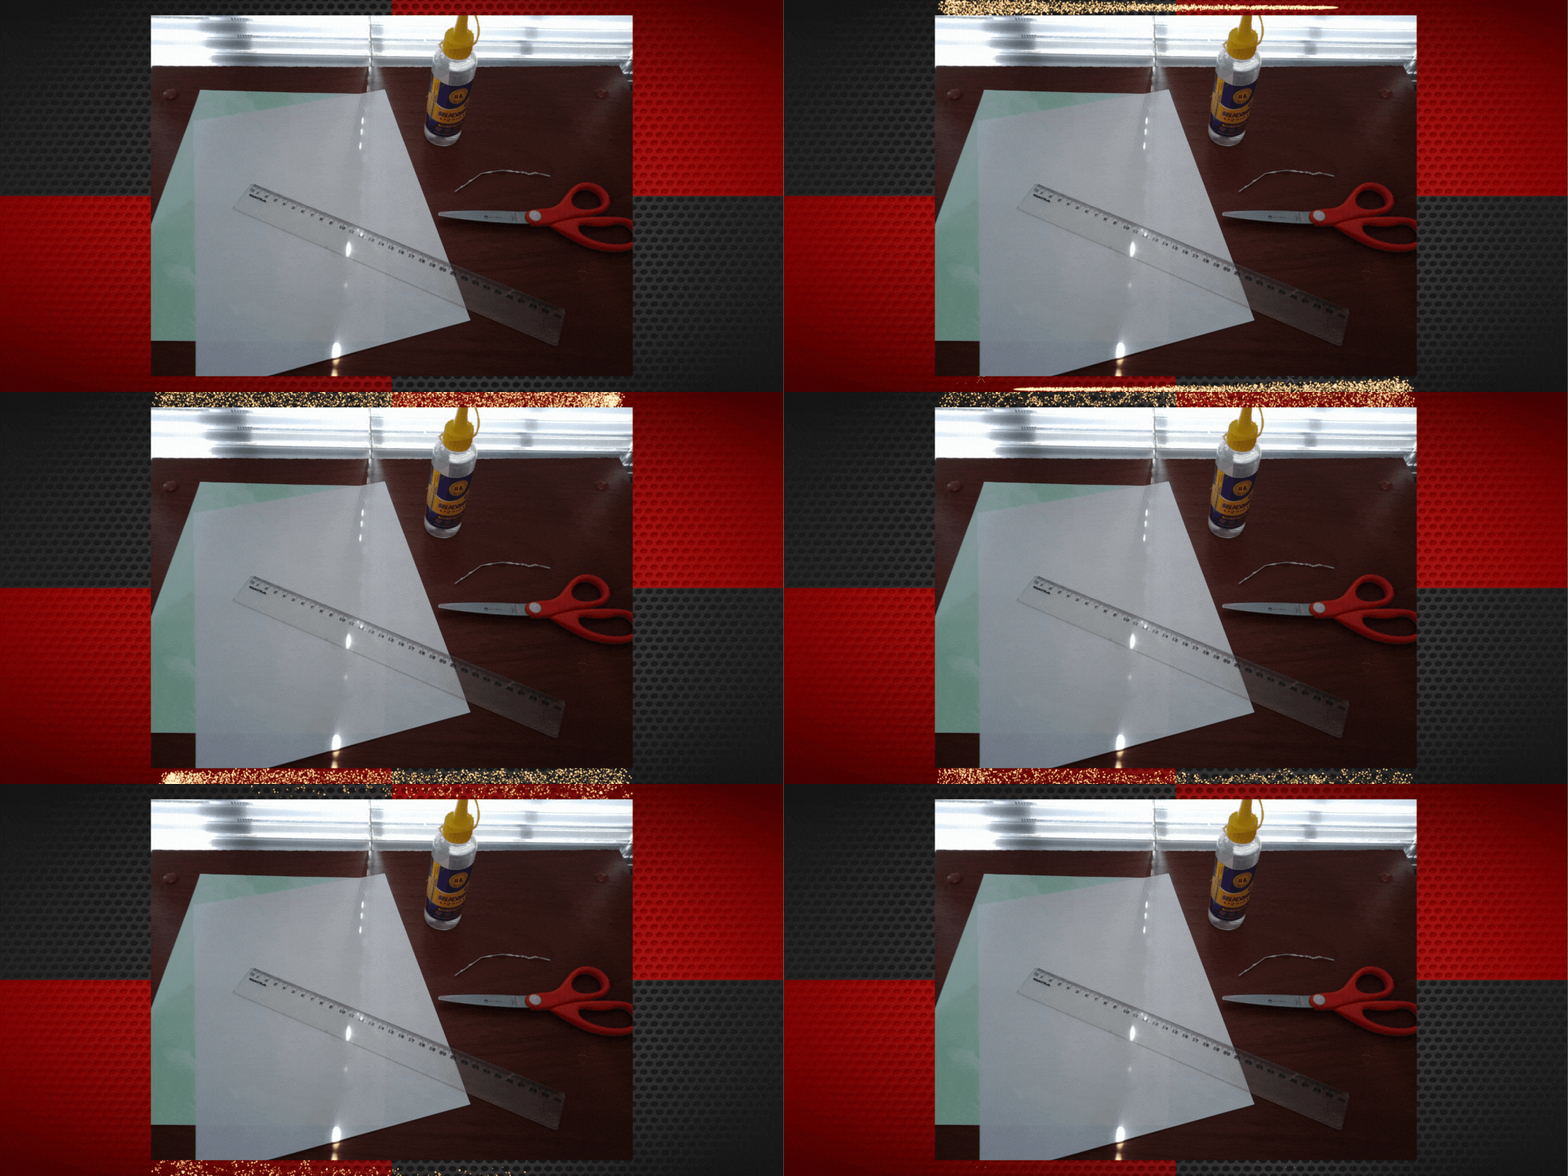
Materials to Use
Two sheets of colored paper (white paper will also work) * Scissors
- Scissors
- Cold or hot glue (the one of your choice)
- Ruler
- A rubber band or kitchen wire to hold the "petals".

The step-by-step is in the video but before you do it you need to measure
- 12 strips of 4,5 cm x 9 cm
- A square of 10 cm x 10 cm
- A square of 5 cm x 5 cm.
Final Result

You can use 12 petals or 9 petals in total. Make groups of 3 petals, it can be 3 groups of 3 petals or 4 groups of 3 petals, I leave this up to you. Since this is the first time I edited a video with ShotCut this long, I admit that I didn't do it very well, but even though I don't know much, it served as practice for future tutorials. I hope to do better next time.
This is how it turned out. As you can see I rolled the "stem" and made a small fold at the tip of the "leaves", to give it a more natural effect. I hope you like it.

Español
Saludos a toda la gente linda que da vida a la comunidad de #DIYHub. Tiempo sin compartir con ustedes por aquí. Hoy les traigo mi primer video tutorial del año, para realizar una Rosa de Origami. Espero que les guste.
Materiales a Utilizar
- Dos Hojas de papel de colores (también sirven hojas blancas)
- Tijeras
- Silicón frío o caliente (el de tu preferencia)
- Regla
- Una gomita o alambre de cocina para sostener los "pétalos".

El paso a paso está en el video pero antes de hacerlo necesitas medir
- 12 tiras de 4,5 cm x 9 cm
- Un cuadrado de 10 cm x 10 cm
- Un cuadrado de 5 cm x 5 cm.
Resultado Final

Puedes utilizar 12 pétalos o 9 pétalos en total. Has grupos de 3 pétalos, pueden ser 3 grupos de 3 pétalos o 4 grupos de 3 pétalos, esto lo dejo a tu criterio. Dado que es la primera vez que edito un video con ShotCut así de largo, pues admito que no lo hice muy bien, pero aunque no sé mucho me sirvió de práctica para próximos tutoriales. Espero hacerlo mejor la próxima.
Así quedó. Como pueden observar enrollé el "tallo" y también le hice un pequeño doblez a la punta de las "hojas", para darle un efecto más natural. Espero que les haya gustado.

Gracias por llegar al final de mi post.
Déjame saber tu opinión al respecto en un comentario.
Me encantaría leerte.
Hasta una próxima publicación! Saludos!
Thanks for making it to the end of my post.
Let me know what you think about it in a comment.
I'd love to read it.
See you in my next post! Cheers!

𝙾𝚛𝚒𝚐𝚎𝚗 𝚍𝚎 𝙴𝚕𝚎𝚖𝚎𝚗𝚝𝚘𝚜 𝚄𝚝𝚒𝚕𝚒𝚣𝚊𝚍𝚘𝚜
✦ Las fotos utilizadas en esta publicación, así como el video en sí fueron capturados por mi Telefono Redmi Note 9A ✦
✦ Edición del Video con ShotCut ✦
✦ Sonido utilizado en el Video ✦
✦ Video de Agradecimiento al Final ✦
✦ Traducido con DeepL ✦
✦ Banners con Canva ✦
𝙾𝚛𝚒𝚐𝚒𝚗 𝚘𝚏 𝙴𝚕𝚎𝚖𝚎𝚗𝚝𝚜
𝚄𝚜𝚎𝚍
✦ The pictures used in this post and the video were captured by my Redmi Note 9A Phone ✦.
✦ Video Editing with ShotCut ✦
✦ Sound used in the Video ✦
✦ Thank You Video at the End ✦
✦ Translated with DeepL ✦
✦ Banners with Canva ✦

𝙼𝚒𝚜 𝚁𝚎𝚍𝚎𝚜 𝚂𝚘𝚌𝚒𝚊𝚕𝚎𝚜 // 𝙼𝚢 𝚂𝚘𝚌𝚒𝚊𝚕 𝙼𝚎𝚍𝚒𝚊
▶️ 3Speak


