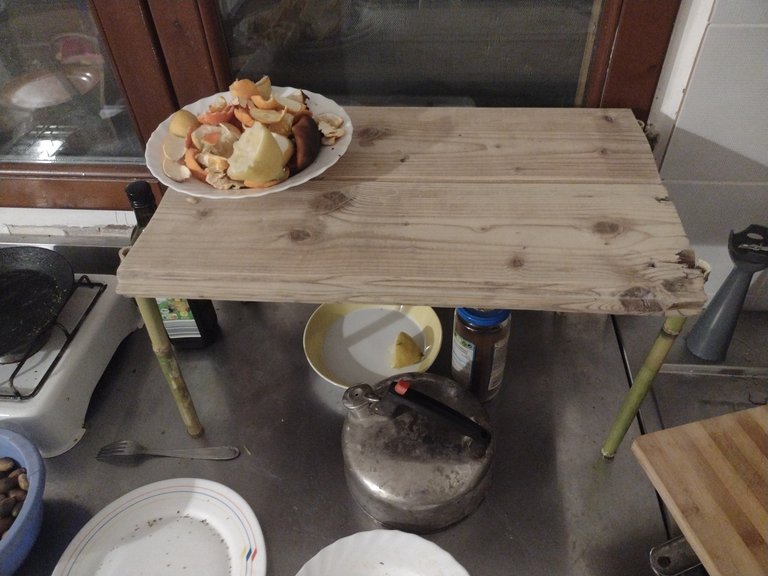
So we need a place inside the house to pregrow plants from seed for the upcoming LEGENDARY growing season at our housesit place. This is where light gets in and temperature is reasonably stable...
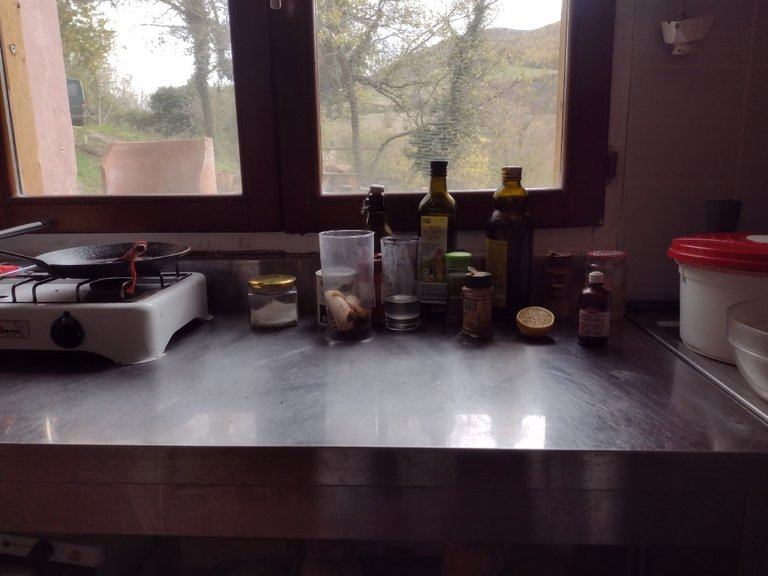
And ideally it would be above all the kitchen clutter to not waste space, like so:
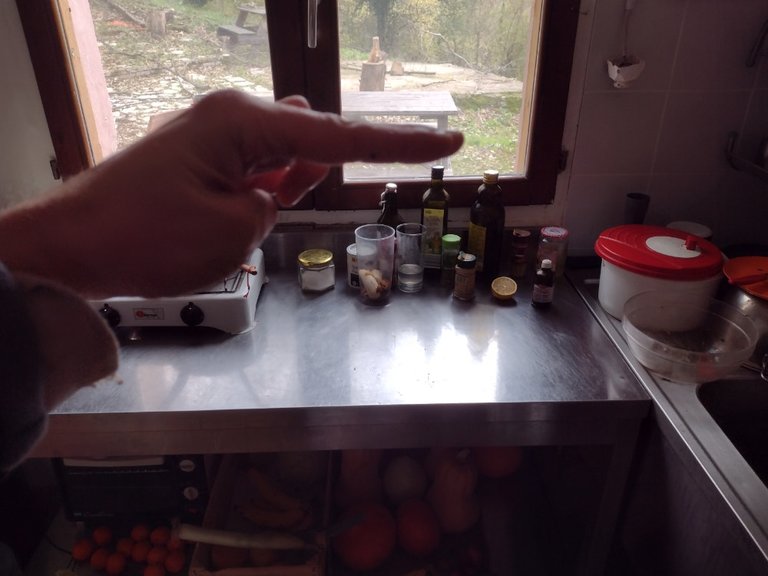
I need to build... my first handmade kitchen rack! But what material do I use? Guess what I found strolling through the lower gardens today:

It's that Bamboo stuff I have heard so much about! Wonder if my garden scissors can... BOOYA!
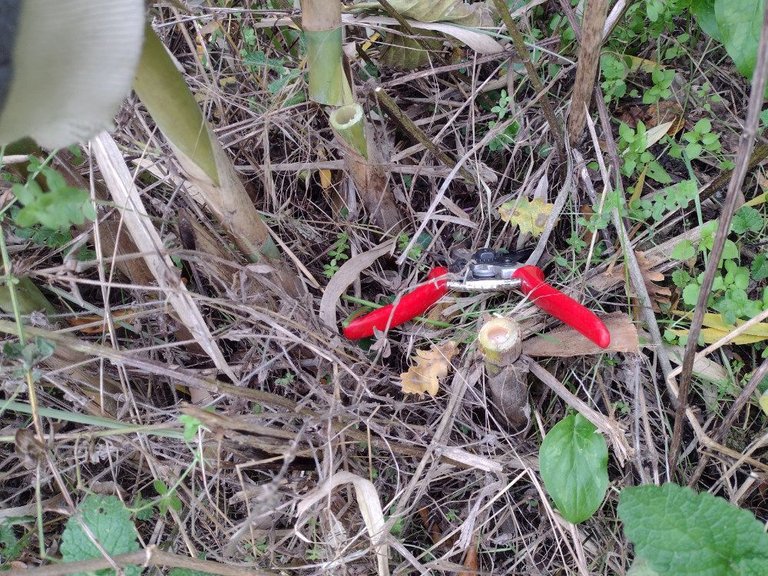
God, they are so long ahaha. I took down a few and got them back to the house.
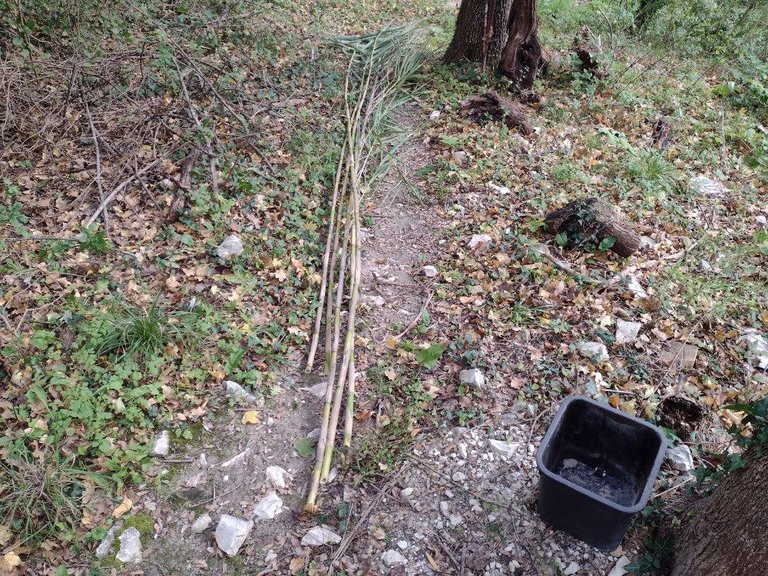
They look even longer on the table!
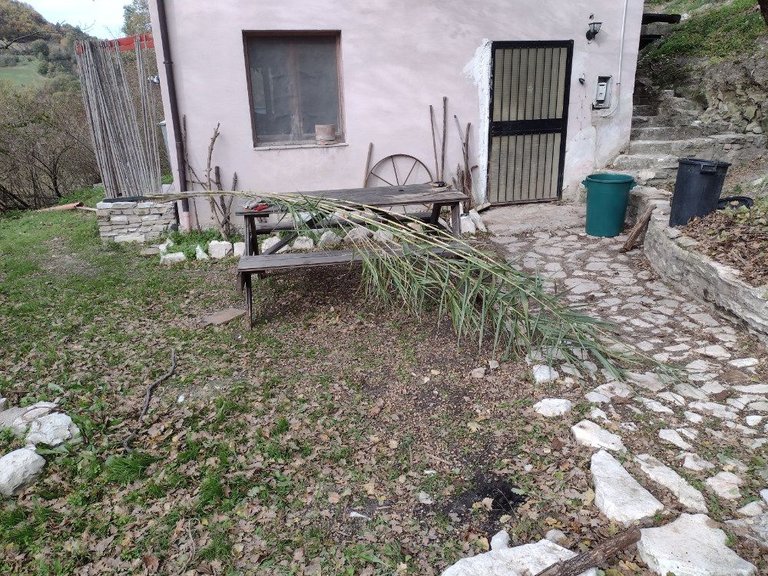
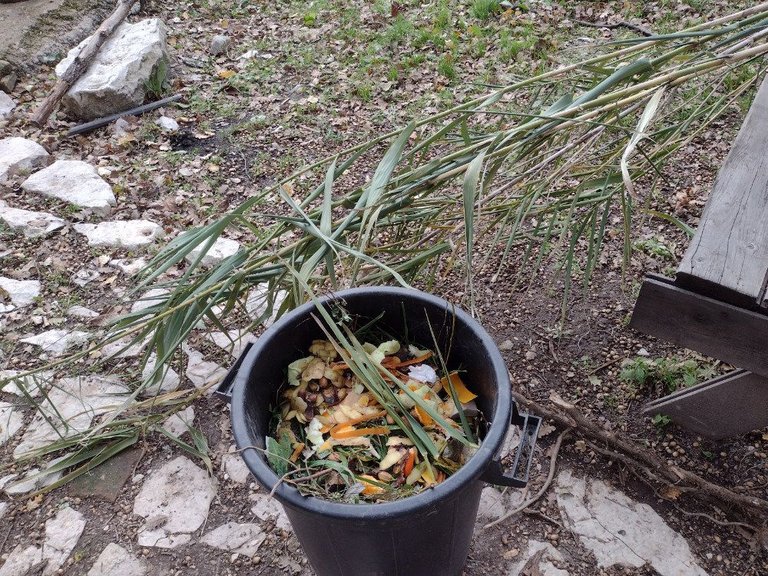
A great side effect of harvesting bamboo is I have more greens for my Hügelbeet-compost soup (more on that some other time!)
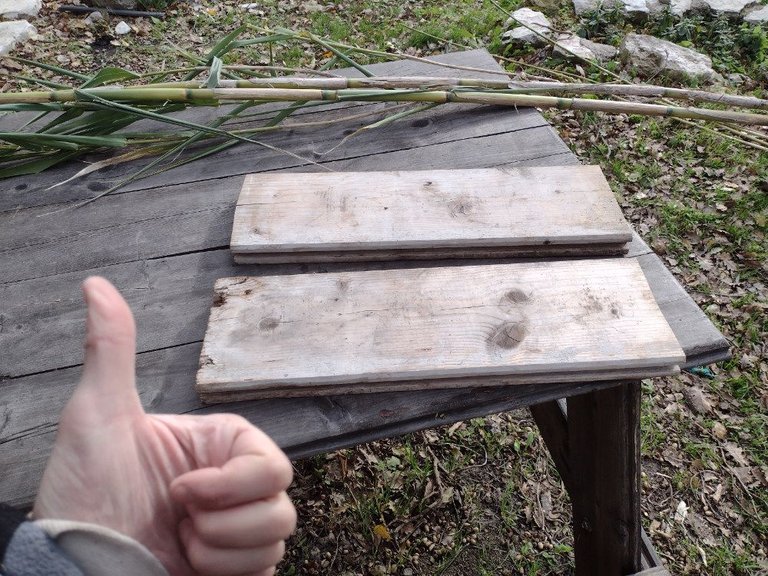
Found two boards leaning against the house that seem to be about the length I need, and they have ledges to grip into each other. I'LL TAKE 'EM!
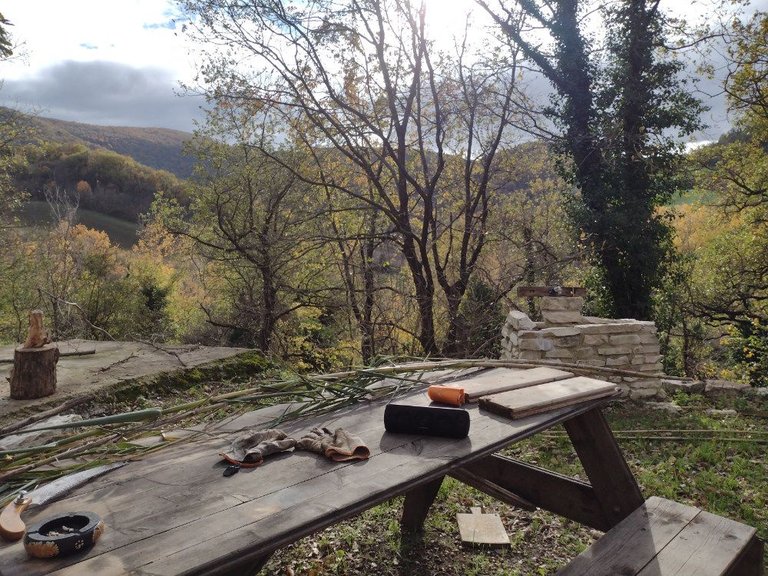
Next step would be to sand them down a bit, but first, a break (tea and cigarette with a view!)
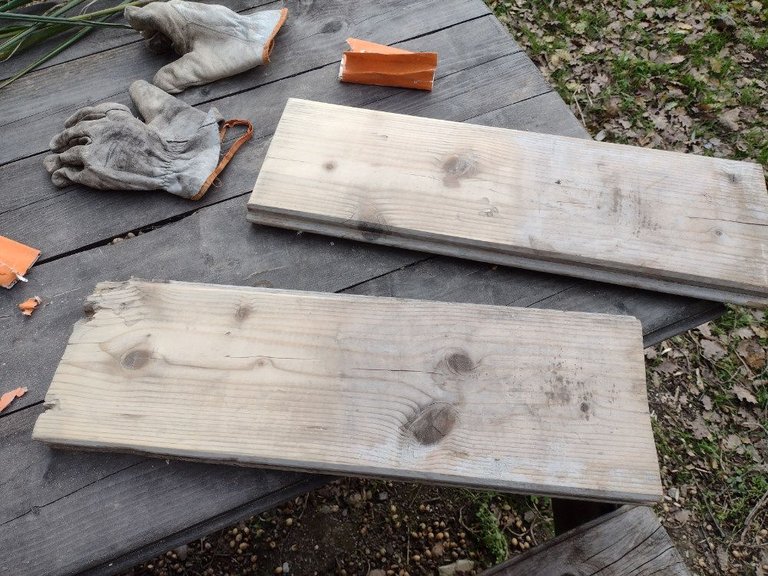
After sanding half of each board down, you can see the difference!
Ok, now for the bamboo legs... Like that will ever work right? ahahaha
Measured the desired height in the kitchen and now cutting four bamboo pieces to length
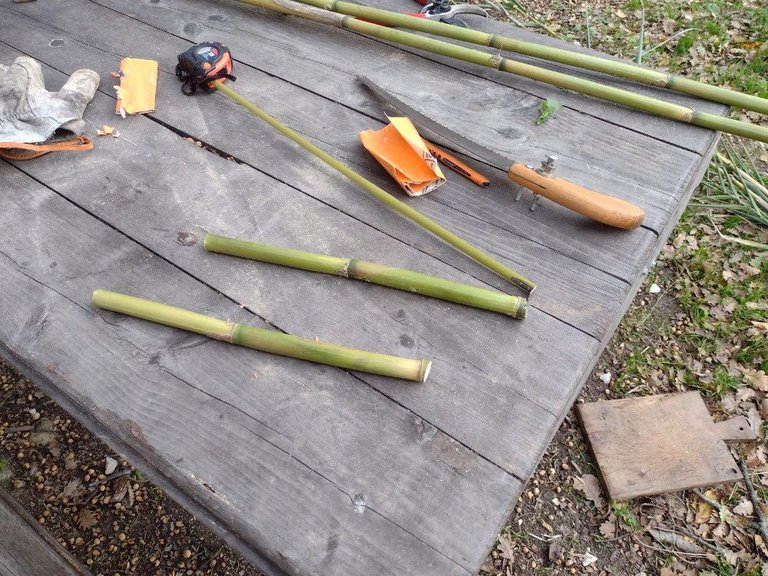
Two down and: LIFETHREATENING WORK ACCIDENT!
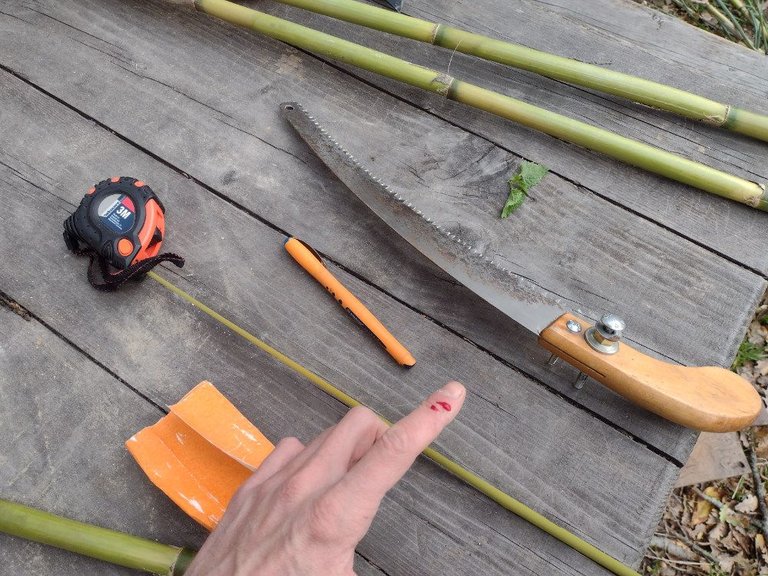
Body says whatever!
OK, here are my four new table legs, lookin' mighty promising!
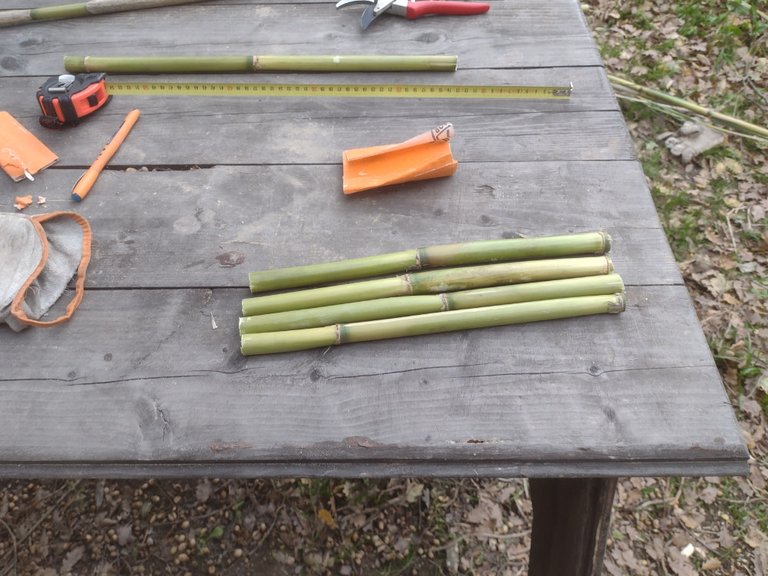
In an infinite stroke of genius I contemplated the ideal solution as to how to afix the legs to the boards. Off to the van for the artsy woodworking tool!
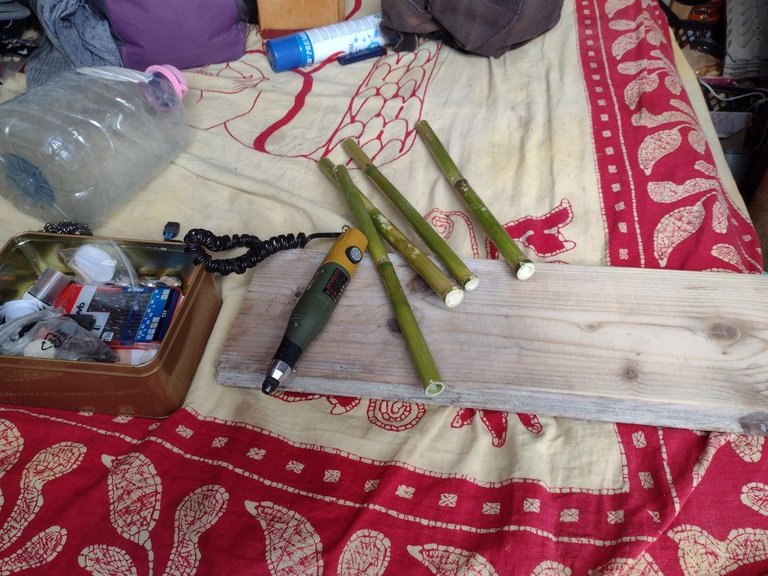
The idea is to cut half of the tops off of each leg. Find the saw module somewhere:
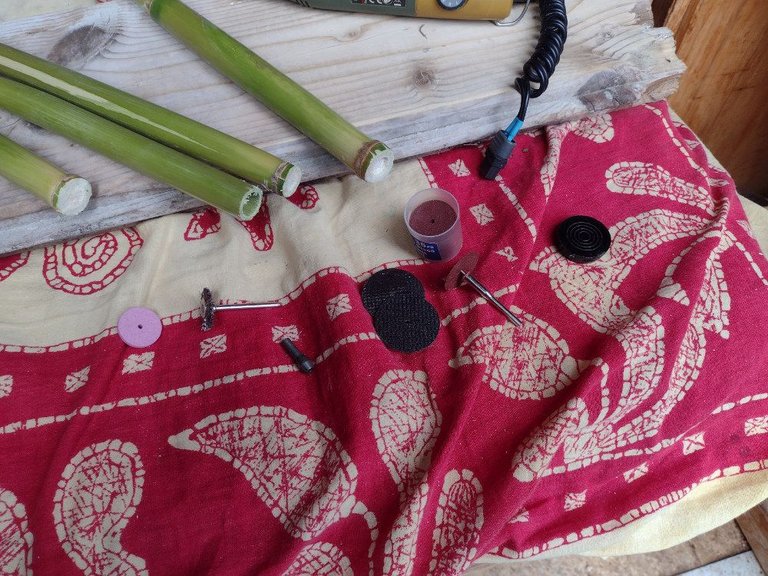
Might as well take the extra effort to at least pretend to have a thorough and thought-out approach. Get a pen thing!
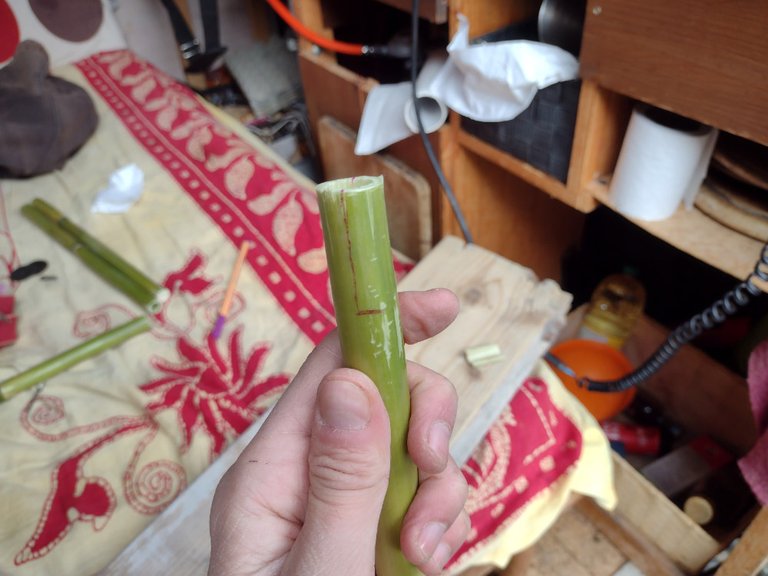
Lookin' good. Well, as the Americans say: "Here goes nothing."
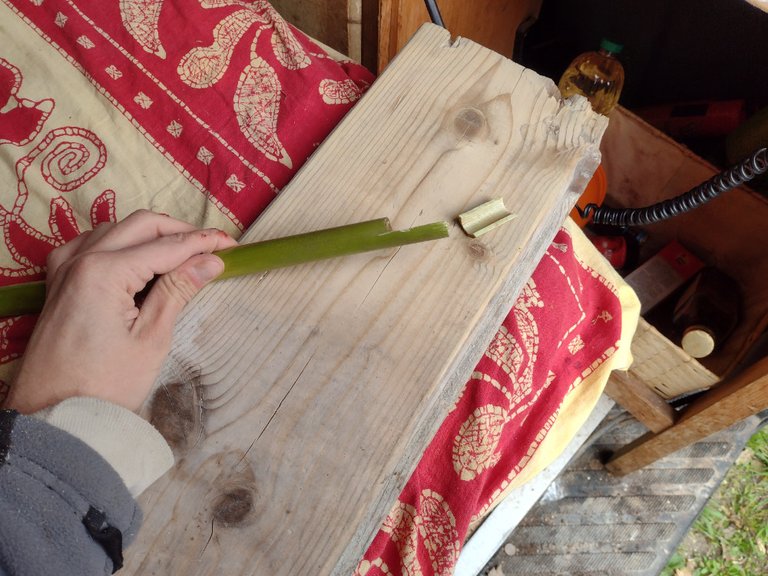
Wow! Looks better than I anticipated!
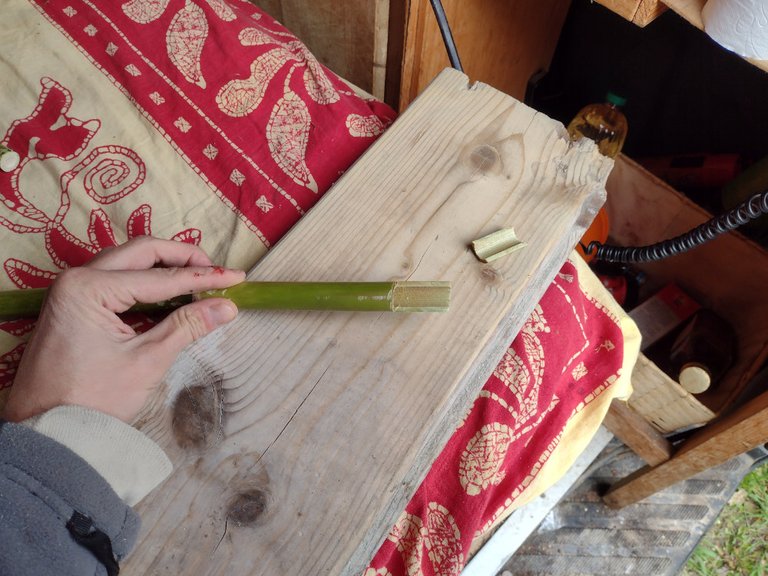
And it fits!
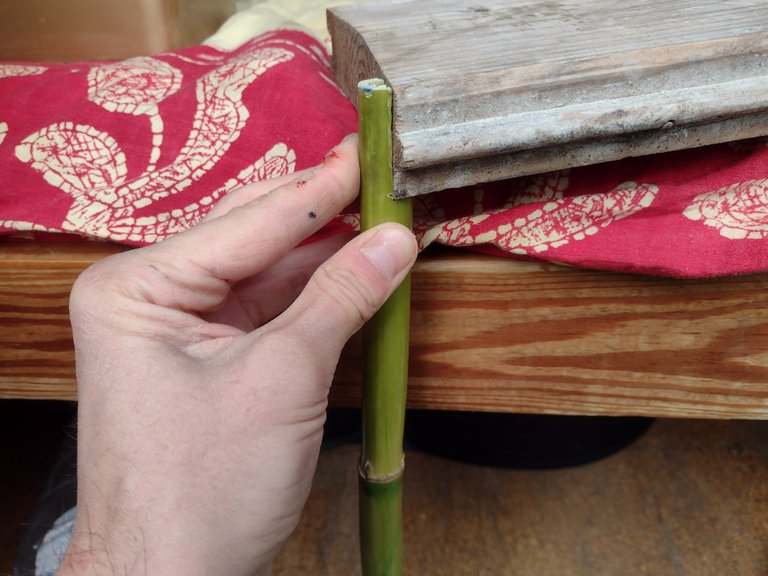
Now repeat for the other legs.
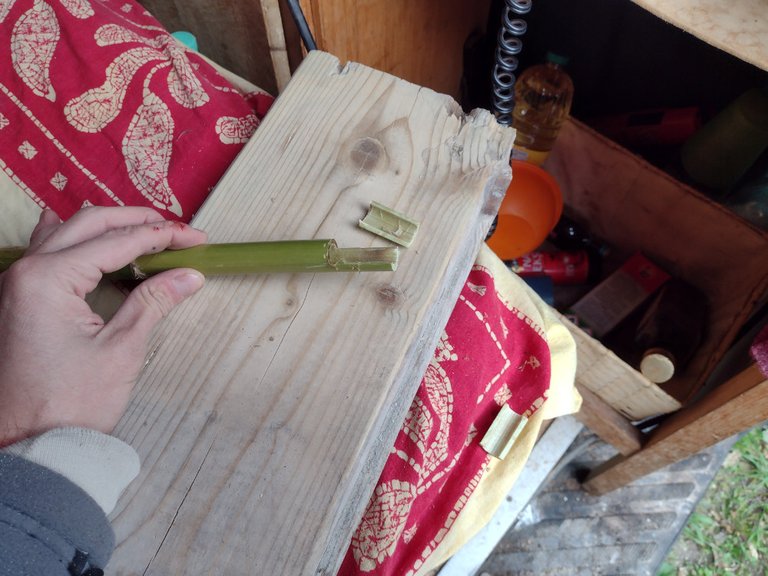
Fits well decently.
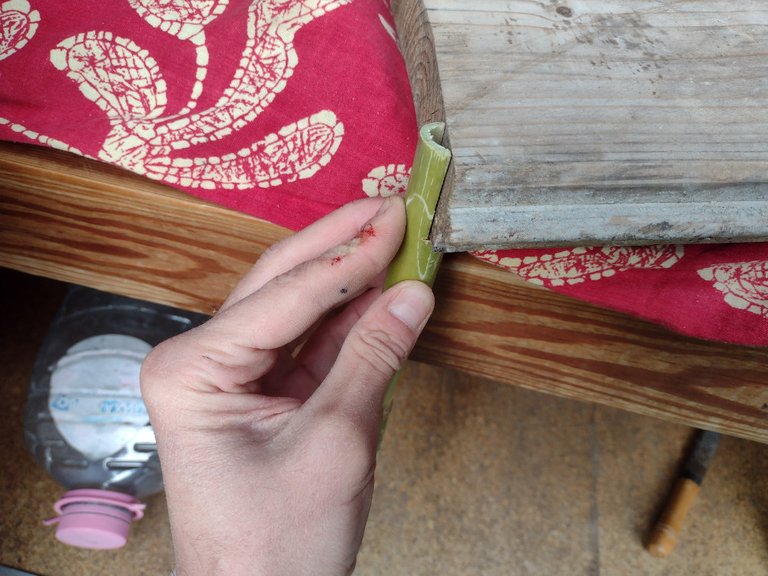
Well finally, the first hickup arrived! The flimsy sawing module wore out.
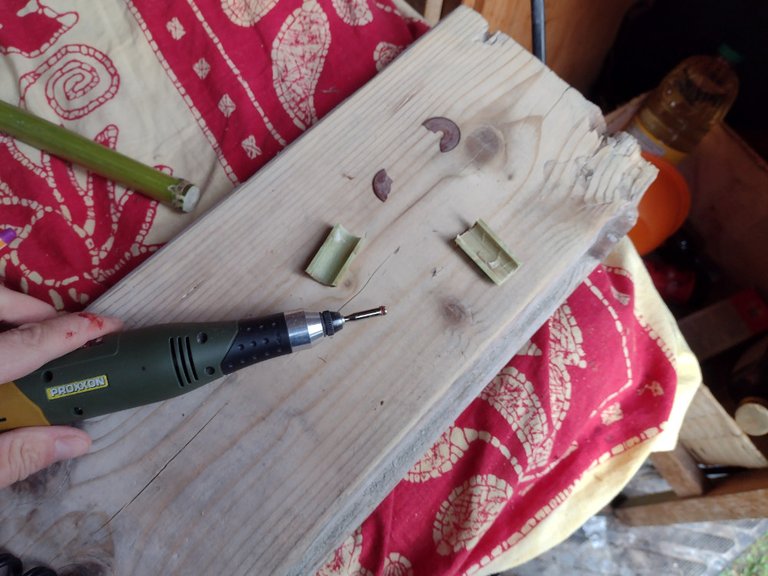
Put on a new one.
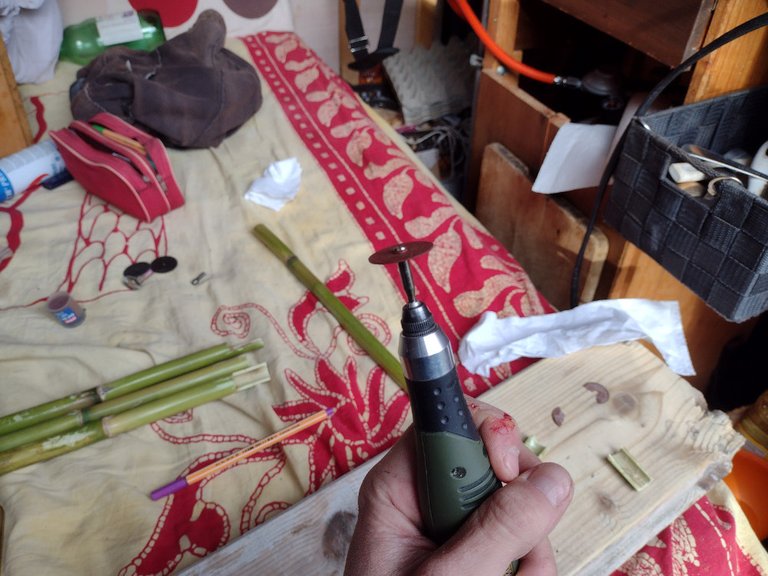
And job done. Bamboo smells sort of good when sawed. I think I dig it already!
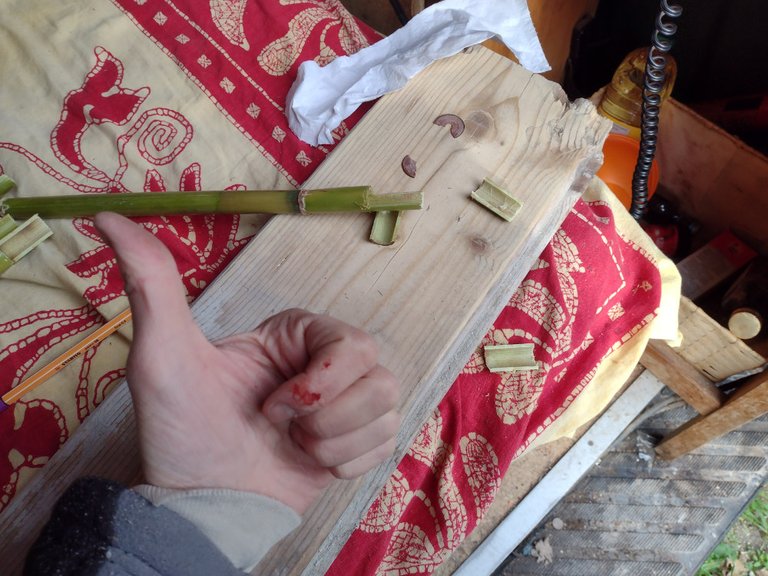
Digging through our cute and trusted screw box for some... screws.
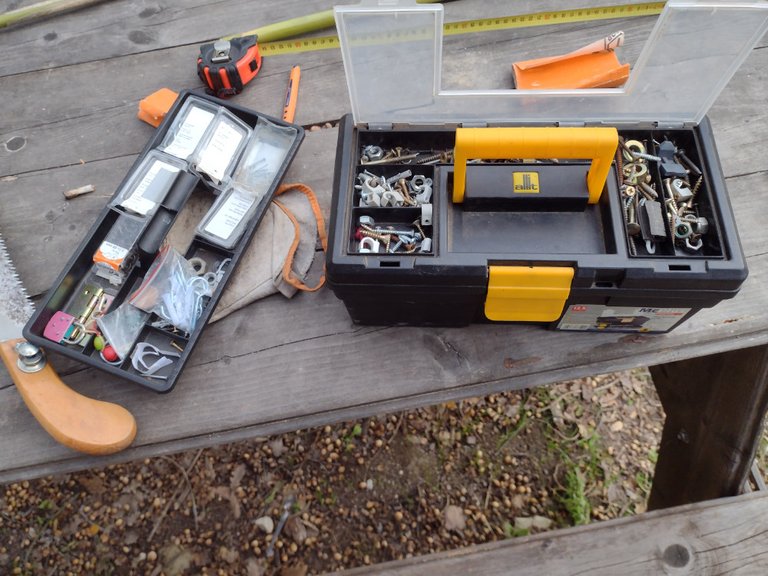
Found these four, rusty. I will save the good ones for our own home in the near future ahaha. This is a perfect case of upcycling.
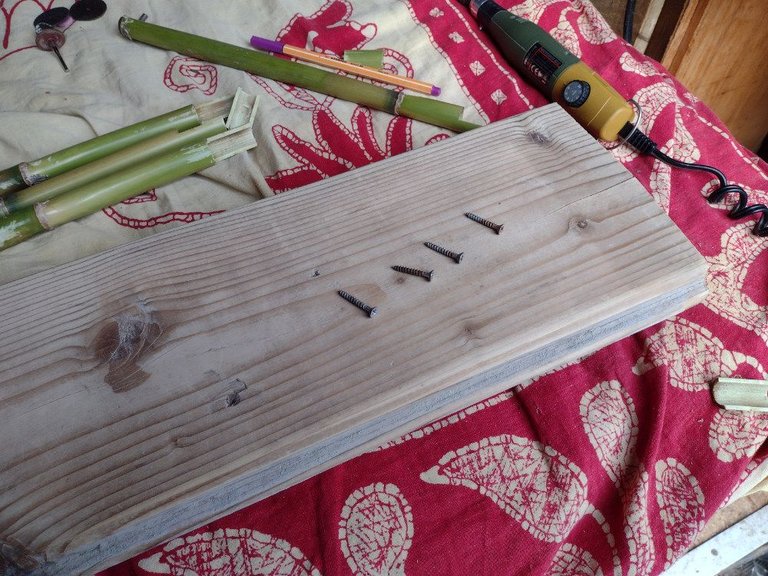
Switching the module again to a drill, for pre-drilling the boards. Now make sure the drill size is compatible with the screws...
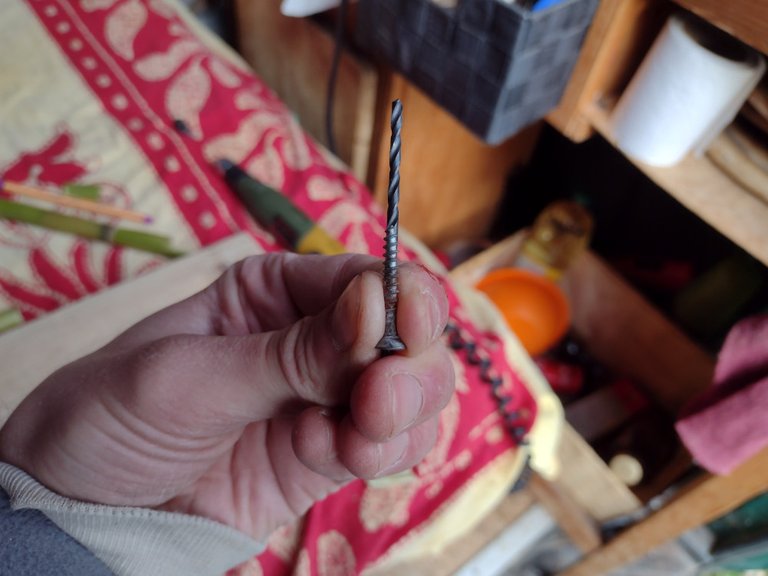
Mounting the drill head is sort of a hassle when trying to find the perfect size but I got the time.
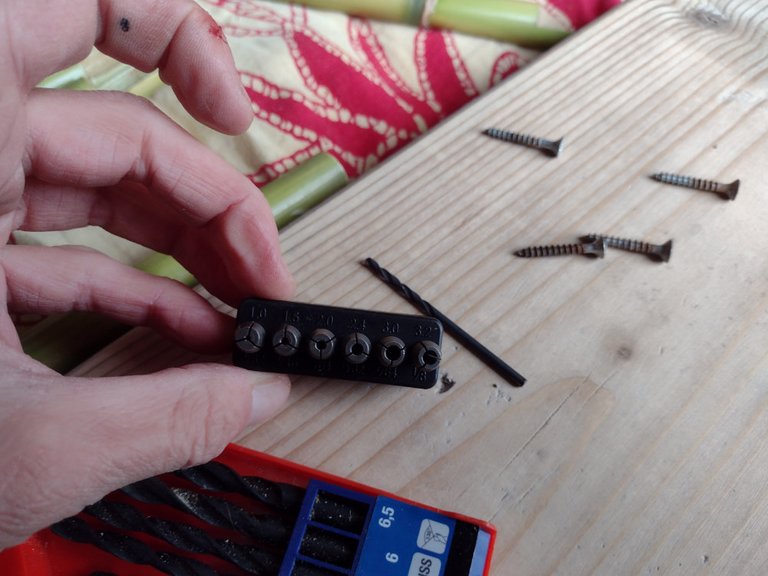
A few minutes later:
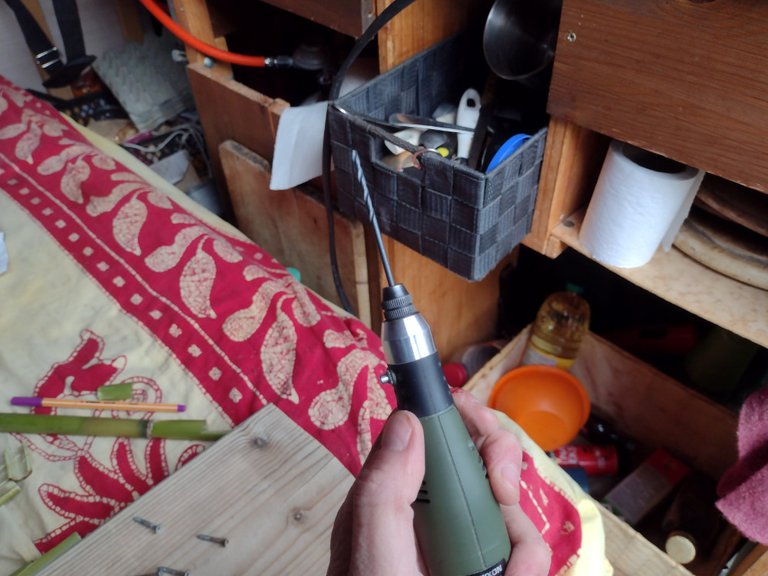
Now for the super-smart amateur ideas about screwing a screw. That is crooked on purpose... Are you sure?
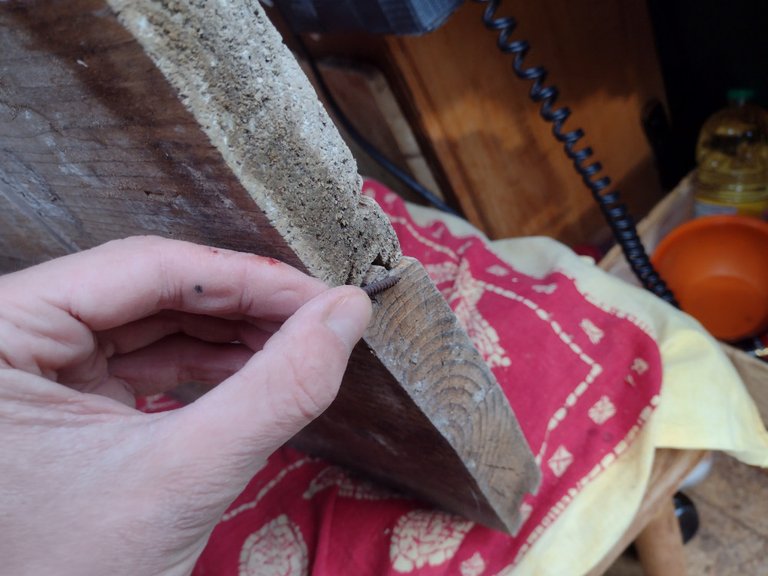
Well it doesn't "look" great but then none of the underside does, ahahaha!
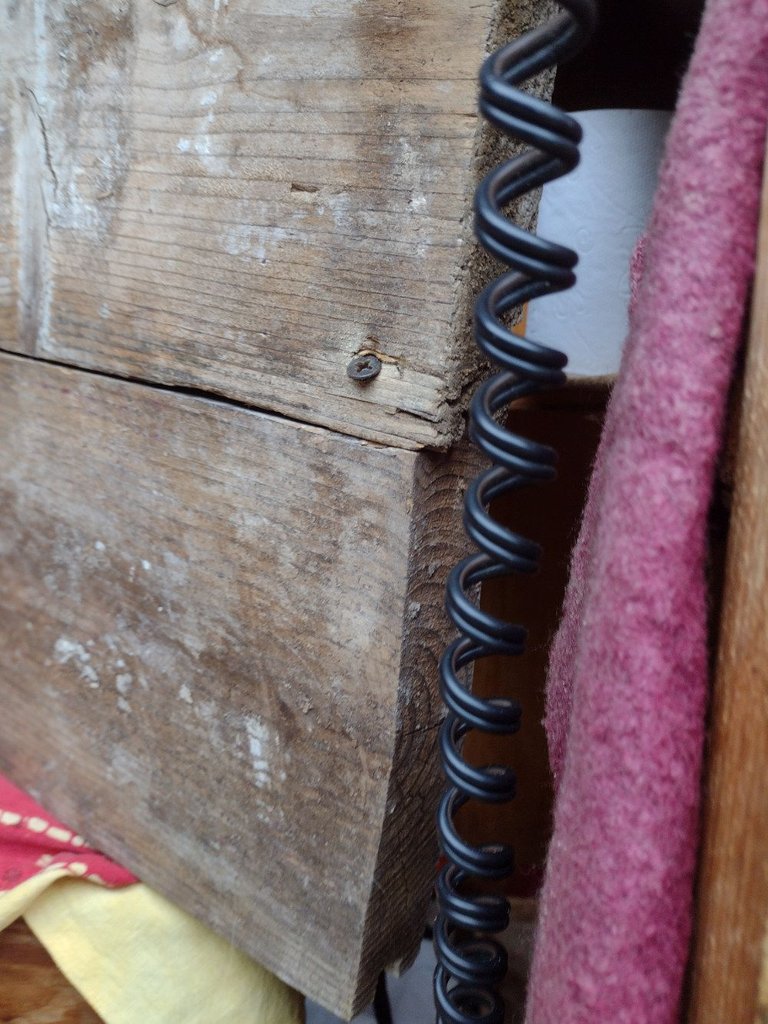
Second time, maybe take a picture of the hole.
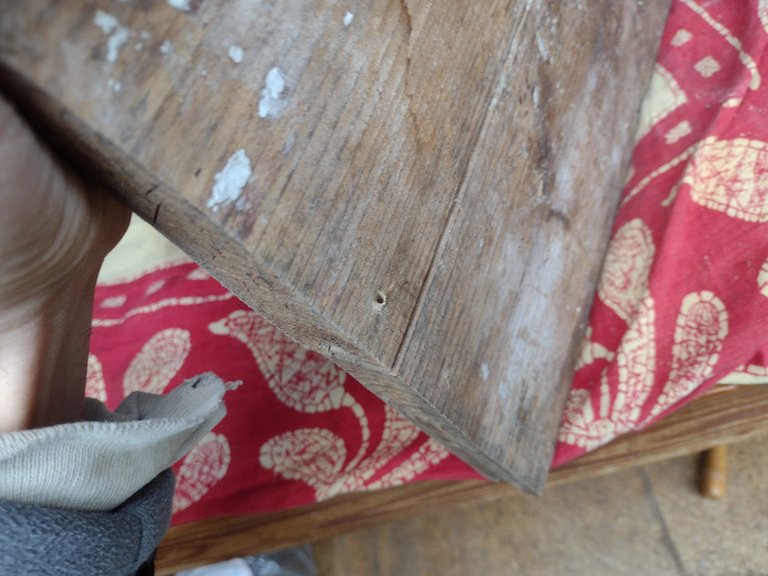
And - photo blogging tends to become a little excessive in detail-obsession - the screw, a little screwed in.
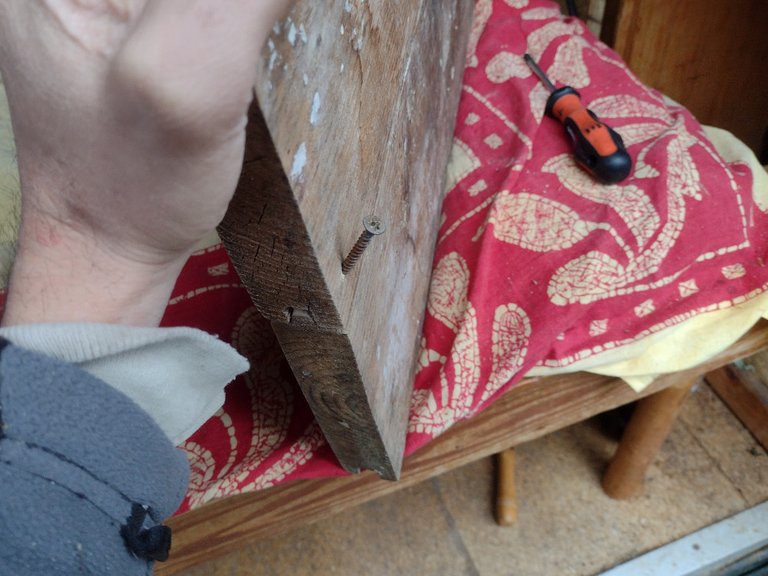
But I want extra sturdiness, so let's put in two more from the sides just to make sure it doesn't fall apart in the first week.
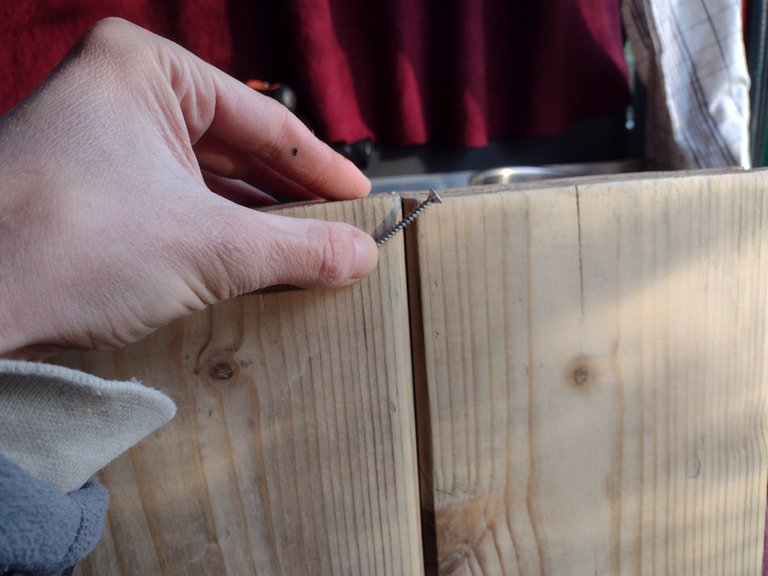
Fair. Screw it in and then the last one.
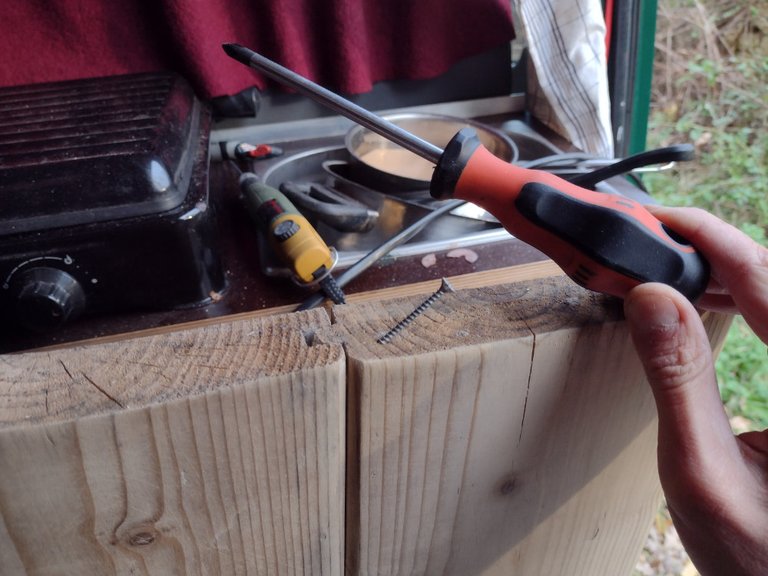
Now for the test. Will the thing hold together?
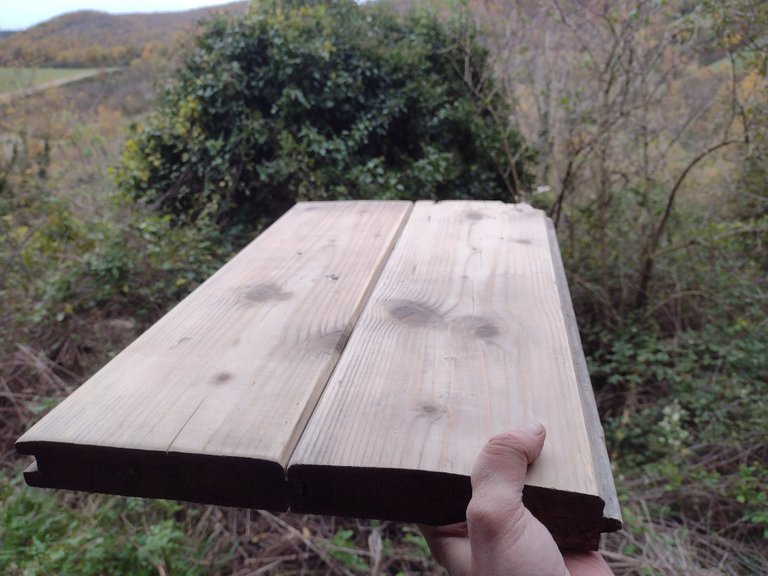
Man, that is pretty ideal two-boards-as-one-board-behavior...
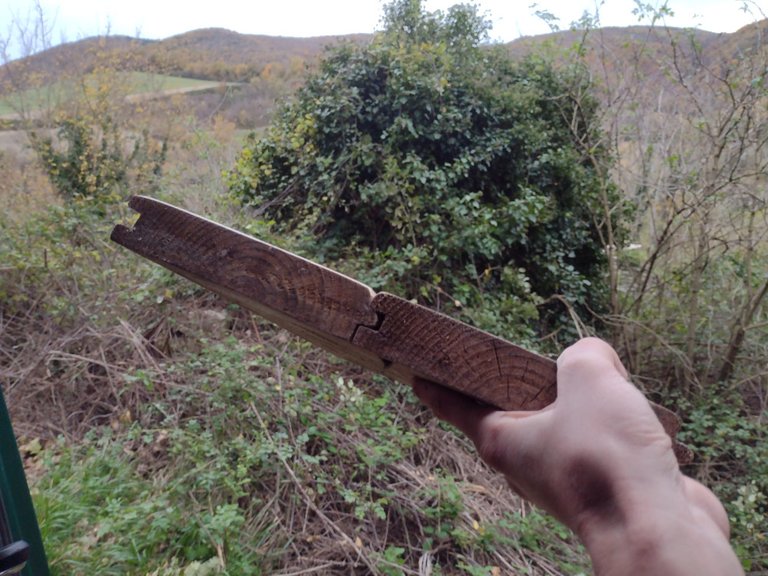
Yes yes, enough of the screws already!
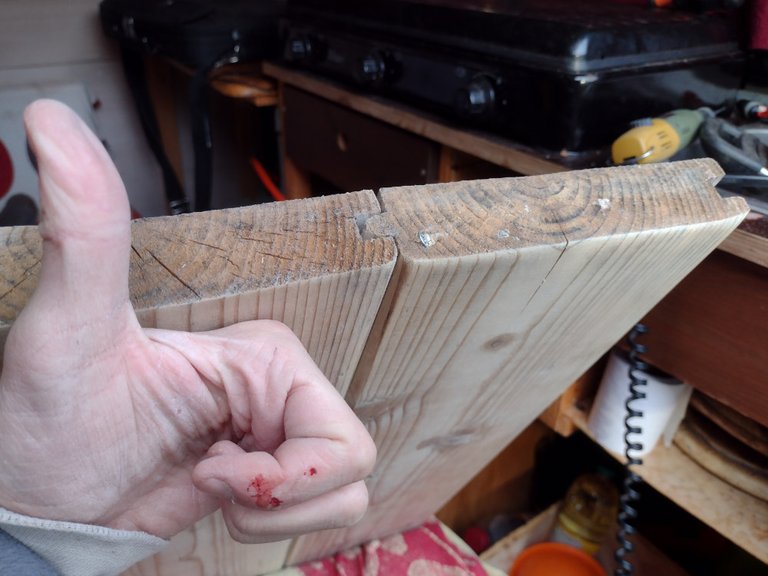
You might want to sand that side down, it's the part we'll always be looking at ahaha.
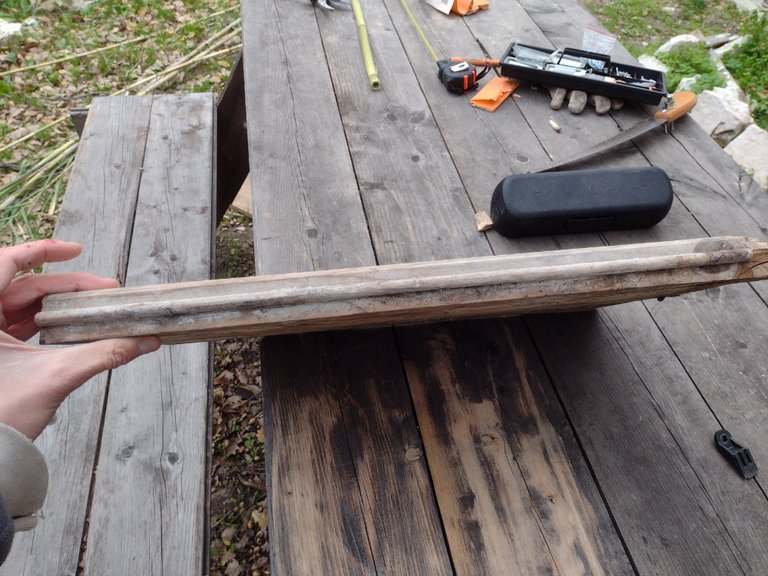
The difference after sanding, side by side.
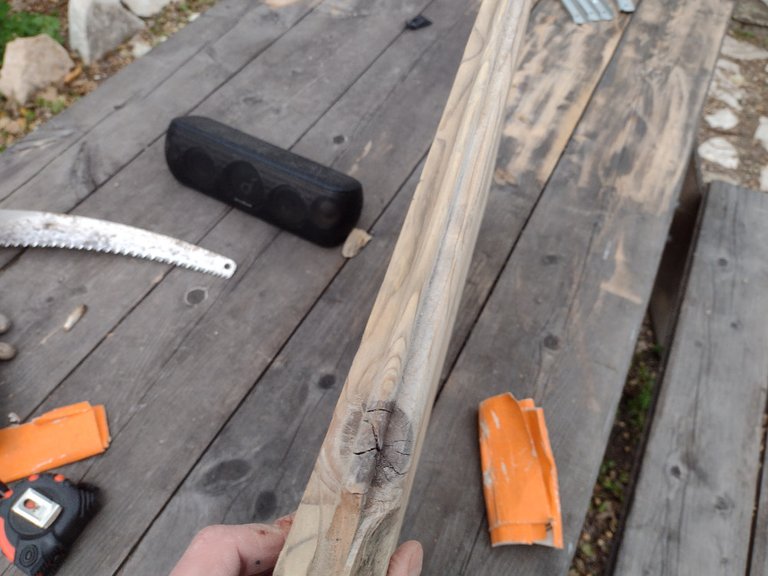
After getting the right screws, back to the van to put it all together... Drilling holes into the bamboo and simulating ideal position.
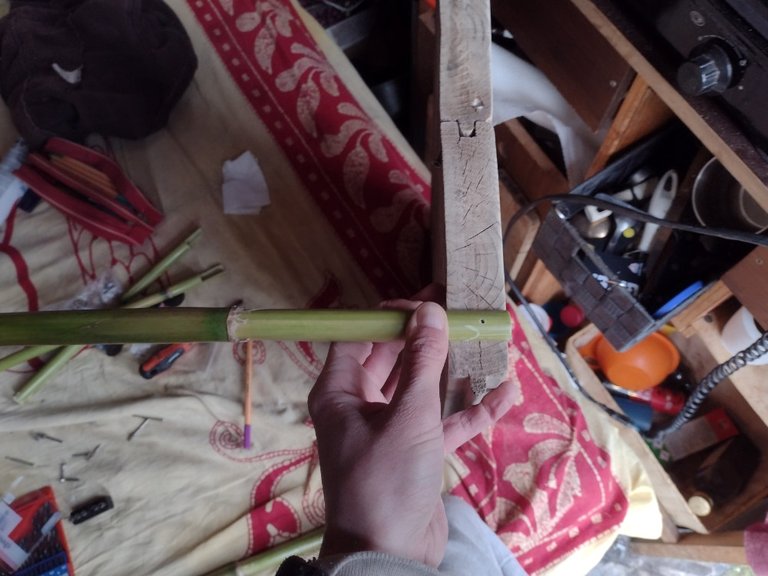
Drilling through the hole of the bamboo down into the side of the board amazing tabletop! Then screw in the screw slowly and not too far.
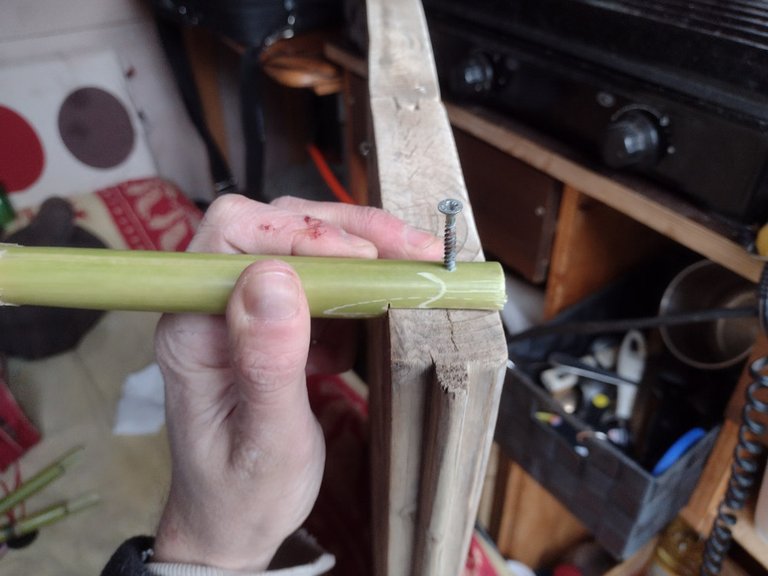
Check!
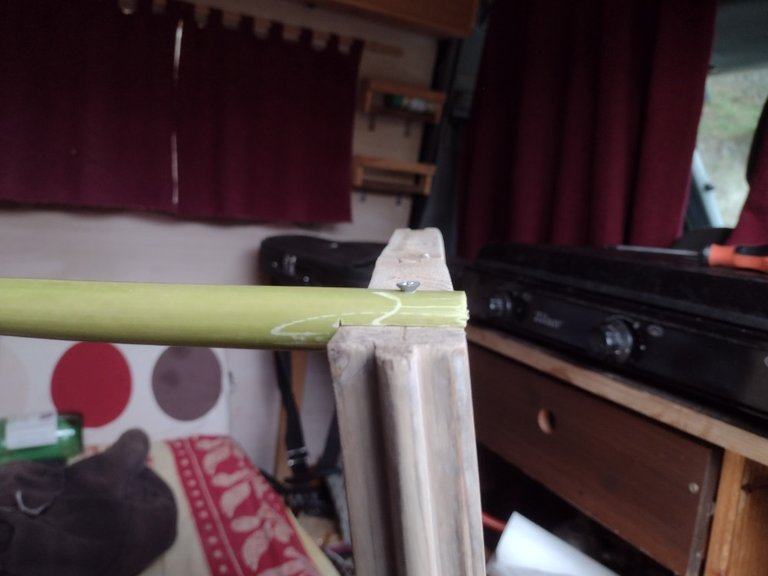
Man it's starting to look like a table of sorts!
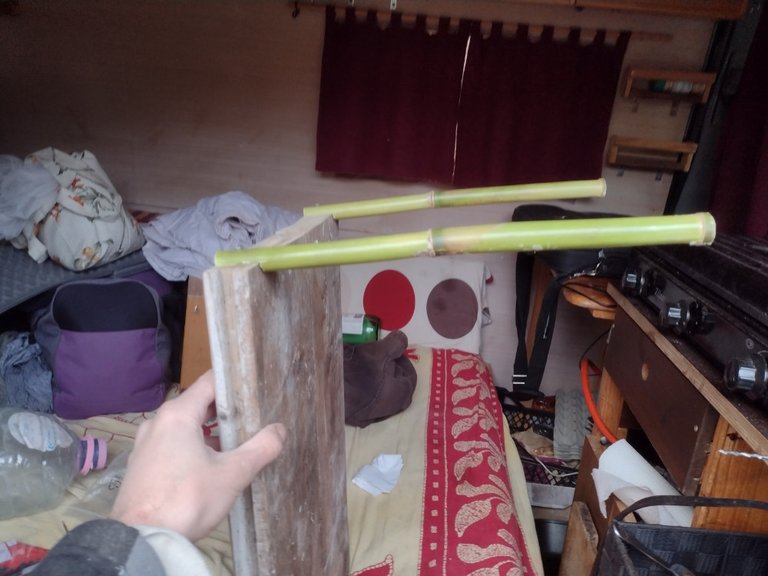
Now for the other two.
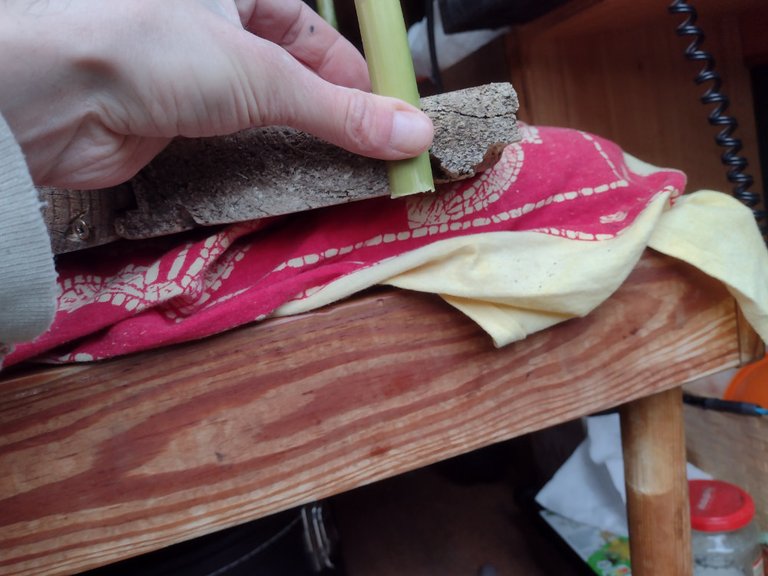
Yap!
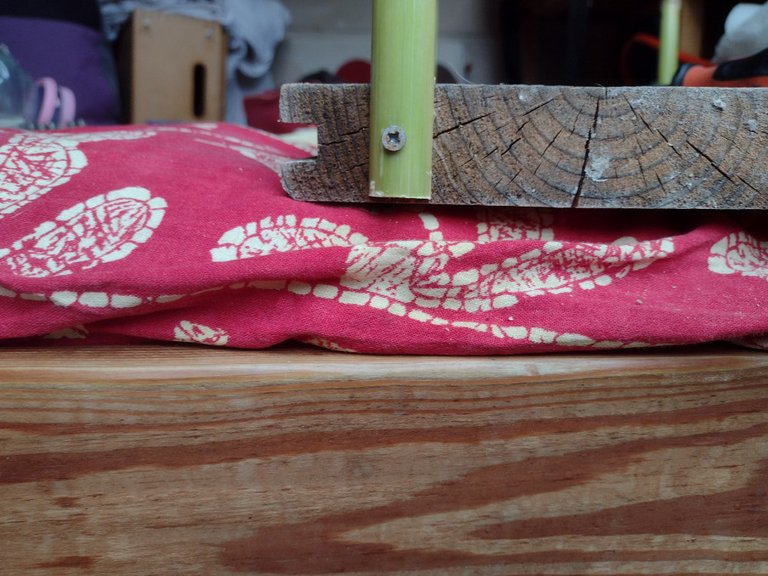
God I wish I sanded down the bottom also ahaha. But I have become wiser so I shall not expend the effort!
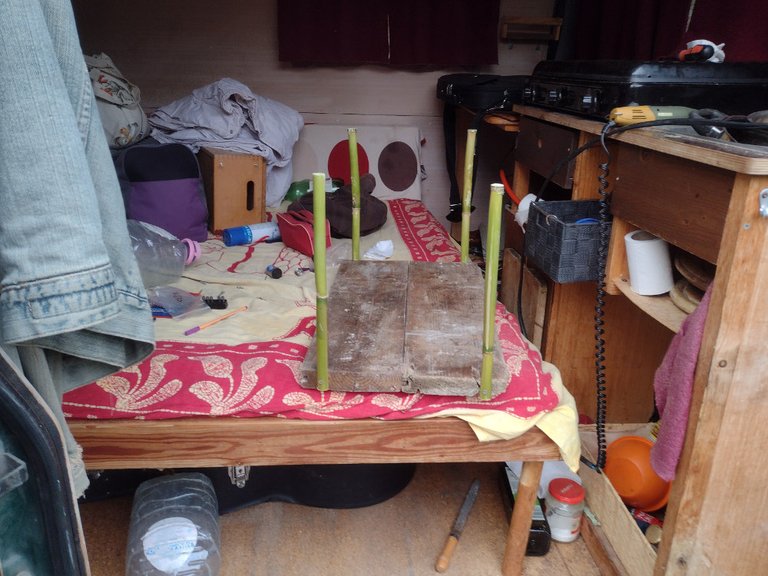
Booya!
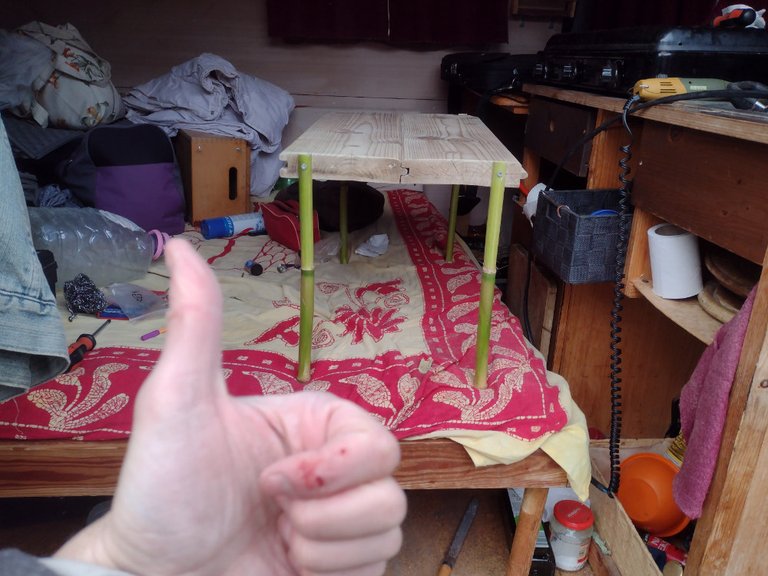
Well, anything will look level on a mattress ahaha. You know you have to:
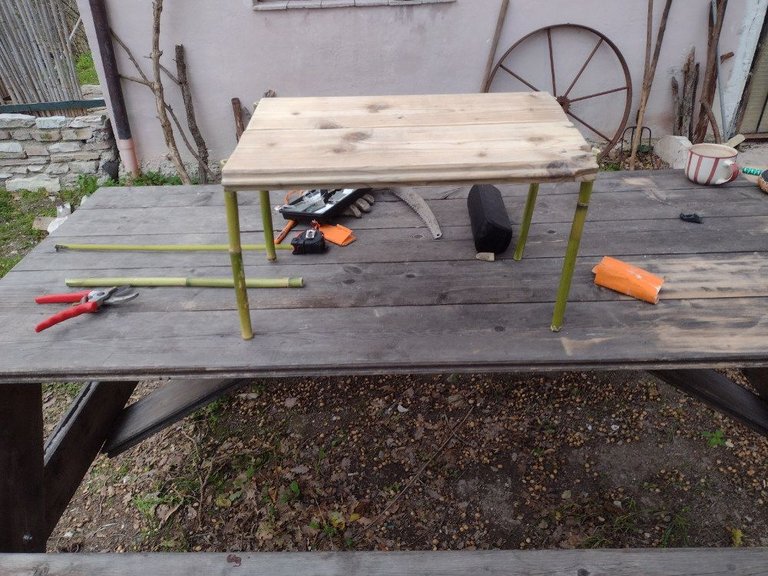
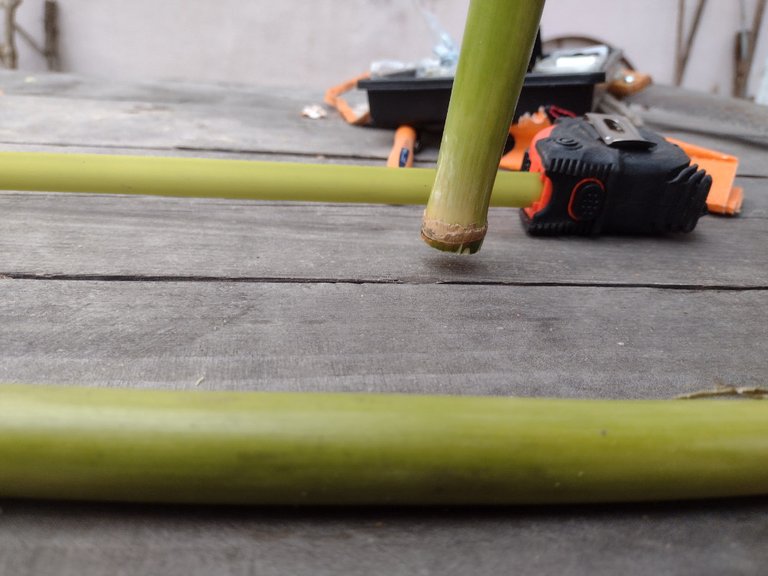
Ah, who didn't see that coming? I sort of knew from the beginning there would be cardboard spacers under at least one of the legs so whatever!
Stuff
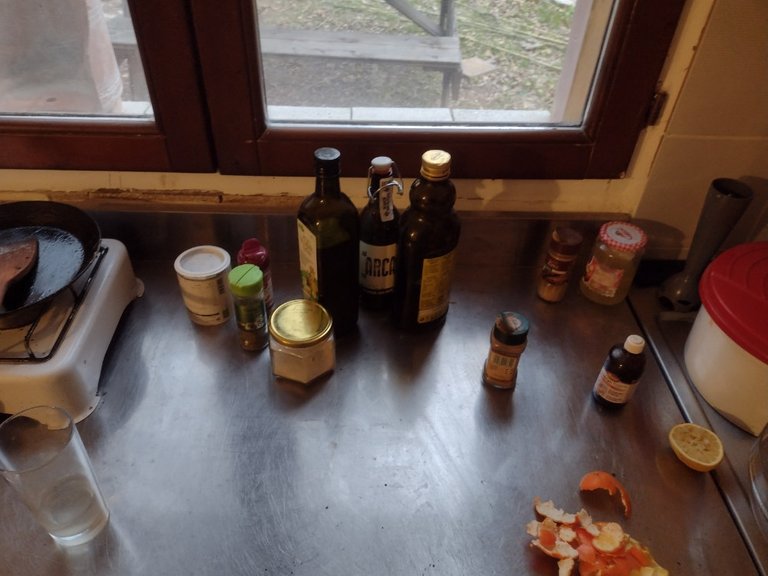
Table
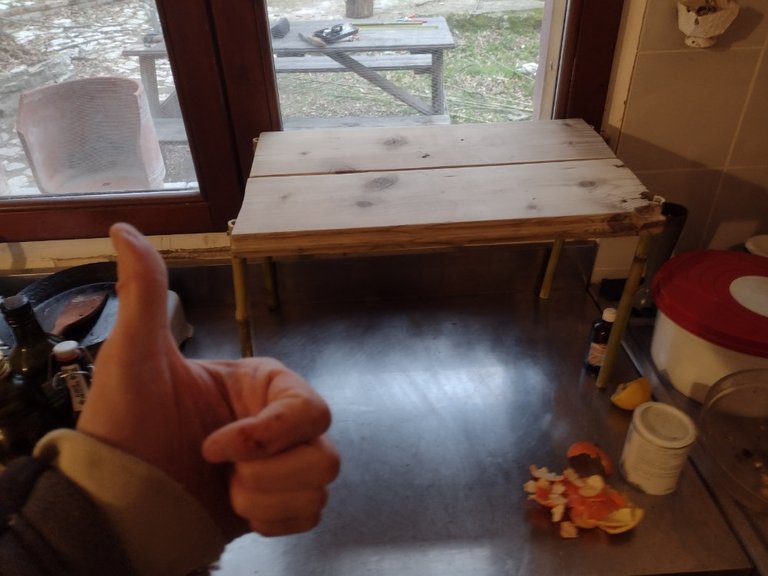
Stuff under table!
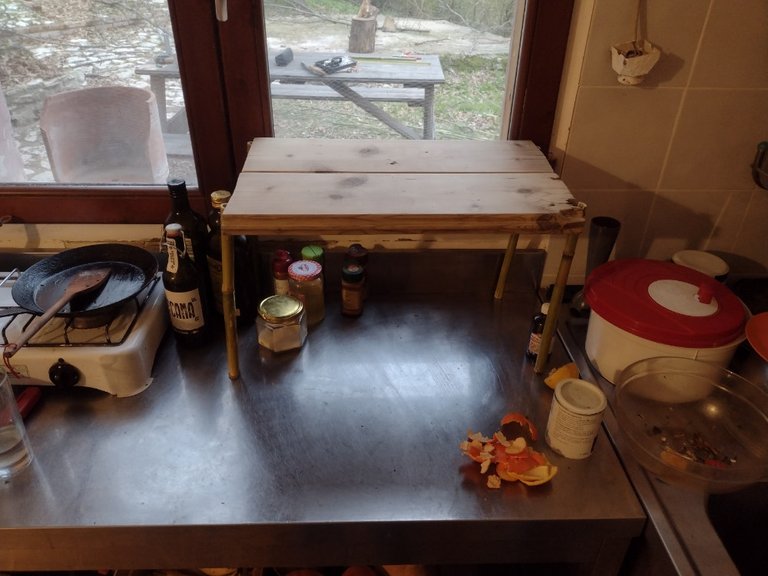
Well, there you have it! I had fun and my woman loves it! Should we start a poll about how well it will hold up under tiny-plant-pot pressure?

