Hello everyone, friends of the creative #Diyhub community!
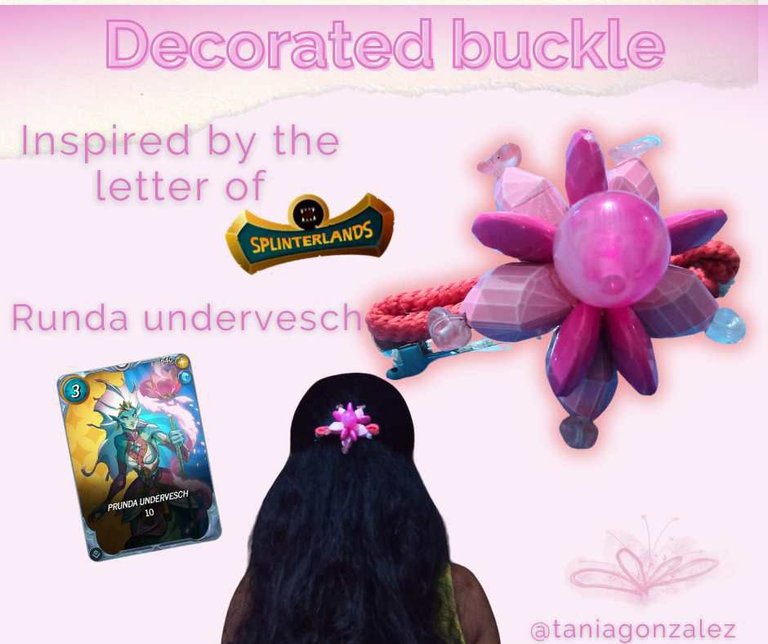
This is my first post of the year in this community, and this time I want to show you one of my crafts. I will present you a decorated buckle inspired by one of the #Splinterlands cards that I loved. This card has one of my favorite colors, pink in its different shades.
The card that inspired me this time is "Runda undervesch", as its staff is a big flower with beautiful shades of pink, which motivated me greatly.
Next, I will show you the materials I used and the step by step of how I went about decorating this beautiful buckle.
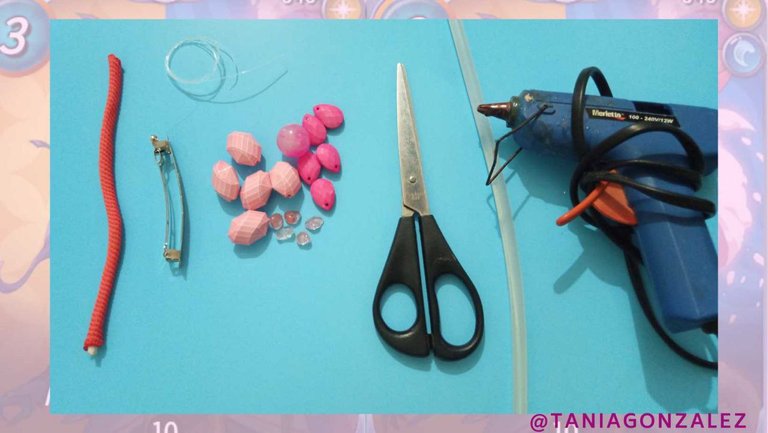
Materials:
- 5 large light pink beads with white lines.
- 5 fuchsia petal-shaped beads.
- 5 light pink crystals.
- 1 large round hot pink bead.
- Buckle.
- Old pink string.
- Nylon string.
- Scissors.
- Silicone gun.
¡Hola a todos, amigos de la creativa comunidad de #Diyhub!
Este es mi primer post del año en esta comunidad, y en esta ocasión quiero mostrarles una de mis manualidades. Les presentaré una hebilla decorada inspirada en una de las cartas de #Splinterlands que me encantó. Esta carta tiene uno de mis colores favoritos, el rosa en sus diferentes tonalidades.
La carta que me inspiró en esta ocasión es "Runda undervesch", ya que su báculo es una gran flor con hermosas tonalidades de color rosa, lo cual me motivó enormemente.
A continuación, les mostraré los materiales que utilicé y el paso a paso de cómo fui decorando esta hermosa hebilla.
Materiales:
- 5 cuentas grandes de color rosa claro con líneas blancas.
- 5 cuentas en forma de pétalos de color fucsia.
- 5 cristales de color rosa claro.
- 1 cuenta redonda grande de color rosa fuerte.
- Hebilla.
- Cuerda de color rosa viejo.
- Cuerda de nailon.
- Tijeras.
- Pistola de silicona.
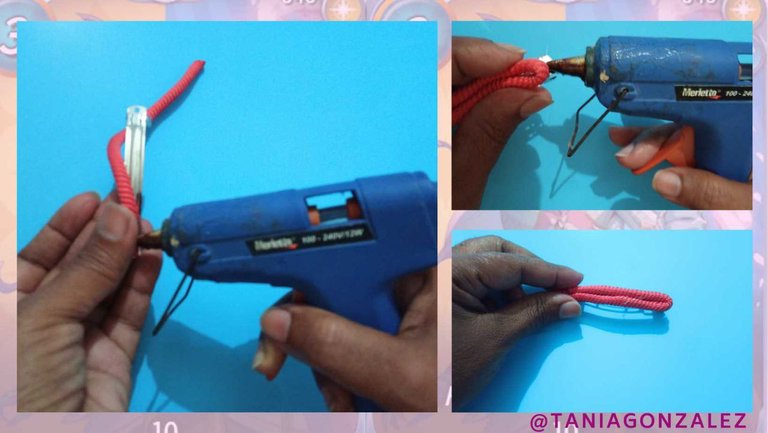
To decorate this buckle, I started by folding the 10 cm old pink rope in half. Then, with the help of the silicone gun, I attached the strings to the buckle, leaving the body of the buckle well dressed.
Para decorar esta hebilla, comencé doblando la cuerda de 10 cm de color rosa viejo por la mitad. Luego, con la ayuda de la pistola de silicona, fijé bien las cuerdas a la hebilla, dejando el cuerpo de la hebilla bien vestido.
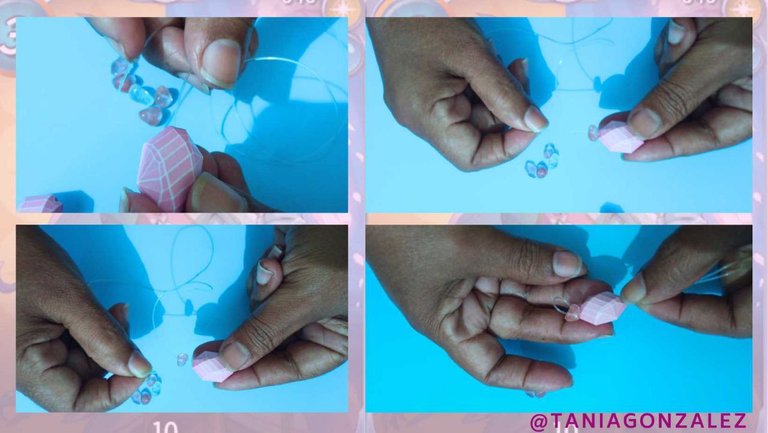
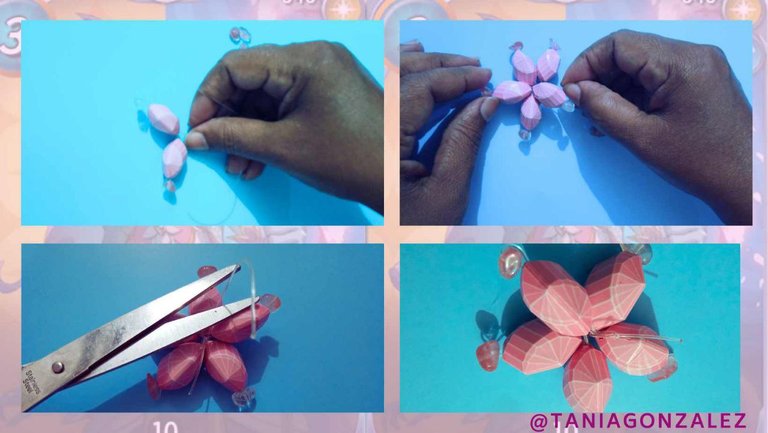
Next, I strung the large pink beads with the nylon string, placing a pink crystal on top. I then threaded the nylon string through the hole in the pink bead again, through the bottom. I repeated this operation with the 5 pink beads, thus forming the first part of the flower.
Luego, ensarté las cuentas rosas grandes con la cuerda de nailon, colocando un cristal rosa en la parte superior. Después, volví a pasar la cuerda de nailon por el orificio de la cuenta rosa, por la parte inferior. Repetí esta operación con las 5 cuentas rosas, formando así la primera parte de la flor.
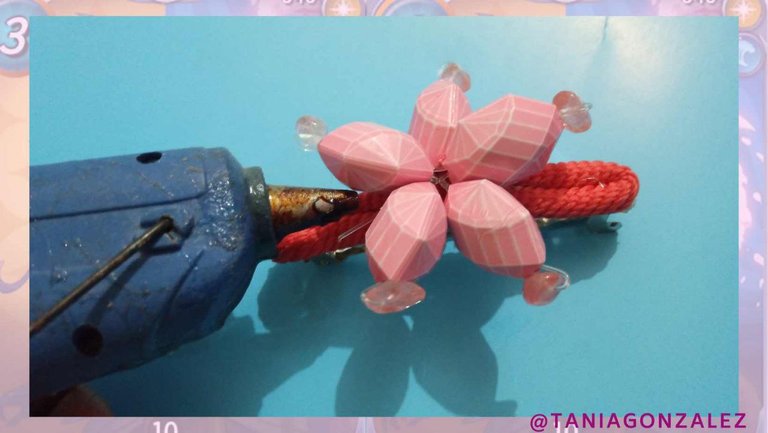
With the help of the silicone gun, I glued the first part of the flower to the buckle.
Con la ayuda de la pistola de silicona, pegué la primera parte de la flor a la hebilla.
Next, I strung the petal-shaped fuchsia beads with the nylon string and cut off the excess with the scissors.
Después, ensarté las cuentas fucsias con forma de pétalos con la cuerda de nailon y corté el sobrante con las tijeras.
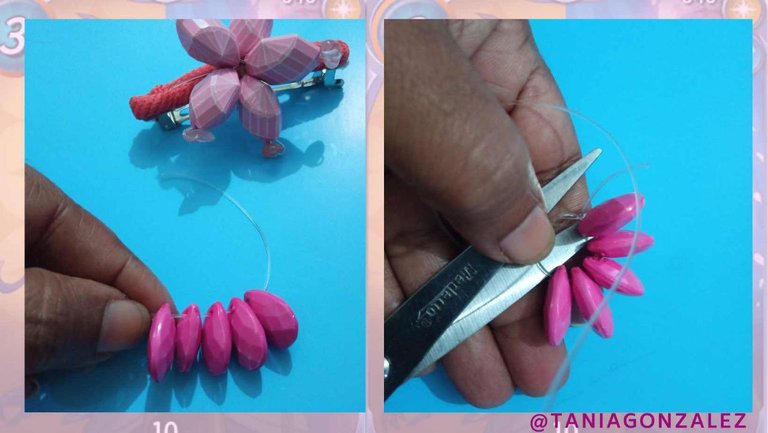
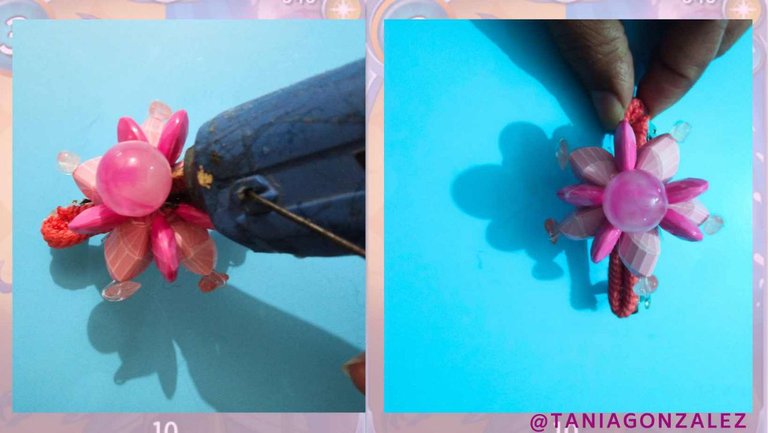
Then, I glued them with the silicone gun to the other piece of the flower, making sure they were properly spaced.
Luego, las pegué con la pistola de silicona a la otra pieza de la flor, asegurándome de que quedaran con la separación adecuada.
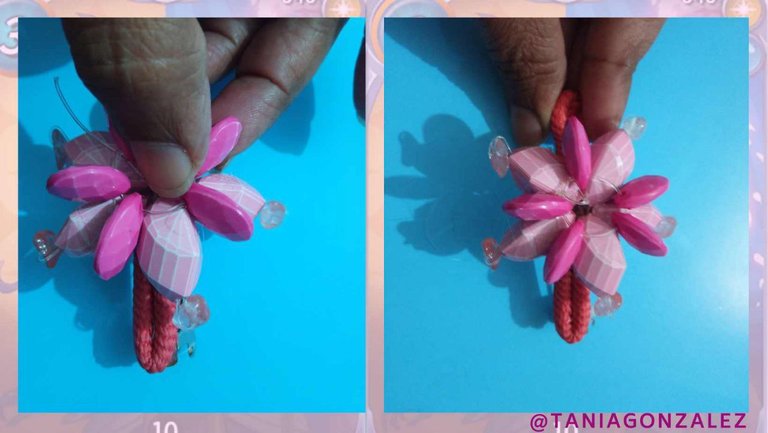
Finally, I glued the big pink ball in the center of the flower, and that's it! The decoration is finished.
Por último, pegué la bola grande rosa en el centro de la flor, ¡y listo! La decoración está terminada.
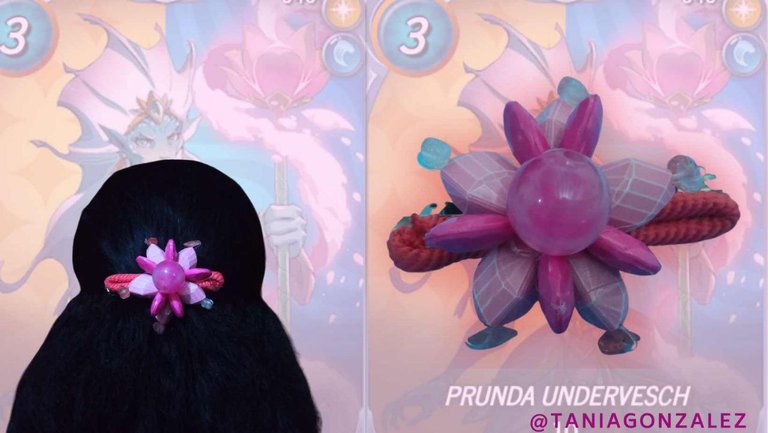
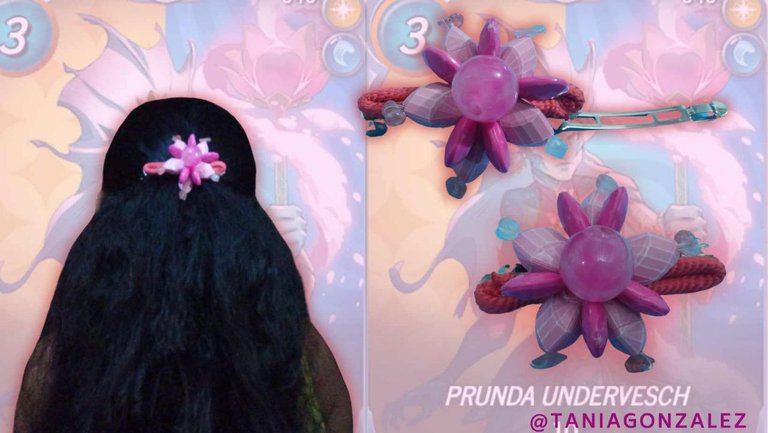
Here you can see how the buckle was decorated with the flower of the "Runda undervesch" staff, I hope you like it!
Aquí pueden ver cómo quedó decorada la hebilla con la flor del báculo de "Runda undervesch". ¡Espero que les guste!
I wish you all a fabulous start to the week.
See you later!
Les deseo a todos un comienzo de semana fabuloso.
¡Hasta luego!

The photos were taken with a Bison X10 Pro
DeepeL was used
Photos was made with Canvas


