Compliment of the season, friends! It's that time of the year again when we spread the love around in the form of gifts and kind gestures. Even though this should be a normal thing we do regardless, this season preaches this more, and that's why I decided to make something befitting for one of my female friends who has been there for me on many occasions, and in this post I'll be showing the do-it-yourself guide of how I made this beauty for her as a Christmas present.

So to start with, above is the final look of the palm sandals I made for her, which she loves, even though I had to visit my friend's shoemaking shop to craft this because I no longer have most of the required equipment. Now let's take a look at the materials I used and the step-by-step making process.
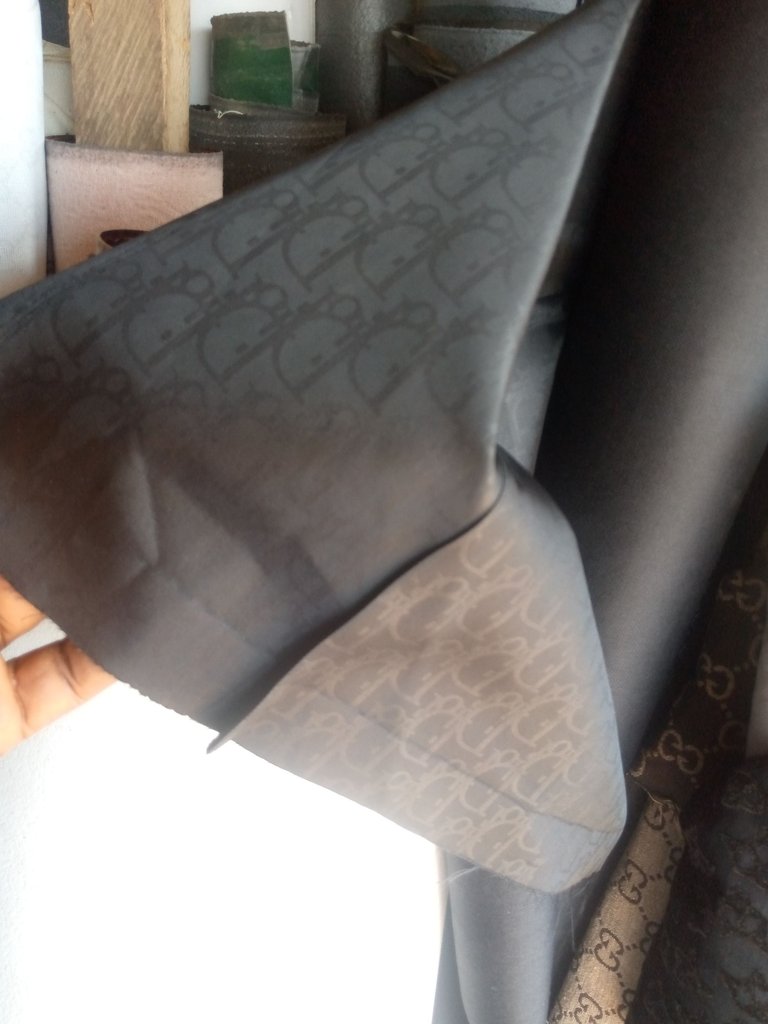
MATERIALS USED
- Black leather
- Scissors
- Sandal Nora sole
- Hammer
- Gum
- Maco for insole
- Black leather lining
- Heels
- Biro
- Shoe last
MAKING PROCESS
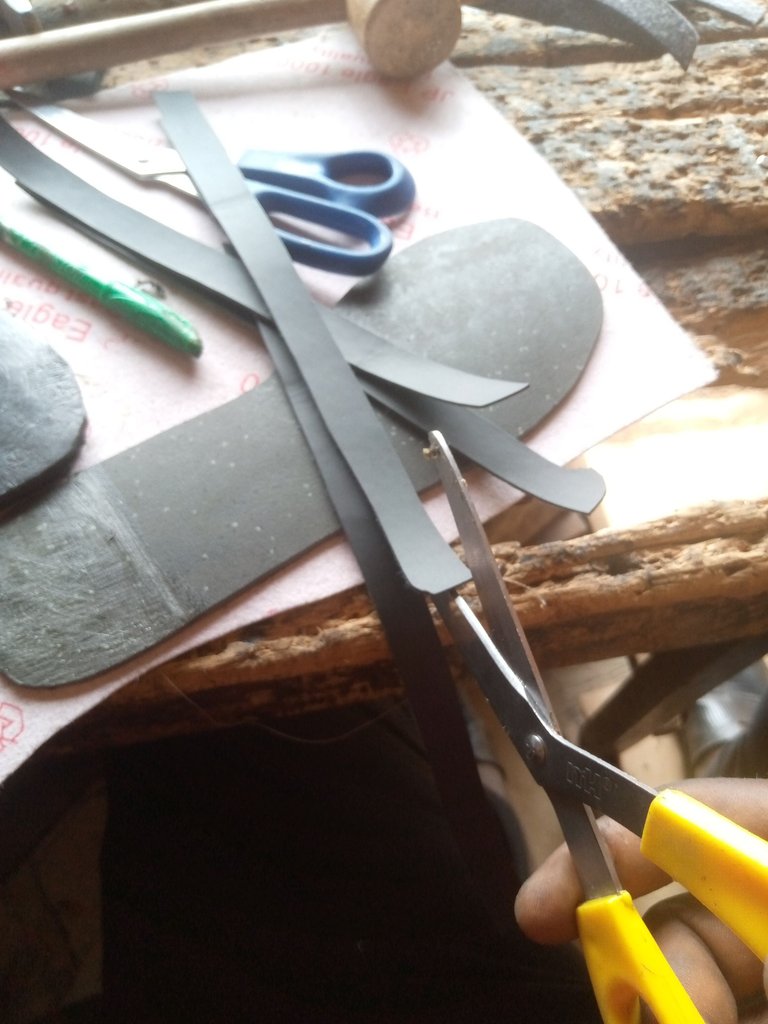
STEP ONE: Measuring and cutting the straps:
For this first stage, I need equipment such as my scissors, biro, and ruler, which I use first to draw a pattern of the shape I want the straps to have on the leather, after which I'll cut them out one by one with the scissors.
 |  |
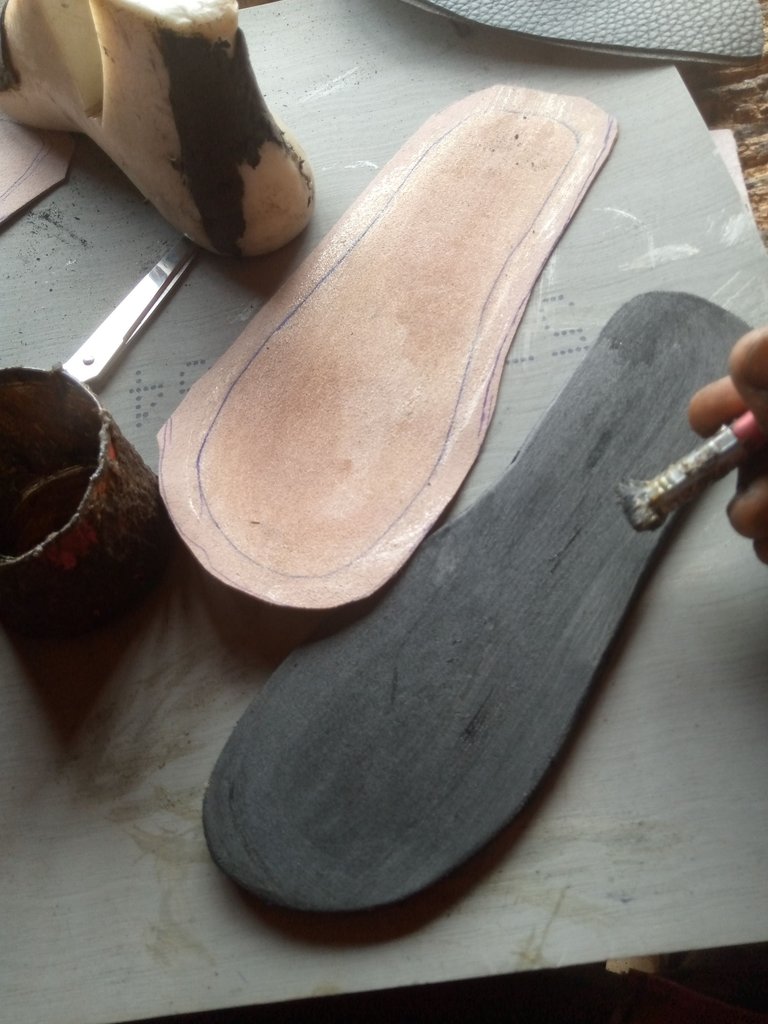
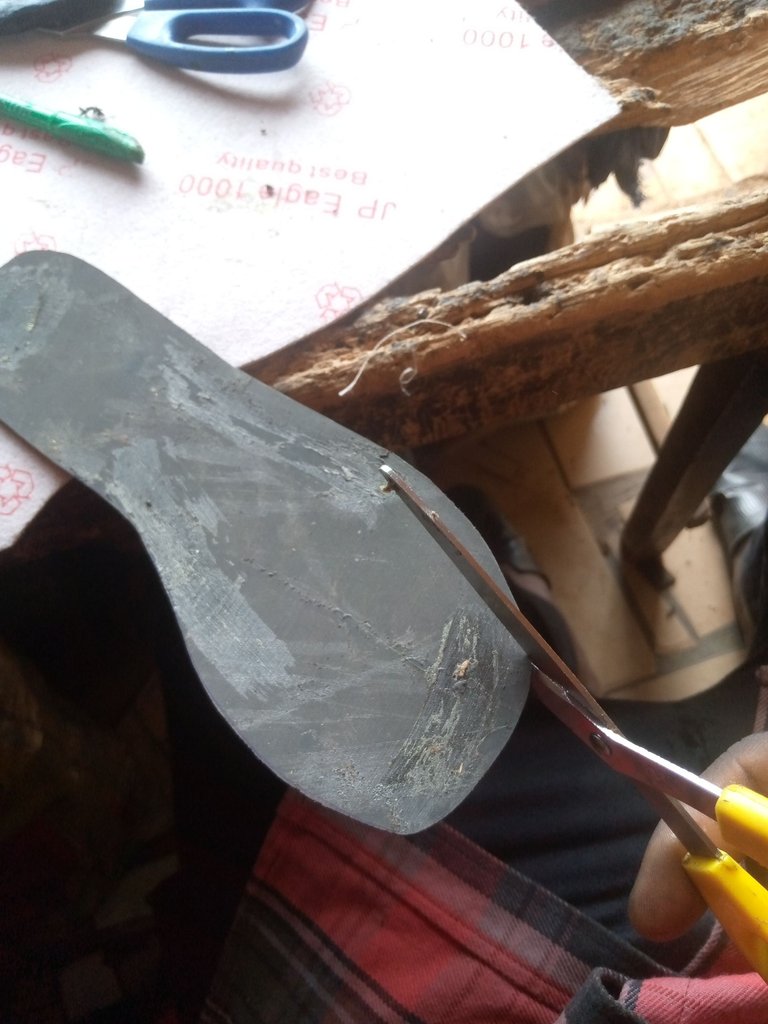
STEP TWO: Cutting and preparing the sandal sole:
In this stage, I'll still be making use of my biro and shoe last, which is placed on the Nora meant for the insole fabric, and then draw out the shape; the same will be done for the Maco for the insole, and lastly, cut the tracing of the same pattern on the leather lining, adding an extra half inch and cutting, then I'll use the filling machine to sand the edges of the sole to make it smooth.
 |  |
STEP 3: Assemble the sandals, stage 1:
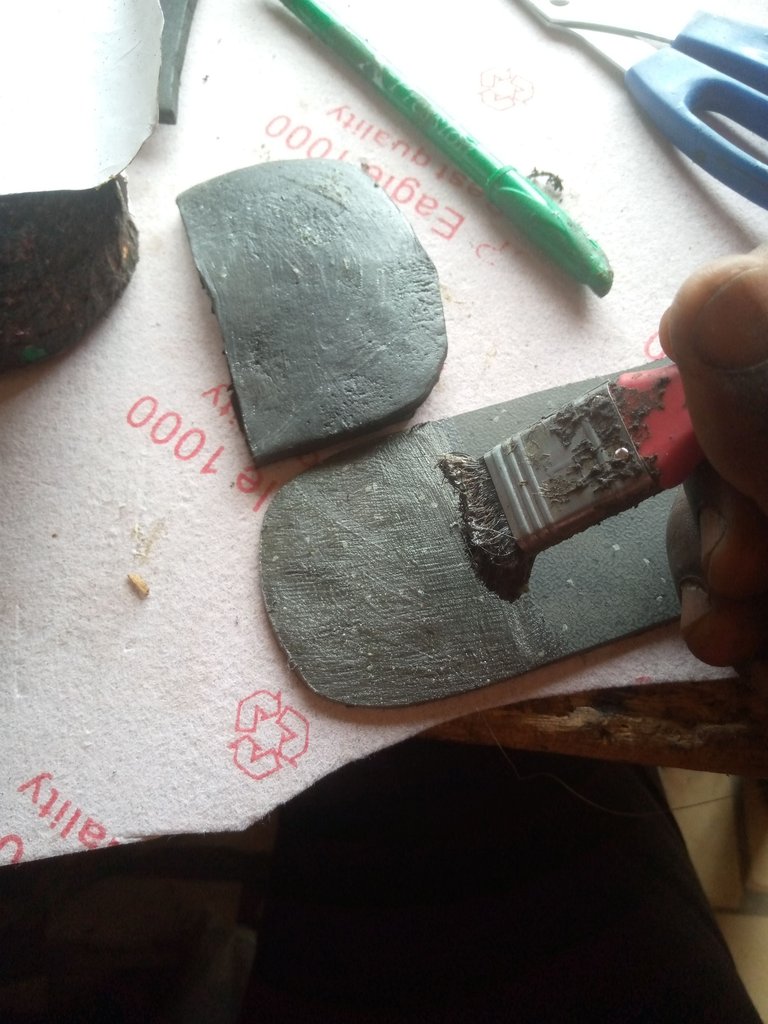
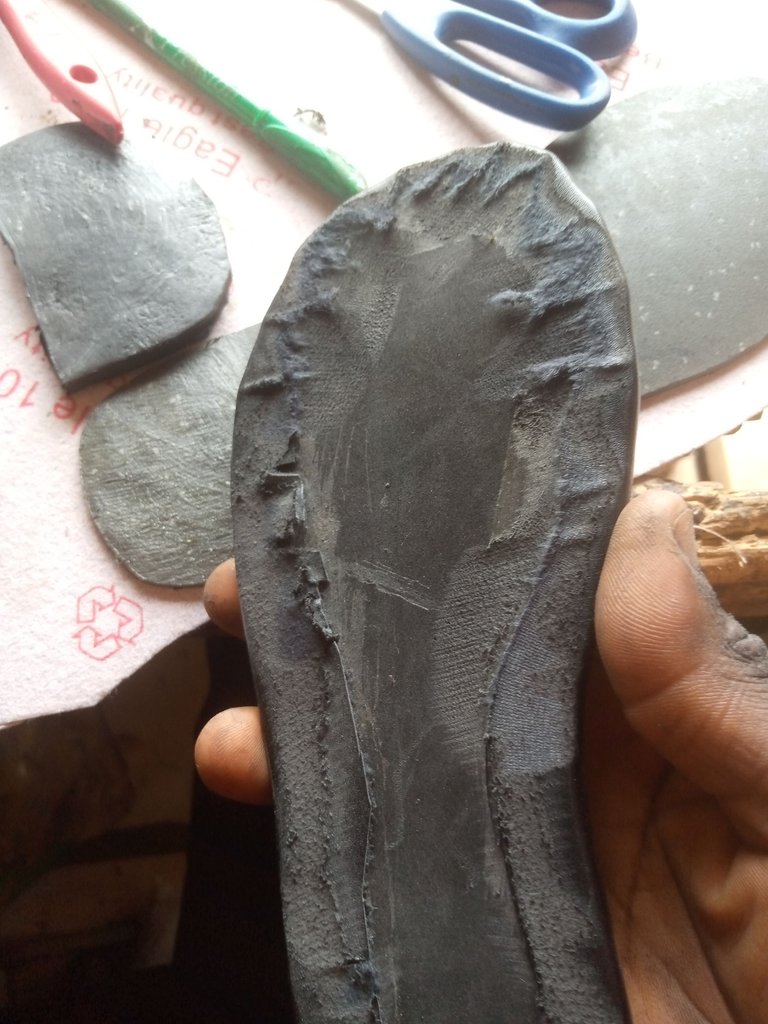
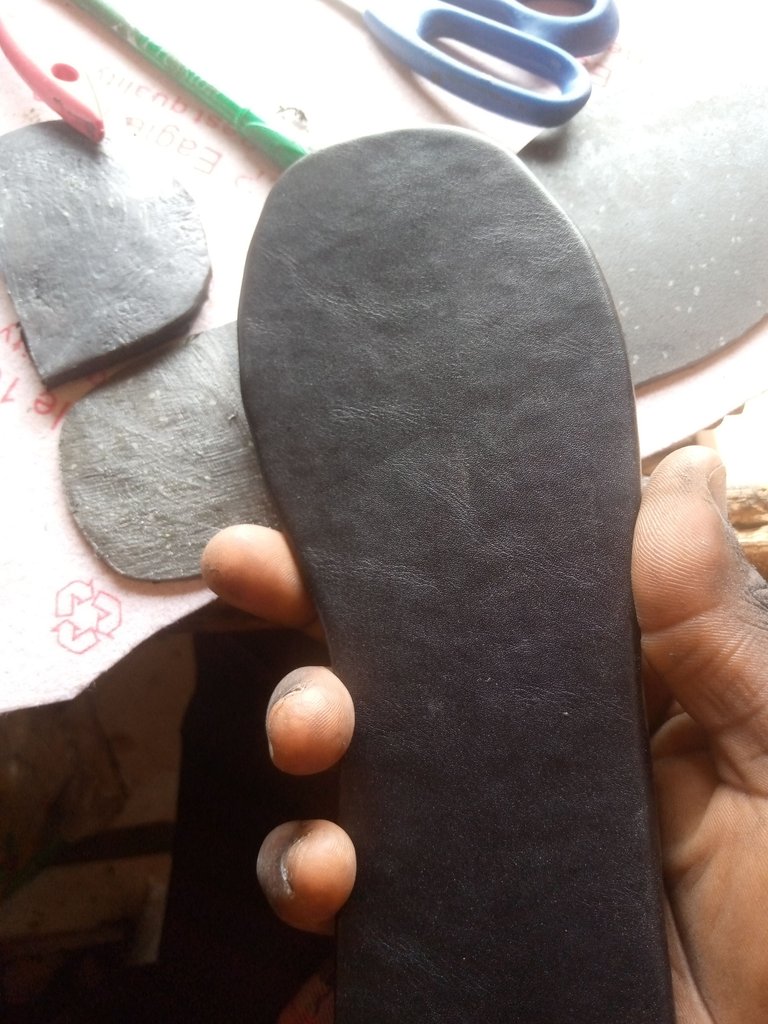
In this stage, I was joining each part of the sandals together, first using the brush to apply some gum to the inner part of the straps, then folding them into a straight line of equal size.
Also, I am applying gum on the lining of the insoles, then wrapping it around the Maco for the insole. The same was done to the heels, but I didn't attach it yet but left it to dry a little.
 |  |  |
STEP 4: Assemble the sandals, stage 2:
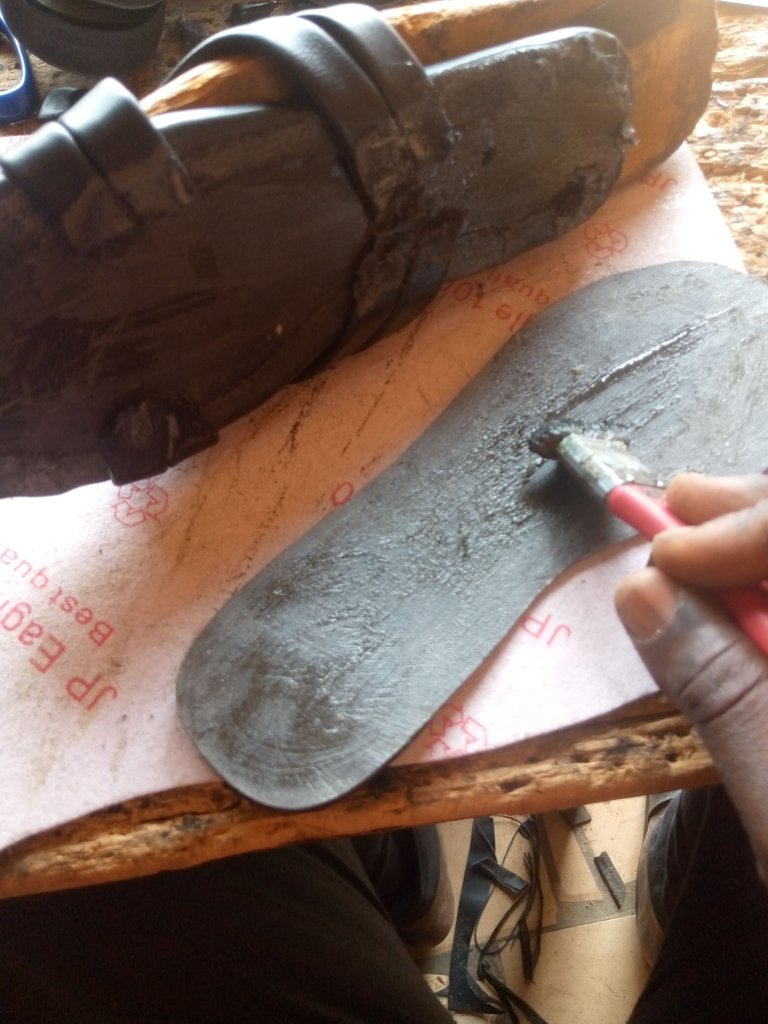
Here I began attaching each part of the sandals together. First, I joined the strap to the insole using the gum and adjusted it with the aid of our shoe last. Then I joined the sole to the heels with my gum and super glue, lasting after applying gum to the insole last of the outsole. I merged it with the insoles and gently hit it with a hammer so it'll merge perfectly.
This is how the sandals look after I polished them and captured their beauty, which my friend loves and appreciates the kind gesture.

And that it how how I made this beautiful black palm sandals for my friend as a gift this festive season.
Posted Using InLeo Alpha

