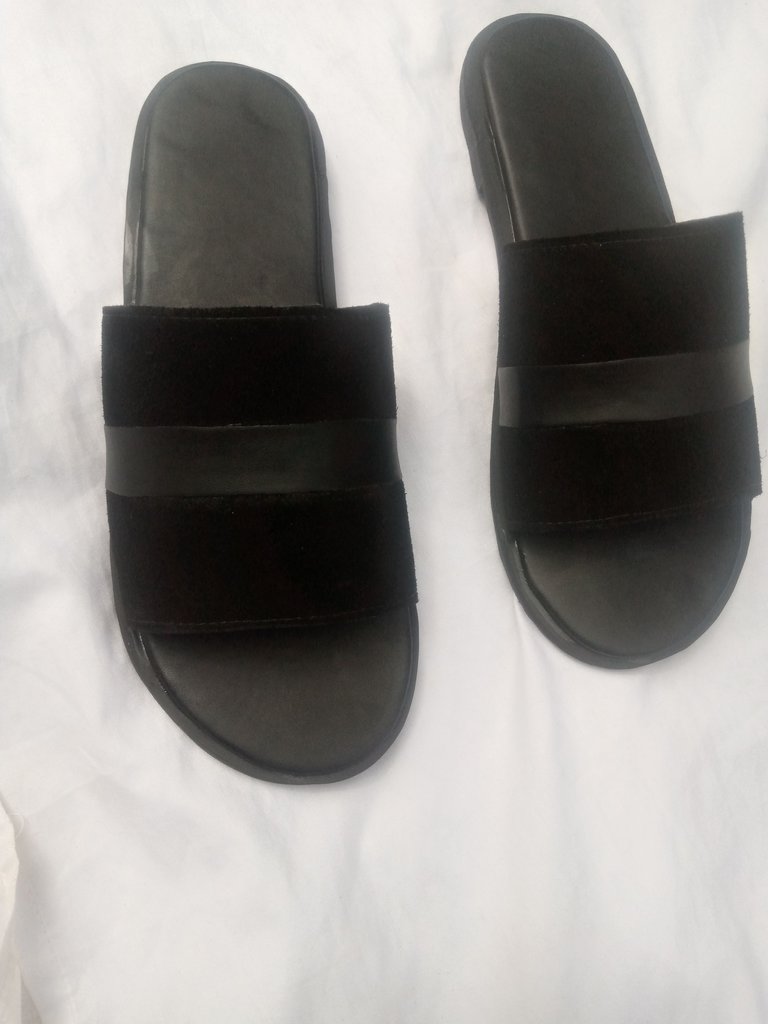
Good day, hivers, and happy weekend to you. I hope you had a relaxing Saturday. The week has been stressful for me, filled with loads of activities and sleepless nights, but I'm glad it's the weekend because I got to rest properly today. But today I'll love to share how I made these palm slippers a few days ago. I hope you enjoyed the do-it-yourself tutorial.
Tools and Equipment
To make these palm slippers, I used the following tools, as stated below:
Suede leather
- Black leather
- Nora outsoles
- Maco insole
- Oci gum
- Scissors
- Shoe wet
- Sewing machine
Making Process
- First thing first was to cut a paper pattern of the foot of the palm slippers, after which I used it to draw out a pattern on the leather materials.
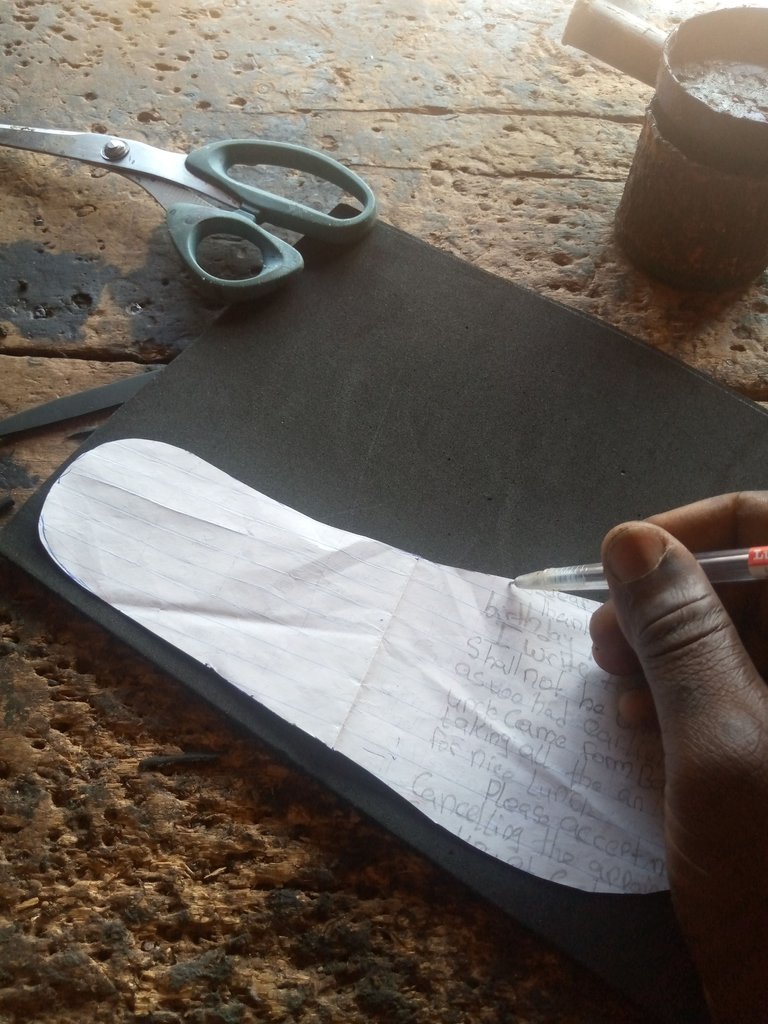
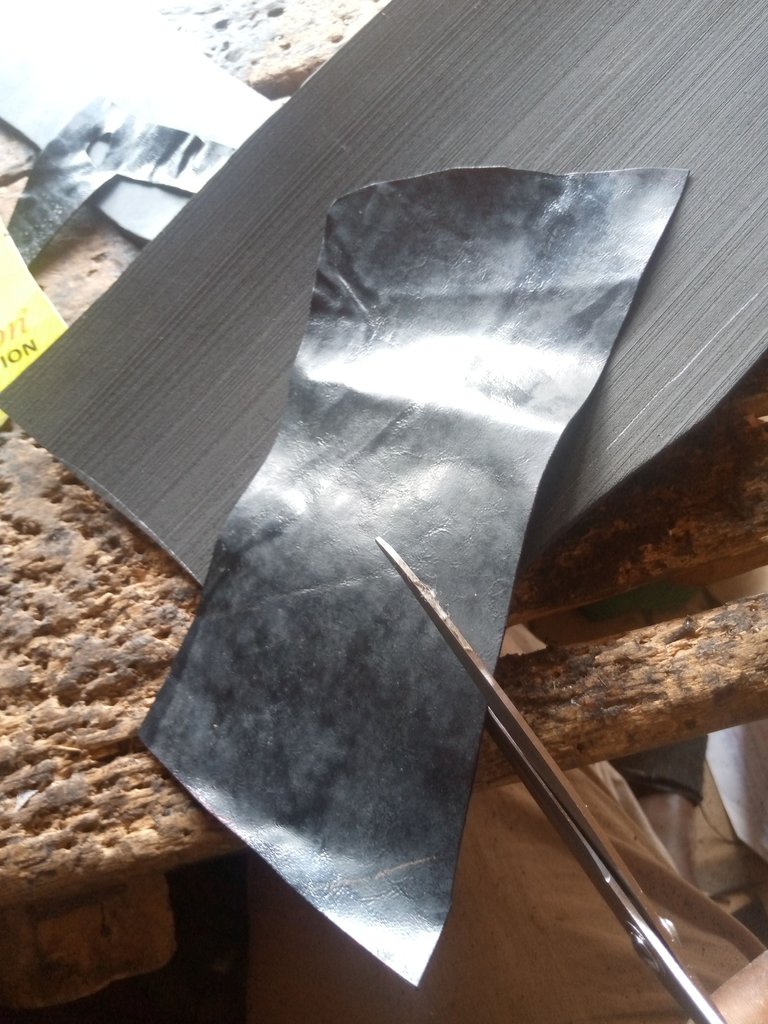
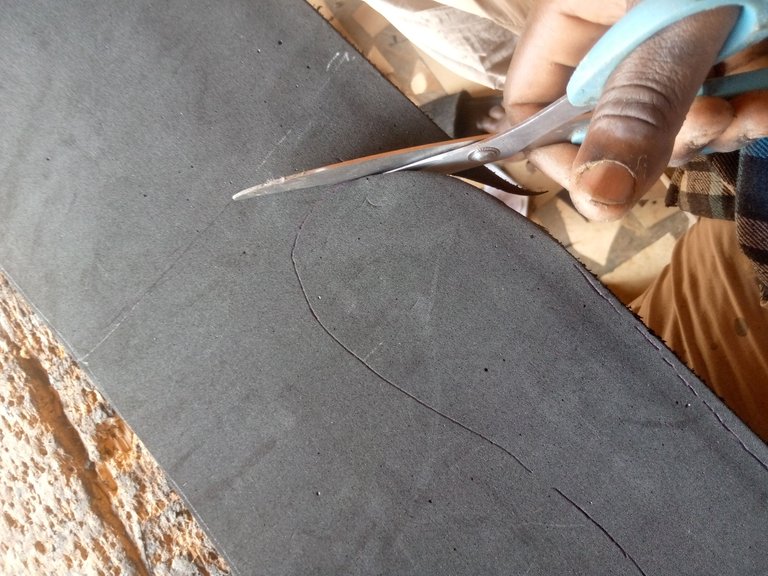
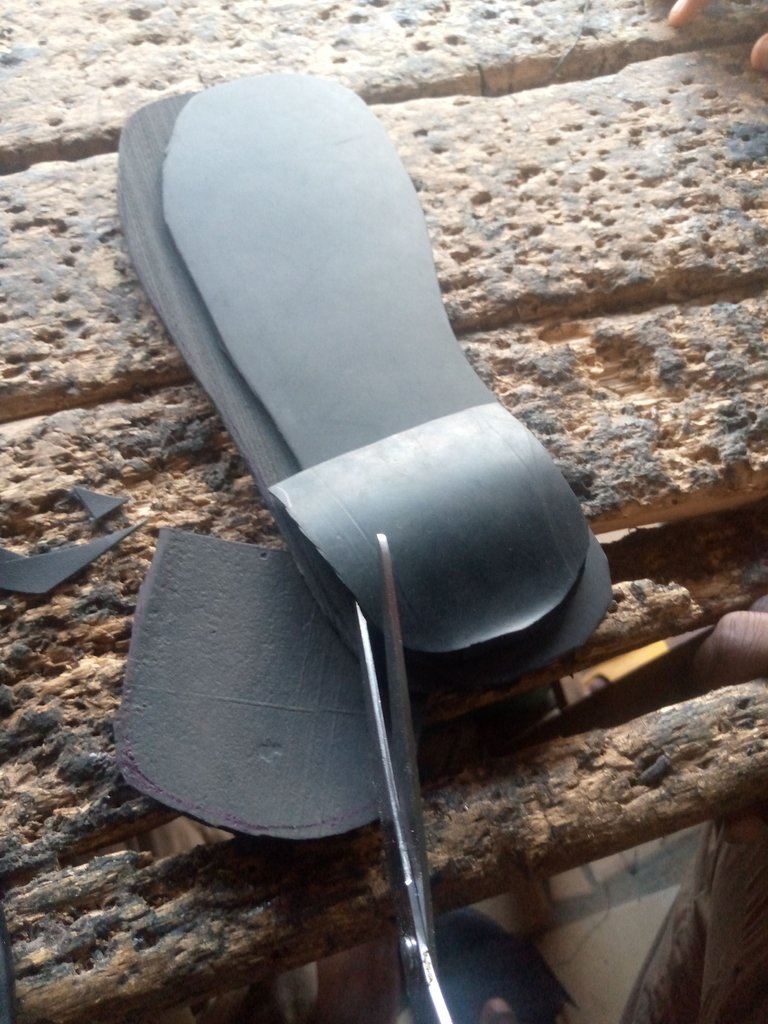
- After drawing the pattern on the nora and maco, I cut out the shape with the scissors.
- Here I applied some gum on a plain leather lining that'll be used to cover the maco(insole), to make it neat, after which I planed the earlier cut foot shape maco on and wrap around both.
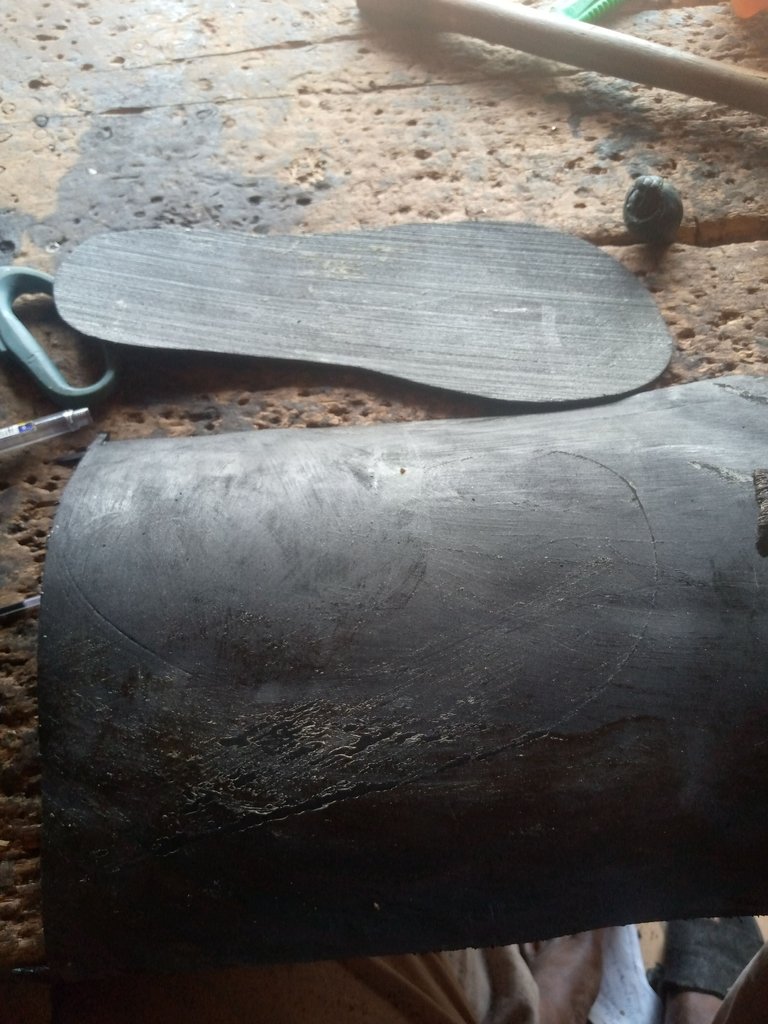
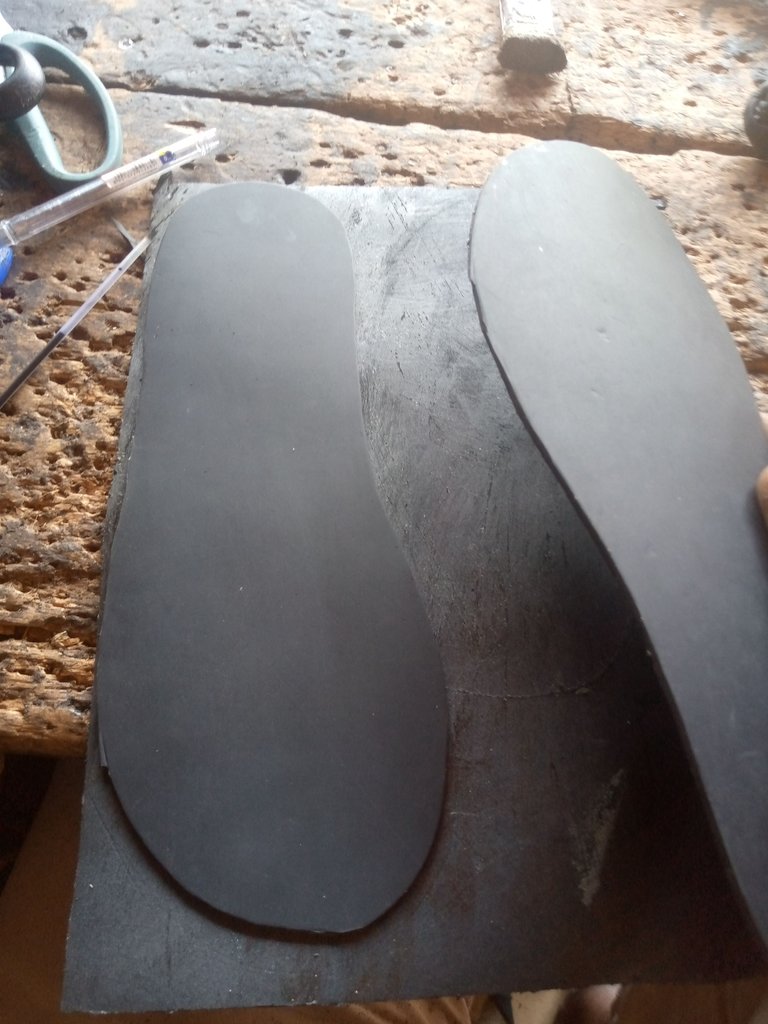
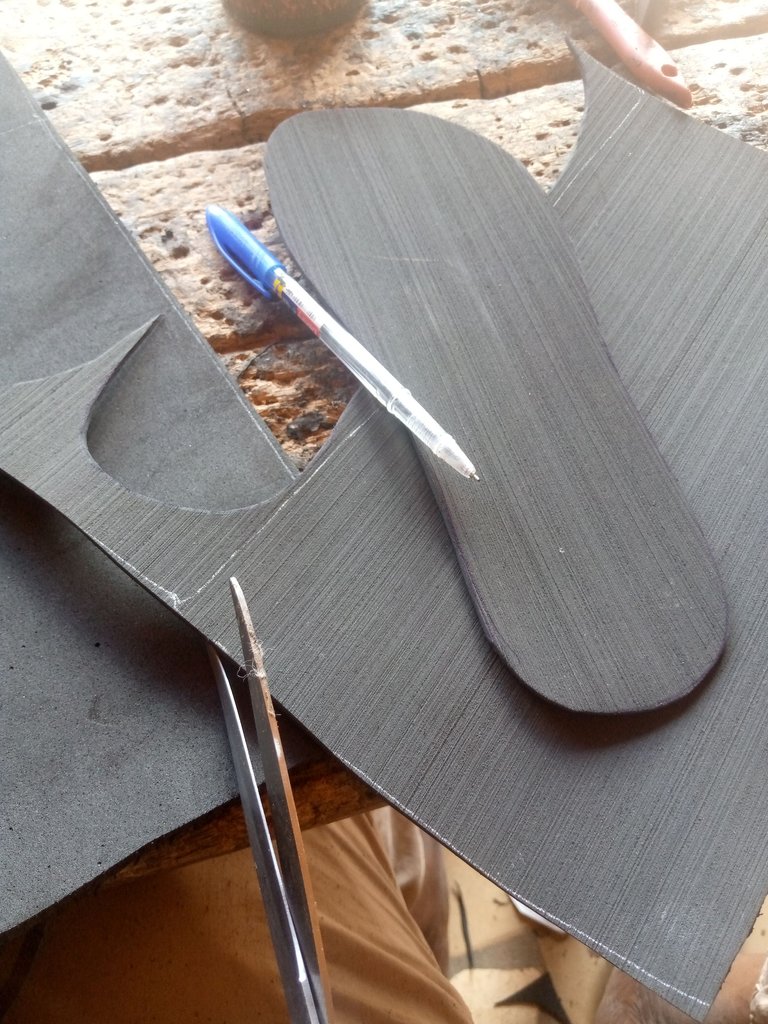
- When that was achieved, I also cut a black lining for the suede of the insole, then joined them together.
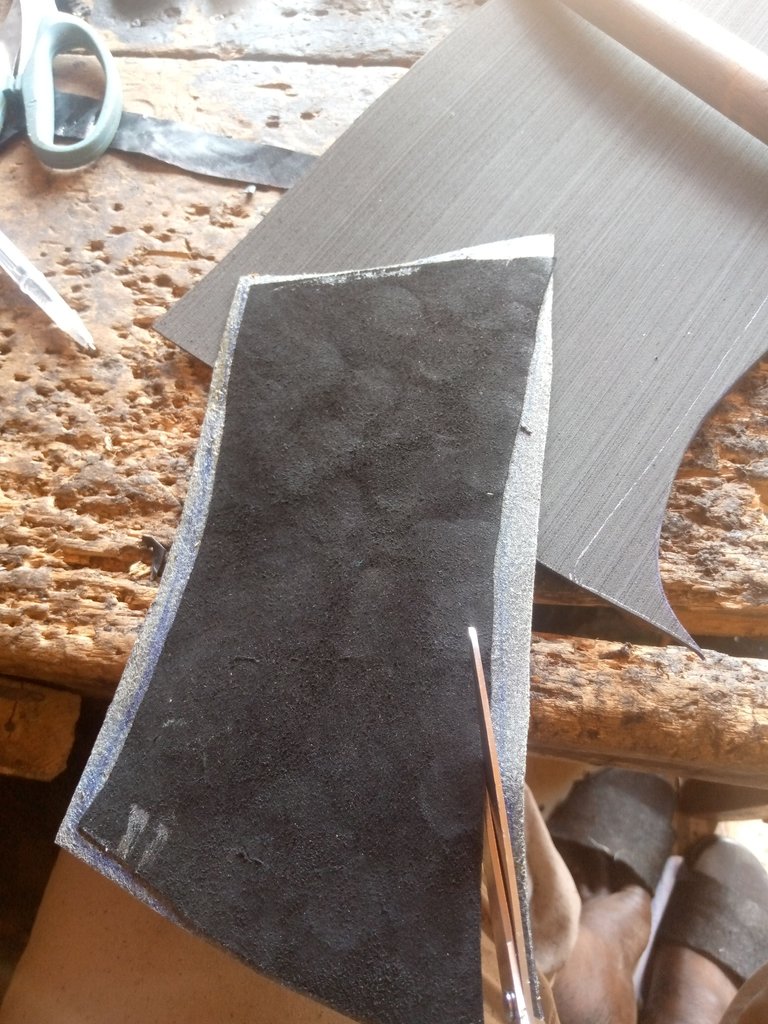
- And here is the sewing process, so has to make such it's joined together perfectly.
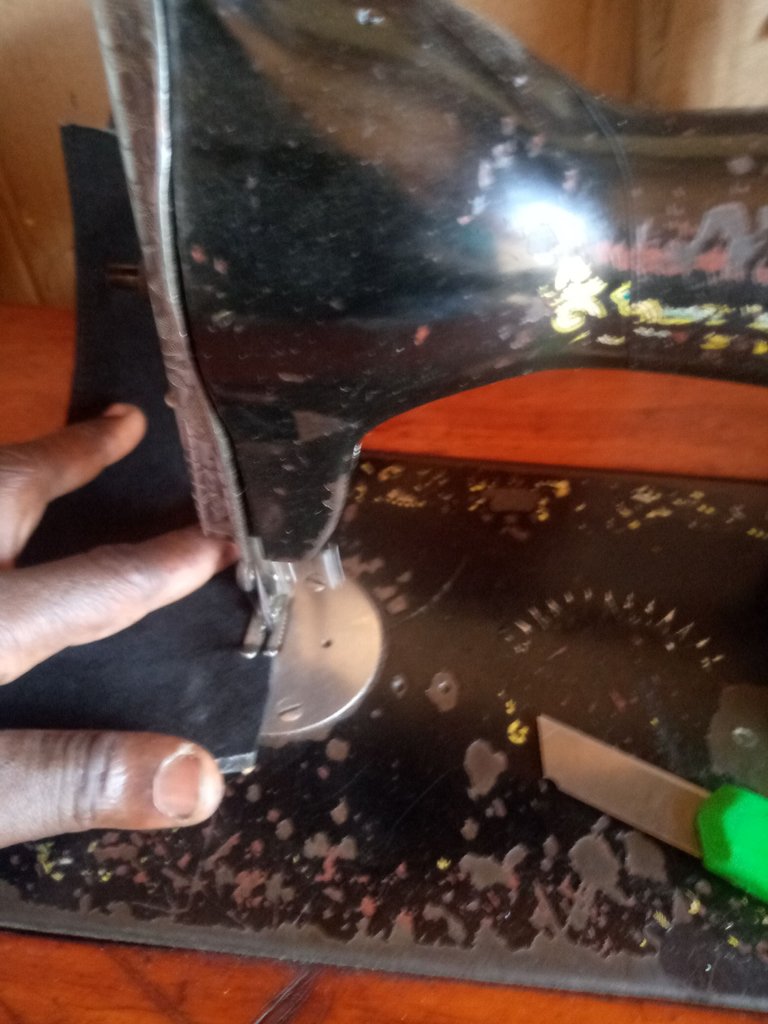
- After that, I cut the heel for the outsole, shape it with the filling machine, then joined it to the sole.
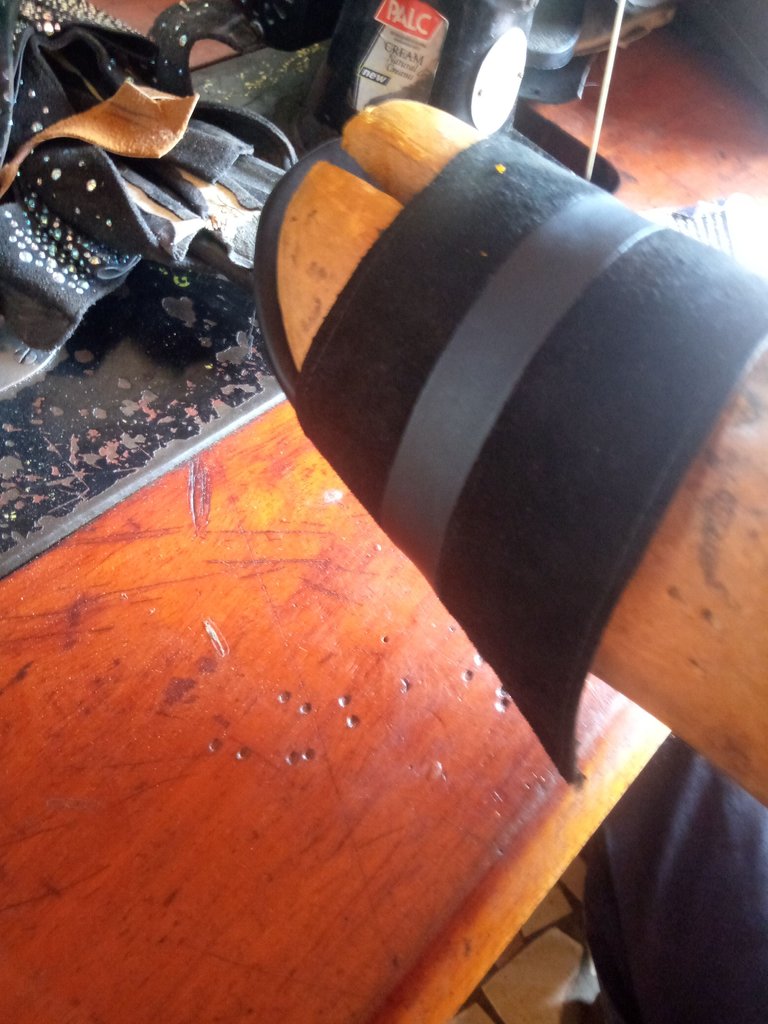
- It was time to last (join) the upper design to the insole, and that I did with the aid of the oci gum and perfect the shape with a wooden shoe last.
- The last stage was to apply gum on both the back of the insole and the outsole, wait for it to dry and joined both together.
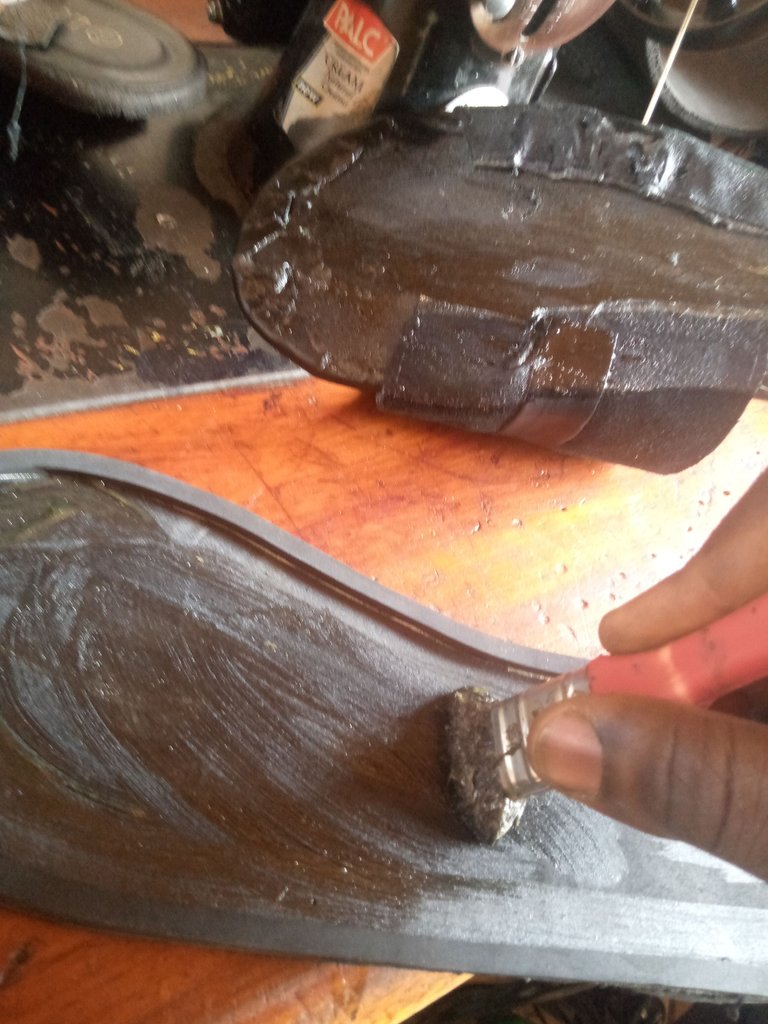
That's how we arrived at the final look of this palm slippers, I hope you enjoyed going through the tutorial.

Thanks so much for your time, have a productive Sunday ahead.


