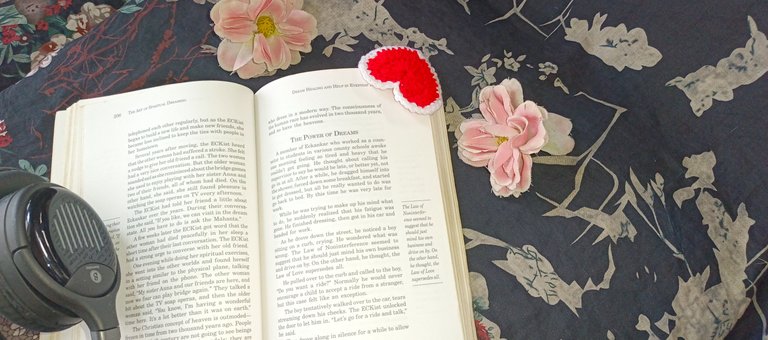
What's even better than regular bookmarks? That's right, corner bookmarks. I had a really good feeling about corner bookmarks the first time I saw it, which happened to be early this month. I recently ventured into reading these paperback novels from my mom's library and the only rule is that the books be returned as pristine as they were carried.
I do not rough handle paperback books anymore thanks to the few bookmarks I've made over the months. However, there's always this innate feeling to “just fold the corner of the last page”. This is because the regular bookmarks directly affect the spine of the book and if kept that way for a long while, may weaken the spine. So why not just fold the corner and get it over with. But then, folding the corners of a book intermittently also has bad effects on a book. So what's a thoughtful remedy to this dilemma? Corner bookmarks.


Materials used
- Yarn
- 2.5mm crochet hook
- A pair of scissors
- Yarn needle
Procedure
One of my favorite things about this bookmark is that it's quite easy to make and can be made from scrap yarn.
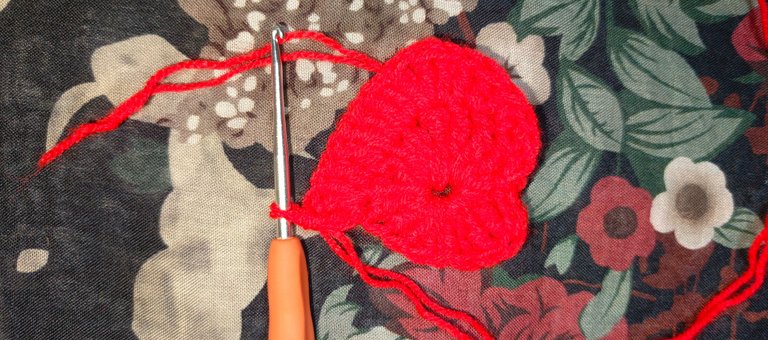
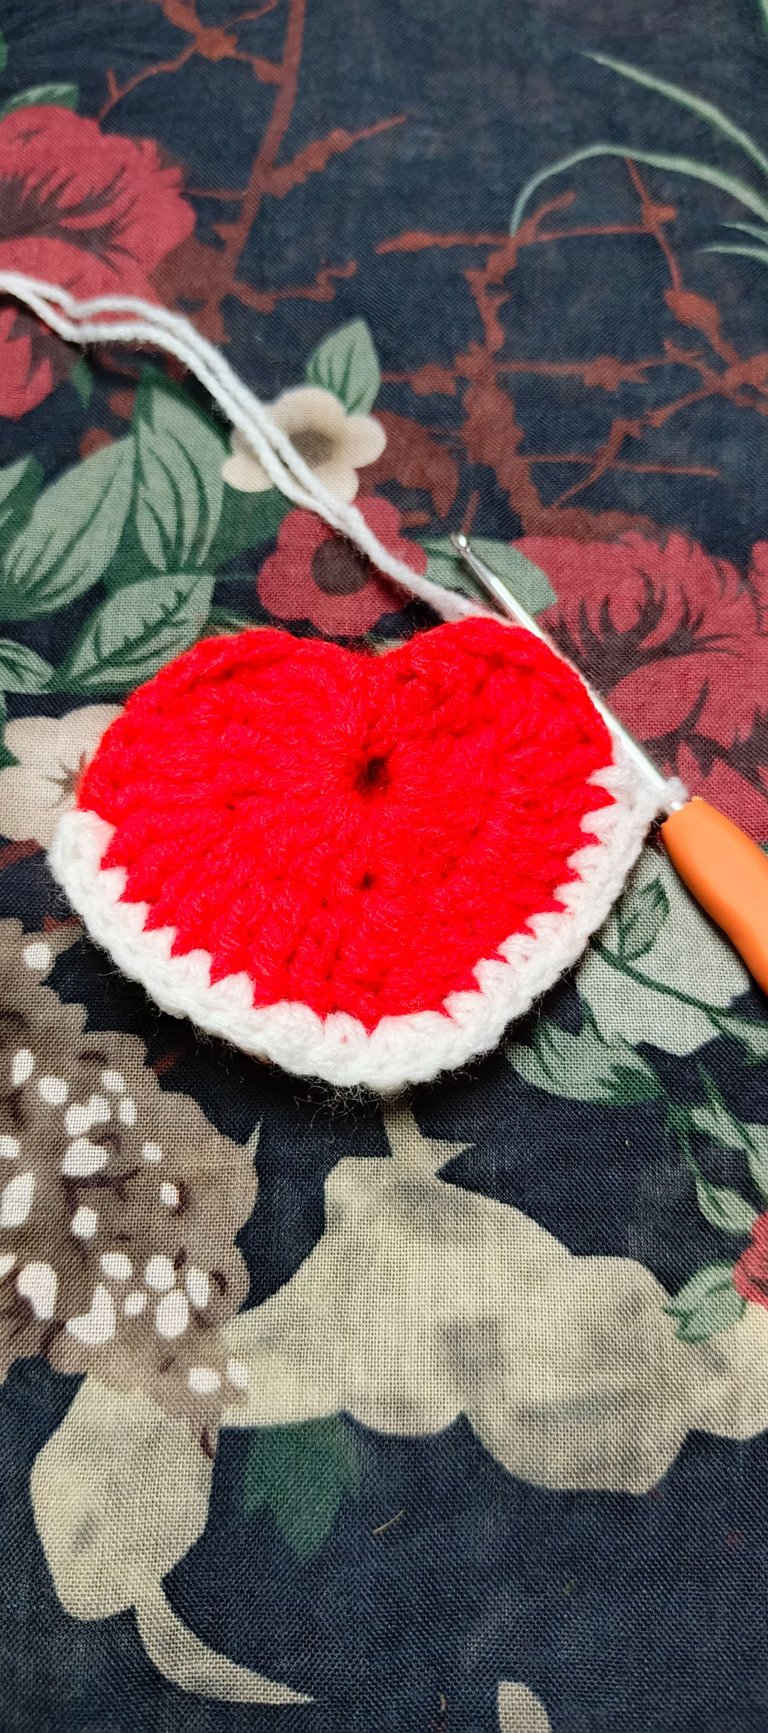
First, I started by making a magic ring and surprisingly nailed it on my first trail. All crocheters have had some history with magic rings at some point and believe me when I say that I did too.
After making the magic ring, chain one to secure and proceed to make two extra chains.
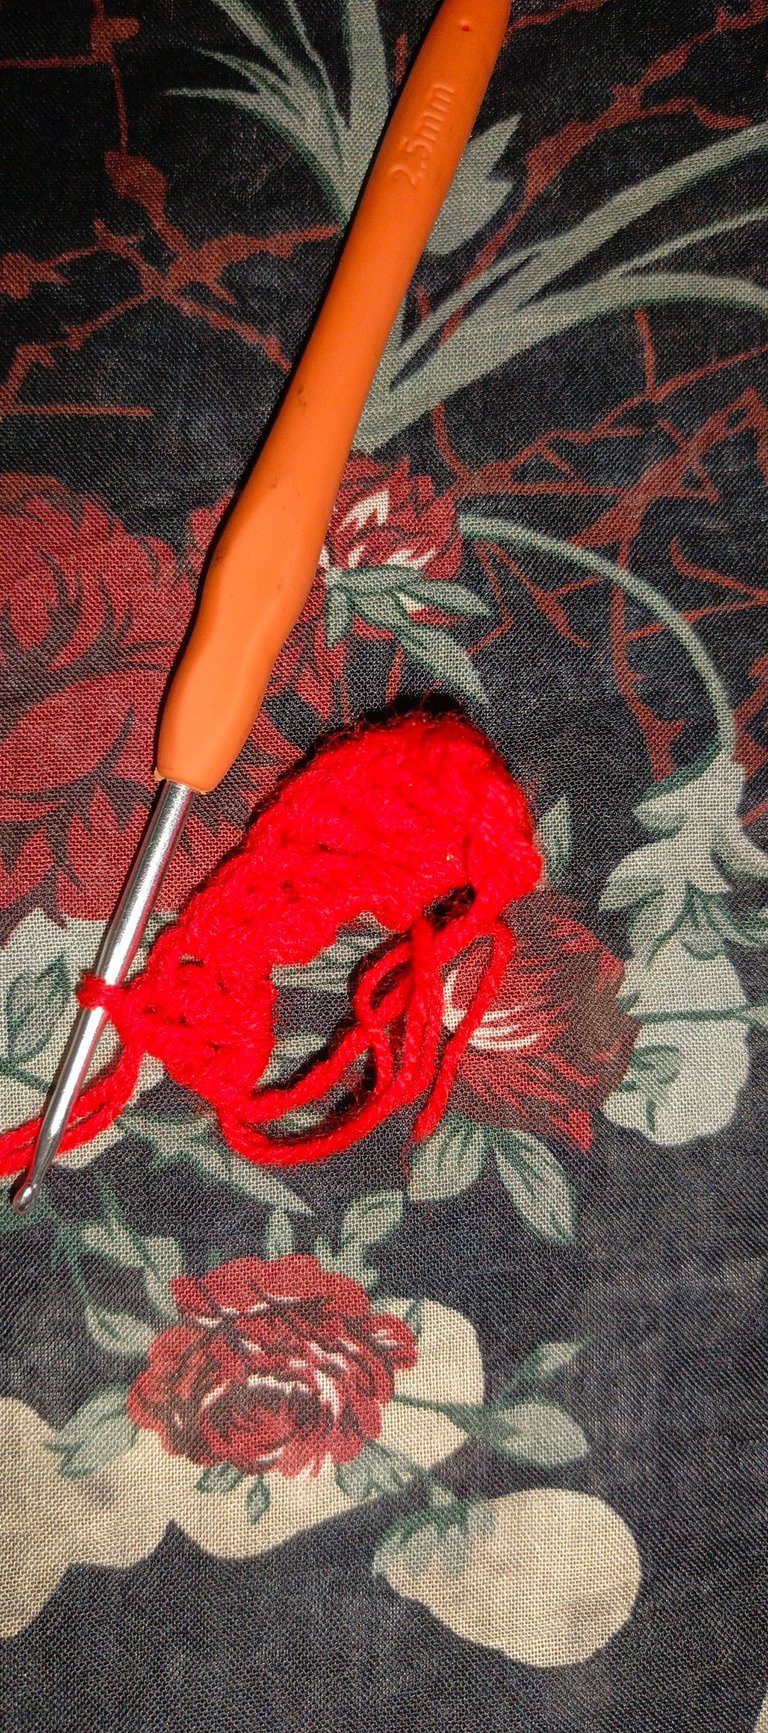
Into the magic ring, make four treble crochet stitches, four double crochet stitches and finally, one treble crochet stitch to serve as the apex. These stitches will make only half of the heart. For the other half, repeat the same pattern in reverse and conclude with a slip stitch.
A nice tug at the initial strand would close the stitches up nicely, creating the heart. This is the point where crafters can tell if they really made a magic ring or were just fooling all along.
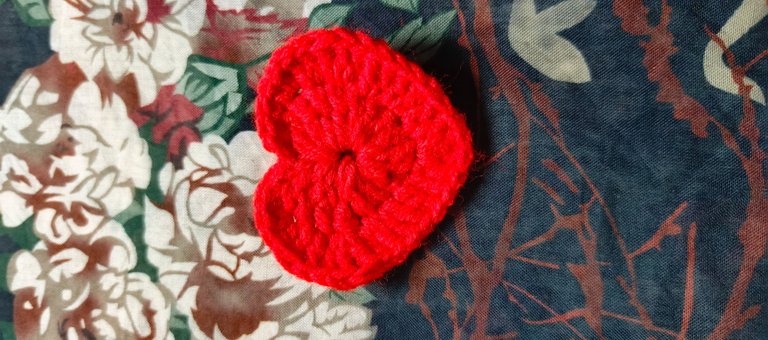
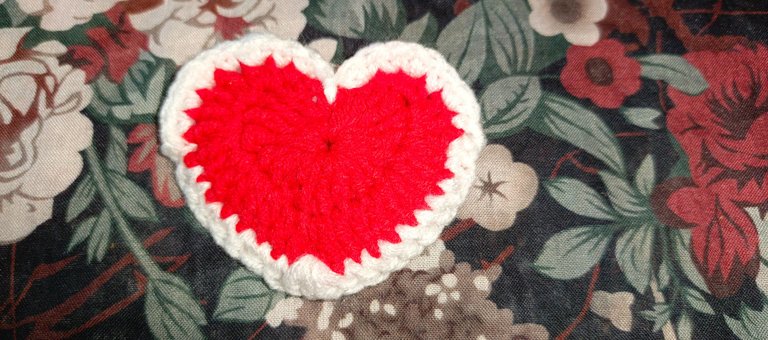
For the first half of the next round, the pattern is as follows; single crochet into the first two stitches, two half double crochet stitches into the next space, two double crochet stitches into the next space, three double crochet stitches in the next space, two double crochet stitches into the next two spaces each, one double crochet stitch into the next two spaces and for the apex, make one double crochet, one treble crochet and another double crochet stitch. This marks the end of the first half. To make the other half of the heart, continue the same pattern but in reverse, starting with one double crochet stitch.
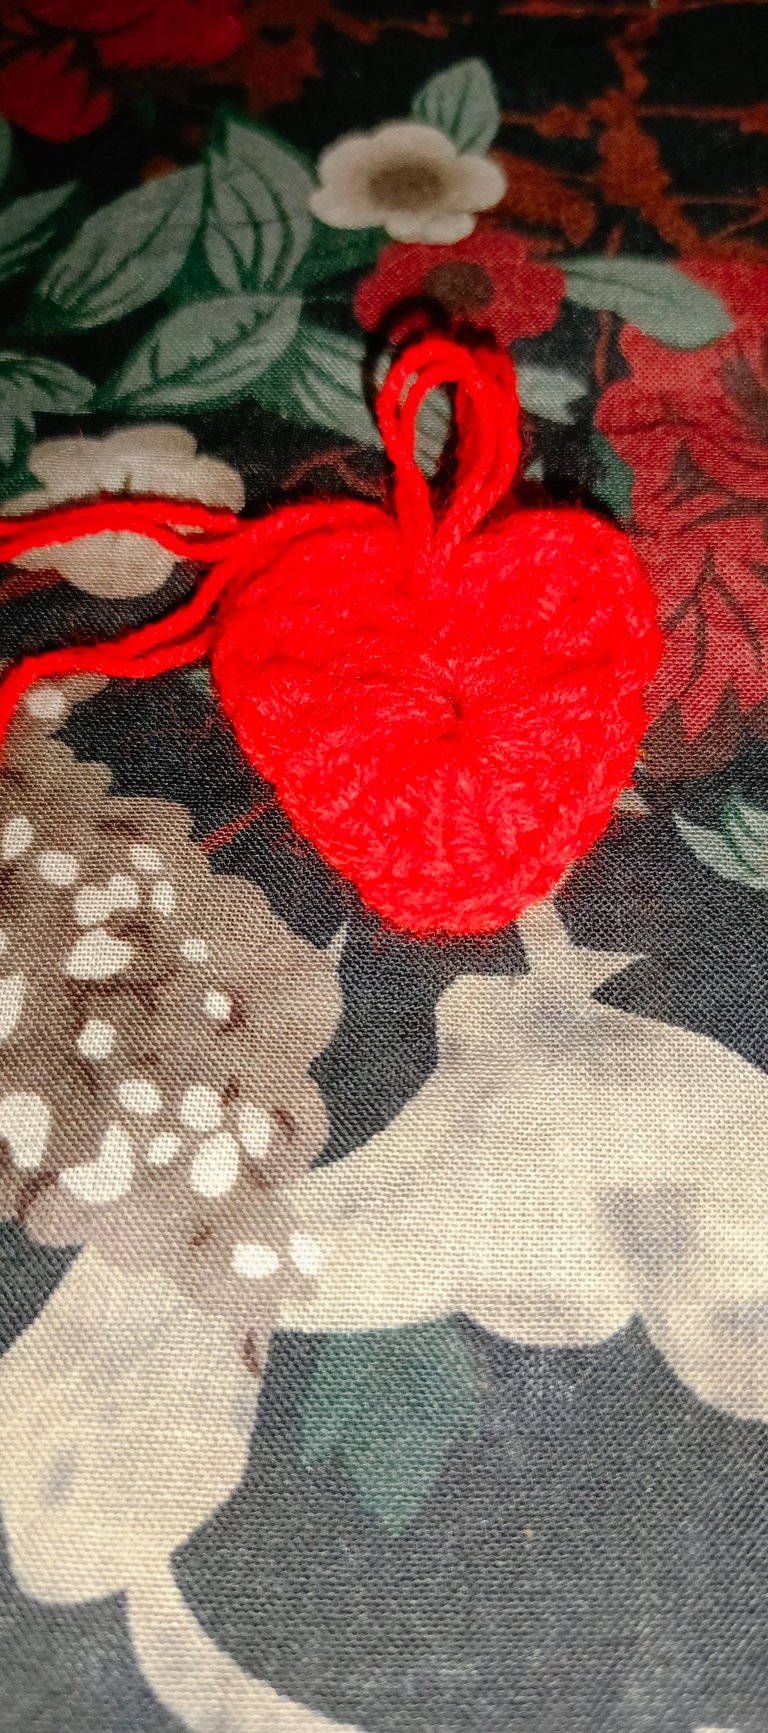
At the end of the row, make a slip stitch, tighten and cut off the yarn.
Using the same pattern, make another heart because the bookmark has a pair of hearts as its base.
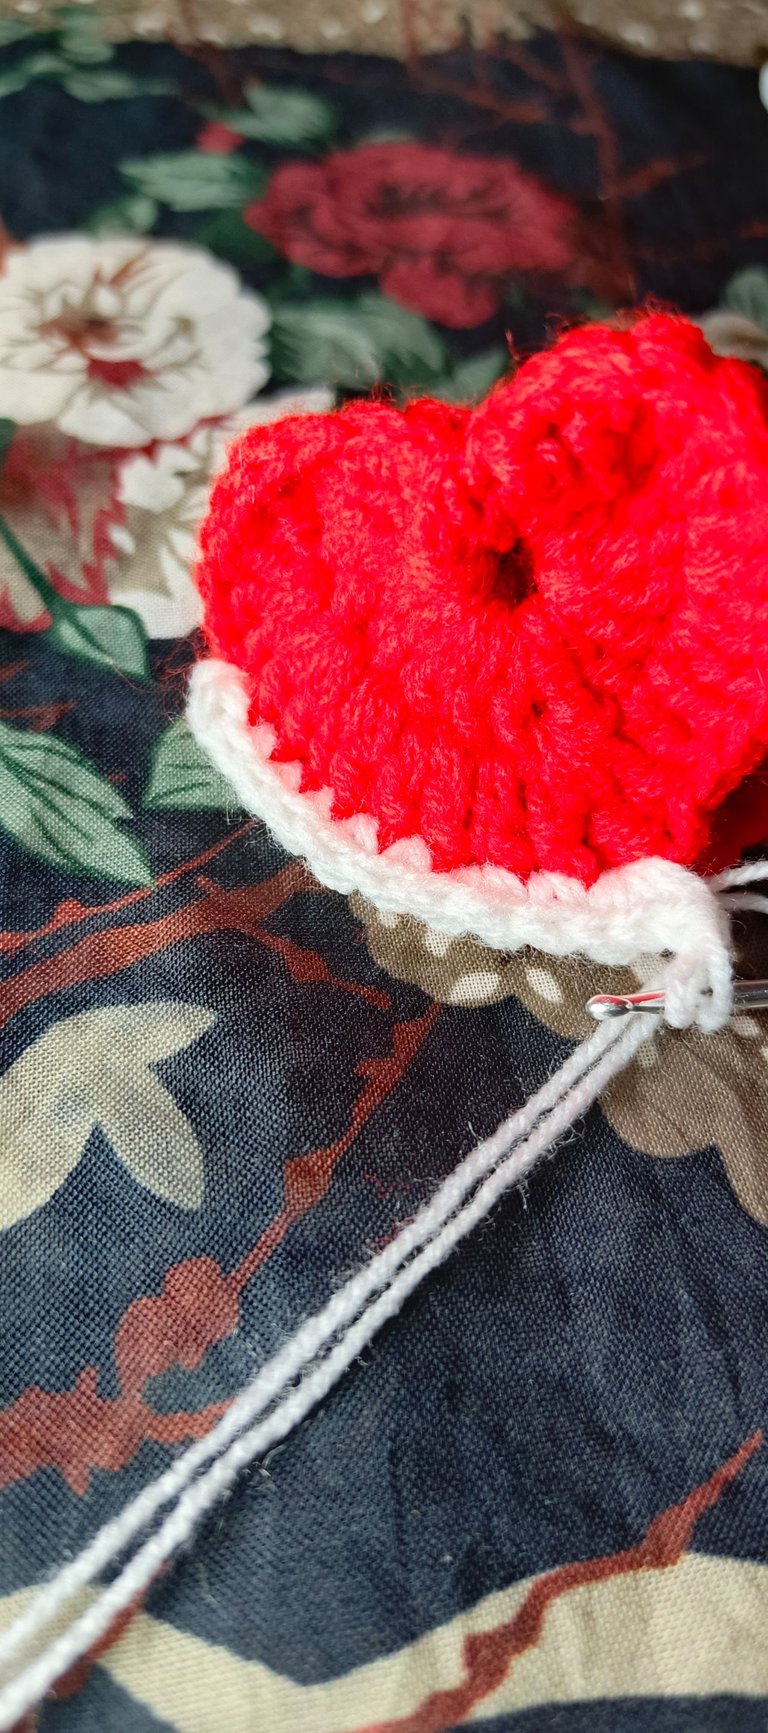
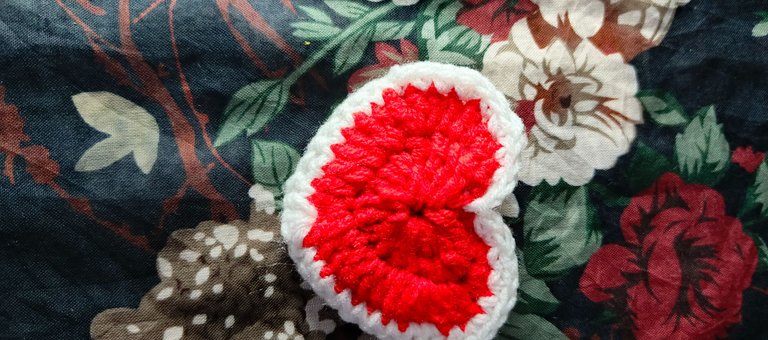
Next, join both pairs of hearts and from the very last stitch, count eight stitches and insert the hook through both hearts. With a different color of yarn, make a slip knot, pull it through the yarn and chain one.
Into the same space, make a single crochet stitch. Repeat this for every other space till you get to the apex of the heart. At the apex, insert three single crochet stitches and proceed to continue joining both hearts with single crochet stitches. Stop eight stitches away from the first stitch on the other side.
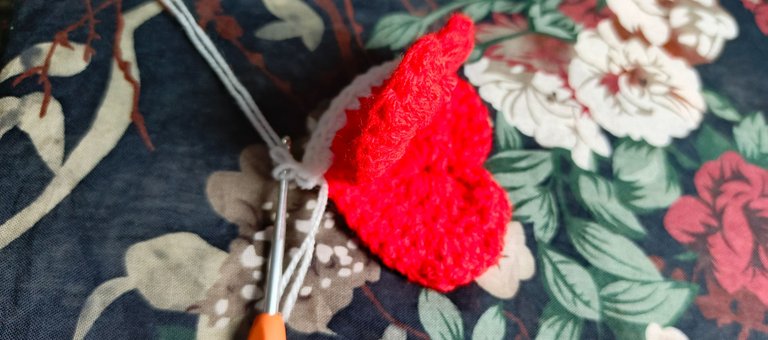
The last thing to do is work around the top of the heart with the same heart. The pattern to do this is; one single crochet and then an increase(two single crochet stitches in one space) in the next space followed by one single crochet again. Slip stitch at the end, tighten and cut off the extra yarn.
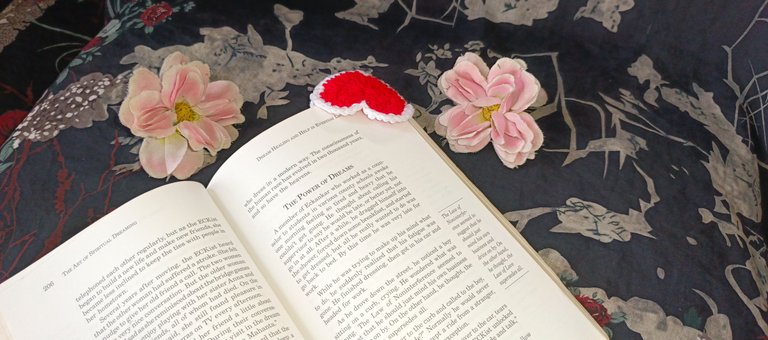
I had so much fun making this bookmark and I look forward to using it soon.
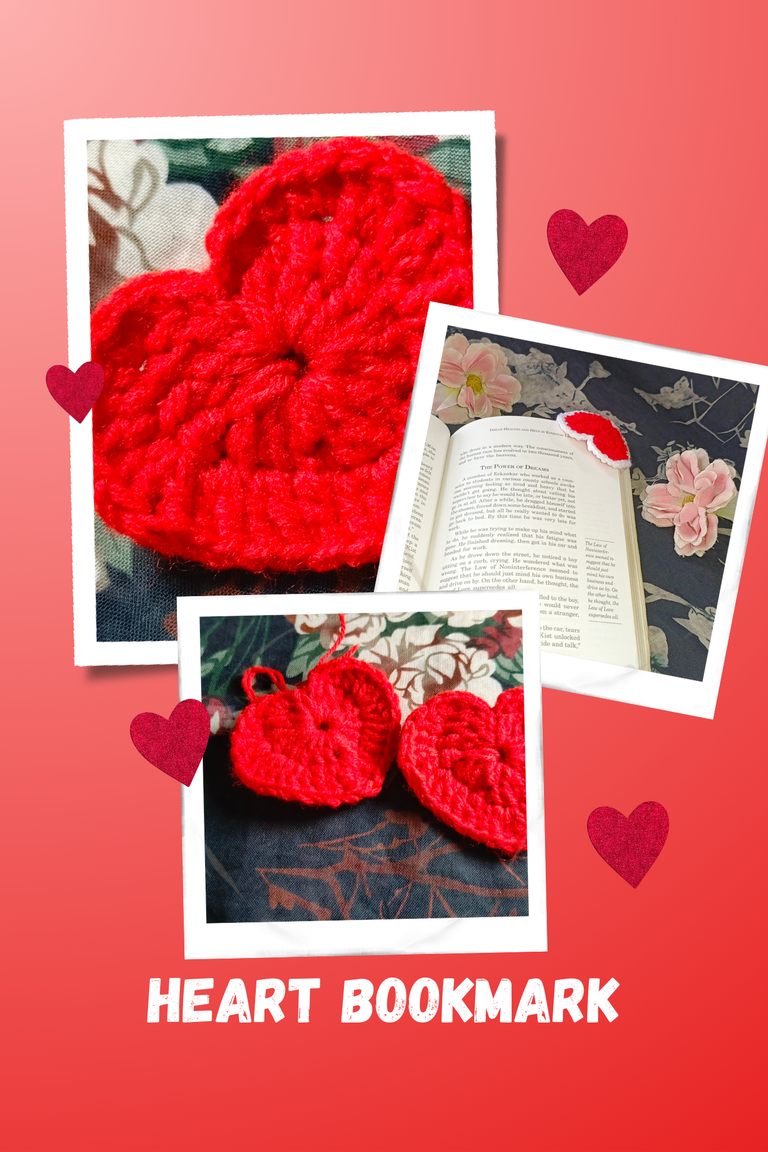
Thumbnail
Images are mine.


