Greetings everyone. I'm here once again to share my most recent invention with everyone. This week, I was rearranging a room in the house that has been out of use for a while and I came across a bag filled with cassettes (CD's). The bag was supposed to be disposed of as most of those CD's have probably spoiled and we do not have a CD player at home anymore. The thought of discarding so many CDs didn't sit right with me so I opted to make something useful out of the CDs instead of just throwing them away.
The first thing that came to mind was a room decor using the mosaic method. Mosaic is basically the art of making a design using irregular patterns of coloured stones, broken bottles, broken glasses and the likes. So I used broken cassettes. Genius right??

Materials
- 3 Cassettes (CD's)
- Carton
- Black paint
- A pair of scissors
- Gum
- A protractor and pencil
- Calender/newspaper
- Yarn or thread

Procedure
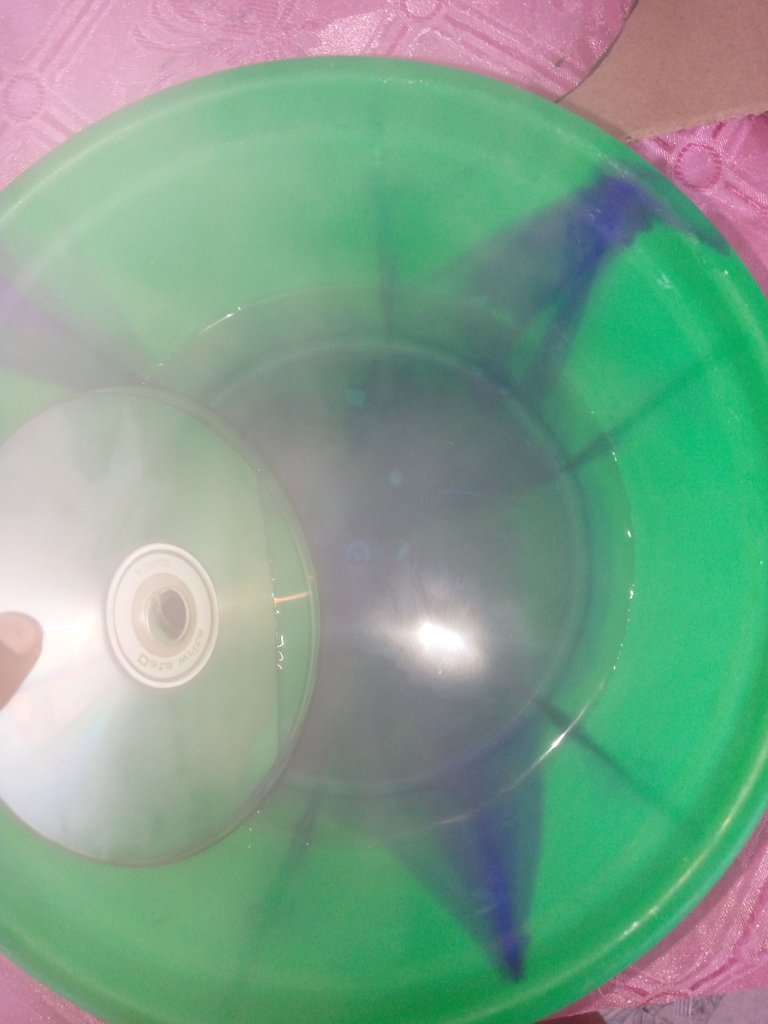
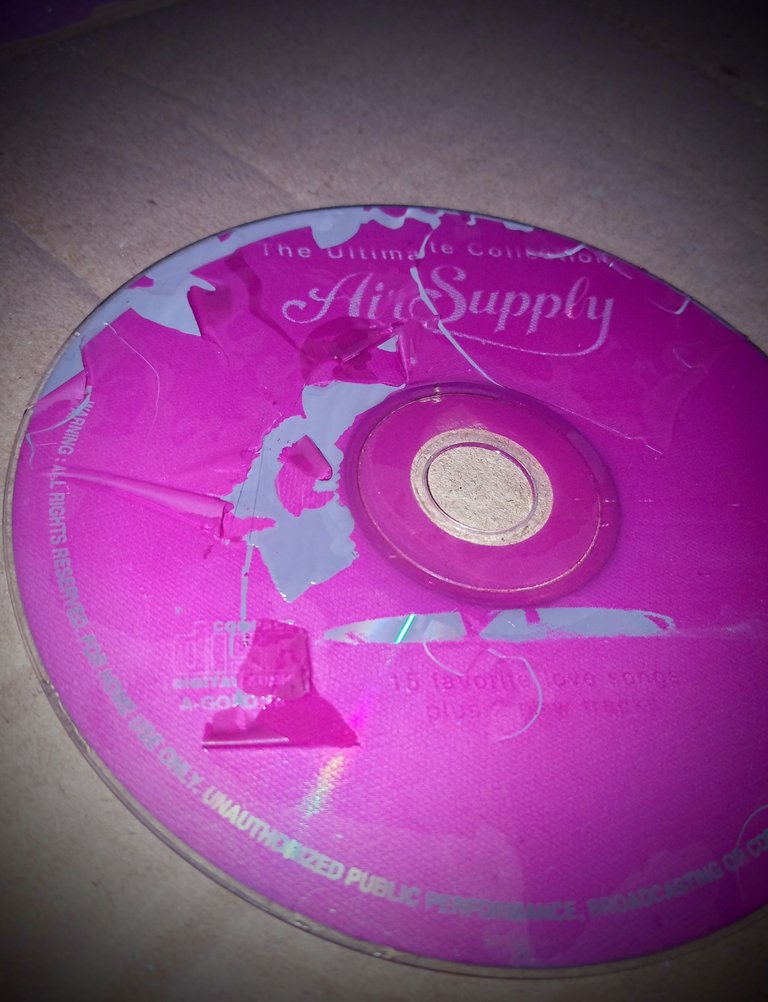
The very first thing I did was to boil water for the cassettes. The hot water helped me to remove the coloured customization in the CD. The water has to be really hot so that the customization comes off easily.
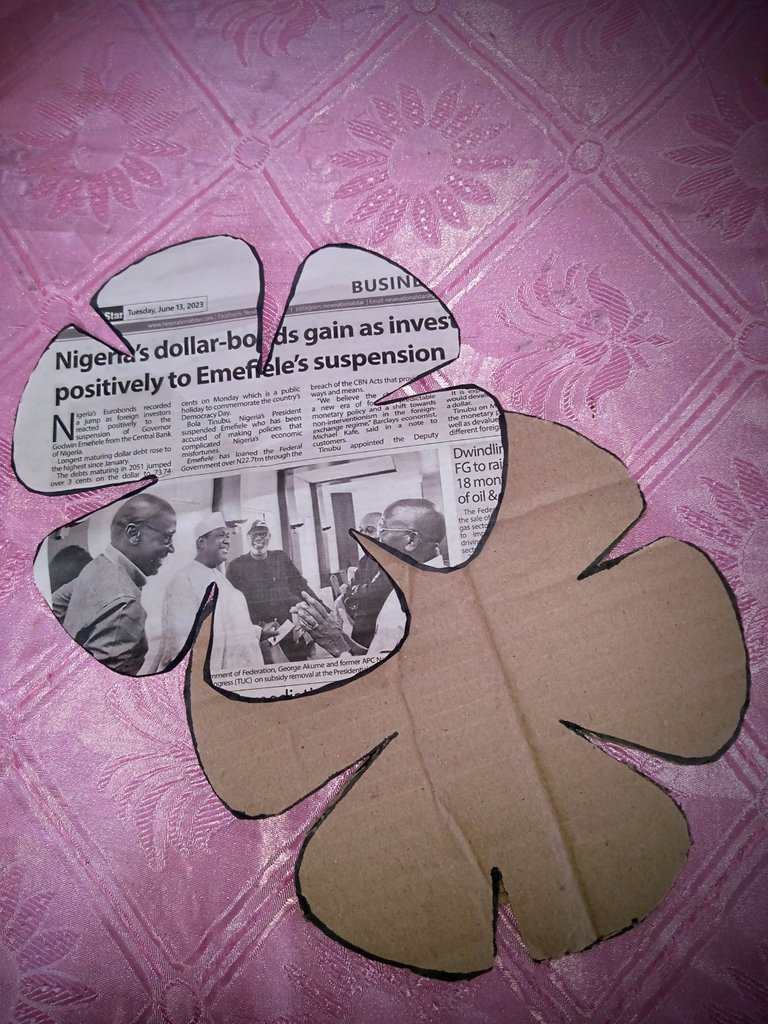
After taking off the colours from the cassette, I made a flower in three simple steps using a newspaper. The newspaper measured 24cm by 24cm, giving a square.With the flower made from the newspaper, I carved out the same flower on a carton.
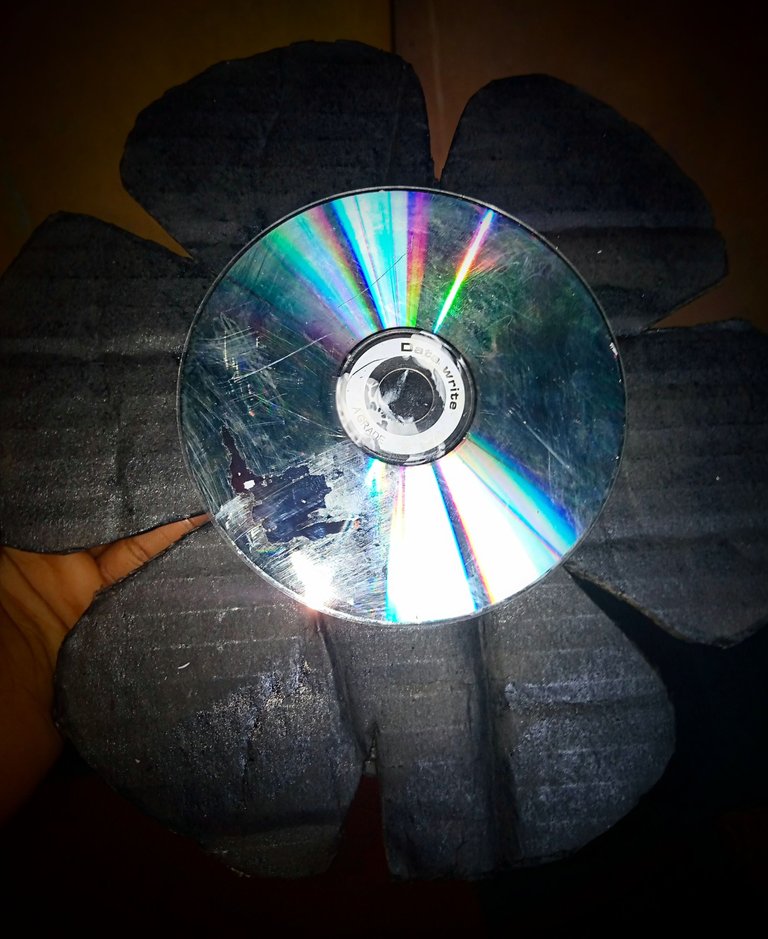
I went ahead to spray my carton black but you can use any colour of your choice. Black is most preferable here because it enhances the lustre of the cassettes.
When the paint dried up, I glued a full cassette to the centre of the flower.
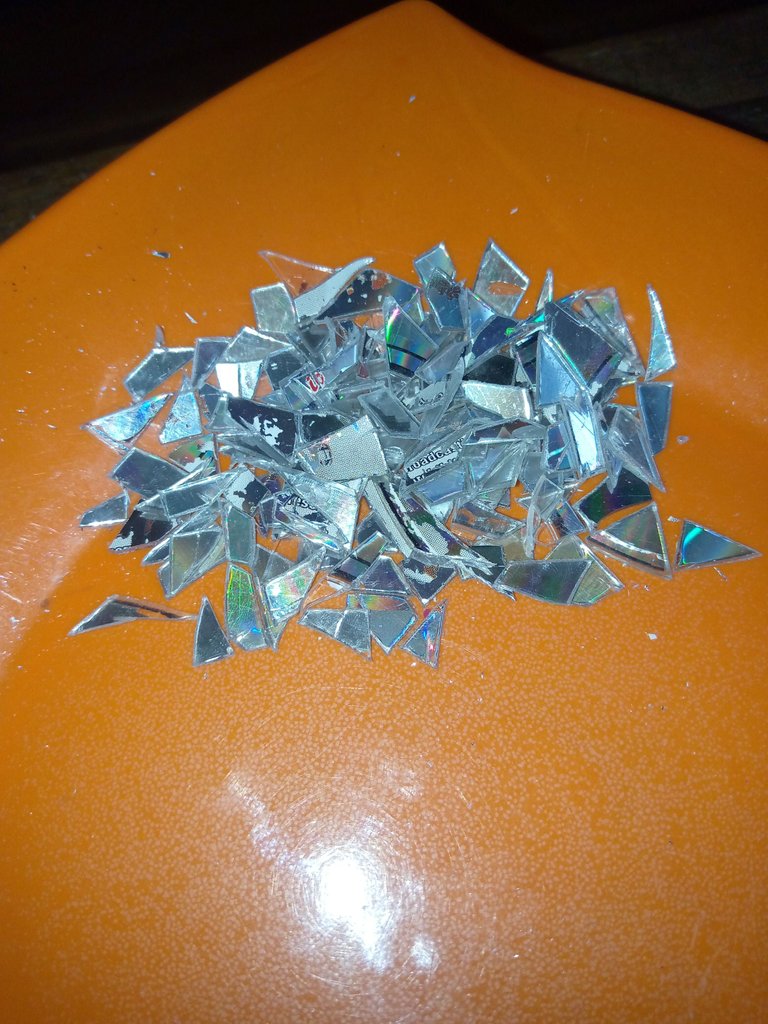
I went on to chop the cassettes into tiny bits. The size of the chopped cassette depends on you as you may decide to make them bigger to save time. Chopping off these tiny bits with a pair of scissors took so long. It felt like I was on it for ages and when I was done, a sigh of relief escaped 😅.
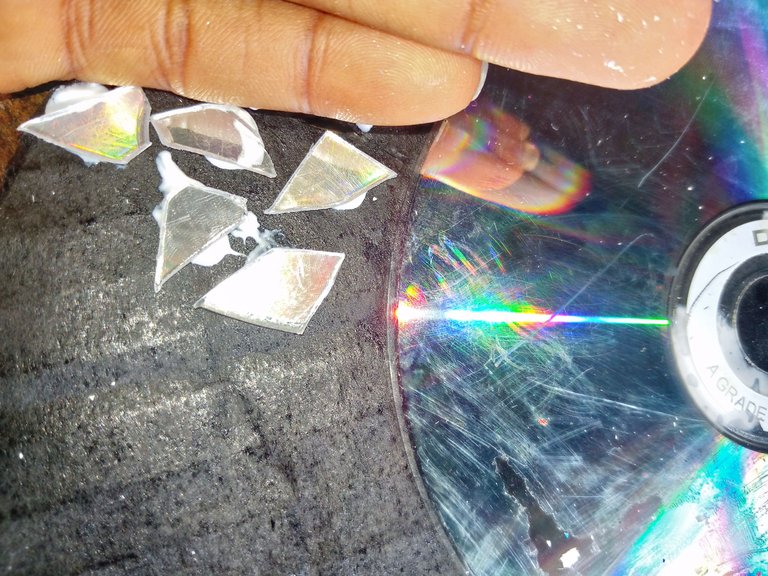
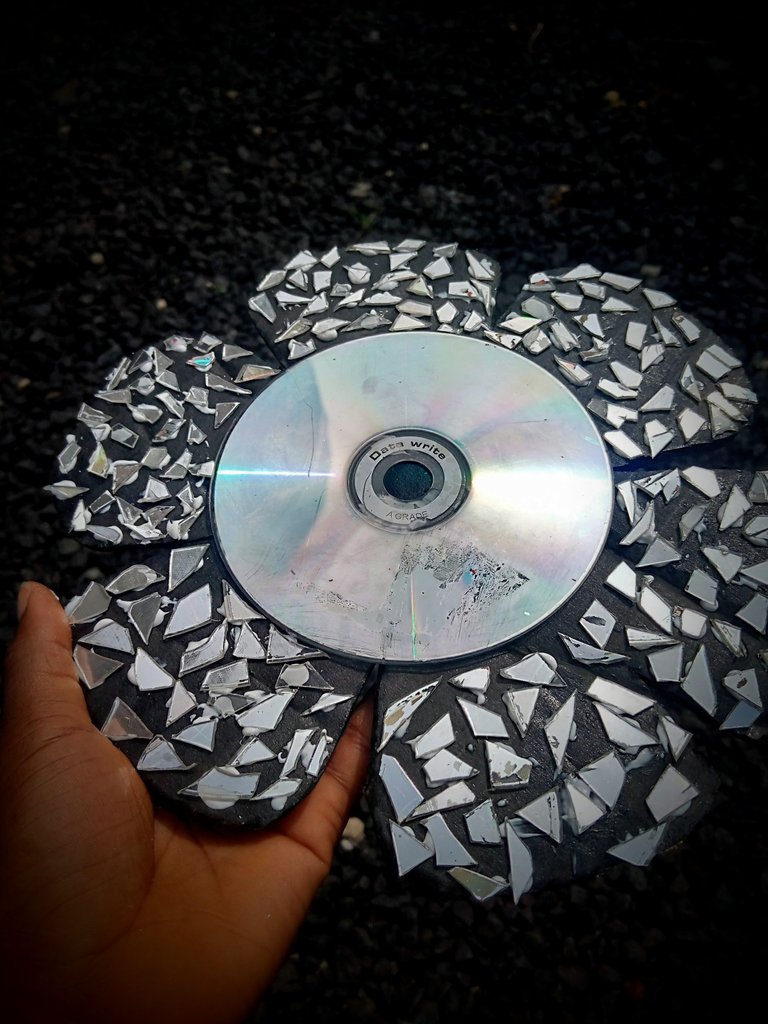
With my gum, I carefully placed each tiny bit on the petals of my flower. This was where the mosaic came to play. Piece by piece, I kept on till I completed it. After that, I made a little circle, painted it black and placed it at the centre of the cassette. Then again, I used the tiny bits to decorate the little black circle.
With my flower out of the way, I went ahead to make the drop downs(I do not know the official name for it. If you do, I would love to hear it:). The drop downs are made of three circles. I carved out two different sizes of circles from the cassette for the first and second circles . For the last circle, I used a protractor on a carton to get a perfect and bigger circle.

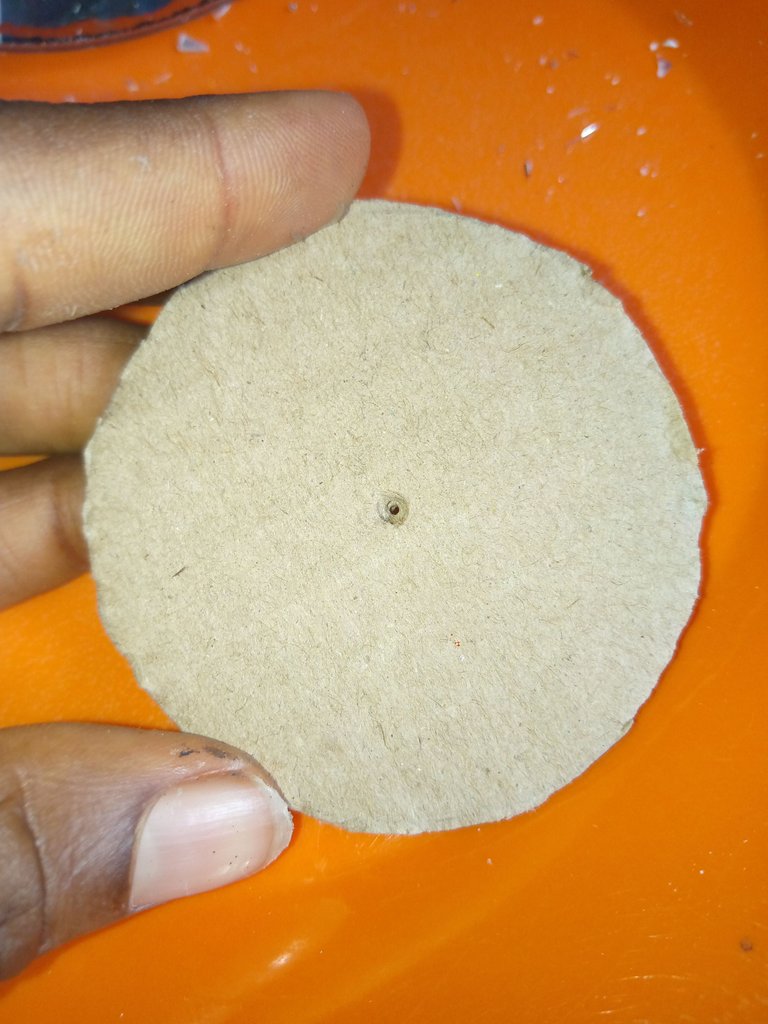
I painted the last circle with black paint and then went ahead to add the tiny bits of cassettes that had remained. For the first and second sizes of circle, they didn't really come out like a circle so I had to smoothen them with a hot iron. The smoothing didn't still make them look like a regular circle; I honestly do not know what shapes they are but again, every mistake is a design;)
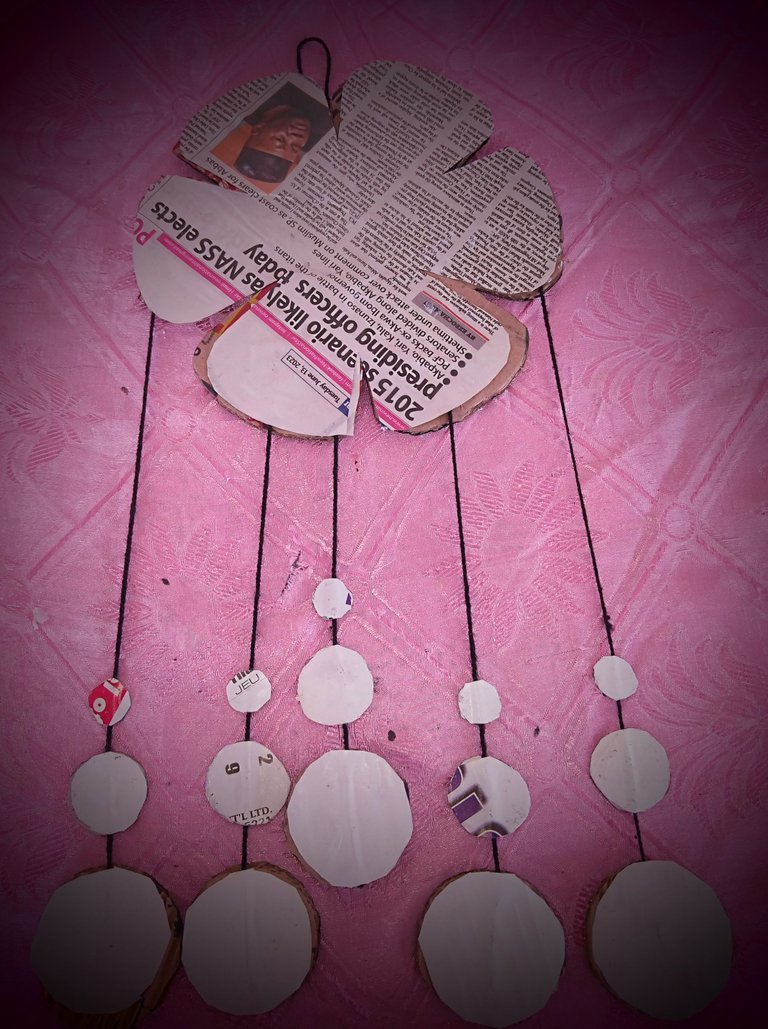
After I got all my circles ready, I attached all of them on a black yarn and then placed them at the back of the initial flower. I also added a little yarn at the top to serve as a holder.
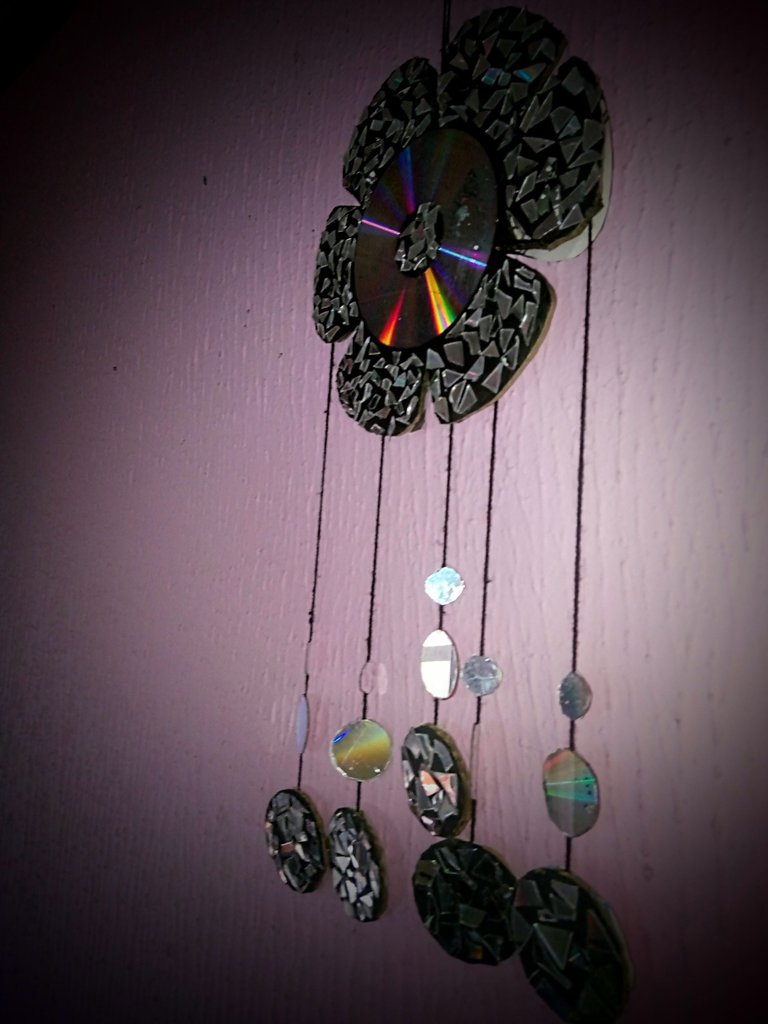
With that, I had completed my home decor. This would be hung on the walls of the parlour as all we have in our parlour are paintings and no actual decor.
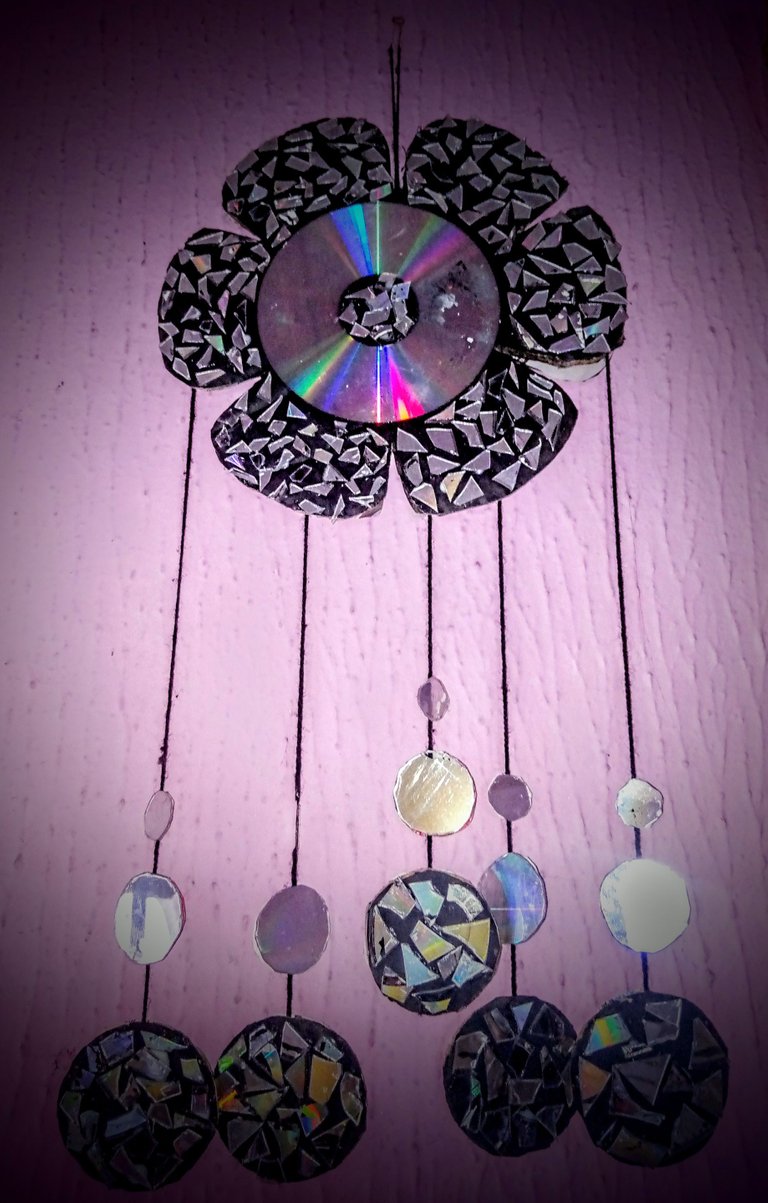
So what do you think? At first glance, would you know that this was made from old cassettes? Thank you so much for your time.
All images used above belong to me except stated otherwise
With love, wongi ✨


