
Hello community:
My baby is just learning to take her first steps on her own, but is still dependent on her pushchair walker. In this accessory she is safe from falling and tipping over, and at the same time she is gaining in balance and safety.
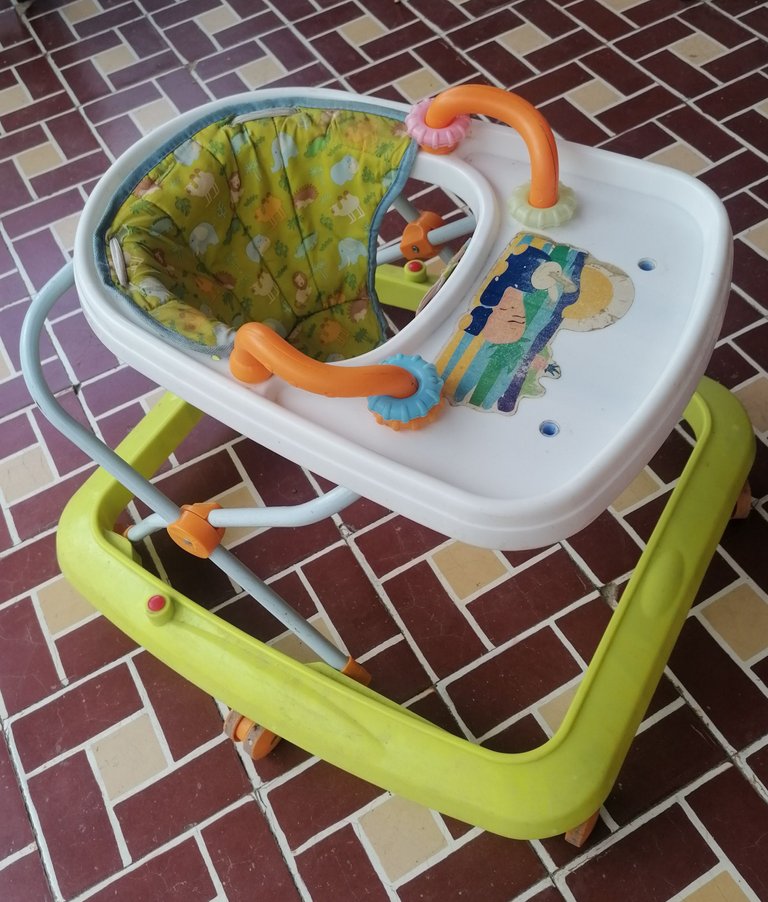
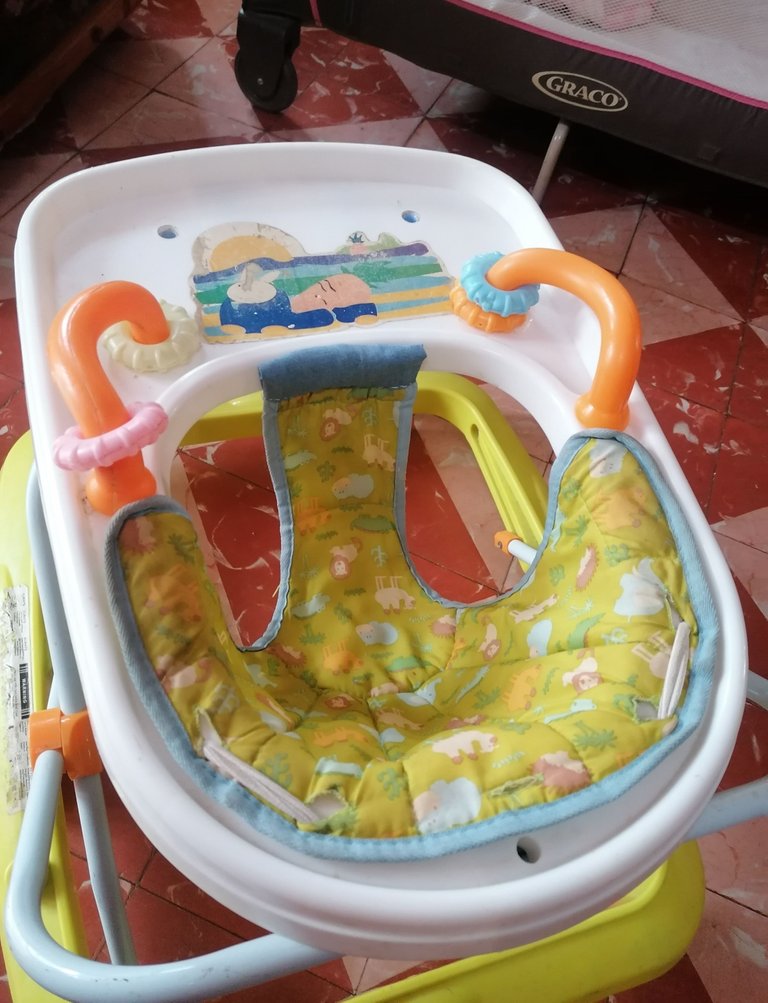
The walker is an inheritance that comes from my son who was the first to use this device before he learned to walk, then it was used by my niece and now it is used by my baby. It is now ten years old and has been used by three babies, so its physical condition has suffered a little, due to the weight of the children.
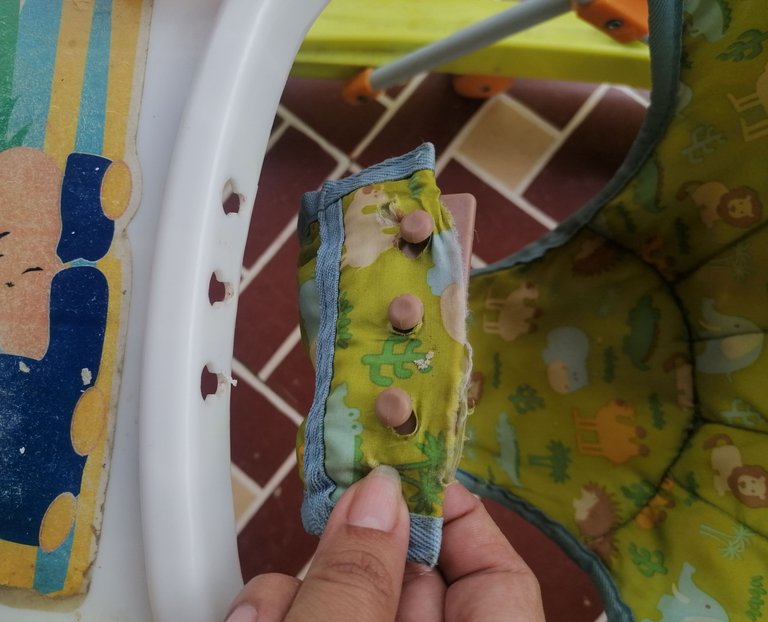
The fabric of the seat is very damaged and its function is to carry all the weight of the body when the baby sits down. In a part of the piece where it is about ten centimetres wide, there are only two centimetres left doing all the work of the rest. The very weight of the body has caused this to keep breaking. Before it breaks completely and the child could fall out, I have decided to repair the seat so that I can continue to use it.
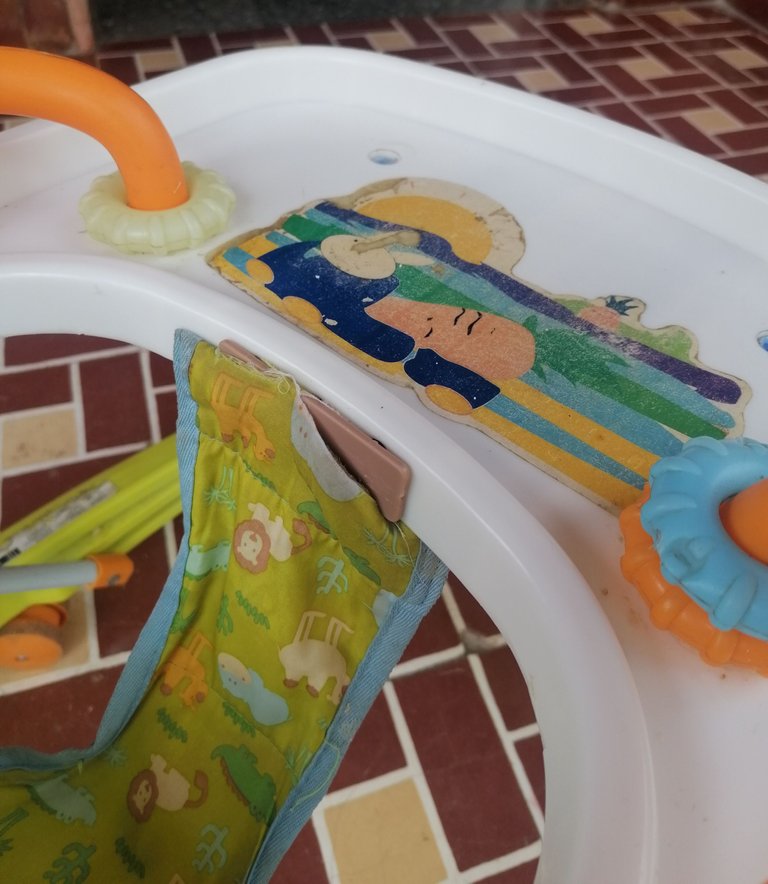
To carry out this work I looked at how the seat fabric was arranged on the plastic that makes up the equipment and I noticed that it has some buttons that hook on it. In this step I realised that it would not be difficult to make the repair, so I set about it. I will tell you in detailed steps the process and the materials used.
Materials and tools:
Sewing thread.
Hand sewing needle.
Scissors.
Piece of recycled mezcilla fabric (22*10) centimetres.
Biros.
I looked for a sturdy piece of fabric and remembered that I had a scrap of mezzilla fabric from a piece of clothing that I had previously altered and saved for later work. It was mainly with this material that I managed to do the job.
Basically what I applied was hand stitching with backstitch.
Process:
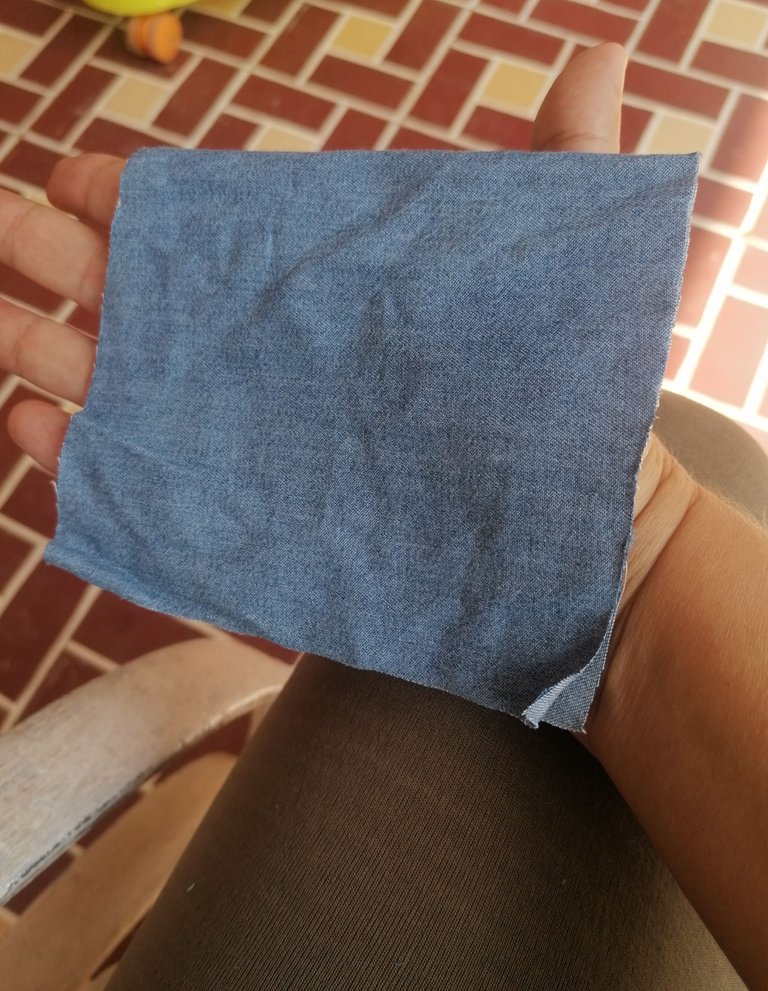
I cut out a cloth from the mezcilla fabric of approximately (22*10) centimetres.
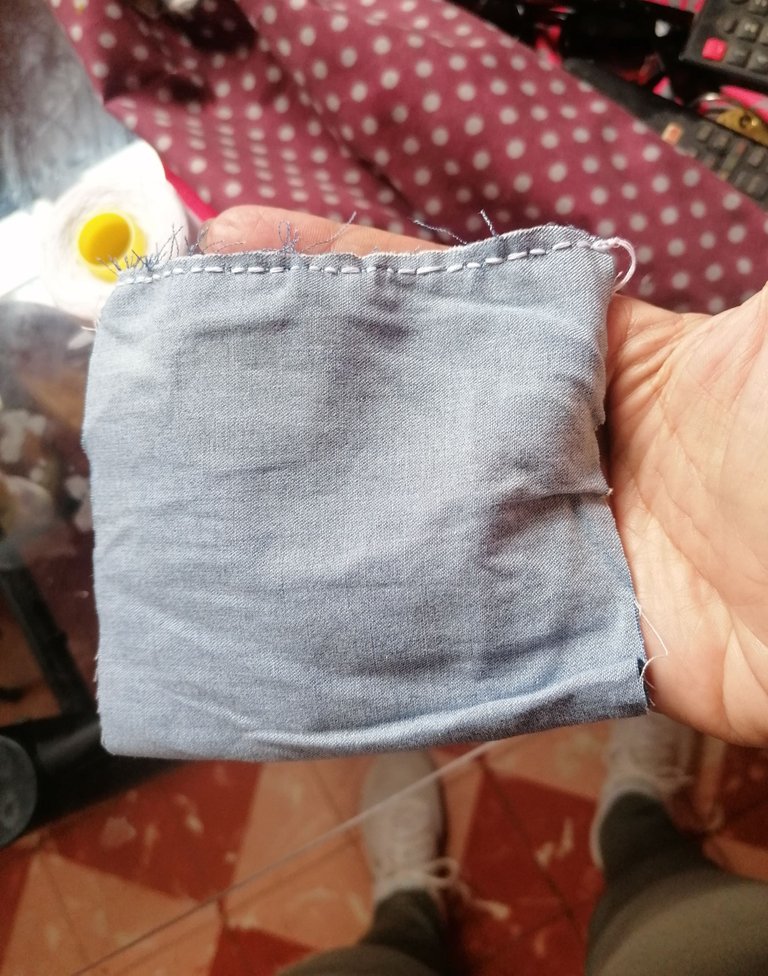
I folded the fabric on its longest side and made a hand seam (backstitch, wrong side out) joining the two ends.

I turned the denim piece right side out and sewed on the seat, just below the plastic buttons.
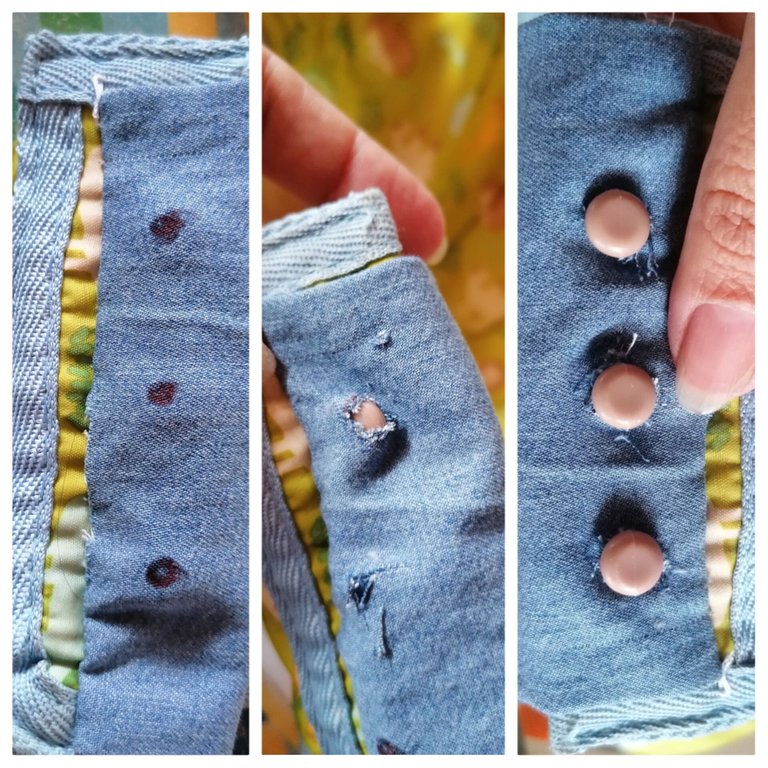
I flipped the denim to the inside of the seat and marked the position of the buttons with the pen. I traced the fabric by pulling the buttons through it.

As if it were a cover, I folded the rest of the fabric inside the denim piece and inserted the seat piece into it, which I then finished by sewing it in place.
Then I put the buttons back on the walker with the restored piece and that was it!
This way, the piece of fabric that was damaged has been reinforced and my baby now has the security he needs in his walker to walk with peace of mind until he is able to maintain his balance and firmness enough to walk without the support of this equipment.

I expect it will have little use left with my baby, but it will be ready to be used by another baby in the family. The walker has been repaired, but is in perfect condition and I am glad I was able to help with my own hands and by doing it myself.
Thank you very much for your time reading this. I hope it will help others to solve similar problems.

Hola comunidad:
Mi bebé recién está aprendiendo a dar los primeros pasos por sí sola, pero aún es dependiente de su carrito andador. En este accesorio está a salvo de caer y voltearse, a la vez que va ganando en equilibrio y seguridad.
El andador es una herencia que viene desde mi hijo que fue quien estrenó este aparato antes de aprender a caminar, luego fue usado por mi sobrinita y ahora lo usa mi beba. Tiene ya diez años y ha sido usado por tres bebés, por lo que su estado físico ha sufrido un poco, producto del mismo peso de los niños.
La tela del asiento está muy dañada y este tiene la función de cargar todo el peso del cuerpo cuando la bebé se sienta. En una parte de la pieza donde tiene unos diez centímetros de ancho, solo quedan dos centímetros haciendo toda la función del resto. El mismo peso del cuerpo ha hecho que esto se siga rompiendo. Antes de que se rompa por completo y pueda caerse la niña, he decidido hacer una reparación al asiento para poder seguir usándolo.
Para llevar a cabo tal trabajo miré cómo estaba dispuesta la tela del asiento sobre el plástico que conforma el equipo y me percaté que tiene unos botones que enganchan en él. En este paso me di cuenta que no sería difícil hacer la reparación, así que me dispuse a ello. Les cuento en pasos detallados el proceso y los materiales empleados.
Materiales y herramientas:
Hilo de coser.
Aguja de coser a mano.
Tijeras.
Trozo de tela de mezcilla reciclada (22*10) centímetros.
Bolígrafo.
Busqué un pedazo de tela que fuera resistente y recordé que tenía recortería de tela mezcilla de una pieza de ropa que había reformado anteriormente y había guardado para trabajos posteriores. Con este material principalmente logré hacer el trabajo.
Básicamente lo que apliqué fue la costura a mano con puntada atrás.
Proceso:
Recorté un paño de la tela de mezcilla de aproximadamente (22*10) centímetros.
Doblé la tela por su lado más largo e hice una costura a mano (con puntada atrás, por el revés) uniendo los dos extremos.
Viré al derecho la pieza de mezclilla y cosí en el asiento, justo debajo de los botones plásticos.
Volteé la mezclilla hacia la parte interna del asiento y marqué con el bolígrafo la posición de los botones. Calé la tela haciendo pasar los botones a través de ella.
Como si fuera una funda, doblé hacia adentro de la pieza de mezclilla el resto de la tela e introduje dentro de ella la pieza del asiento que luego terminé de fijar con una costura.
Luego volví a colocar los botones en el andador con la pieza restaurada y ¡listo!
De esta forma ya quedó reforzado el pedazo de tela que fue dañado y mi bebé vuelve a tener la seguridad que necesita en su andador para andar con tranquilidad hasta que logre mantener su equilibrio y firmeza suficientes para camimar sin el apoyo de este equipo.
Espero que le quede poco uso con mi bebé, pero ya quedará listo para ser usado por otro bebé de la familia. El andador se encuentra reparado, pero está en perfectas condiciones y me alegra haber podido ayudar con mis propias manos y haciéndolo yo misma.
Muchas gracias por su tiempo de lectura. Espero sirva de ayuda a otras personas a solucionar problemas similares.

Own text, translated into English by DeepL.
Own images, edited in InShot from my HUAWEI P30 LITE phone.
Texto propio, traducido al inglés mediante DeepL.
Imágenes propias, editadas en InShot desde mi teléfono HUAWEI P30 LITE.
Twitter: @ylaffittep
Facebook: @ylaffittep
