It was the noon of Hallow’s Eve; the queen was in labor, and the little princess was anticipated to be delivered at midnight 31/10/2000.
The midwife never left the queen's side, massaging her back when the queen moaned in discomfort. The baby girl's head was descending properly with adequate contractions and effacement.
Every corner of the room twinkled with orange and white Christmas lights. The room was covered from top to bottom with Halloween decorations, paper bats hanging down from the roof and the princess' cot was now painted black and orange.

Designed My Image Using Canva
While laboring, the queen had strolled into the princess' room. She wanted to make sure the decor was perfect to welcome her little Halloween baby.
As the pain from the current contractions faded away, something caught the queen's eye from the corner of the room. A paper hat she had made after her first antenatal visit to the midwife. During the visit, she had learned she would be having an October baby, possibly on Halloween.
She'd been so excited that when she got to the castle, she made a spooky Halloween paper hat for the baby. Looking back at it now, the size of the hat was definitely way too big.

That very night, the queen dismissed her maids, locked herself in the room, and brought out the old box of her DIY supplies she had stashed away ever since she got married to the king. As she opened the box, she felt a wave of peace take over her.
“A hat! That’s what I’ll make for my baby girl, a spooky hat for my Halloween baby,” she exclaimed as she got her brought out the materials she would need for the project.
- An orange decorative paper
- A black paper
- A pair of scissors
- Some paper gum
- A pen
 |
|---|
| Supplies |
Procedure
The queen first drew a rectangular shape on the orange paper, synonymous with the measurements of an A4 paper, and then cut the shape out.
 |
|---|
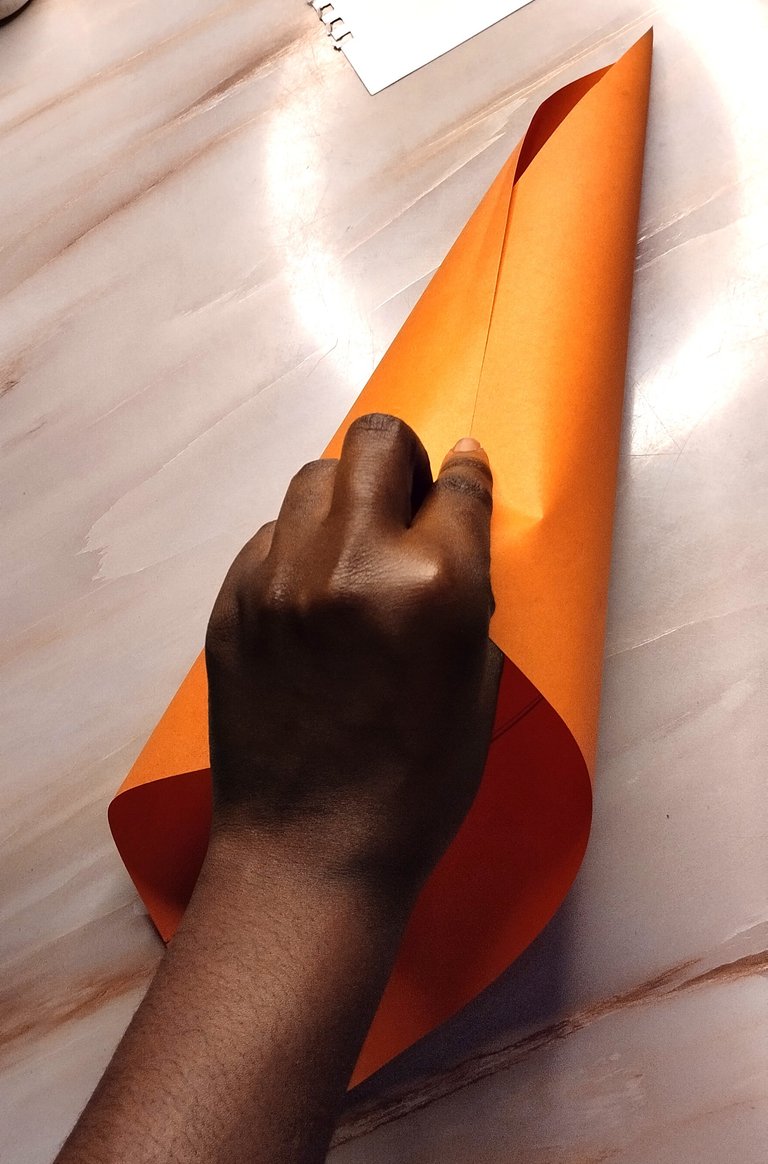
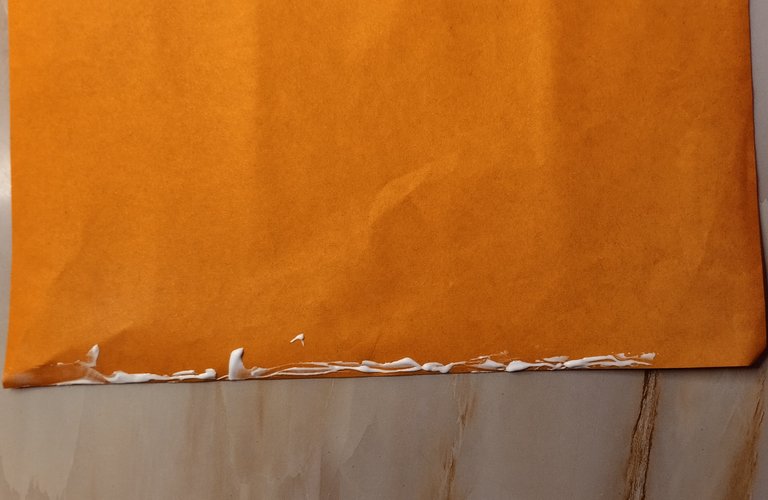
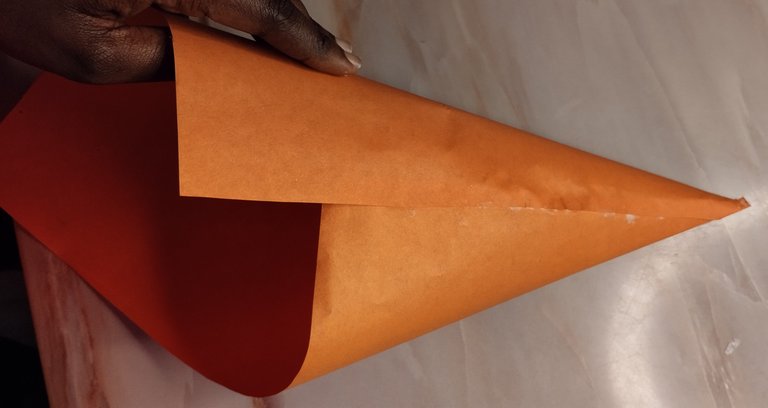
She then took the upper right end of the cut-out shape and twisted it towards the lower left end in such a way that it resembled a cone. She then applied some paper game on the inner side of the paper and gummed it into the cone shape.
 |  |  |
|---|---|---|
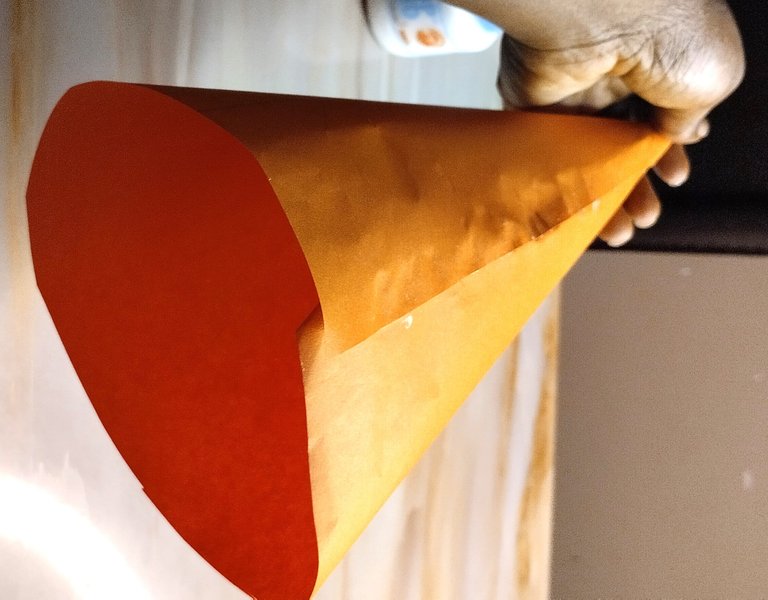
After this, she trimmed the ends of the cone so that it looked pretty and neat.
 |
|---|
She then cut out yet another piece of orange paper, with the measurements as previously done, and folded it two times into small rectangle.
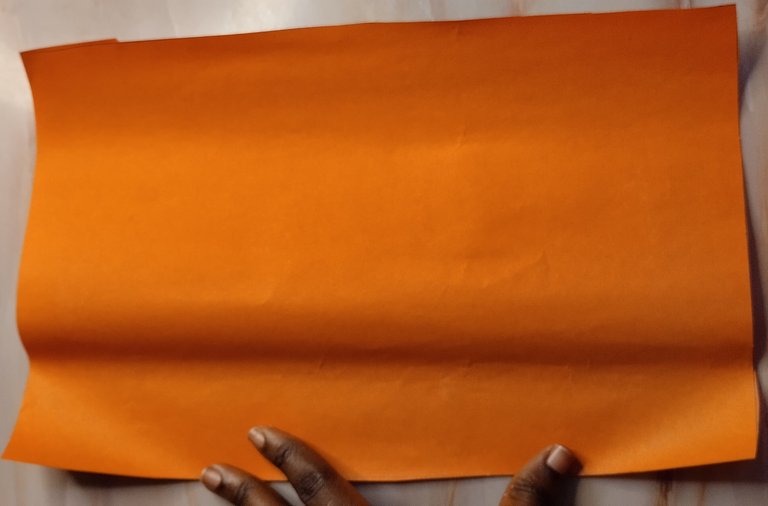 | 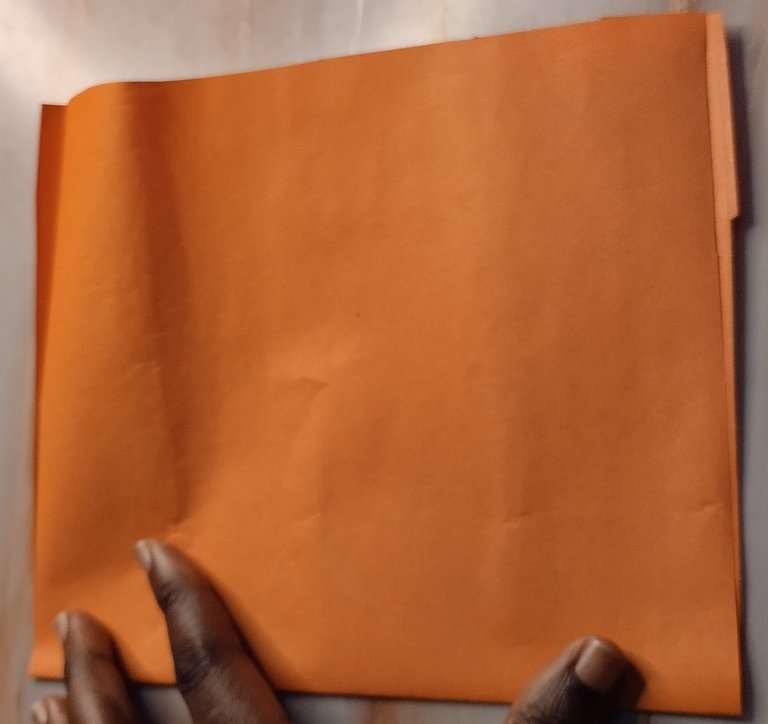 | 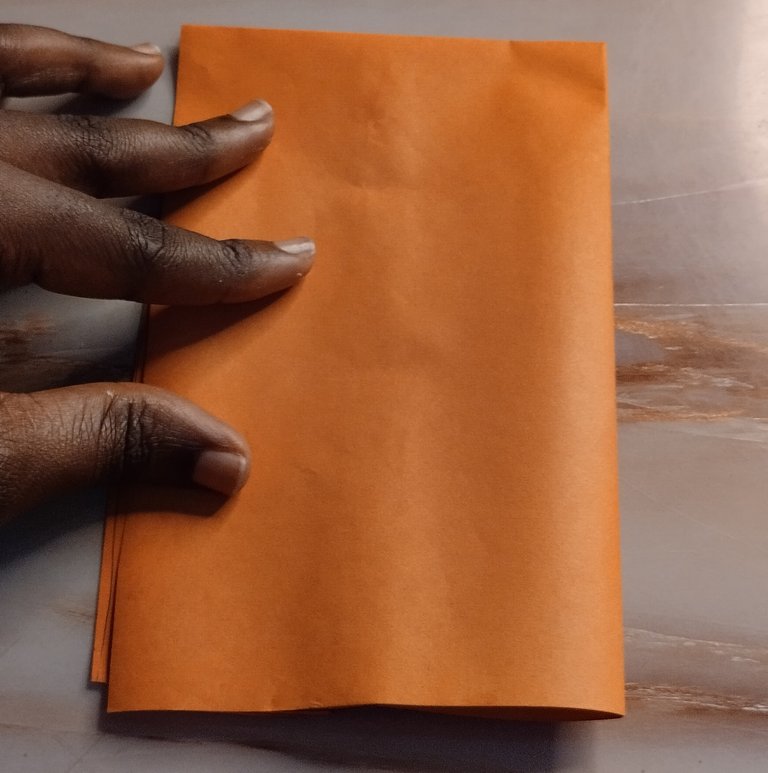 |
|---|---|---|
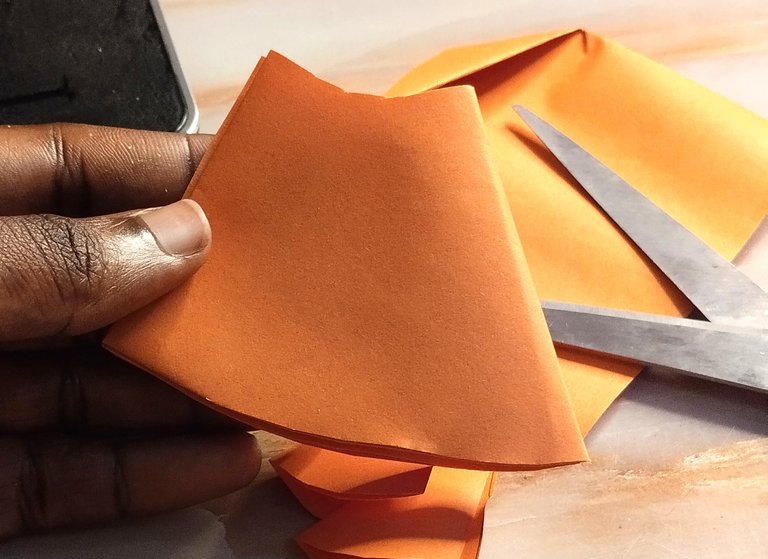
She then folded the corner like so, cut out a quadrant of a circle from the upper left corner of the paper and then opened it to reveal a circle with the inner part hollow.
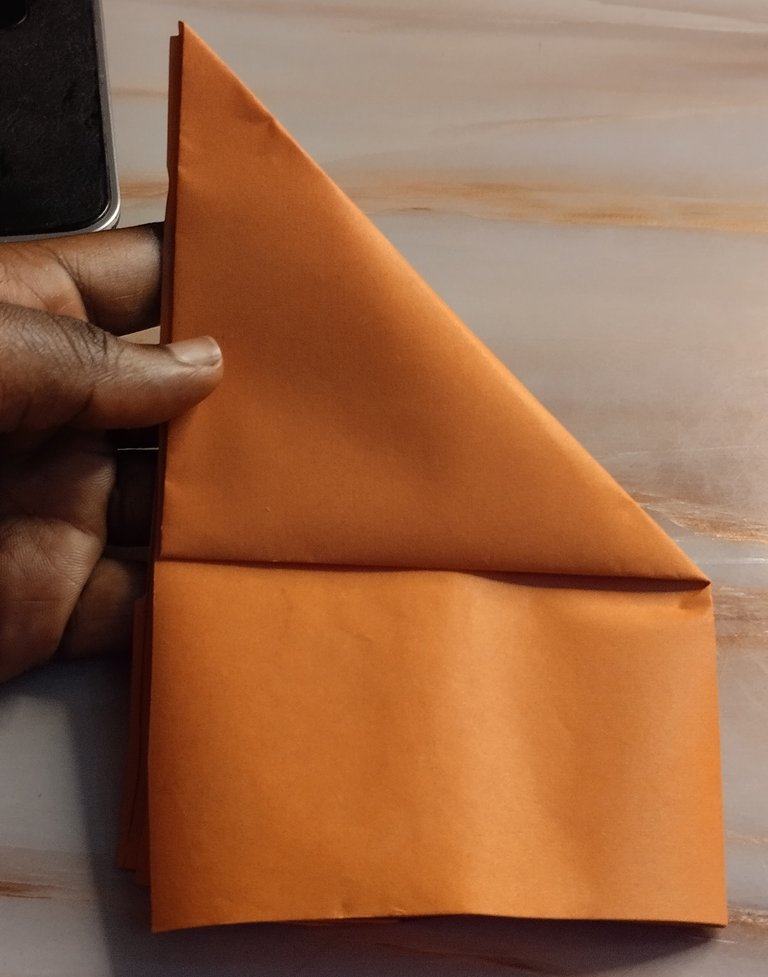 |  |  |
|---|---|---|
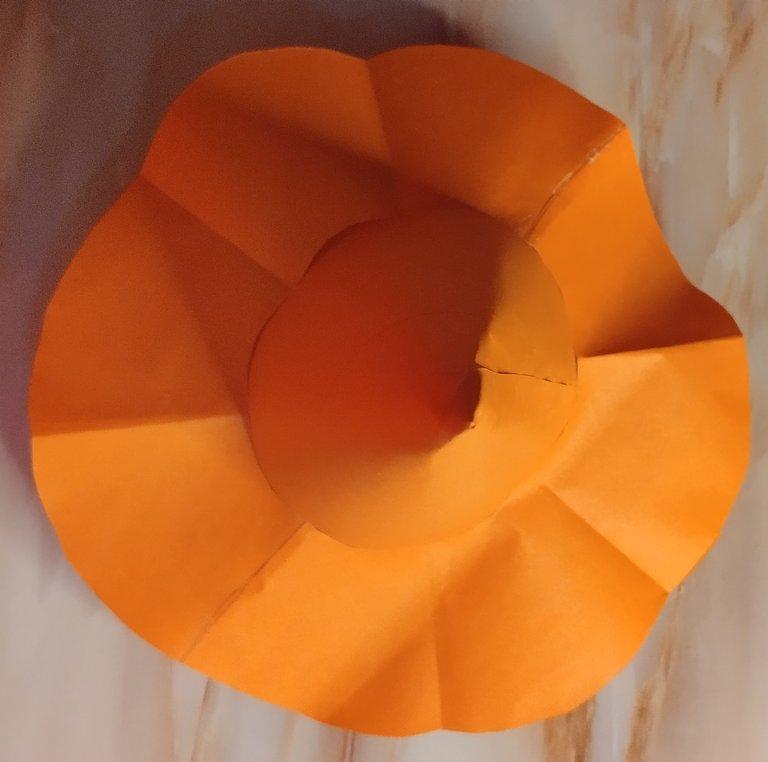
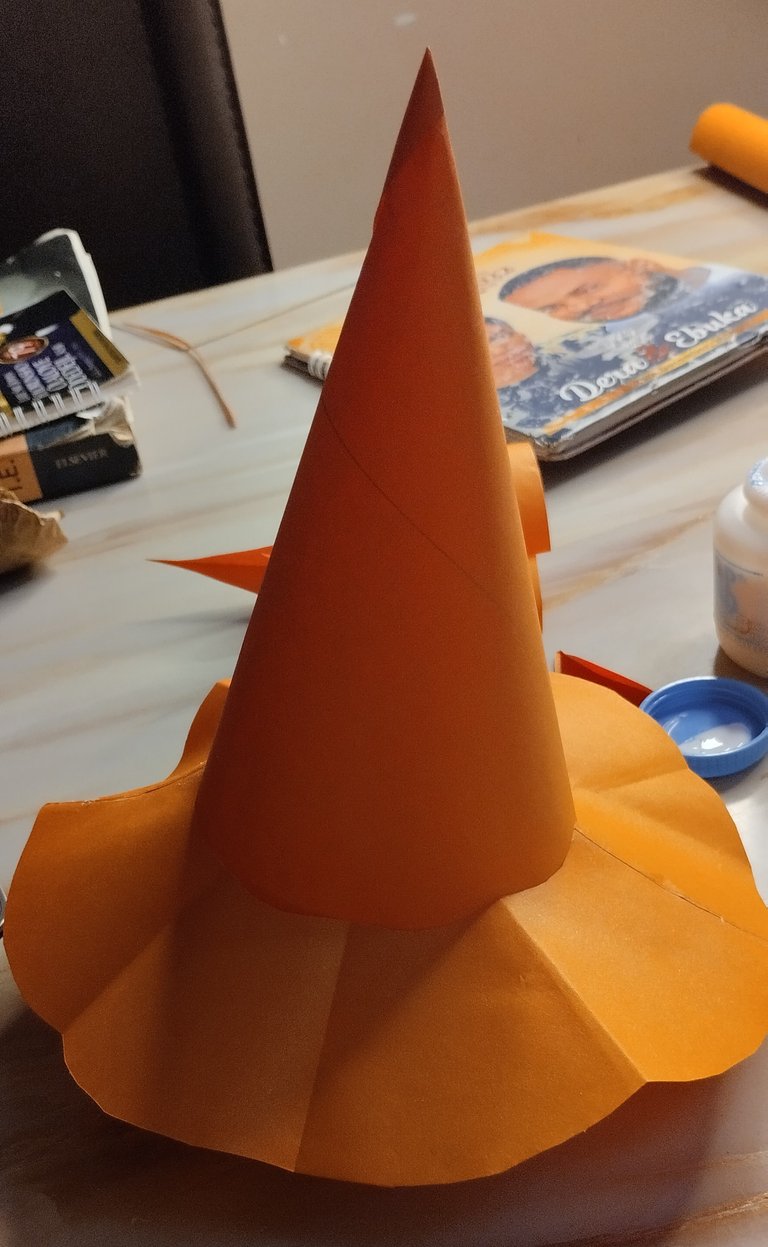
After this, she assembled it onto the cone as shown below and then trimmed where necessary in order for it to fit the very bottom of the cone.
 |  |
|---|---|
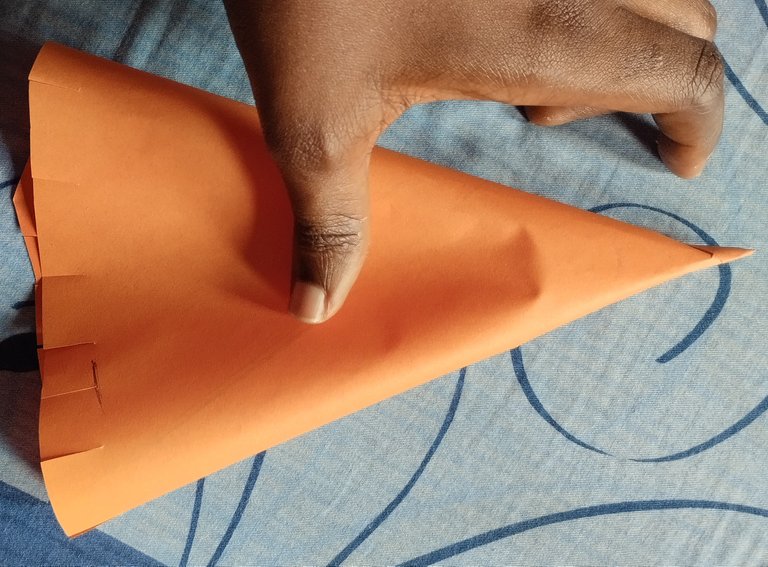
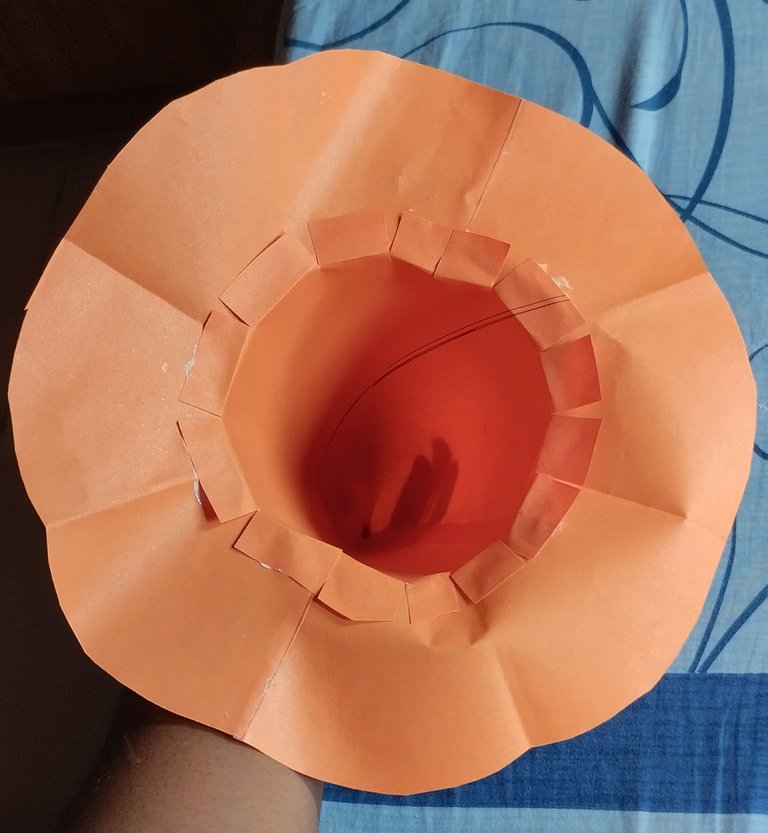
When this was done, she made little cuts around the end of the cone and folded them upward like so.
 | 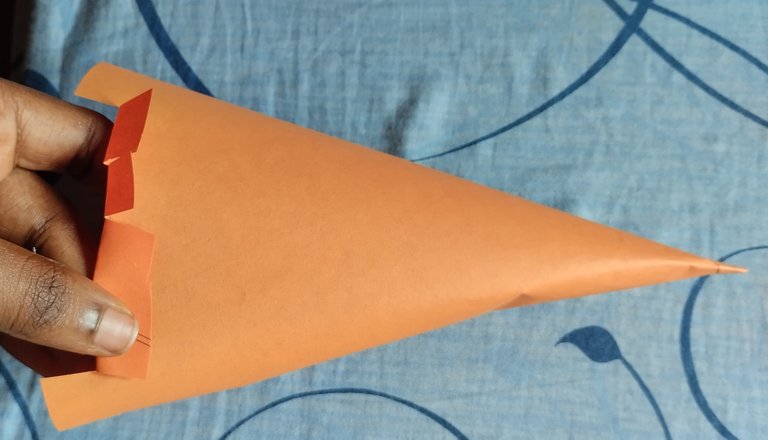 | 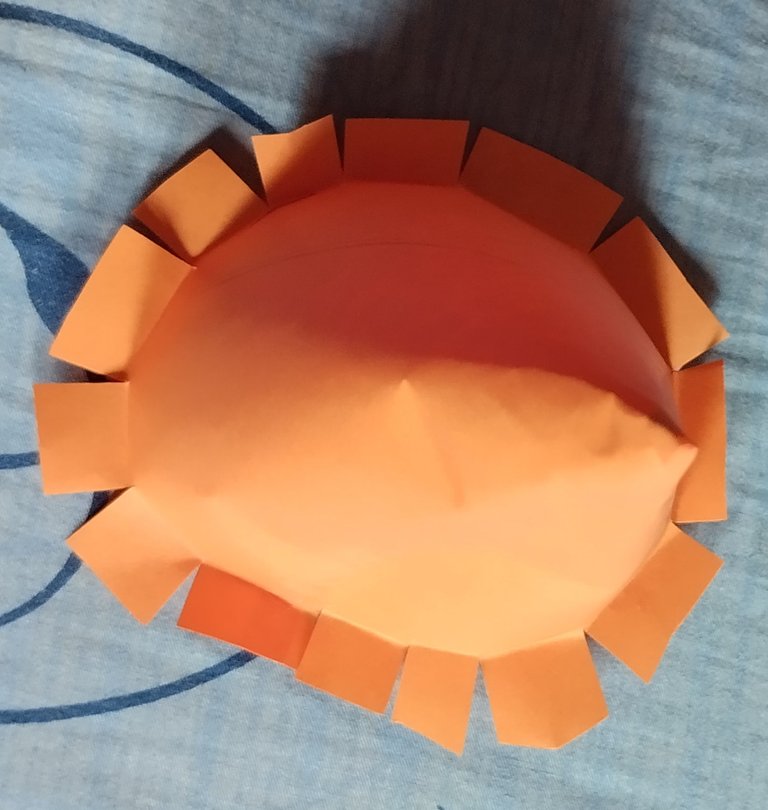 |
|---|---|---|
After which she applied some gum to the upper surface and then gummed the cone to it. She let the gum dry out, and they added some finishing touches.
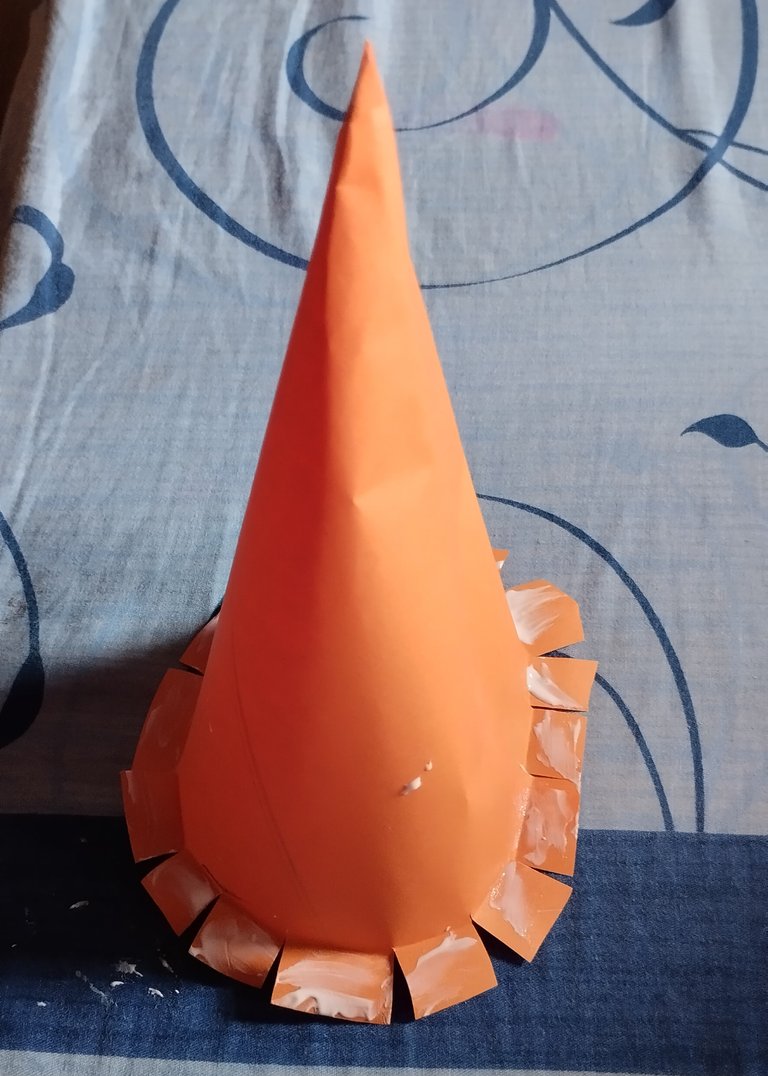 | 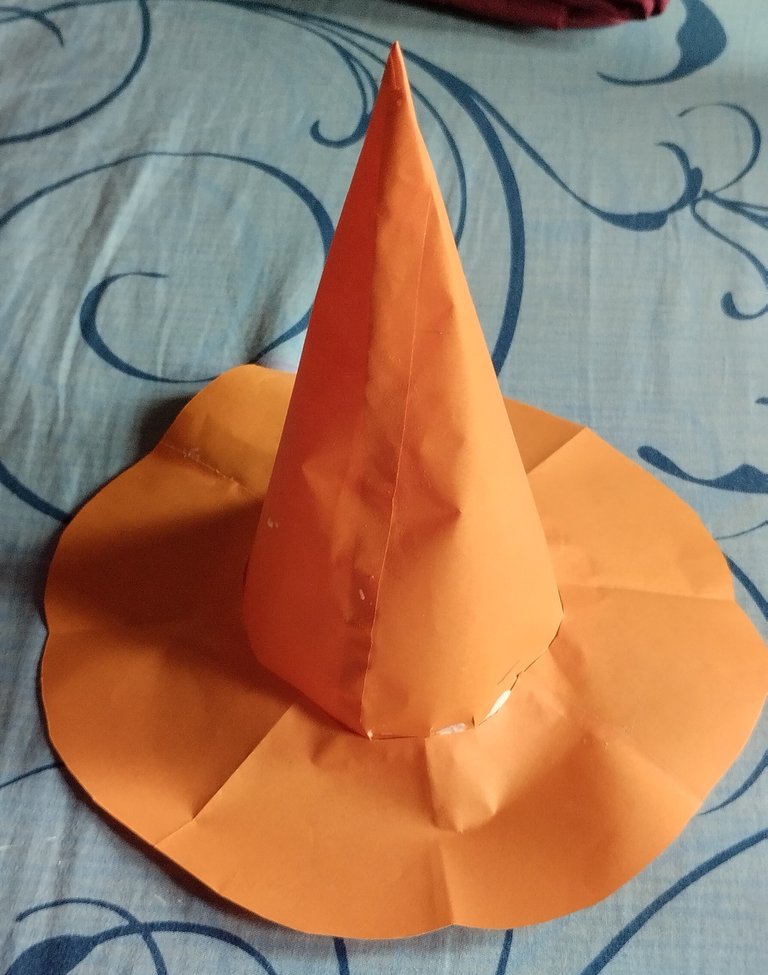 |  |
|---|---|---|
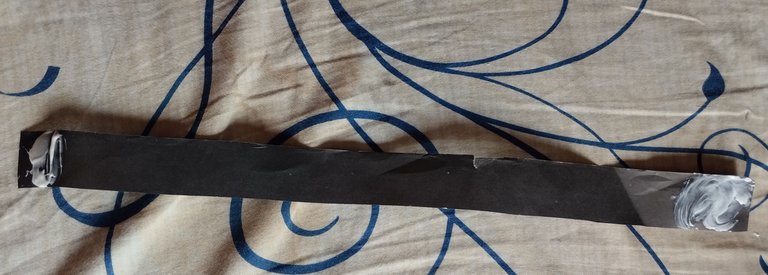
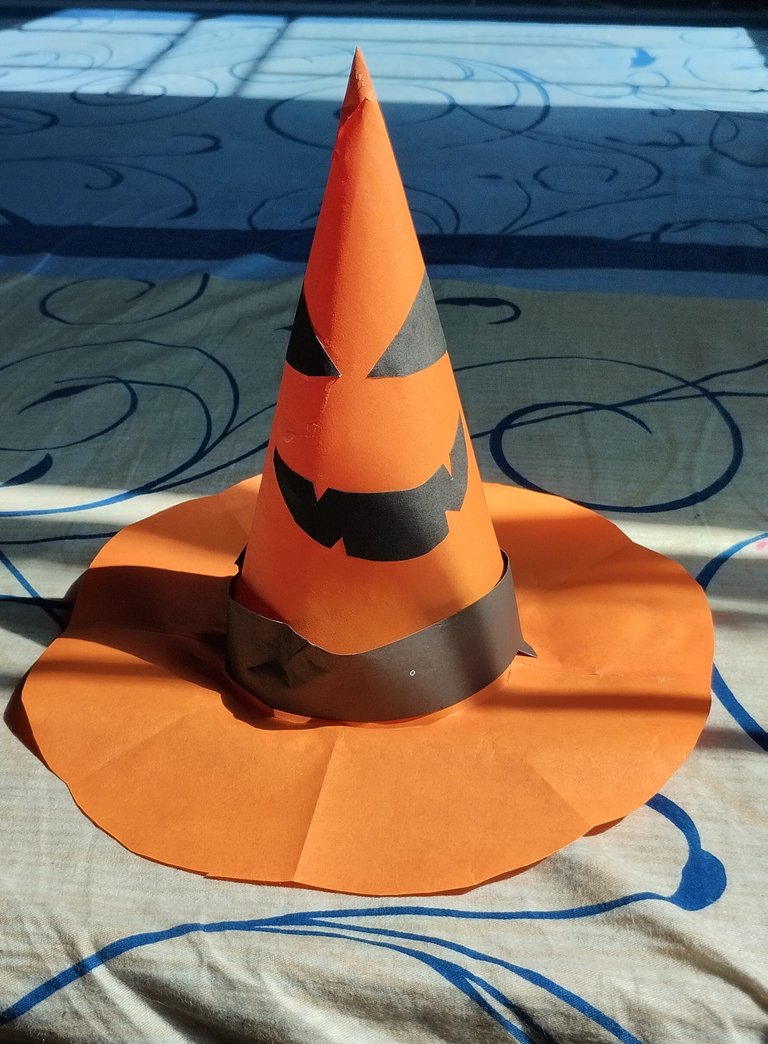
She drew out a dark-looking pair of eyes and an open mouth with teeth and cut them out; she then gummed them unto cone. She also cut out a long black rectangular strip to add to the base as a belt.
 |  |  |
|---|---|---|
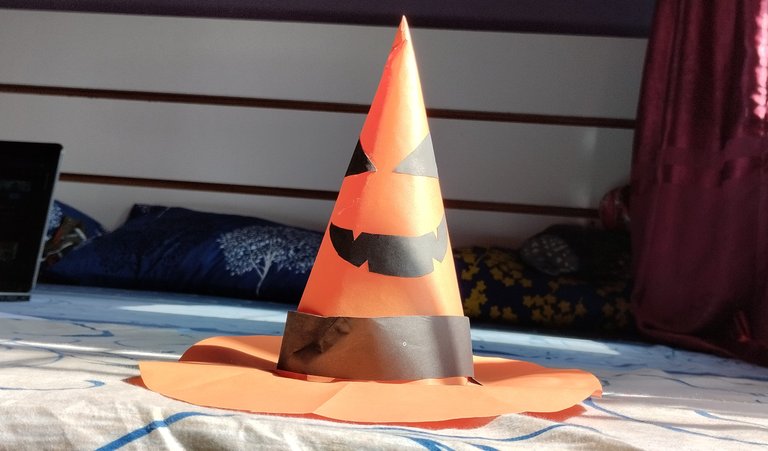
And just like that, she had made a paper hat Halloween decoration for her little princess baby.
All Images Used Are Mine

