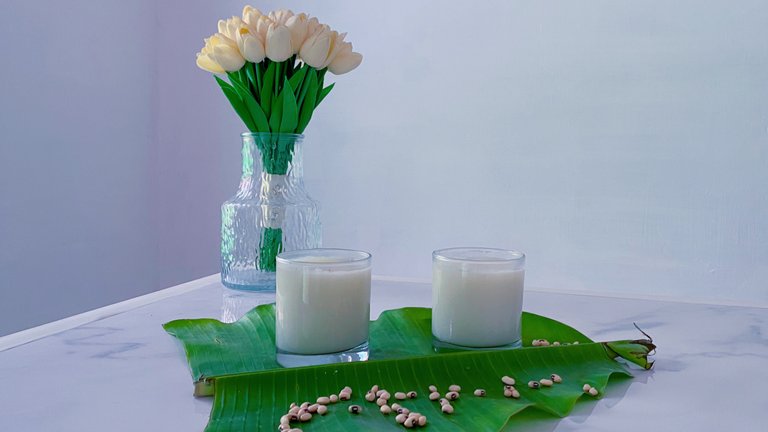
I'm not a fan of nut-based milk, such as almonds. I think almond milk has a pretty strong aroma. However, soy milk has a softer aroma, especially if we mix in fragrances such as vanilla or pandan leaves.
My nephews who live next door to me usually buy soy milk from the seller. When there is a stock of soybeans in my house, I also think about my nephews.
In fact, I really like making things for my family members to enjoy. Especially young nephews.
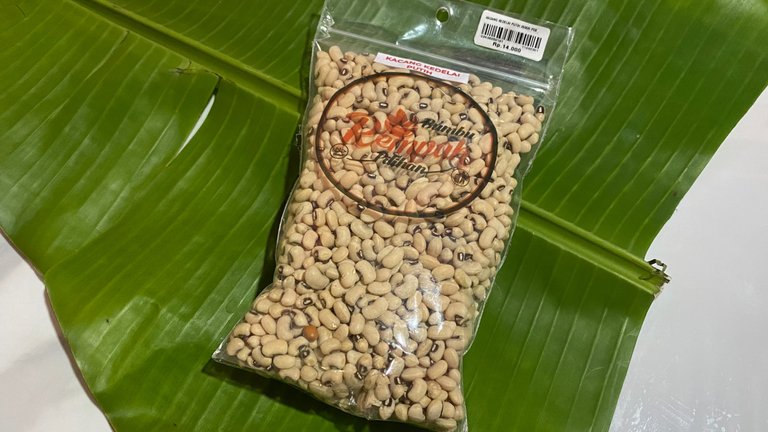
There is one package of soy beans in stock which I have never used at all. Initially, I wanted to make soy bean sprouts. But it was my mind that forced me to make soy milk.
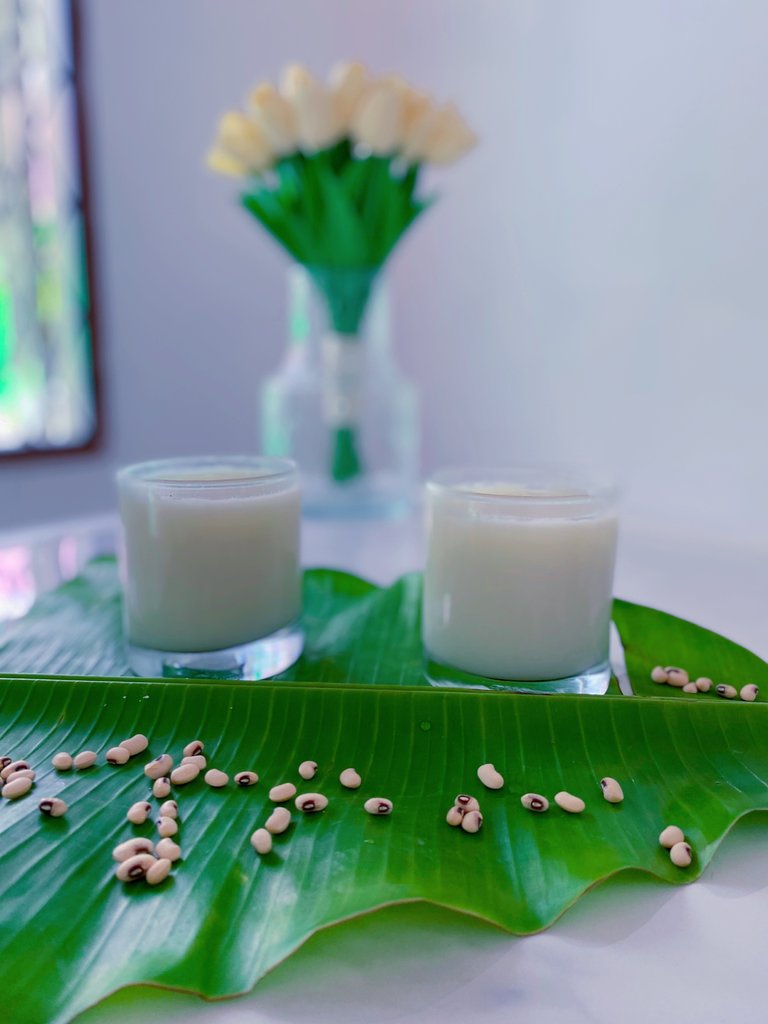
So, for this blog, I show you how I make homemade soy milk which might save money. Especially for mothers who have several children at once who want to enjoy soy milk.
On the other hand, homemade soy milk makes us more confident about the cleanliness of the soy milk. Compared to us buying it from local producers. Automatically, we can contribute to the health of our family because we are fully responsible for making what we consume ourselves.
Actually, making homemade soy milk is easy. However, some of the steps require patience to successfully make soy beans into soy milk with a good texture. So, we just need to get used to it.
Soaking Soy Beans
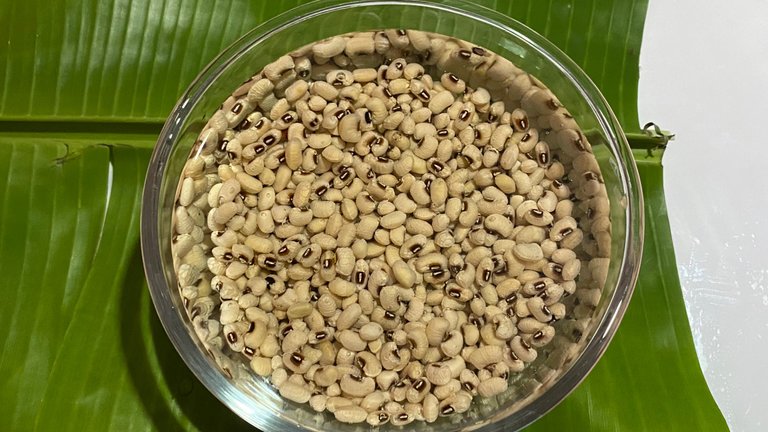
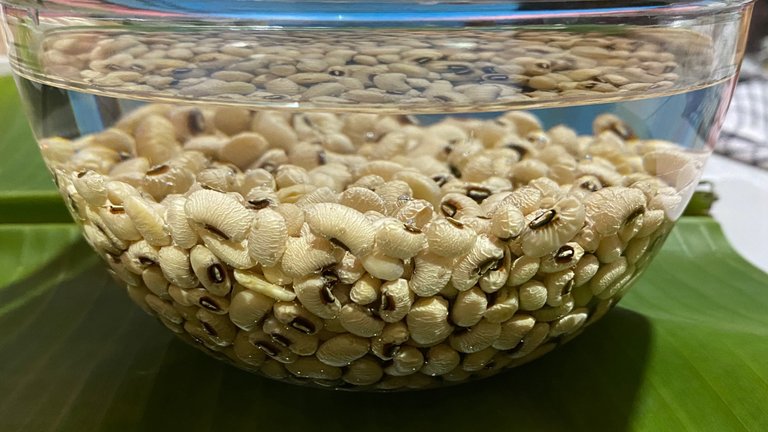
The most important step to successfully make soy milk is to soak the soy beans overnight. Or, a minimum of 6 hours.
Soaking the soy beans is also useful for making the soy beans soft and easy to blend to extract the juice.
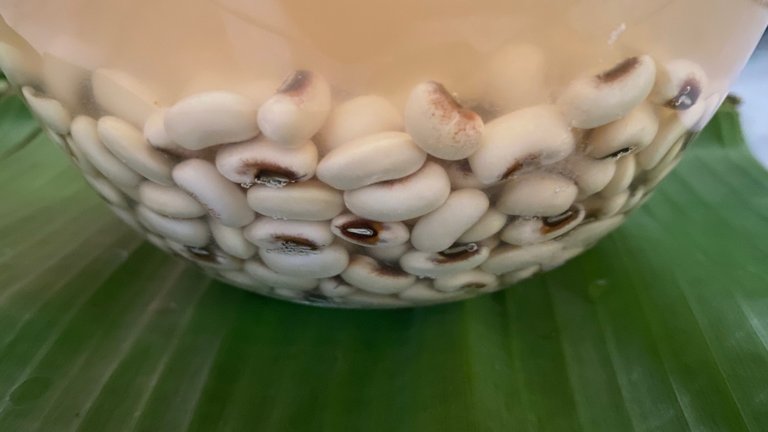
I soak soy beans from evening to morning. Later, the size of the soy beans will appear to have increased compared to the previous size.
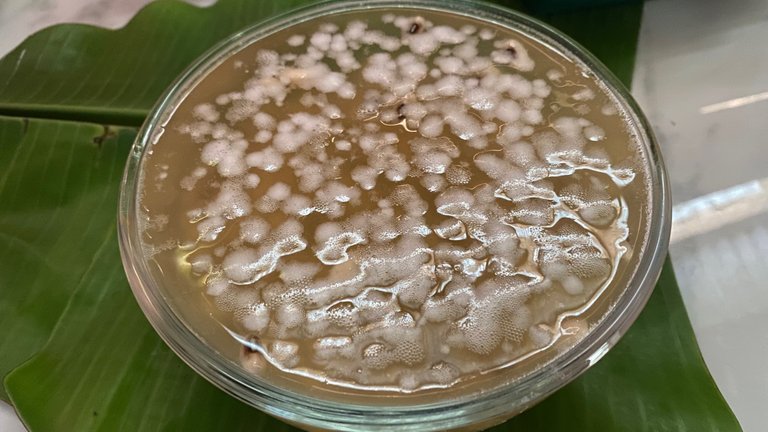
On the surface of the soaking water, you will also see foam. Also, the water changes color to become cloudy.
For me, I throw away the water soaking the soy beans. This is because the water contains a lot of bacteria or dirt. If we use the soaking water to mix in the soy beans blending process, then this will cause the soy milk to go stale quickly later.
For 300 grams of soy beans, I soaked them in 2 liters of water. Or you can make sure there is plenty of water left on the surface of the container because the soy beans will become bigger.
Removing Soy Bean Skins
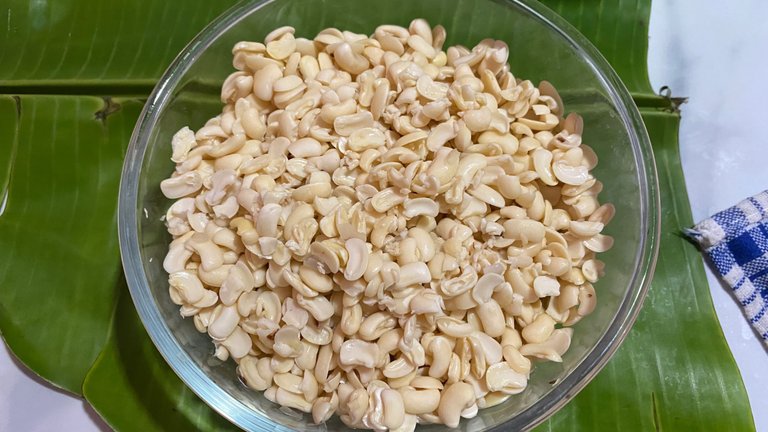
This is the part that I think is full of patience. We have to remove all soy bean skins. :) yeeep, this step is really tricky.
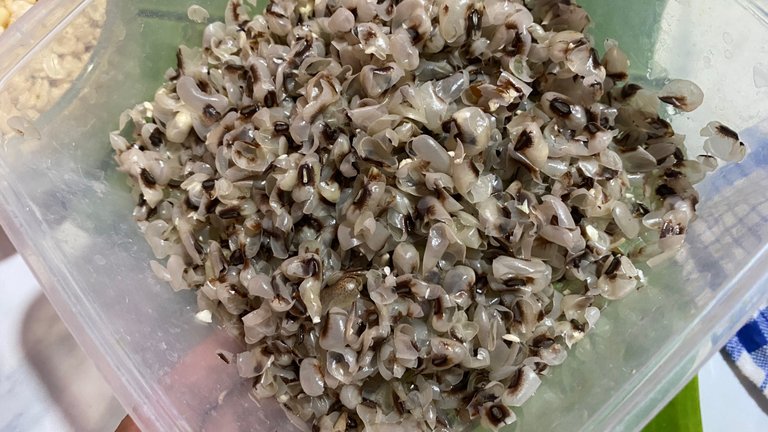
After the soy beans are soaked, we can squeeze the soy beans until the soy bean skins come off. But it doesn't always work. Especially for the type of soy beans that I use because they are bigger than soy beans in general.
Actually, we can also not remove the skins. But, that will make the soy bean pulp have a more unpleasant texture to process. That's why at this stage I decided to remove all the soy bean skins to make the pulp later can be cookable for side dishes or snack menus.
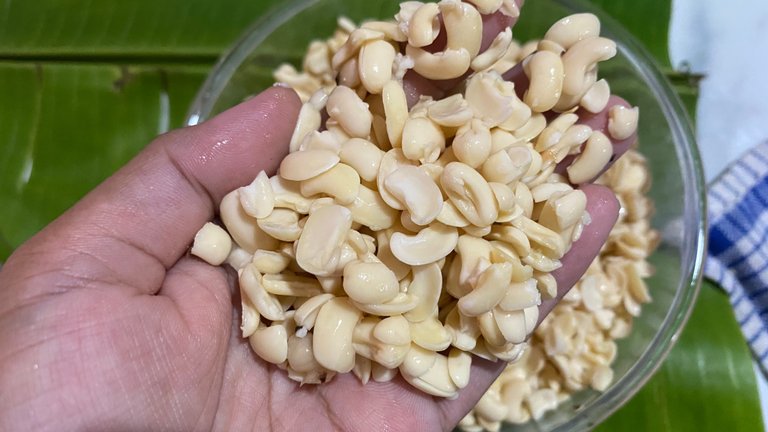
After we remove the skin, we will see clean soy beans and also some of them will be split into pieces. That was because they had become softer after soaking overnight.
Blend Soaked Soy Beans
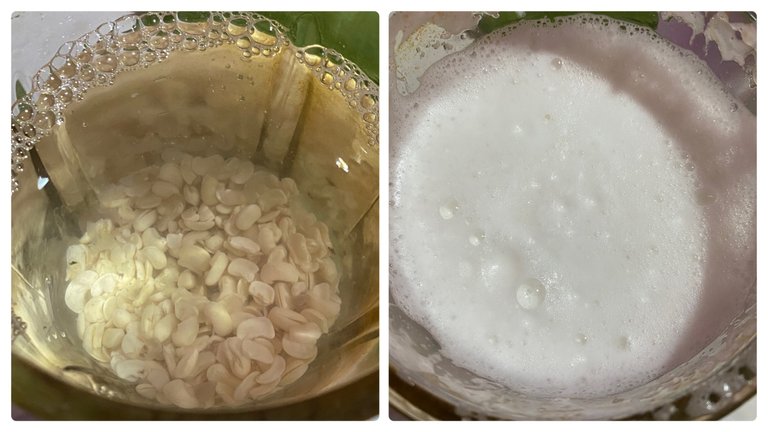
Prepare a blender. We need several blenders for 300 grams of soaked soy beans. So, per 1 cup of soaked soy beans, I add 1 liter of water.
Strain The Soy Bean Pulp
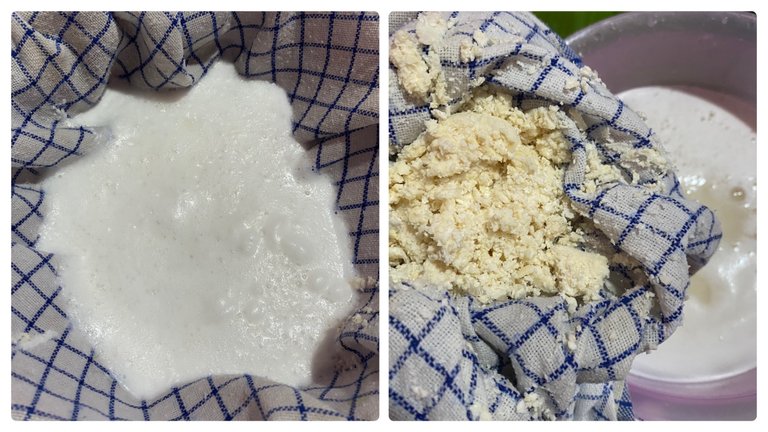
After all the soy beans have been successfully blended, next prepare a clean cloth to filter and separate the water and the pulp.
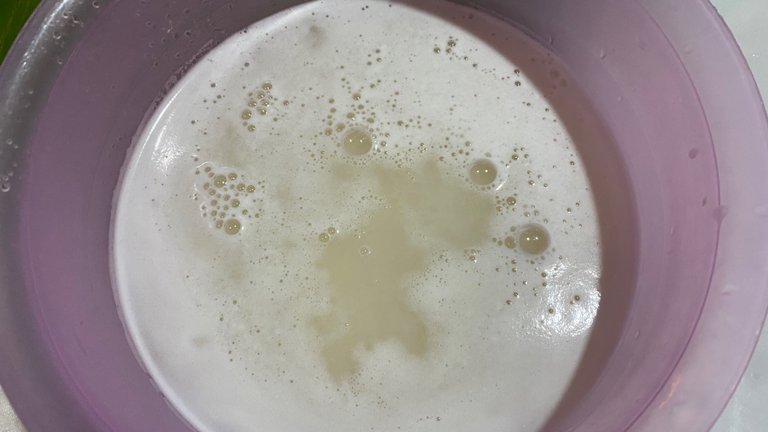
At this step, I don't throw away the pulp. I will use soy beans pulp to make side dishes.
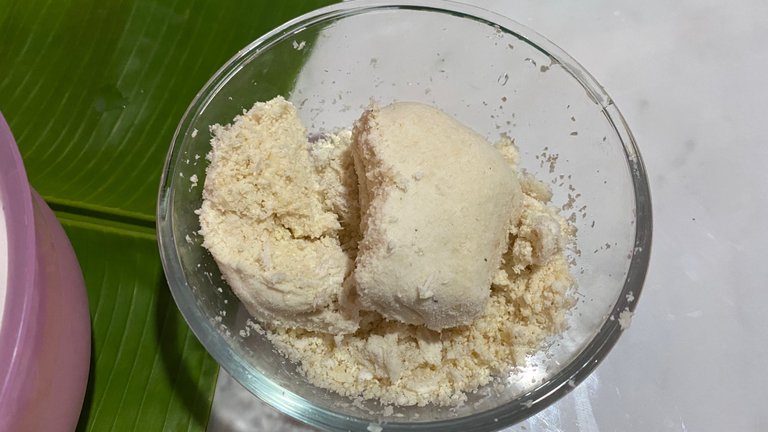
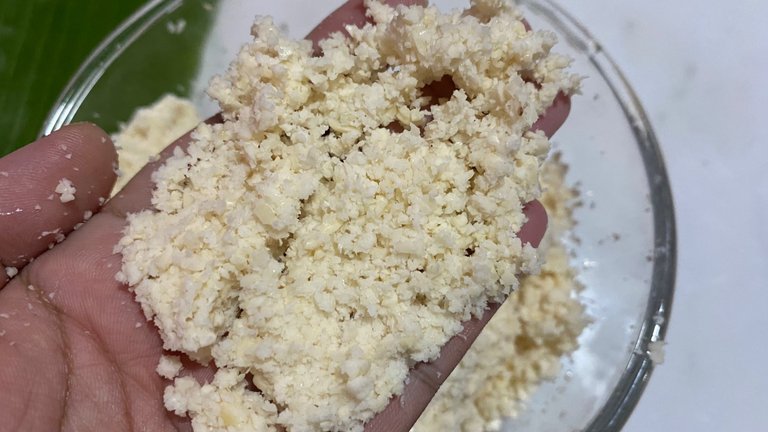
okara (soy bean pulp).
Well, the soy bean pulp is more popularly known as okara. Store okara in the refrigerator in an airtight container. But use it as soon as possible to avoid the okara changing its taste.
Cooking Soy Milk
Up to this step, we already have raw soy milk. But we need to cook the soy milk until they boil. Also add some ingredients to make the soy beans taste better, similar to the soy beans sold on the market.
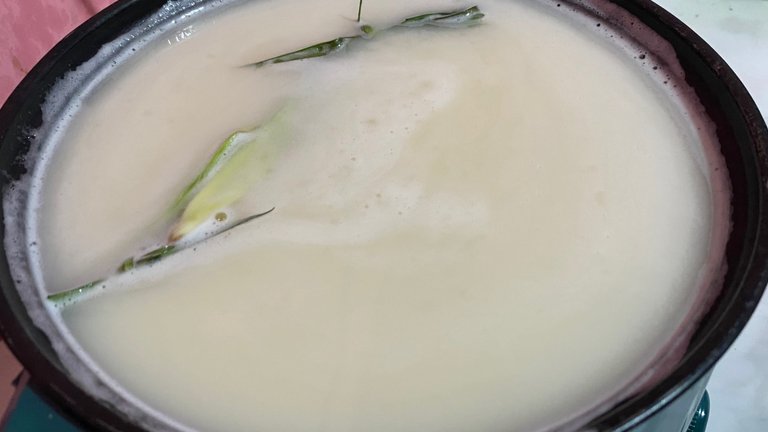
Cook the soy milk over low heat until it boils, stirring constantly. Well, at this step, I had to move a chair into the kitchen so I could sit while stirring the soy milk. This step requires patience and precision.
If you are careless, the soy milk will start to burn and create lumps, as well as a brownish color from the bottom of the burnt soy milk. So, be careful, and keep stirring the bottom of the cooking pot.
Well, I brought boiling soy milk with pandan leaves. You can use half a spoonful of vanilla essence to replace pandan leaves.
It took me about 30 minutes to bring the soy milk to a boil over low heat. Well, it depends on the use of your respective stove.
Serving Ways
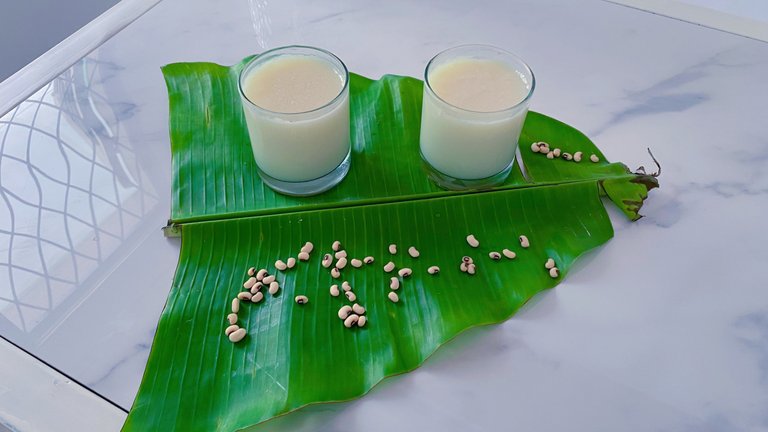
Soy milk can be served warm or cold as iced soy milk. Usually, my nephews enjoy warm soy milk. So, I gave them warm soy milk.
For additional taste, I added half a teaspoon of salt and half a cup of sugar. But don't add it directly to soy milk. We have to make the sugar syrup.
Apart from white sugar, we can also use brown sugar as a sweetener. It's just that it will change color.
The soy milk that I make has a thick texture. So, you can add more water while it's warm. And, spend it as soon as possible.
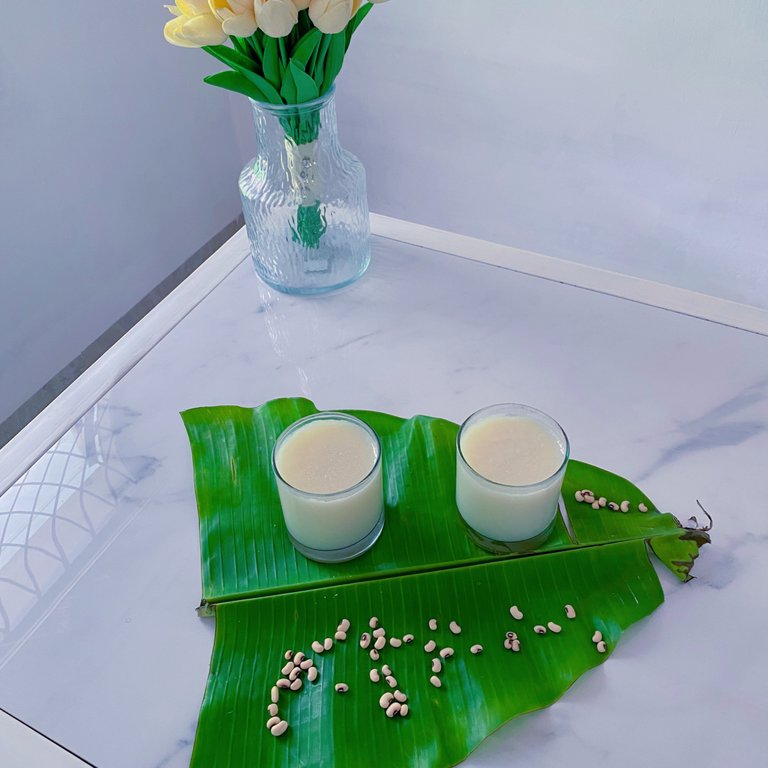
I loved the experience of making soy milk in my kitchen. My nephews were amazed and asked me why I could make soy milk like the ones sold out there :P
Well, being someone who can make a lot of things in the kitchen is a blessing. I thank God for this blessing. although, I actually don't like to eat and finish the dishes I make :P I guess, I just like serving people. :)
Thank you for reading my blog and reblog if you want my blog this time worthy of reading by others.
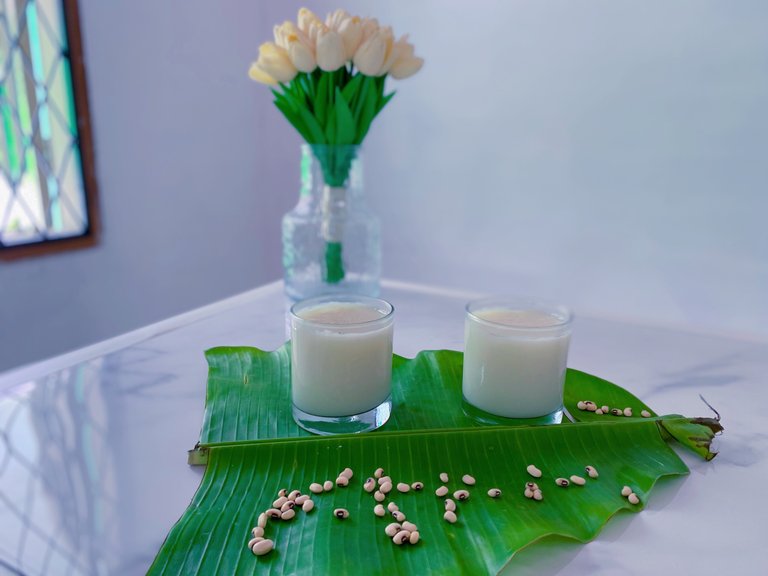
Best Regards,
Anggrek Lestari
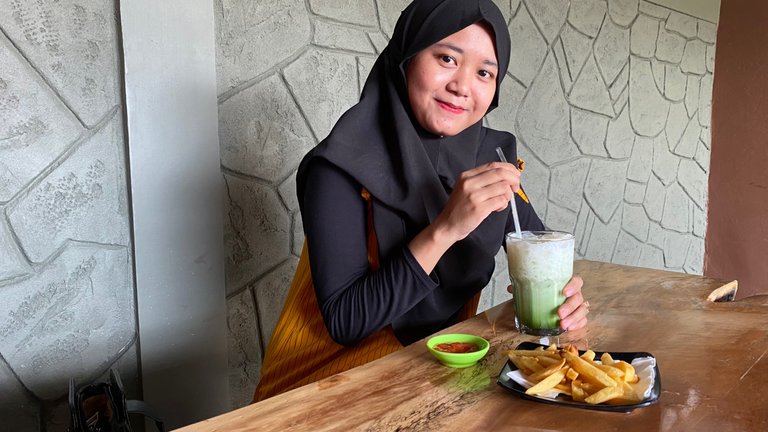
Anggrek Lestari is an Indonesian fiction writer who has published two major books. Now She is a full-time content creator. She has a goal to share life, poem, and food content that makes others happy and can get inspiration.
Contact Person: authoranggreklestari@gmail.com
Discord: anggreklestari#3009


