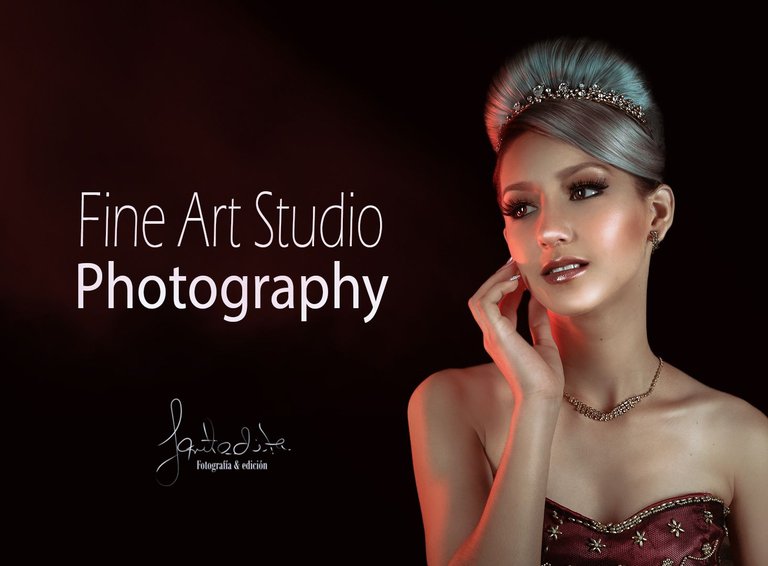
For those who have read my posts before, you know that I came to the world of photography through editing. The use of software like Photoshop and Lightroom piqued my interest years ago. Eventually, I found myself interacting with more photographers than editors and realized that knowing photography would help me edit better.
So, little by little, I entered this world of memory hunters and illusionists.
Portrait is one of the types of photography that motivates me the most. I like to play with colors and add a touch of my imagination, so sometimes I let flow an idea that I have for a certain scenario or wardrobe, or even related to the model herself, with what she gives me during the session.
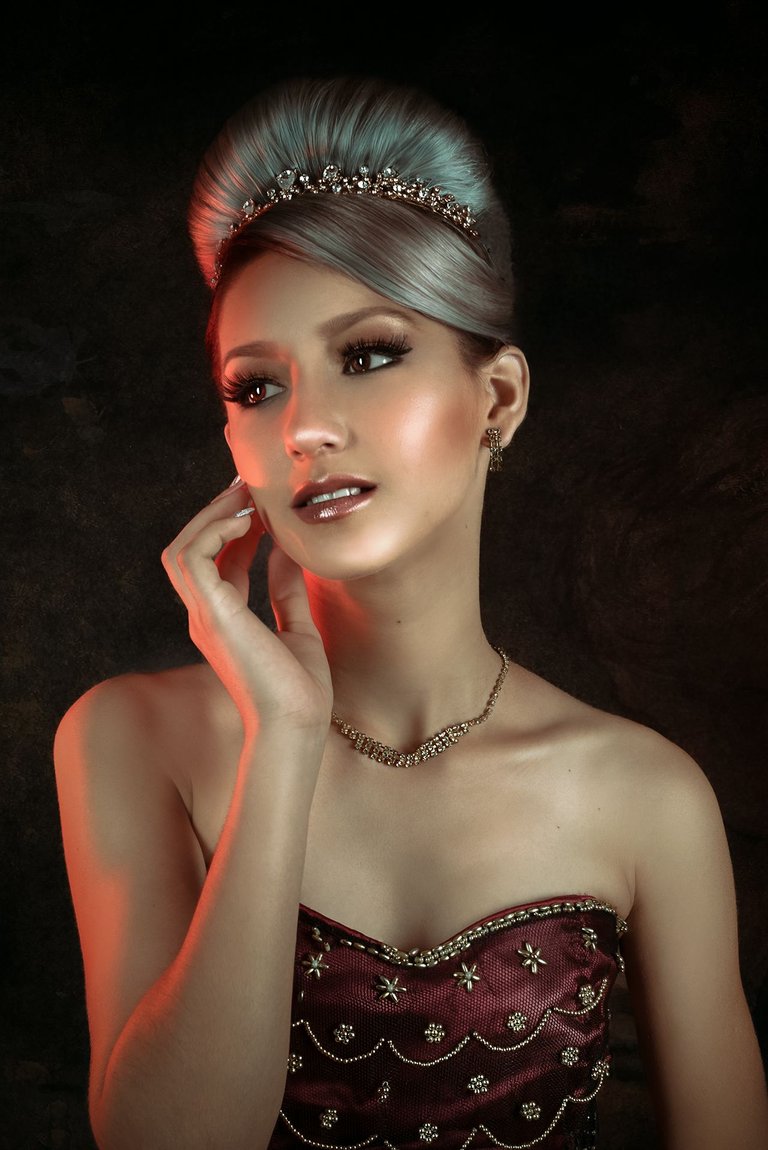
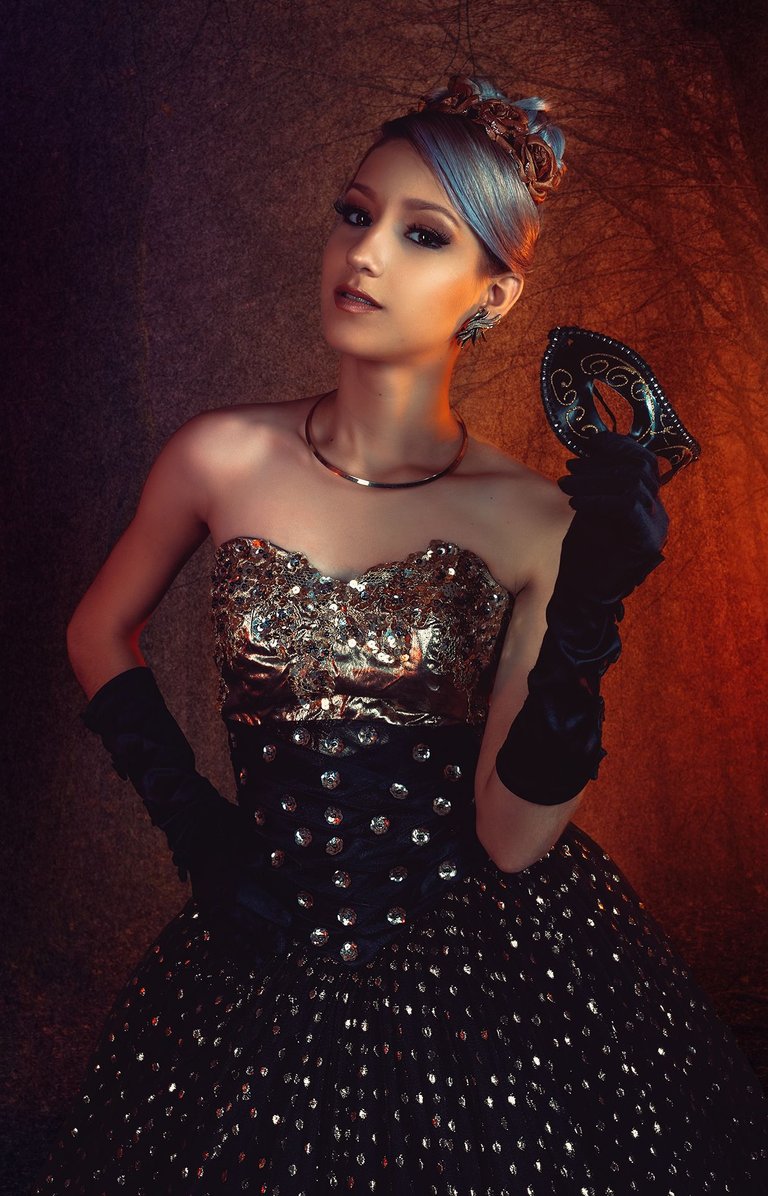
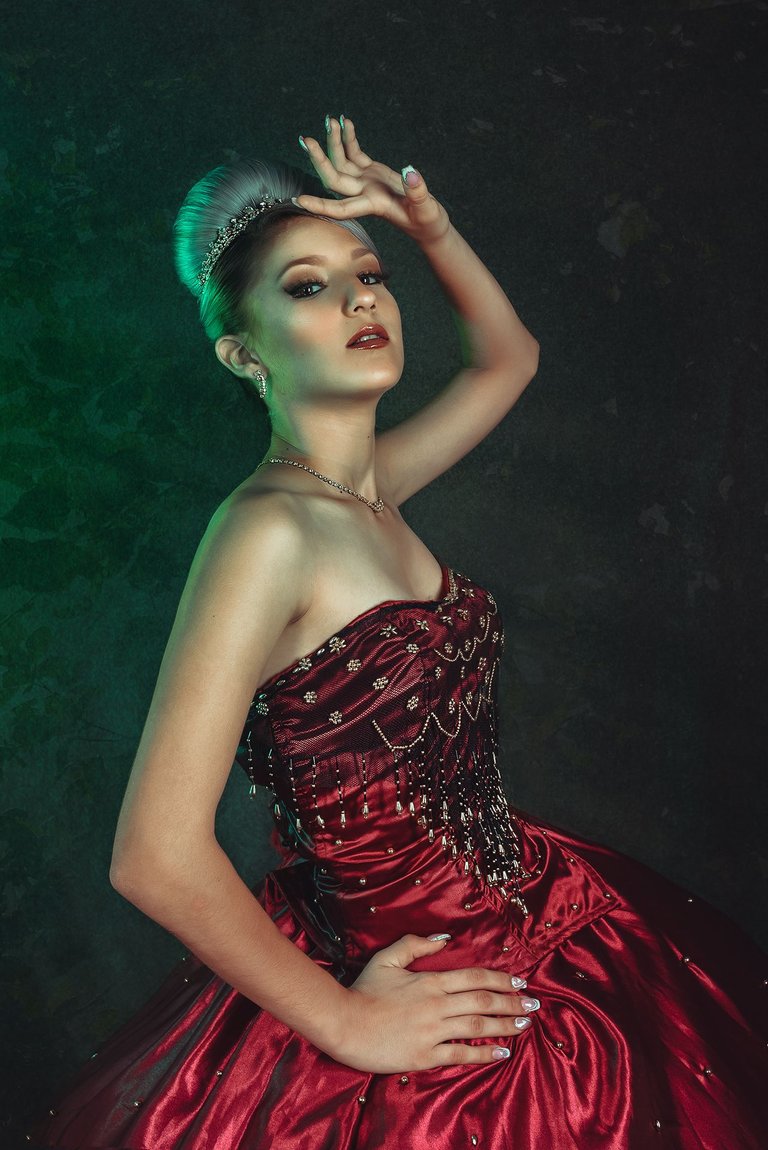
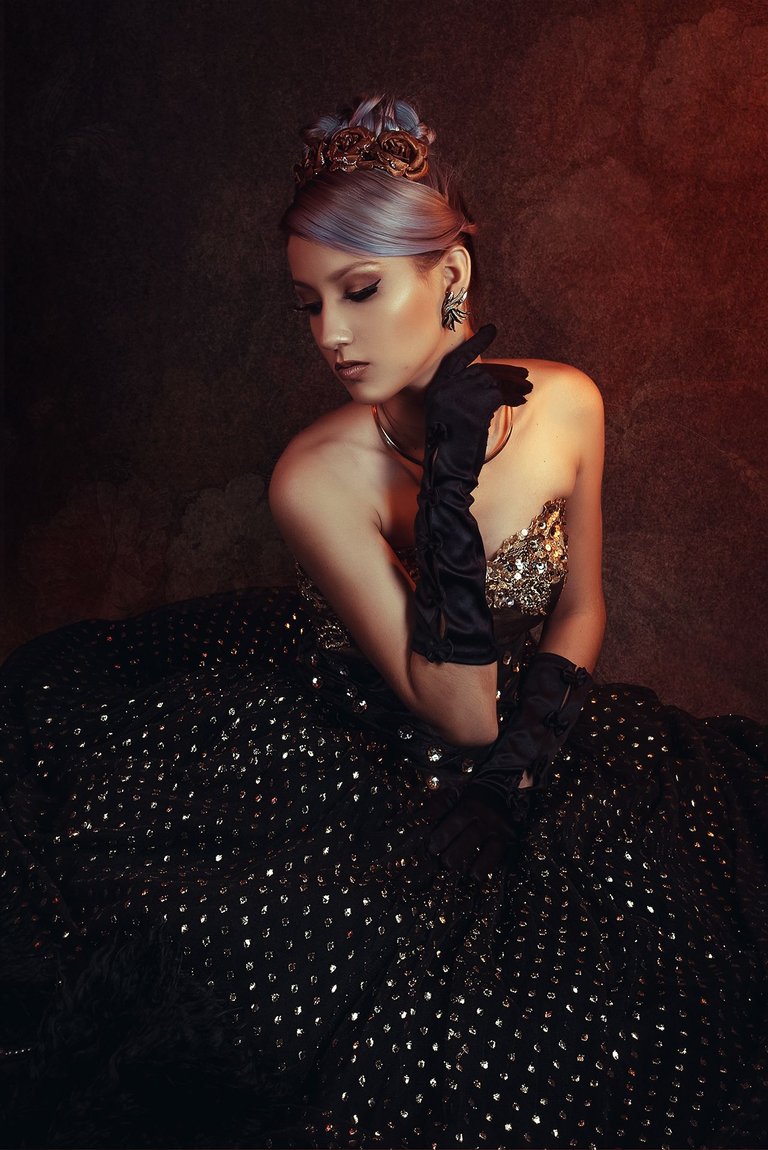
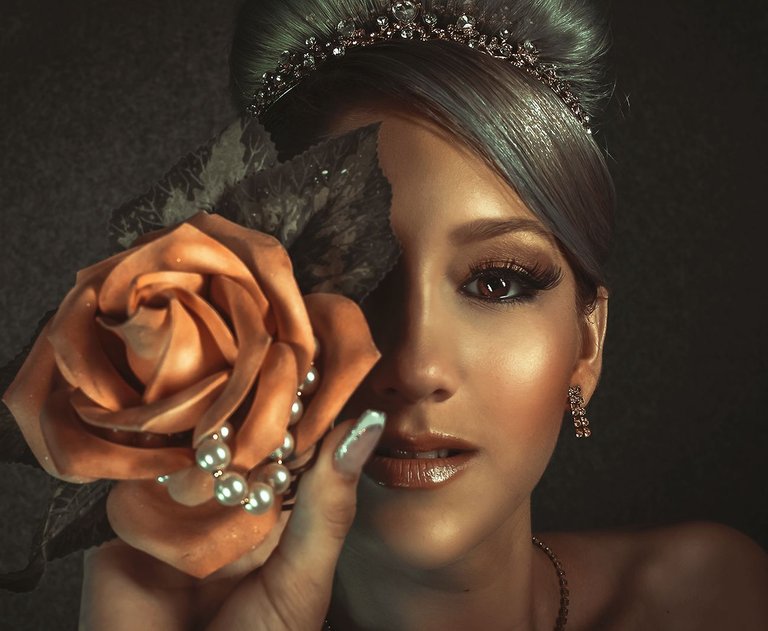
This is what happened with this girl, a manga fan, and her silver hair. But the features of her face were what motivated me the most for these fine art style photos.
I used several color corrections when editing them to show you some of the tones I like the most.
Basically, the workflow I used was:
1- Processing in Camera Raw
2- Remove spots, hair and blemishes
3- Micro Dodge & Burn
4- Macro Dodge & Burn
5- Working independently on eyes, lips and hair
6- Focus on areas of interest.
7- Correct some details with the Liquify tool.
8- Make color corrections in Camera raw.
9- Correct levels
It is likely that I will skip something, because even though this is what I do, it does not mean that I use the D&B several times when I want to fix something ... or any other tool ...
It is very exciting to take a picture and when you see it on the camera screen, you already know it came out the way you wanted, and then on the PC everything goes faster. Adding colors, brightness... maybe it sounds a bit crazy 😅😂, but it's something I really like😍.
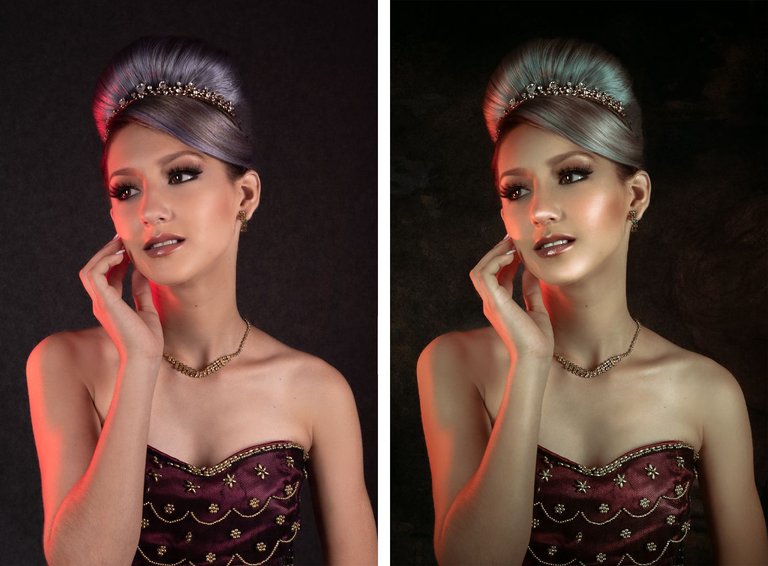
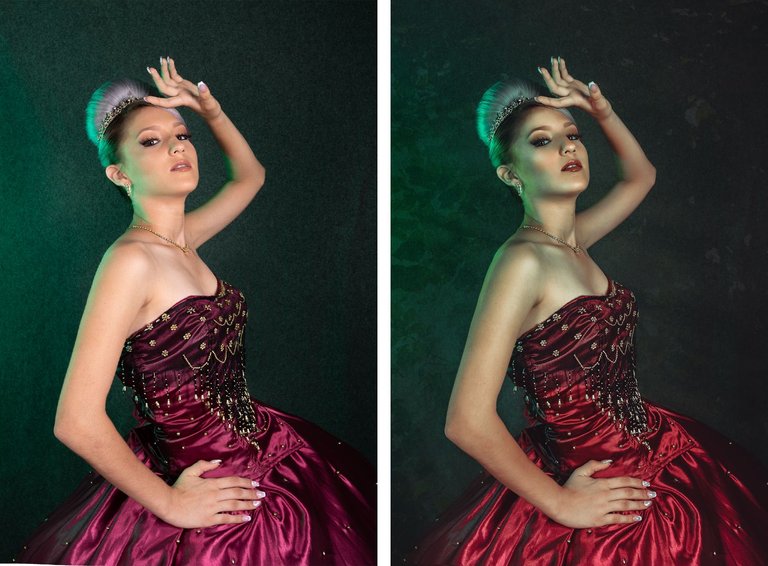
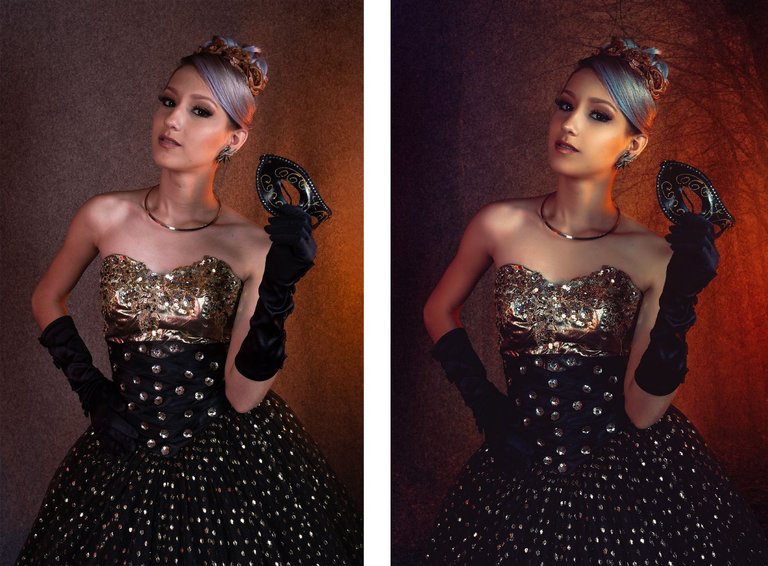
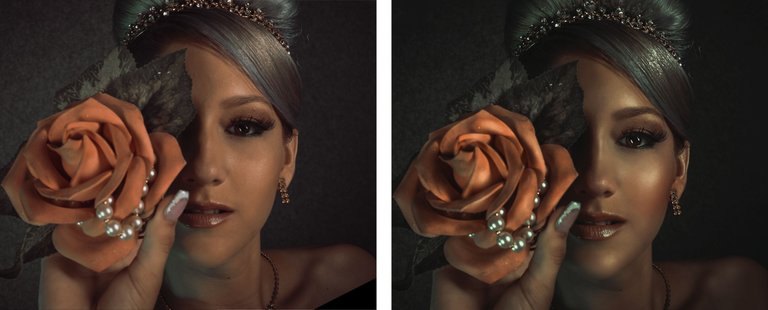
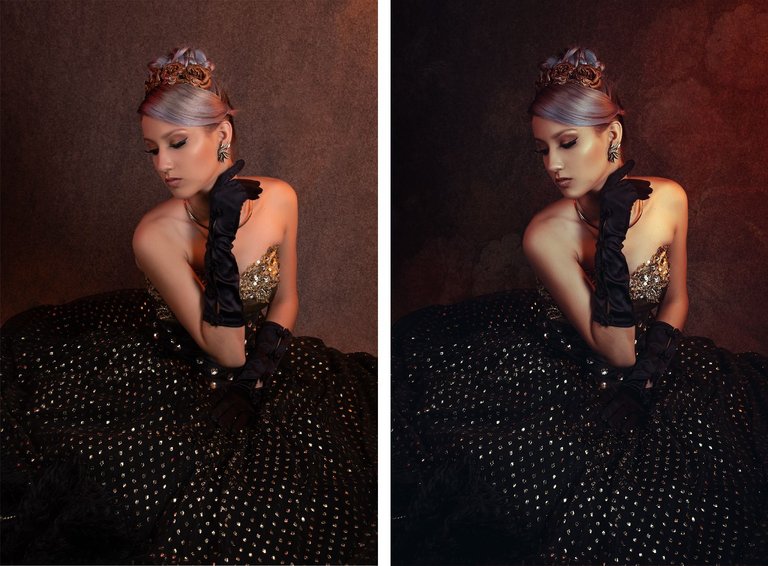
Below I leave the before and after, the photo as it was taken and the edition with a style of Modern Fine Art Studio Photography.
Formatted with Hive Translator by @noakmilo.
VERSIÓN EN ESPAÑOL (click aquí)
Para aquellos que ya han leído mis post, saben que llegue al mundo de la fotografía a través de la edición. El uso de softwares como Photoshop y Lightroom llamaron mi interés años atrás. En un punto, terminé relacionándome con más fotógrafos que editores y me di cuenta que saber nociones de fotografía me ayudarían a editar mejor.
Así poco a poco fui adentrándome en este mundillo de cazadores de recuerdos y creadores de ilusión.
El retrato es una de los tipos de fotografía que más me motiva. Me gusta jugar con los colores y añadir un toque de mi imaginación además así que en ocasiones dejo que fluya un poco una idea que tengo para determinado escenario o vestuario, o incluso se relaciona con la modelo misma, con lo que me entrega durante la sesión.
Así paso con esta chica, fan de los mangas y su pelo plateado. Pero los rasgos de su rostro fueron lo que más me motivaron para estas fotos con estilo Fine art.
Usé varias correcciones de colores al editarlas para mostrarles a ustedes, varios de los tonos que más me gustan.
Básicamente el flujo de trabajo que usé fue:
1- Revelado en camera Raw
2- Eliminar manchas, pelitos, y granitos de la cara
3- Micro Dodge & Burn
4- Macro Dodge & Burn
5- Trabajar de forma independiente los ojos, los labios y el pelo.
6- Enfocar áreas de interés.
7- Corregir con la herramienta licuar algunos detalles.
8- Realizar la corrección de color en camera raw
9- Corregir niveles
Es probable que me salte algo, pues aunque es esto es lo que hago, no quita que use el D&B varias veces cuando quiero arreglar algo... o alguna otra herramienta...
Es muy emocionante hacer una foto y cuando la vez en la pantalla de la cámara, ya sabes que quedó como querías, y luego ya en la PC todo marcha más rápido. Agregar colores, brillos... quizás suene un poco freaky jajajaj pero es que el algo que me gusta mucho.
más abajo les dejo el antes y el después, la foto tal como fue tomada y la edición con un estilo Modern Fine Art Studio Photography.
BEFORE & AFTER
All photographs and processing in this article were done by me.

